porfolio project comm 130-16
TRANSCRIPT
LIZBETH NOEMI CASAS TERNERO
PORFOLIO

LIZBETH NOEMI CASAS TERNERO:1454 Dpto AJesus Maria, Lima [email protected]://lizycasas.wordpress.com
CONTACT

• Magazine Cover ................................................... 4
• Prezi Presentation ............................................... 6
• PhotoDesign ........................................................ 8
• Montage ............................................................... 10
• Business Identity ................................................. 12
• Infographic .......................................................... 14
• Coding ................................................................. 16
• Web Page Mockup ............................................... 18
• Brochure .............................................................. 20
TABLE OF CONTENTS

Description:Design a cover of a magazine showing a self-portrait, as well as articles about me for a customer
Date: 28/09/2016
Course/Instructor:Comm 130 Section 16Sister: Bianca Rodriguez
Program(s)/Tools: Adobe Photoshop & InDesign
Objectives:Use the basic tools of InDesign to create a cover of a real or fictional magazine
Process: I start searching the web examples of covers I really liked the style that has VOGUE magazine. My inspiration was based on the feisty woman, it is why many of my subjects has to do with the professional and personal development of women in recent decades.The themes that have developed in my cover were related to my current situation:
* Prove that women can be successful today.* Women can work in the technology industry.* Raise awareness of the wonders of my rich country: Peru.* That 25 years is not the end of the world, but it is the beginning of a new stage.
My main goal that people know about me and that women can be successful in technology. First I sketched out on paper some possible layouts of the magazine cover.I started to look for good quality photos with high resolution for my cover, so I had two options for my presentation.Edit the picture for my cover in Photoshop online to improve the image.I drafted using Indesign tool for designing the cover of the magazine. I opened up InDesign and created a new 8.5 x 11 inch page.Import the photo (put option) within my new document in Indesign. Add the title in the form of letter “Bogoni MT” red according to the examples of VOGUE magazine. Then map the cover according to my sketch with the 5 topics or items to work.Once I was finished, I saved the InDesign file and then exported a JPEG at 150 ppi.As you can see I’ve worked 3 versions of my cover.
MAGAZINE COVER


Description:Create an instructional presentation using the Prezi software to demonstrate it’s features and capabilities
Date: 04/10/2016
Course/Instructor:Comm 130 Section 16Sister: Bianca Rodriguez
Program(s)/Tools: Adobe Illustrator, Photoshop and Prezi Presentation Software
Objectives:Learn how to use Prezi and use it as a resource for giving virtual information.
Process: 1. first thing I did was think of an interesting topic for my project. Make brainstorm of possible topics. As you already know I am from Peru so it is very important to me that all of you can learn more about Peru and its customs and rich blessings we have in our country. It is for that reason that I chose my project work Prezi with the theme: Visit Peru.
2. As a second important step was to put together my sketch work. I had thousands of ideas, but the main thing was to have a structure of my future work. so I molded my sketch in which a sheet of paper with future iterations would have my presentation.
3. Third, look for the appropriate background. I was coming many crazy ideas at the head dede one world map to a landscape but in the end decided by Marca Peru. This fund has a red and white letters that contrast very well with each background.
4. To give an impression of time travel I decided to embed an ancestral musical background.The images were sought from the official website of Marca Peru own wholesale resolution images.
PREZI PRESENTATION


Description:By using photography and design skills, create a project that encompasses a consistent color scheme from the image.
Date: 11/10/2016
Course/Instructor:Comm 130 Section 16Sister: Bianca Rodriguez
Program(s)/Tools: Adobe Photoshop
Objectives:Learn basic photography skills. Combine photo(s) with design elements using Photoshop.
Process: 1. Make a sketch of how serious my future photography. Look for a photograph in black to work with it and white.2. Think about colors to work. This time chose to work with all shades of gold to have a monochromatic style.3. I created a new 8.5 x 11 inch document in Photoshop.4. I played with shades of gold and opacity, color type.5. Insert long rectangles of golden color almost transparent with the image of the girl.6. Add a sentence according to the photo.7. the title “have fun” I work in 3d Fans Lucida font format.8. The other part of the sentence it works with other source.
PHOTODESIGN


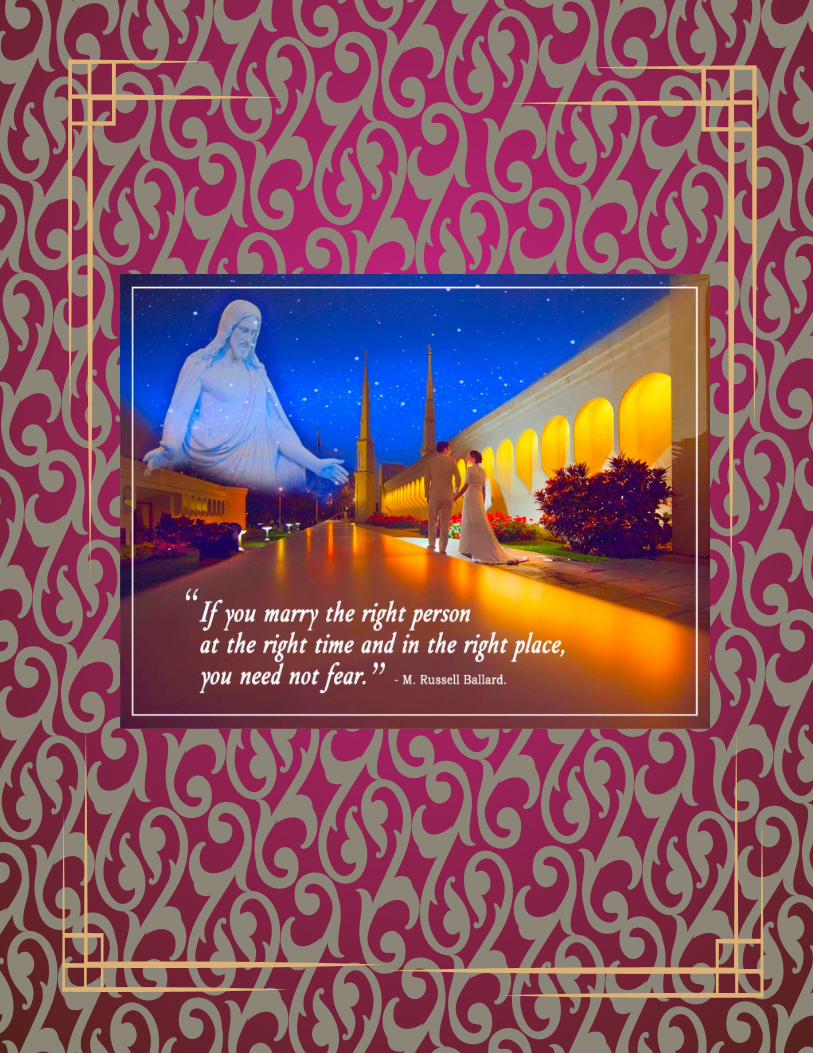
Description:Design a spiritual poster montage using the blend of images and type.
Date: 17/10/2016
Course/Instructor:Comm 130 Section 16Sister: Bianca Rodriguez
Program(s)/Tools: Adobe Photoshop
Objectives:Use Photoshop layer masks to blend multiple images together. Apply appropiate typography.
Process: For the realization of this project followed the following steps:first look for the message that would go in my project to find the corret images.
Find images to full hd largeCreate a new document 1275 pixels × 1650.With the option to move can insert the main picture of the couple in the blank fileThen insert the image of blue sky to cover the upper part of the main imageThen the same blue image a mask frame create you with opacity of 67%.Delete parts of the image to suit the main imageInsert the image of Jesus Christ in the same way I did with the image of blue sky with opacity of 61% in the mask frame.Insert the main sentence for the image with fontInsert the name of the author of the phraseInsert quotation marksInsert a frame white color to highlight imagePerforming image linkFinally illuminate the final imageExports the image in .jpg format with top quality 10
MONTAGE

Description:Create a logo for a company/service/organization and establish a visual identity across documents.
Date: 25/10/2016
Course/Instructor:Comm 130 Section 16Sister: Bianca Rodriguez
Program(s)/Tools: Adobe Illustrator & InDesign
Objectives:Create a new logo to fit a company or personal image. Design consistent layouts for various business documents.
Process: 1. First thing I did was established with the company logo that will work. So I make my company: JL SMART SOLUTIONS.
2. Design the possible logo for my business: I do 4 different logos with different types of special fonts to test my creativity.Most of my designs were made in 3d. The main idea was to have a logo that characterizes us as a creative and professional company. With this idea as structured I began to create my designs.
3. Choose a design: This project will work together with the opinion of my partner Juan Carlos Bazan. The winer was the logo number 1. Which surprised me tremendously because it was one of my first attempts logos and did not think it would generate greater acceptance. Rather, in my opinion the logo devote more time and more love was the number 3. But now I understood because most people like me the first.
4. The next step was to make the letters and business cards. With the logo numero 1 the characteristic red color was my first design, but then I realized that these shades of red did not capture my attention 100%. So I decided to change the color shades of gold, black and white. These colors apply it to my final work.
BUSINESS IDENTITY


Description:Create an infographic that organizes data in a visually pleasing way.
Date: 02/11/2016
Course/Instructor:Comm 130 Section 16Sister: Bianca Rodriguez
Program(s)/Tools: Adobe Illustrator
Objectives:Improve research skills and organize data using graphics and design.
Process: 1. I started thinking about some issues related to women vs men and ended up with the idea of the woman’s brain in the categories of infographic: Did You Know.2. I did some research to find some very interesting data on several web pages on the great capacity we have we women.3. Then I drew some graphics I knew I wanted to include in the infographic and power draw with the pencil tool.4. Then I opened Illustrator and started my infographics.5. Make two versions of the same type in order to know which of the two was better than the other. Although it takes longer but it helped me a lot to make a better decision about it.6.In the first presentation I have created a wheel around women and rectangles on the left side giving outstanding appearance and other graphics to display data well. For the second presentation: I separated the bottom in 6 parts with colors well pairs to represent sections.
INFOGRAPHIC


Description:Code a custom webpage with HTML and CSS
Date: 08/11/2016
Course/Instructor:Comm 130 Section 16Sister: Bianca Rodriguez
Program(s)/Tools: Text wrangler
Objectives:Acquire a working knowledge of HTML and basic understanding pf CSS.
Process: 1. First I created my logo in Illustrator (it was created a few weeks ago), which allowed me to be able to do this project.2. I have resized my logo to 300 px on the long side.3. I created my HTML file and started to add my content and tags.4. Then I created my CSS file called “Demo” and made sure to link it in the HTML code.5. Insert in the header the link graphic line, that is the Google fonts for the letters of the page.6. I made customizations in my CSS to match the colors of my logo and change the fonts to what I preferred.Use the color palette of my Logo: Gold and black. Monochromatic.7. I created the background by creating an image with the same dotted style as the yellow and black logo.8. Then I made sure to validate my HTML and CSS.9. Upload my project to the “handcraft” server.
HTML & CSS CODING


Description:Design a website homepage using a grid
Date: 17/11/2016
Course/Instructor:Comm 130 Section 16Sister: Bianca Rodriguez
Program(s)/Tools: Adobe Indesign & Photoshop
Objectives:Size and optimize an original logo as a .png for a web page.Write content to describe the process of creating your logo and how it appeals to a target audience.Design a web page using HTML to display a logo and content.Acquire a working knowledge of HTML and basic understanding of CSS.Identify hex colors for web design.Compress multiple files in a zipped folder to attach as one file.
Process: 1. First I chose an idea of what I was going to use for the base of my own company website using my business logo that I used in previous projects.2. I started to draw an idea of how I wanted to expose it. I had several ideas in my head because my goal was to develop a modern and stylish website prototype as my technological development company.3. After he outlined it on paper with three different types of designs, he jumped to Photoshop and opened the 16-column grid. I started to create my wireframe to start.4. After my wireframe, I started to add the actual content.5. My final design ended up being a bit different from my original sketch and since I added some own icons developed in firework as well as utlice images of google as my banner and a logo as testimonials of my clients.6. As main color use orange and lead, are the most outstanding colors of my project.7. export my work in photoshop pdf and jpg.
WEB PAGE MOCKUP

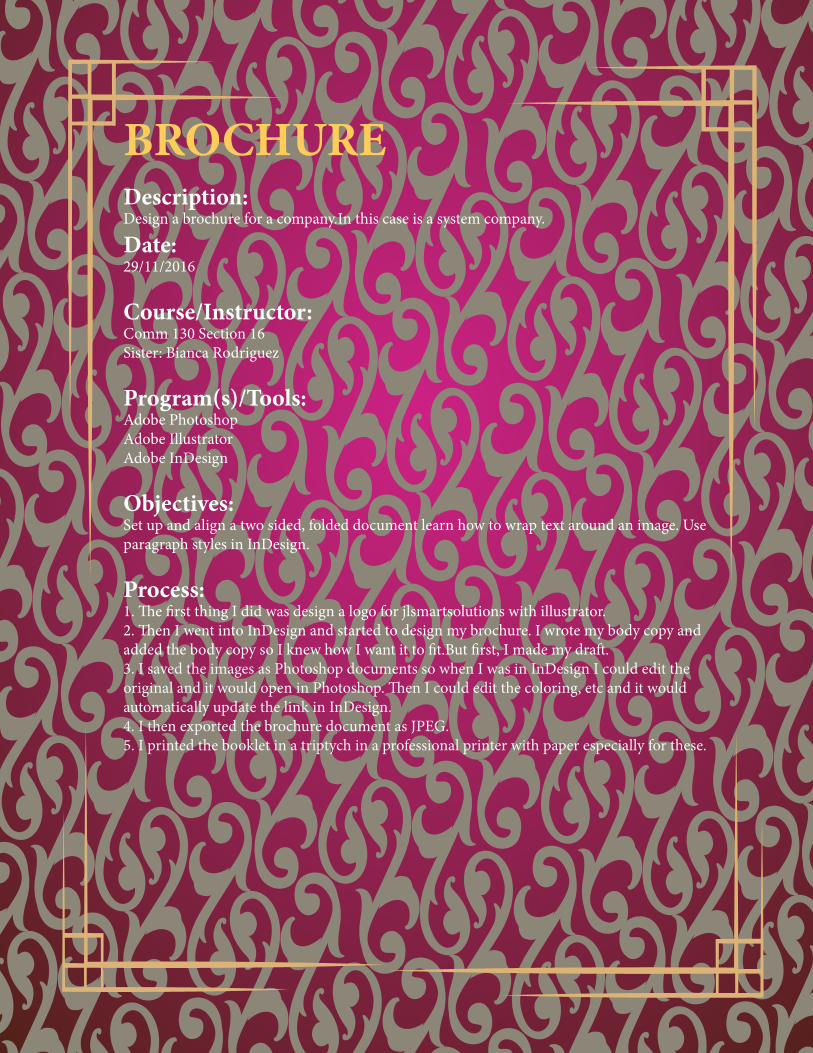
Description:Design a brochure for a company.In this case is a system company.
Date: 29/11/2016
Course/Instructor:Comm 130 Section 16Sister: Bianca Rodriguez
Program(s)/Tools: Adobe PhotoshopAdobe IllustratorAdobe InDesign
Objectives:Set up and align a two sided, folded document learn how to wrap text around an image. Use paragraph styles in InDesign.
Process: 1. The first thing I did was design a logo for jlsmartsolutions with illustrator.2. Then I went into InDesign and started to design my brochure. I wrote my body copy and added the body copy so I knew how I want it to fit.But first, I made my draft.3. I saved the images as Photoshop documents so when I was in InDesign I could edit the original and it would open in Photoshop. Then I could edit the coloring, etc and it would automatically update the link in InDesign.4. I then exported the brochure document as JPEG.5. I printed the booklet in a triptych in a professional printer with paper especially for these.
BROCHURE
