waves hpsa how to reference guide - eaton
TRANSCRIPT

WAVES High Power Speaker Array
How to reference guide
HPSA-7100-R
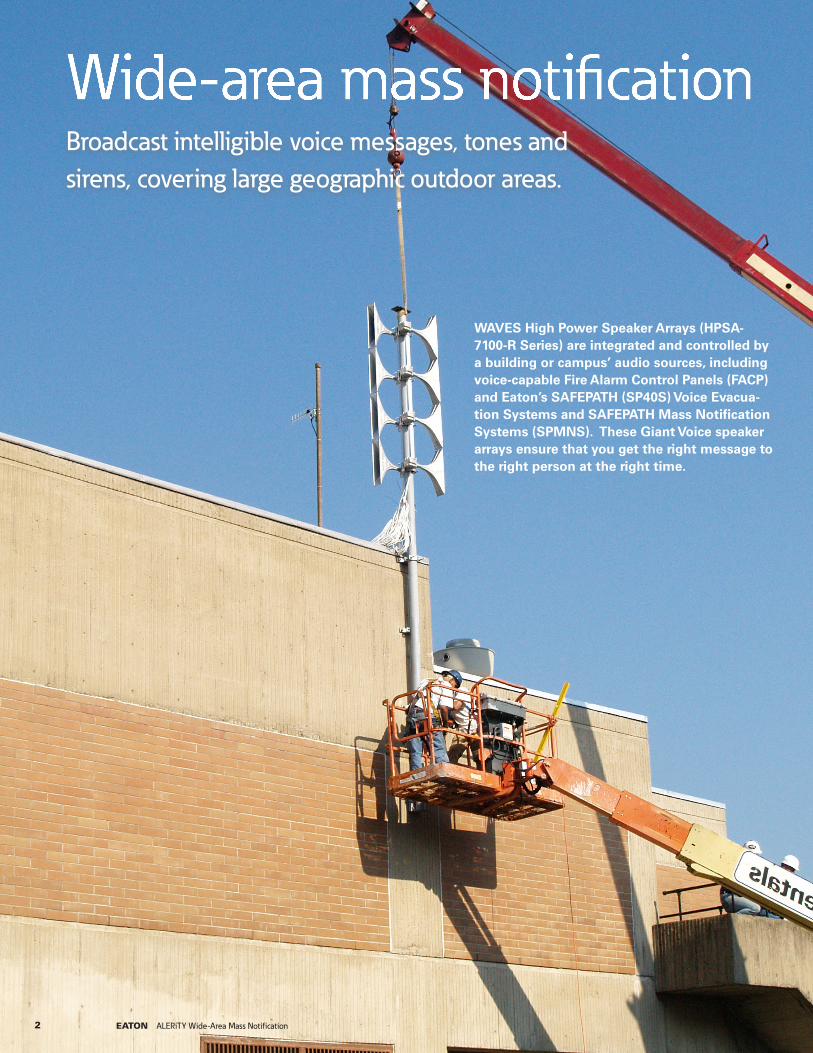
Broadcast intelligible voice messages, tones and sirens, covering large geographic outdoor areas.
Wide-area mass notification
WAVES High Power Speaker Arrays (HPSA-7100-R Series) are integrated and controlled by a building or campus’ audio sources, including voice-capable Fire Alarm Control Panels (FACP) and Eaton’s SAFEPATH (SP40S) Voice Evacua-tion Systems and SAFEPATH Mass Notification Systems (SPMNS). These Giant Voice speaker arrays ensure that you get the right message to the right person at the right time.
2 EATON ALERiTY Wide-Area Mass Notification

Providing industry leading intelligibility
WAVES High Power Speaker Arrays
Today’s threats require clear, concise and intrusive voice messages that communicate how people should respond in an emergency. That’s why WAVES High Power Speaker Arrays (HPSA), part of our ALERiTY solutions, are the perfect Mass Notification Systems (MNS) for notifying your community.
The Eaton difference
Industry leading intelligibility:
• Omni-directional and directional speaker coverage options, directing sound where you need it
• Equalized intelligibility – Broadcast messages as clearly at 100’ as 2000’
• 0.8 Common Intelligibility Scale (CIS) rating; Phonetically Balanced Word Score Test – better than 95%
Energy and Cost-efficient Advanced Amplification System:
• Utilizing Class D amplification technology and better power management; HPSA amplifier is better than 90% efficient
• Lower current draw
• Improved battery stand by time (fewer watts = less energy required)
• Increased battery life
• Requires fewer speakers/drivers - fraction of drivers vs. competi-tors
• Less maintenance & higher reliability
• Significantly less power needed for broader coverage range
Life Safety Approvals:
• CE Mark
• TÜV Certification
3 EATON ALERiTY Wide-Area Mass Notification

Step-by-step guideSelling, proposing, and installing an HPSA
Step 1. Complete a customer needs assessment
Objective:
• Capture and document agreement on the needs of the system
• Clearly describe the needs that the system will meet
• Document the process and desired results of the project
• Define roles and responsibilities
Customer needs assessment key items:
• General information
• Project/facility background Information
• Overview of the project
• Supporting documentation (i.e. layouts, drawings, specifications)
• Needs description (audio coverage, CIS ratings)
• Prioritization of key needs
• Division of work
Proposing a solution - Things to know
• Who is the customer with authority?
• What is the scope or budget?
• Is there a request for solution to meet?
• Are there special requirements?
• Specific coverage, location of audio sources, placement of towers?
• What infrastructure will the customer provide (power, poles)?
• What logistics will the customer provide (cranes, lifts, workspace, waste disposal, electricity)?
Checklist:
Keep in mind - All site surveys are not alike. Factors vary as to geography, topography, security access, building types and layout, space between buildings, accessibility to locked rooms and crawl spaces and unplanned scheduling conflicts.
Are all stakeholders identified?
Are the needs clearly described?
Are the process and results of each activity described?
Are all in agreement of the identified information?
Has the document been signed?
Step 2. Perform a sight survey
Objective: Detail, and accurately discover and document everything needed to fully engineer, configure and install the required system
Site survey key items:
Overview
Facilities map
Contact list
Individual Unit Worksheet (May carry over from customer needs assessment
Location of audio sources and wiring of the audio sources
Building equipment listing
Building installations descriptions
4 EATON ALERiTY Wide-Area Mass Notification
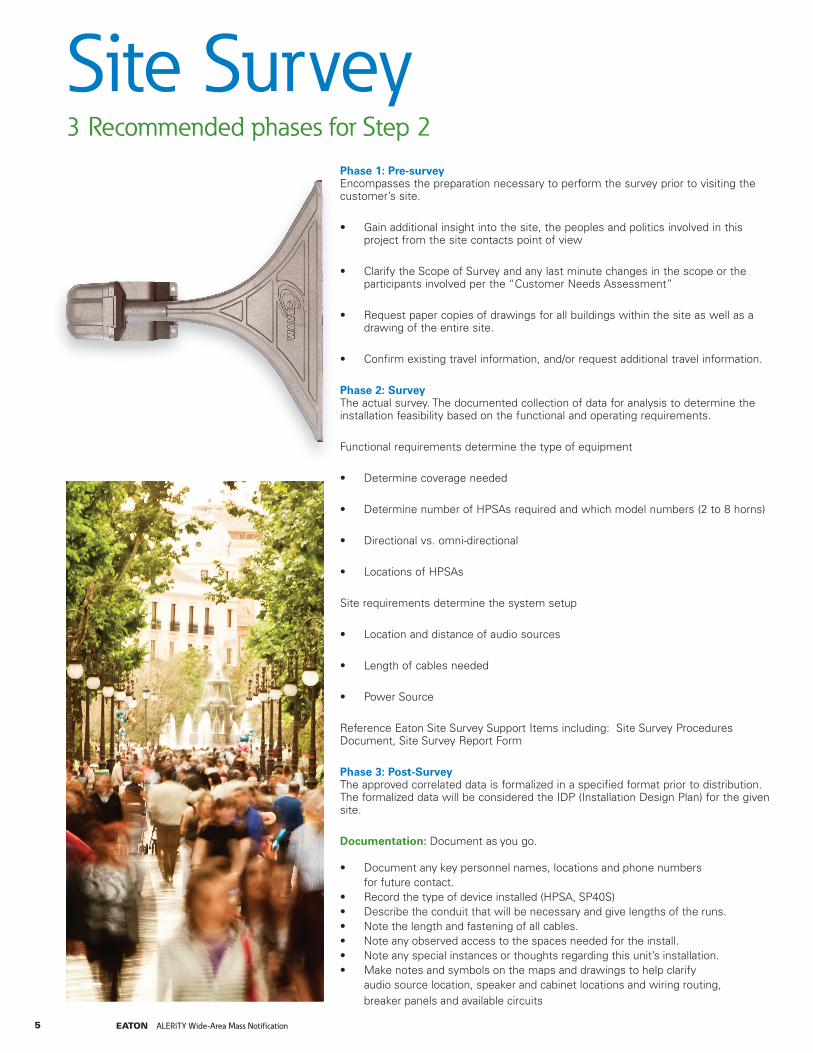
Site Survey3 Recommended phases for Step 2
Phase 1: Pre-survey Encompasses the preparation necessary to perform the survey prior to visiting the customer’s site.
• Gain additional insight into the site, the peoples and politics involved in this project from the site contacts point of view
• Clarify the Scope of Survey and any last minute changes in the scope or the participants involved per the “Customer Needs Assessment”
• Request paper copies of drawings for all buildings within the site as well as a drawing of the entire site.
• Confirm existing travel information, and/or request additional travel information.
Phase 2: Survey The actual survey. The documented collection of data for analysis to determine the installation feasibility based on the functional and operating requirements.
Functional requirements determine the type of equipment
• Determine coverage needed
• Determine number of HPSAs required and which model numbers (2 to 8 horns)
• Directional vs. omni-directional
• Locations of HPSAs
Site requirements determine the system setup
• Location and distance of audio sources
• Length of cables needed
• Power Source
Reference Eaton Site Survey Support Items including: Site Survey Procedures Document, Site Survey Report Form
Phase 3: Post-Survey The approved correlated data is formalized in a specified format prior to distribution. The formalized data will be considered the IDP (Installation Design Plan) for the given site.
Documentation: Document as you go.
• Documentanykeypersonnelnames,locationsandphonenumbers for future contact.
• Recordthetypeofdeviceinstalled(HPSA,SP40S)• Describetheconduitthatwillbenecessaryandgivelengthsoftheruns.• Notethelengthandfasteningofallcables.• Noteanyobservedaccesstothespacesneededfortheinstall.• Noteanyspecialinstancesorthoughtsregardingthisunit’sinstallation.• Makenotesandsymbolsonthemapsanddrawingstohelpclarify
audio source location, speaker and cabinet locations and wiring routing, breaker panels and available circuits
5 EATON ALERiTY Wide-Area Mass Notification
Step 3. Generate proposal, negotiate and finalize contract
Objective: Define the recommended number of HPSAs needed to meet the customer coverage requirements based on the needs analysis and site survey. Negotiate and receive customer signed contract.
Step 4. Generate installation design plan (IDP)
Objective: Creation of a construction document from the Site Survey Report and customer drawings to include equipment list, an installa-tion material list, locations, descriptions, and strategies for installing the system as designed.
Step 5. Mobilization of equipment & schedules
Objective: Shipment of equipment destined for actual installation. Coordination of travel arrangements and installation schedules
Step 6. Installation of Equipment
Objective:
Installation of the system guided by and performed according to the approved IDP.
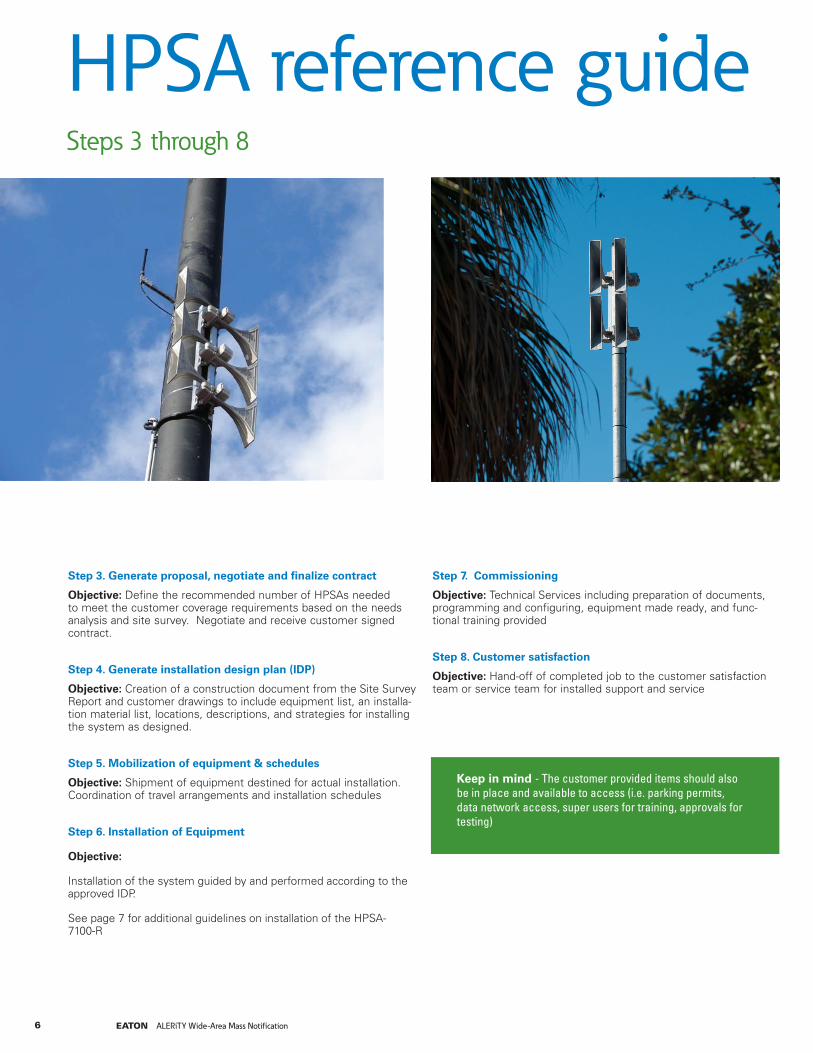
See page 7 for additional guidelines on installation of the HPSA-7100-R
Step 7. Commissioning
Objective: Technical Services including preparation of documents, programming and configuring, equipment made ready, and func-tional training provided
Step 8. Customer satisfaction
Objective: Hand-off of completed job to the customer satisfaction team or service team for installed support and service
HPSA reference guideSteps 3 through 8
Keep in mind - The customer provided items should also be in place and available to access (i.e. parking permits, data network access, super users for training, approvals for testing)
6 EATON ALERiTY Wide-Area Mass Notification

Step 1. Install the HPSA cabinet
The HPSA cabinet/stand mounting options: wall, roof, floor or pole mount
Step 2. Install the HPSA speakers
HPSAspeakersmounton4½”to6”metalorwoodenpoles.Thepoles can be stand-alone, mounted to the side of a building or on a Rooftop, non-penetrating, ballasted tripod.
Note: If mounting to a wooden pole, a cap is recommended. On top of the cap you bolt a metal pipe to attach the speakers.
Step 3. Connect the speakers to the HPSA
Bring the wiring from the speakers down to the HPSA cabinet in conduit or inside the metal pole to the junction box. Inside the junction box there are labels indicating where to land the speaker wires from each set of speakers. The hardware supplied with the HPSA include all the necessary crimp connectors to install the speaker wires onto the terminals. The wires from the terminals into the HPSA cabinet are factory wired to the correct terminals on the amplifiers.
Step 4. Connect the FACP/SP to the HPSA
The HPSA cabinet is divided into 3 sections – Interfacing, Control/amplifier and Power. Connections between the HPSA and a control-ling panel are made through the Audio and Monitoring Bridge that is mounted to an interface plate. The top of the plate has room for mounting electrical boxes for installing modules and control devices. HPSA connections are made via J1, J2 is where all the monitoring connections are made back to the controlling panel and J5 is where we bring in the audio and control lines from the controlling panel.
Step 5. Install the batteries
Step 6. Connect AC to the PDB
Step 7. Apply power to the HPSA
Please refer to the installation manual and follow all cautions and procedures associated with applying power, testing and trouble-shooting of the HPSA-7100-R.
Installation steps
Wall-mount Ground-mount
7 EATON ALERiTY Wide-Area Mass Notification

Eaton is a registered trademark.
All other trademarks are property of their respective owners.
Eaton1000 Eaton BoulevardCleveland, OH 44122United StatesEaton.com
Life safety & mass notification solutions273 Branchport Ave.Long Branch, NJ 07740CooperNotification.com
© 2015 EatonAll Rights ReservedPrinted in USAPublication No. BR450003ENJuly 2015