techniques for teaching writing...handouts techniques for teaching writing 4 helping people learn to...
TRANSCRIPT
Handouts Techniques for Teaching Writing 1
INSTRUCTIONAL MATERIALS AND TECHNIQUES FOR
TEACHING WRITING
Tutors of Literacy in the Commonwealth
http://tutorsofliteracy.blogspot.com/
Handouts Techniques for Teaching Writing 2
TECHNIQUES FOR TEACHING WRITING
Agenda
Introductions/Icebreakers/Expectations/Sign in
Writing Activity HO #1 Helping People Learn to Write HO #3 The Writing Process HO #4 Generating Ideas HOs # 5, 7 Brainstorming HO # 5-6 Concept Mapping HO #7 Organization HO # 8-11 Questions to Guide Writing HO # 12 Draft HO # 13-14 Revise HO # 15 Edit HO #16-18 Real Life Materials HO # 20 Writing Anxiety HO # 21 Connecting Reading and Writing within Lessons Language Experience Approach HO # 22-23 Other suggestions: Filling out Forms Exchanging written dialogue with tutor Paraphrasing Articles of Interest HO # 24-25 Conclusions/Questions/Evaluations
Handouts Techniques for Teaching Writing 3
Writing Activity Adapted from All Kinds of Minds Conference Materials
The primary purpose of this activity is to apply key management by profile steps with a student that is experiencing writing problems. DIRECTIONS: Read the following paragraph, then provide a brief description of:
the student’s strengths how you would increase the strength the breakdown in writing an intervention at the breakdown point that may improve writing performance.
Demitri is an independent 19 year old. He loves to travel and strike out on his own to learn about new places. His family and friends are amazed that he never seems to get lost. Demitri doesn’t understand their amazement; he reads about places he visits and maps out his agenda before going on his trips. He just knows what to do to avoid getting lost. The same cannot be said about Demitri’s writing. He just doesn’t seem to know where to start or how to go about beginning complex writing assignments. Demitri’s Strength(s): ______________________ Strength Strengthening: ______________________
Writing Breakdown: _______________________
Accommodation/Intervention at the breakdown point: ___________
Handouts Techniques for Teaching Writing 4
Helping People Learn to Write
Provide models, allow learners to see
others write.
Have a purpose for writing.
Reinforce the learner’s confidence in his
or her ability to learn.
Use many examples of writing, show
different kinds of writing used for
different purposes.
Provide support and encouragement as
well as reinforcement from others.
Teach writing skills.
Handouts Techniques for Teaching Writing 5
Writing Processes Generate ideas – decide what to write about. Questions to guide writing Brainstorming/Concept mapping/Graphic organizers
Draft – put the ideas down on paper without
concern for being correct. Composing
Ideas Words Language patterns
Revise – explain and expand the content, confirm
logical sequence of sentences.
Edit – make final changes and corrections, make
notes to review in future lessons, the type and amount of editing will depend on the purpose and audience of text, focus on one thing at a time (reinforce that writing does not have to be perfect!). Scribing
Spelling Punctuation Grammar
Publish – share the writing with others.
Handouts Techniques for Teaching Writing 6
Some Basic Guidelines to Writing
1) Brainstorming: The pre-writing process.
This step is skipped most often by the non-writing student, although it is the most
important!
Use the sense of smell for generation of ideas
The sense of smell is strongly attached to memory recall. Place a
common but unique smelling substance in a jar. Ask your student to smell
it and then jot down ideas that are associated with that scent.
(Examples – Vicks Vapo ™ rub, oranges, mothballs, ammonia, etc.)
Use pictures for generation of ideas.
Ask the student to create a story based on a photograph.
Use a tape recorder
Allow student to dictate story to tape recorder, then transcribe.
This is especially good for ESL students.
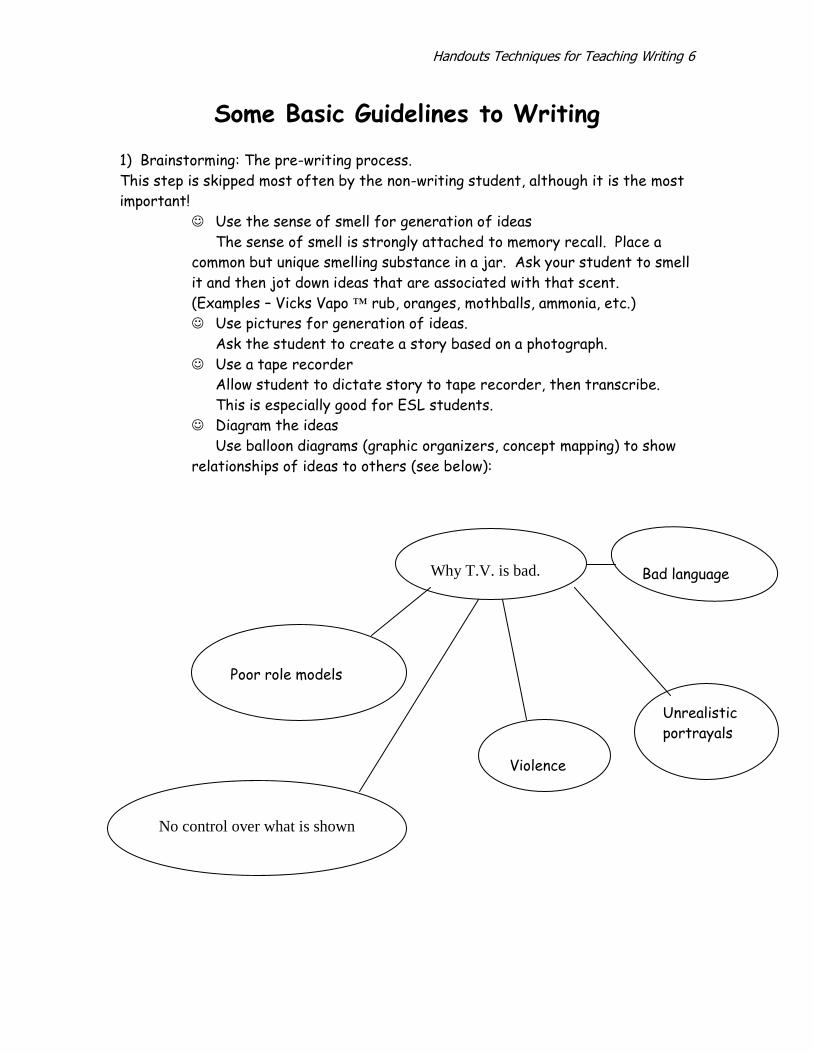
Diagram the ideas
Use balloon diagrams (graphic organizers, concept mapping) to show
relationships of ideas to others (see below):
Why T.V. is bad.
Bad language
Violence
Unrealistic
portrayals
Poor role models
No control over what is shown
Handouts Techniques for Teaching Writing 7
Make lists
Make lists of ideas
Interview
Students can interview people for opinions and ideas.
2) Organization: from brainstorming results
Most essays have the following paragraph structure:
1. Introduction paragraph stating main idea.
2. Supporting paragraphs giving details that support main idea.
3. Conclusion paragraph that rephrases the main idea.
Write each main idea on a flash card. Have student write details on
smaller cards and arrange underneath the main idea card.
If a list was made, cross out any ideas that won’t be used.
Group according to similar ideas.
Group from general to specific.
Number the ideas in the order they will be written.
3) Writing a first draft:
Most students ignore the above efforts to generate and organize their ideas, and
lose track of supporting ideas and the main point. They try to “just write”. It is
important to take writing step by step and not to try to write the entire paper at
once. This is where a student needs the most support and guidance.
Have student write about one point at a time, one paragraph at a
time. Then put paragraphs together.
Do the introduction and conclusion last. They are easier to write
then.
4) Revisions:
Writing is such a personal process and a person’s ego is truly on the line when
someone critiques their work. Focus on the general point being made by the
student – their thought processes. Always give positive, detailed feedback as well
as detailed feedback regarding suggestions for improvement.
If sequence is a problem – with scissors, cut your student’s paper into
sections and have them arrange the pieces in a more logical order.
For many errors – focus only on one type of error, such as use of
commas, pronoun use, details, main idea, etc.
For spelling errors – focus on five misspelled words at a time for each
revision. Do not spell word for the student – refer student to
dictionary or spell checker and teach them how to use this resource.
Handouts Techniques for Teaching Writing 8
CONCEPT MAPPING
The purpose is to generate as many ideas as possible
on the topic and, as they are generated, organize them
by sub-topics. After they are mapped, one or more of
the sub-topics can be used for writing.
1. Write the topic in the middle of a page.
2. Brainstorm the topic and write the sub-topics
anywhere on the page, leaving space for additional
ideas.
3. Brainstorm the sub-topics and write supporting
ideas around the sub-topics; draw lines to show the
relationships between the ideas.
4. Decide what topics and sub-topics to write about,
put them in order, and write a sentence for each idea.
Handouts Techniques for Teaching Writing 9
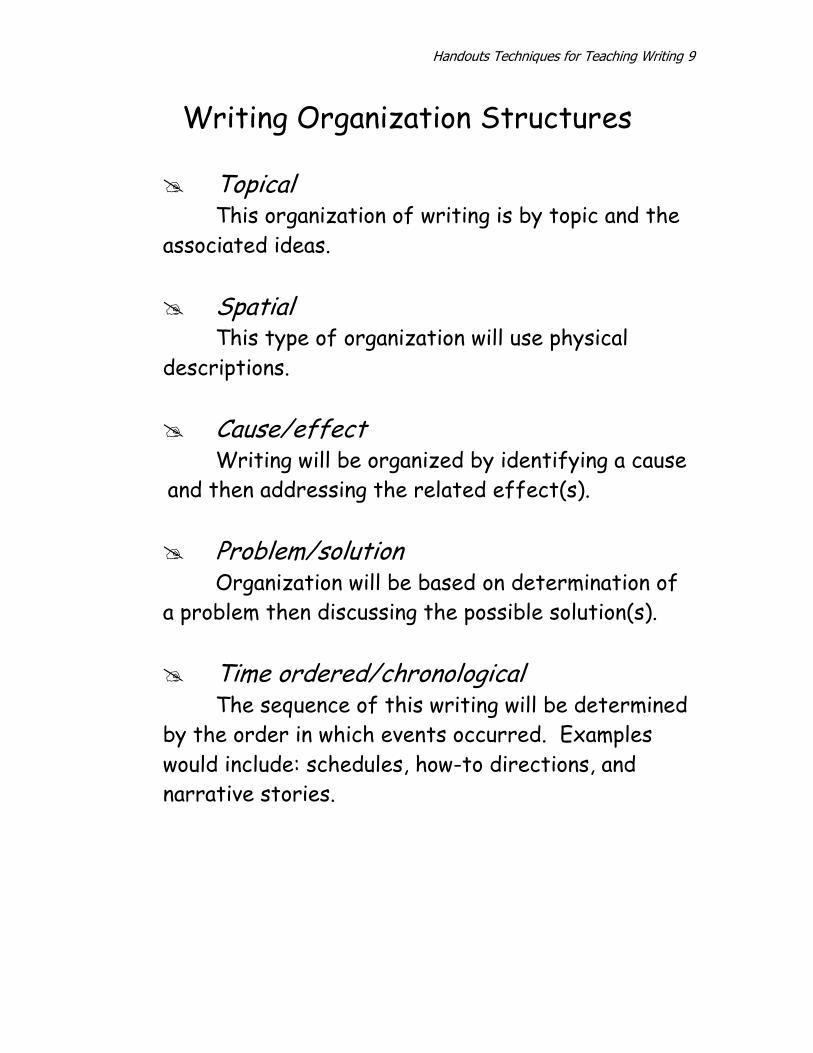
Writing Organization Structures
Topical This organization of writing is by topic and the
associated ideas.
Spatial This type of organization will use physical
descriptions.
Cause/effect Writing will be organized by identifying a cause
and then addressing the related effect(s).
Problem/solution Organization will be based on determination of
a problem then discussing the possible solution(s).
Time ordered/chronological The sequence of this writing will be determined
by the order in which events occurred. Examples
would include: schedules, how-to directions, and
narrative stories.
Handouts Techniques for Teaching Writing 10
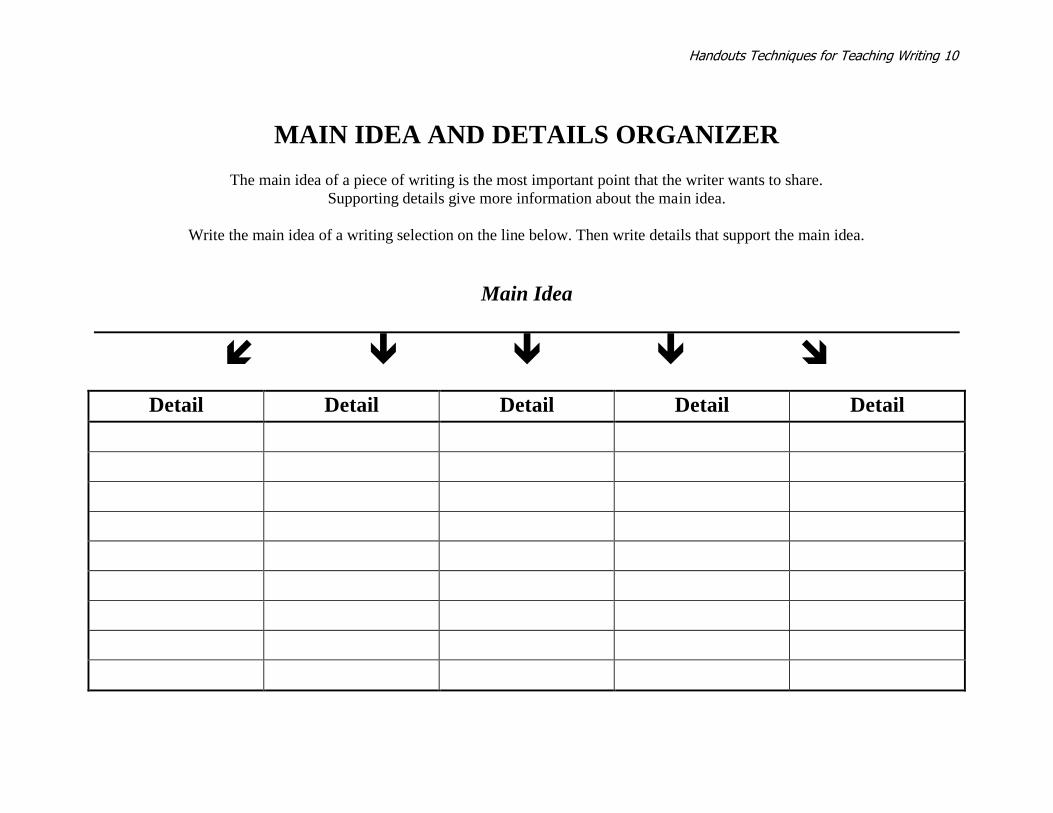
MAIN IDEA AND DETAILS ORGANIZER
The main idea of a piece of writing is the most important point that the writer wants to share.
Supporting details give more information about the main idea.
Write the main idea of a writing selection on the line below. Then write details that support the main idea.
Main Idea
Detail Detail Detail Detail Detail

Handouts Techniques for Teaching Writing 11
Plot Map 1999 New Reader’s Press
The plot is the action or series of events in a story. The plot usually
has three parts:
1. The rising action introduces the characters in the story and tells about a
problem or conflict.
2. The climax is the event that solves the problem, the turning point of the
action. It usually occurs near the end of the story.
3. The falling action tells the effect of the climax. The plot draws quickly to
a close.
Write the rising action, the climax, and the falling action of a story on these
lines. Fill in the plot map below.
Title: ________________________________
1. Rising action:__________________________________________
________________________________________________________
2. Climax: ______________________________________________
________________________________________________________
3. Falling action: _________________________________________
________________________________________________________
Climax
Rising Action
Falling
action
Handouts Techniques for Teaching Writing 12
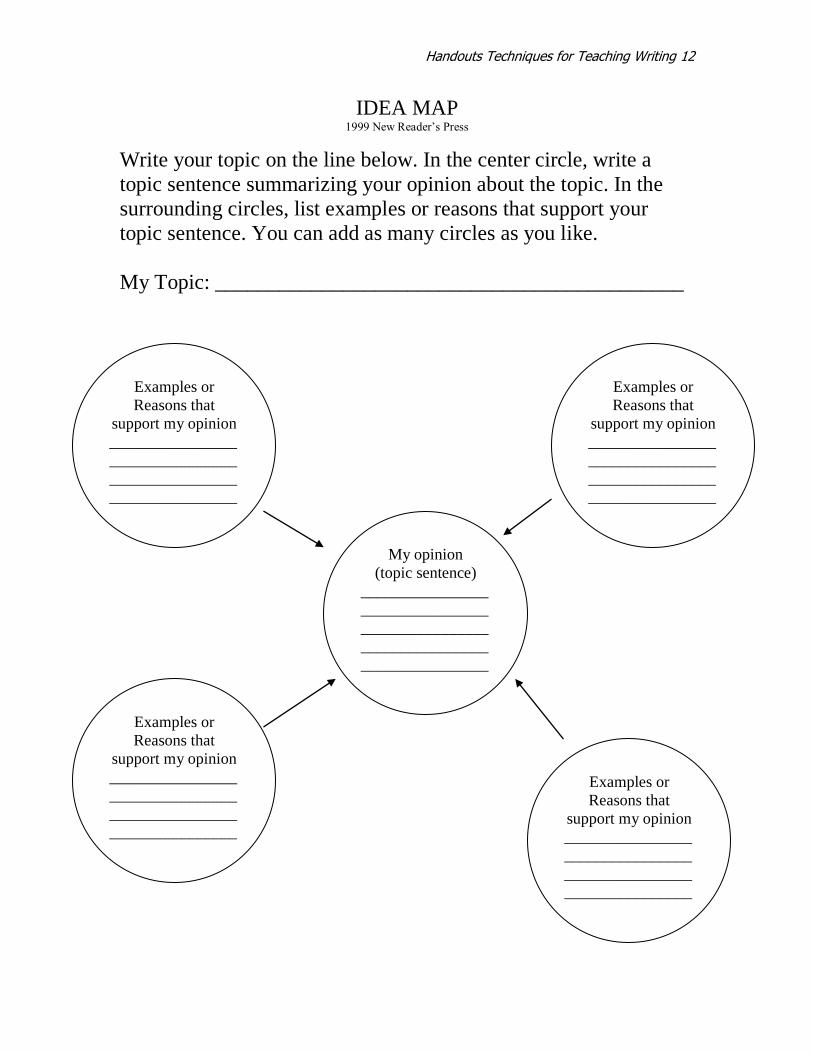
IDEA MAP 1999 New Reader’s Press
Write your topic on the line below. In the center circle, write a
topic sentence summarizing your opinion about the topic. In the
surrounding circles, list examples or reasons that support your
topic sentence. You can add as many circles as you like.
My Topic: ____________________________________________
Examples or
Reasons that
support my opinion
________________
________________
________________
________________
________________
_______________
Examples or
Reasons that
support my opinion
________________
________________
________________
________________
________________
_______________
Examples or
Reasons that
support my opinion
________________
________________
________________
________________
________________
_______________
Examples or
Reasons that
support my opinion
________________
________________
________________
________________
________________
_______________
My opinion
(topic sentence)
________________
________________
________________
________________
________________
_______________
Handouts Techniques for Teaching Writing 13
Questions to Guide Writing
To whom are you writing?
What is your reason for writing: to ask for
information, register a complaint, apply
for a job, etc.?
What feelings do you hope to elicit in
your readers?
How do you want to present yourself to
your readers, as a: friend, requester,
complainer, storyteller, etc.?
What tone do you want to use:
emotional, matter-of-fact, formal, etc.?
What types of words will best achieve
your purpose?
Handouts Techniques for Teaching Writing 14
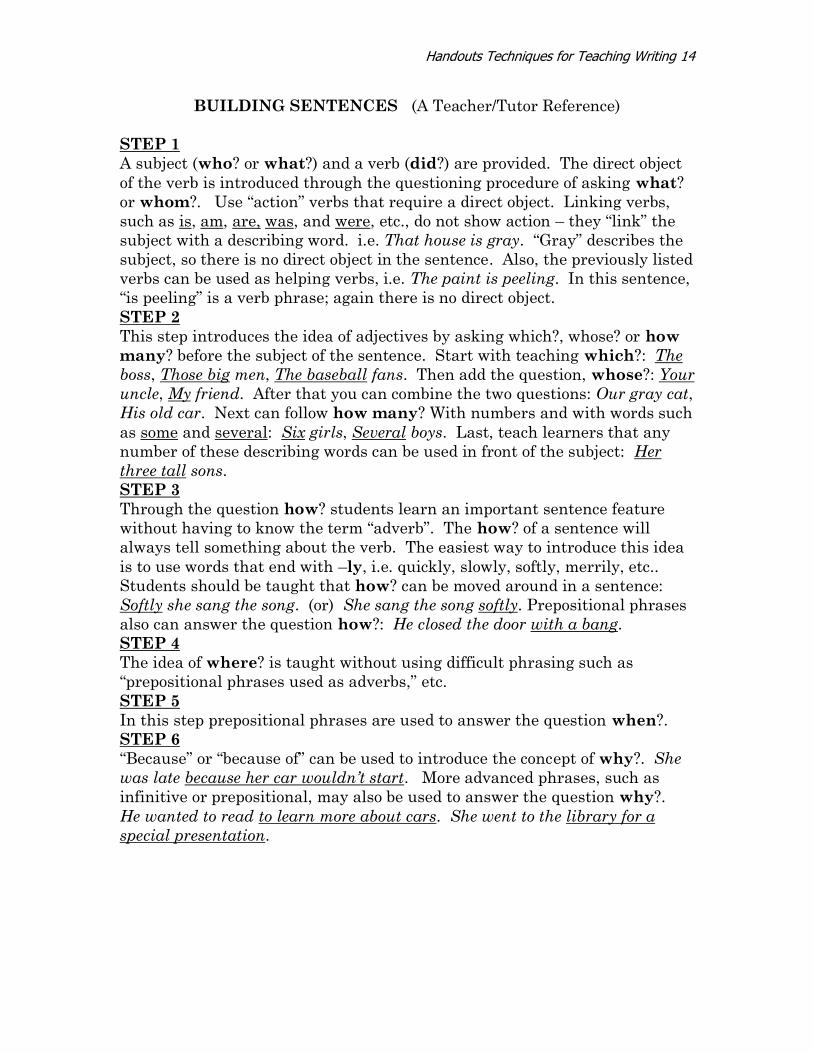
BUILDING SENTENCES (A Teacher/Tutor Reference)
STEP 1
A subject (who? or what?) and a verb (did?) are provided. The direct object
of the verb is introduced through the questioning procedure of asking what?
or whom?. Use “action” verbs that require a direct object. Linking verbs,
such as is, am, are, was, and were, etc., do not show action – they “link” the
subject with a describing word. i.e. That house is gray. “Gray” describes the
subject, so there is no direct object in the sentence. Also, the previously listed
verbs can be used as helping verbs, i.e. The paint is peeling. In this sentence,
“is peeling” is a verb phrase; again there is no direct object.
STEP 2
This step introduces the idea of adjectives by asking which?, whose? or how
many? before the subject of the sentence. Start with teaching which?: The
boss, Those big men, The baseball fans. Then add the question, whose?: Your
uncle, My friend. After that you can combine the two questions: Our gray cat,
His old car. Next can follow how many? With numbers and with words such
as some and several: Six girls, Several boys. Last, teach learners that any
number of these describing words can be used in front of the subject: Her
three tall sons.
STEP 3
Through the question how? students learn an important sentence feature
without having to know the term “adverb”. The how? of a sentence will
always tell something about the verb. The easiest way to introduce this idea
is to use words that end with –ly, i.e. quickly, slowly, softly, merrily, etc..
Students should be taught that how? can be moved around in a sentence:
Softly she sang the song. (or) She sang the song softly. Prepositional phrases
also can answer the question how?: He closed the door with a bang.
STEP 4
The idea of where? is taught without using difficult phrasing such as
“prepositional phrases used as adverbs,” etc.
STEP 5
In this step prepositional phrases are used to answer the question when?.
STEP 6
“Because” or “because of” can be used to introduce the concept of why?. She
was late because her car wouldn’t start. More advanced phrases, such as
infinitive or prepositional, may also be used to answer the question why?.
He wanted to read to learn more about cars. She went to the library for a
special presentation.
Handouts Techniques for Teaching Writing 15
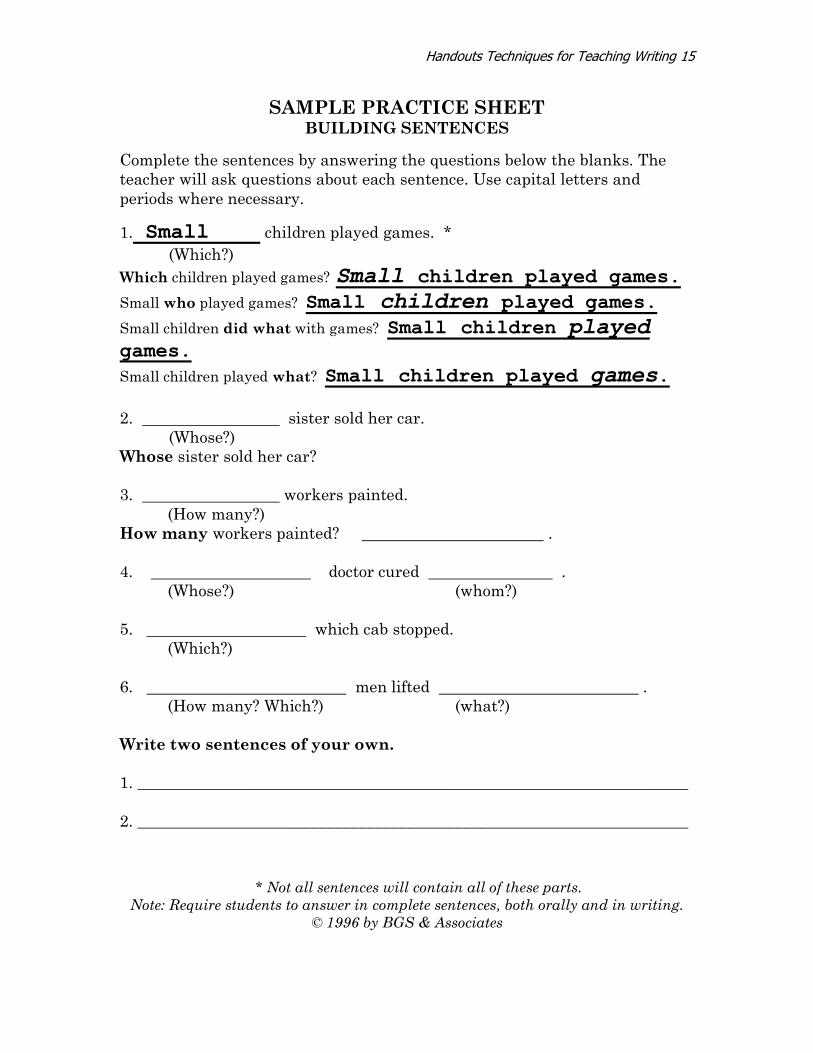
SAMPLE PRACTICE SHEET BUILDING SENTENCES
Complete the sentences by answering the questions below the blanks. The
teacher will ask questions about each sentence. Use capital letters and
periods where necessary.
1. Small children played games. *
(Which?)
Which children played games? Small children played games.
Small who played games? Small children played games.
Small children did what with games? Small children played games.
Small children played what? Small children played games.
2. sister sold her car.
(Whose?)
Whose sister sold her car?
3. workers painted.
(How many?)
How many workers painted? .
4. doctor cured .
(Whose?) (whom?)
5. which cab stopped.
(Which?)
6. men lifted .
(How many? Which?) (what?)
Write two sentences of your own.
1. _____________________________________________________________________
2. _____________________________________________________________________
* Not all sentences will contain all of these parts.
Note: Require students to answer in complete sentences, both orally and in writing.
© 1996 by BGS & Associates
Handouts Techniques for Teaching Writing 16
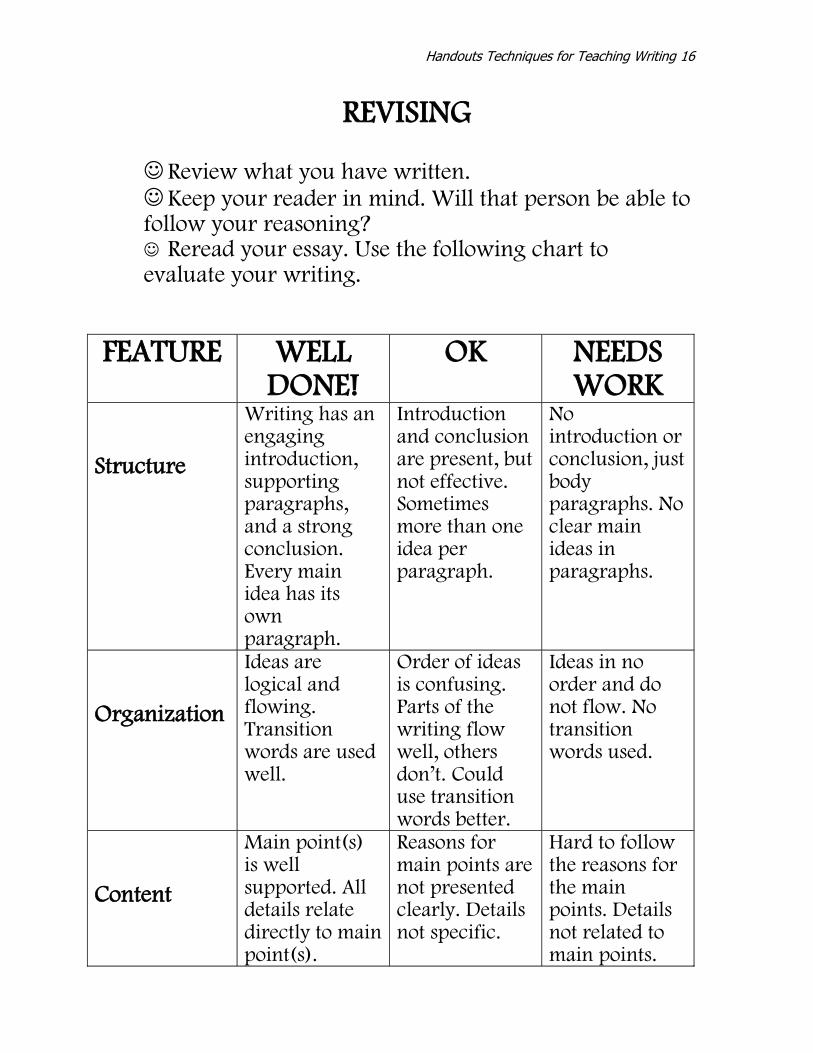
REVISING
Review what you have written. Keep your reader in mind. Will that person be able to follow your reasoning? Reread your essay. Use the following chart to evaluate your writing.
FEATURE WELL DONE!
OK NEEDS WORK
Structure
Writing has an engaging introduction, supporting paragraphs, and a strong conclusion. Every main idea has its own paragraph.
Introduction and conclusion are present, but not effective. Sometimes more than one idea per paragraph.
No introduction or conclusion, just body paragraphs. No clear main ideas in paragraphs.
Organization
Ideas are logical and flowing. Transition words are used well.
Order of ideas is confusing. Parts of the writing flow well, others don’t. Could use transition words better.
Ideas in no order and do not flow. No transition words used.
Content
Main point(s) is well supported. All details relate directly to main point(s).
Reasons for main points are not presented clearly. Details not specific.
Hard to follow the reasons for the main points. Details not related to main points.
Handouts Techniques for Teaching Writing 17
EDITING The act of editing may be a daunting task in itself to the new writer. Take the time to explain the process of editing and that it is possible for the writer to make changes to their work – it doesn’t have to be perfect from the start. Focus first on the generation and drafting of ideas, then move on to clarity (make sure the ideas make sense), and end with accuracy (in print). Take time with the process and only do what the new writer is comfortable with and ready to accept. Too many corrections early on may be enough to discourage the writer, so first concentrate on getting an idea across, regardless of the form and spelling. Once the writer has gained confidence in this area, you can move on to the next step in editing. (The amount of editing will also depend on the audience of the piece. Obviously, if it has a formal purpose, then the editing will need to be completed, but in a very positive manner.) Allow the writer to do as much of the editing as possible. Encourage them to read their work out loud, and then you can also read the piece out loud and ask them if they are happy with how it sounds or if they feel it is missing anything. If necessary, help them make changes so that they are comfortable with the writing. You can also ask if they think there are any words that are spelled incorrectly. If so, support them in making corrections by teaching them how to use the dictionary and/or spell check. By allowing your student to self-correct, you will be able to monitor what amount of editing they are ready for. Take each step at a time and don’t rush it. As with all tutoring, individualize your style for your learner and let them take the lead.
Handouts Techniques for Teaching Writing 18
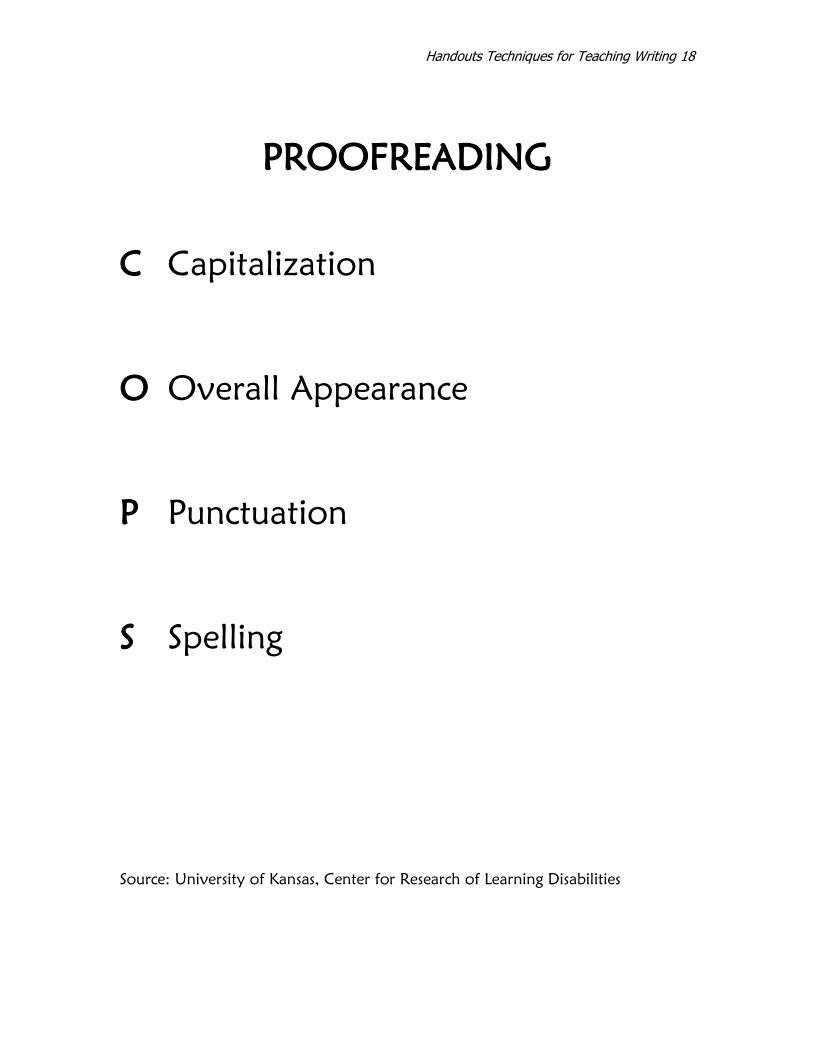
PROOFREADING
C Capitalization
O Overall Appearance
P Punctuation
S Spelling
Source: University of Kansas, Center for Research of Learning Disabilities
Handouts Techniques for Teaching Writing 19
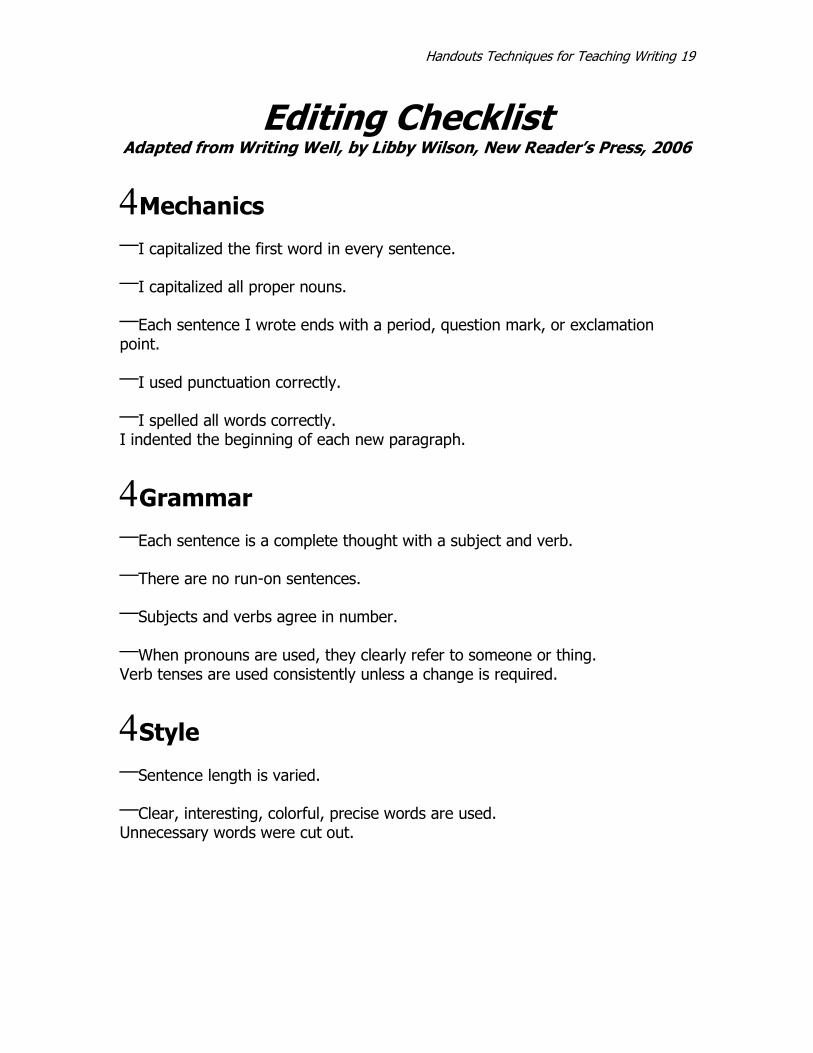
Editing Checklist Adapted from Writing Well, by Libby Wilson, New Reader’s Press, 2006
Mechanics
–I capitalized the first word in every sentence.
–I capitalized all proper nouns.
–Each sentence I wrote ends with a period, question mark, or exclamation point.
–I used punctuation correctly.
–I spelled all words correctly. I indented the beginning of each new paragraph.
Grammar
–Each sentence is a complete thought with a subject and verb.
–There are no run-on sentences.
–Subjects and verbs agree in number.
–When pronouns are used, they clearly refer to someone or thing. Verb tenses are used consistently unless a change is required.
Style
–Sentence length is varied.
–Clear, interesting, colorful, precise words are used. Unnecessary words were cut out.
Handouts Techniques for Teaching Writing 20
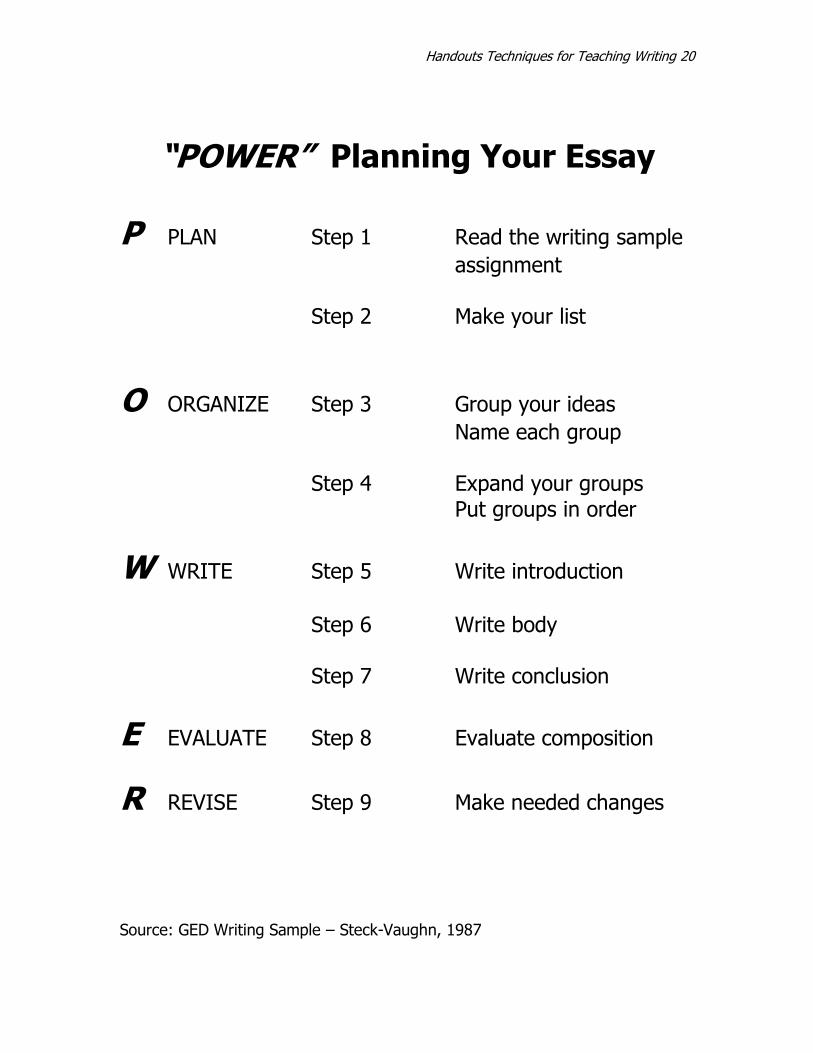
“POWER” Planning Your Essay P PLAN Step 1 Read the writing sample
assignment Step 2 Make your list
O ORGANIZE Step 3 Group your ideas
Name each group Step 4 Expand your groups Put groups in order
W WRITE Step 5 Write introduction
Step 6 Write body Step 7 Write conclusion
E EVALUATE Step 8 Evaluate composition
R REVISE Step 9 Make needed changes
Source: GED Writing Sample – Steck-Vaughn, 1987

Handouts Techniques for Teaching Writing 21
Real Life Applications for Writing
Reasons for which adult learners may
be motivated to write:
writing checks, paying bills
making a grocery list
writing a telephone message
leaving a note to someone
writing a letter
filling out an application
completing a form
requesting information
sharing thoughts
making self feel better
Techniques for applying writing:
write a journal
create a written dialogue
language experience stories
write an advertisement
do an advice column
create a bedtime story
give directions
write down a dream
create a humorous exaggeration
predict a weather forecast
free writing
paraphrasing
Handouts Techniques for Teaching Writing 22
Writing Anxiety
You will find that, similar to math, many learners will experience varying
stages of anxiety in relation to writing. One of your challenges as a tutor
will be to help alleviate this anxiety. (Another challenge may be to find
and address the strengths in your learners writing before the weaknesses.)
Keep in mind that anxiety about writing is not necessarily all negative. A
certain amount of anxiety may indicate that your learner is concerned
about doing well and this may provide some motivation for their
performance. Of course, too much anxiety will inhibit performance, and
this is where the tutor needs to step in.
Often anxiety may be caused by the learner not fully understanding
the assignment. Be sure to take the time to answer any questions that
there may be regarding what you are asking your learner to do.
Similarly, if a student is unsure of the guidelines or the criteria
required in association with the assignment, they will likely experience
anxiety about their writing.
Be sure to emphasize to your learner that their writing does not
need to be perfect, correct, or neat. Remind them that their main goal in
writing is to communicate an idea and as long as they do that
successfully, then they have reached their goal.
Encourage your writer to focus on the message that he is trying to
get across, not the spelling and the overall correctness of the writing.
Let the learner know that writing is a challenge for everyone, even
those who are fluent, and that the writing process has many stages and is
time consuming. Knowing this fact alone will help your learner reduce any
stress they may feel about writing.
DO NOT use a red pen to make corrections. Not only may this bring
back bad memories, but it won’t be the most effective way for the writer
to learn. Instead, encourage the learner to self-correct. Ask the student
to identify which words he thinks are not spelled correctly. This can be an
amazingly accurate method of correction. Also, teach the learner to use
a dictionary and spell check, if applicable.
Find praise in even the most basic attempts at writing. Examples
may be:
he can write some letters
he uses capital and lower case letters
he uses letters that are uniform in shape and height
he writes from left to right
he is willing to try writing
Most importantly, listen to your learner and provide them with encouragement
and support!!
Handouts Techniques for Teaching Writing 23
Creating a Language Experience Story
Purpose To link the learner’s experience and speaking ability to the written word when the learner has little or no writing ability. How
Discuss
1. Ask the learner to share an experience.
Dictate
2. Print exactly what the learner says.
Use correct spelling and punctuation, but do not change any words. Leave a blank line between each printed line in case you must make changes. For beginning readers, you don’t need to write the whole story; three to five sentences is enough.
3. Ask the learner to suggest a title for the story.
Verify
4. Read the story back to the learner and ask for any corrections or changes.
Read
5. Read each sentence aloud, tracking the words with your finger.
6. Ask the learner to read each sentence after you.
7. Ask the learner to read the entire story. File the story
8. Review the story at the next session. Type it, if possible, and make one copy for you and one for the learner. Place your copy in a binder or folder as part of a permanent collection of the learner’s writing.
Handouts Techniques for Teaching Writing 24
Language Experience: Ideas for Inspiration
Picture Story Books: Using a picture storybook, have the learner predict what happens
next in the story. Have the learner describe details in the pictures, write a dialog for the
pictures, or write a text for the story.
Picture and Story Compositions: Supply learners with a large selection of pictures and
photographs cut from magazines. Allow learners to select pictures for which they will
write a text. Or learners may write captions for pictures or photographs, a story on why
they selected the pictures they did, or tell a story about an object or person in a picture or
photograph.
Cultural Stories: Have learners select a person to interview and write the interview into
stories.
Other real-life materials for developing writers and readers:
Ads
Allegories
Announcements
Autobiographies
Awards
Bedtime stories
Billboards
Biographies
Book jackets
Book reviews
Brochures
Bulletins
Bumper stickers
Campaign speeches
Captions
Cartoons
Certificates
Comic strips
Contracts
Conversations
Critiques
Definitions
Directions
Directories
Dramas
Editorials
Epitaphs
Encyclopedia entries
Essays
Fables
Game rules
Graffiti
Grocery lists
Headlines
Interviews
Job applications
Journals
Letters
Lists
Lyrics
Magazines
Menus
Mysteries
Myths
Newscasts
Newspapers
Obituaries
Pamphlets
Parodies
Plays
Poems
Posters
Propaganda
Product descriptions
Puppet shows
Puzzles
Questionnaires
Questions
Quiz games
Quotations
Real estate notices
Recipes
Remedies
Reports
Requests
Resumes
Reviews
Sales pitches
Schedules
Self descriptions
Sequels
Serialized stories
Slogans
Speeches
TV commercials
Telegrams
Travel folders
Tributes
Vignettes
Want ads
Wills
Handouts Techniques for Teaching Writing 25
Three-line Stories Can Build Students’
Writing Confidence
From Better Teaching Elementary Edition Newsletter, www.teacher-institute.com
Source: Susan M. Glazer, “Story Prompts,” Teaching K-8, February 2004, www.TeachingK-
8.com
Some students are so anxious about writing, they can’t even begin. To help
them start producing text, give them two things: A structured framework and
gentle verbal prompts.
For the framework, tell students to write a story in three lines. The first line
identifies the main character and setting. The second tells of a problem. The
third gives a solution.
A student’s story might read:
1. A mouse (character) was in the house (setting).
2. The mouse was being chased by a cat (problem).
3. The mouse escaped through a hole (solution).
The three-line structure puts students in control of their writing and helps
build their confidence. Have them write three-line stories whenever time
permits.
Now use conversation prompts to help expand the text. Have a student read
the story to you. As appropriate, interject words like “and”, “so,” “but,” or
“because.” When the student reads “A mouse was in the house,” prompt
with “because... .” Ask, “How do you know that?” or “Why?” Have the
students add the response to the story.
With a little practice, it won’t take long for students to start thinking of the
prompts on their own as they write.
Visit “The WRITE! Place” at www.cawrite.com.
Handouts Techniques for Teaching Writing 26
Create Interesting, Imaginative Assignments
Adapted from Better Teaching Elementary Edition Newsletter, www.teacher-institute.com
Source: Ronald L. Partin, “Homework That Helps,” http://ronpartin.com/pdf_files/homework.pdf.
Students are more motivated to complete assignments that can be classified
as “fun with a purpose.”
The assignments are not only fun and interesting; they clearly reinforce
concepts and skills being taught.
To create such assignments, use more imagination. Also think of what would
require students to use more of theirs.
Here are assignments other teacher have found successful. Have students:
Interview people about their jobs or hobbies.
Design an ideal vehicle, home, school, or government.
Write a new myth.
Trace their family tree.
Interview {someone] about a historical event they lived through.
Write a how-to handbook for consumers.
Invent a game to teach to the rest of the class.
Plan a trip, including itinerary and expenses.
Plan a balanced menu for a week.
Create a detailed map of their neighborhood.
Update a fairy tale to modern times.
Collect and identify rocks, leaves, or wood [and write the descriptions].
Conduct an experiment [and document the steps and outcomes].
Create a bulletin board display on a topic they research.
Handouts Techniques for Teaching Writing 27
RESOURCES FOR TUTORS
Tutors of Literacy in the Commonwealth
http://tutorsofliteracy.blogspot.org
The Writing Center, Capella University
http://www.capella.edu/writingcenter/index.aspx
Writing Lessons
http://home.cogeco.ca/~rayser3/writing.htm
Arizona Association for Lifelong Learning
http://az-aall.org/template/azlessons.asp
ProLiteracy Education Network
http://www.proliteracyednet.org/pages.asp?pid=3
Media Library of Teaching Skills for adult
learning and literacy
http://mlots.org/
Handouts Techniques for Teaching Writing 28
Reading and Writing
http://www.lacnyc.org/resources/adult/printresources.htm
Reading Process and Practice (Third Edition), Constance Weaver, Heinemann, 2002.
Print Literacy Development: Uniting Cognitive and Social Practice Theories, Victoria Purcell-Gates,
Erik Jacobson, Sophie Degener, Harvard, 2004.
Applying Research In Reading Instruction for Adults: First Steps for Teachers, Susan McShane,
National Institute for Literacy/The Partnership for Reading, 2005.
Teaching Reading to Adults: A Balanced Approach, Pat Campbell, Grass Roots Press, 2003.
Reading for Understanding, Ruth Schoenbach (Ed.), Cynthia Greenleaf, Christine Cziko, and Lori
Hurwitz, Jossey-Bass, 1999.
Mosaic of Thought: Teaching Comprehension in a Reader’s Workshop, Ellin Oliver Keene and Susan
Zimmermann, Heinemann, 1997.
Strategic Reading: Guiding Students to Lifelong Literacy, 6-12, Jeffrey D. Wilhelm, Tanya Baker, and
Julie Dube, Heinemann, 2001.
You Gotta Be the Book: Teaching Engaged and Reflective Reading With Adolescents, Jeffrey D.
Wilhelm and Michael W. Smith, Teachers College Press, 1996.
Guiding Readers and Writers, Grades 3-6: Teaching Comprehension, Genre, and Content Literacy,
Irene Fountas and Gay Su Pinnell, Heinemann, 2001.
The Art of Teaching Reading, Lucy Calkins, Longman, 2000.
The Art of Teaching Writing (Second Edition), Lucy Calkins, Heinemann, 2000.
A Fresh Look at Writing, Donald Graves, Heinemann, 1994.
In the Middle: Writing, Reading, and Learning with Adolescents (Second Edition), Nancie Atwell,
Boynton/Cook, 2000.
Discovery and Respect: A Handbook for Student-directed Group Learning, Mallory Clarke, Goodwill
Literacy Adult Learning Center, Seattle, 1991. (Copies available from LAC.)
Whole Language for Adults: A Guide to Instruction, Judy Cheatham, Mallory Clarke, Denise McKay,
Melody Schneider, and Mary Dunn Siedow, New Readers Press, 1994.
Whole Language for Adults: A Guide to Portfolio Assessment, Jane McKillop, New Readers Press,
1994.
Litstart: Strategies for Adult Literacy and ESL Tutors, Michigan Literacy Inc., 1999

Handouts Techniques for Teaching Writing 29