techniques and methods of preparation of root canals mddr. radovan Žižka
TRANSCRIPT
TECHNIQUES AND METHODS OF
PREPARATION OF ROOT CANALS
MDDr. Radovan Žižka
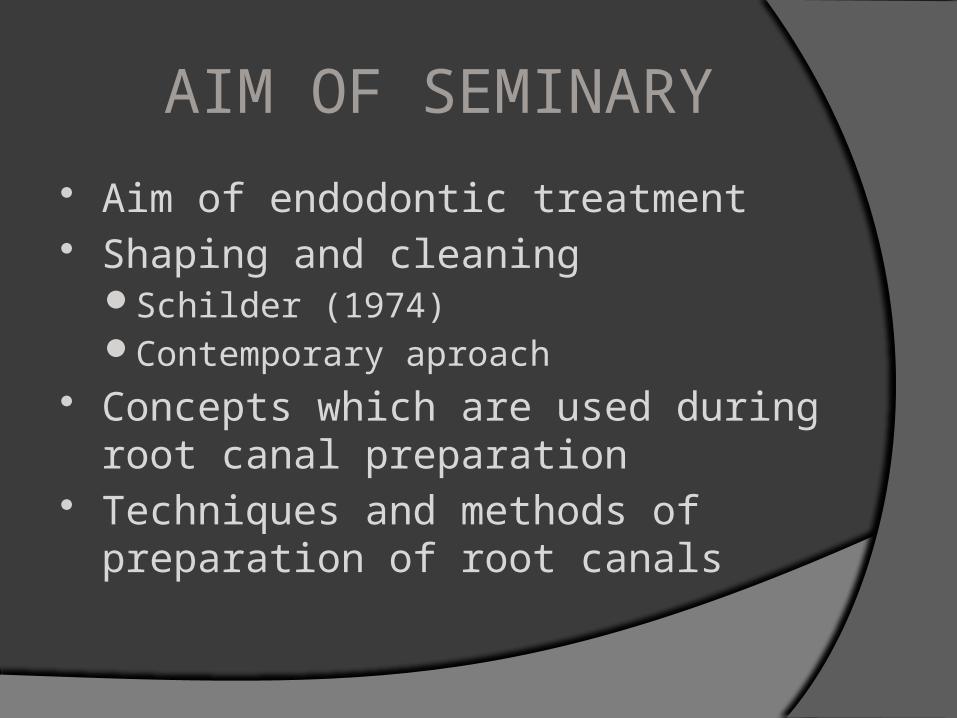
AIM OF SEMINARY
Aim of endodontic treatment Shaping and cleaning
Schilder (1974)Contemporary aproach
Concepts which are used during root canal preparation
Techniques and methods of preparation of root canals

AIM OF ENDODONTIC TREATMENT
Aim of endodontic treatment is desinfiction of root canal, which is followed by hermetic obturation
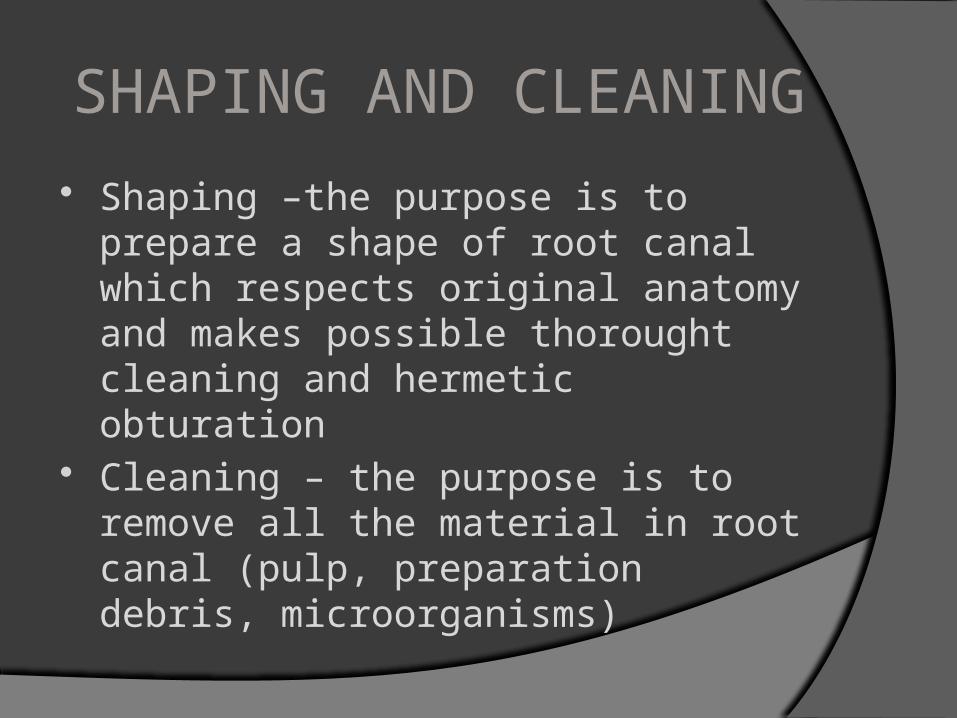
SHAPING AND CLEANING
Shaping –the purpose is to prepare a shape of root canal which respects original anatomy and makes possible thorought cleaning and hermetic obturation
Cleaning – the purpose is to remove all the material in root canal (pulp, preparation debris, microorganisms)
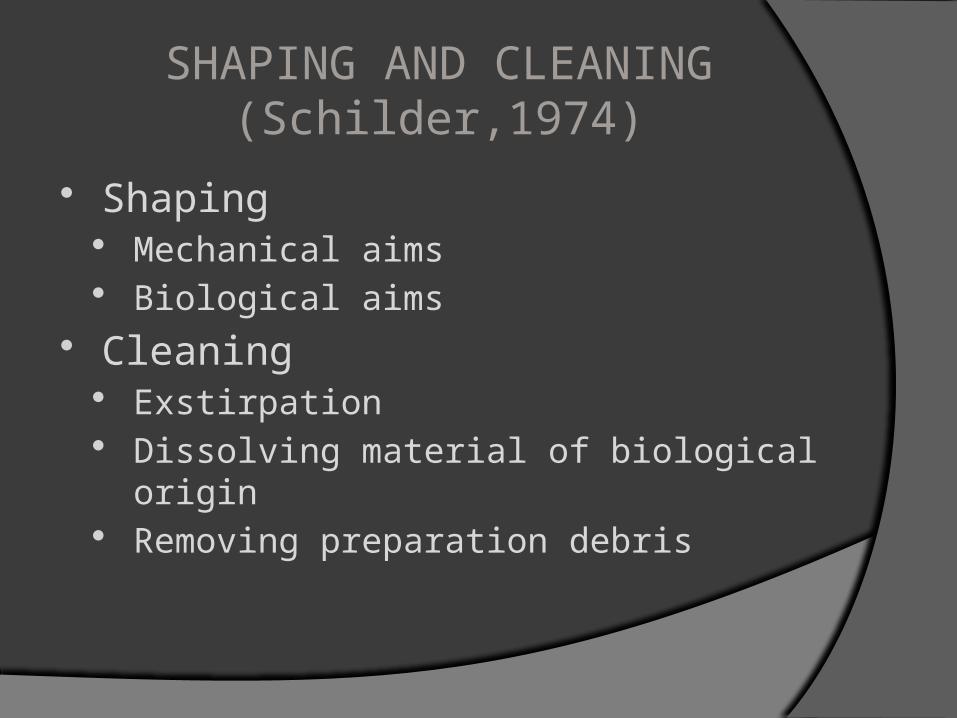
SHAPING AND CLEANING(Schilder,1974)
Shaping Mechanical aims Biological aims
Cleaning Exstirpation Dissolving material of biological origin Removing preparation debris
SHAPING AND CLEANING(contemporary aproach)
Kompletní přístup Direct view on the whole pulp chamber floor
and its morphology (root canal orifices) Straight line access
Continuously narrowing preparation Allows irrigation and removing of debris Allows hermetic obturation
SHAPING AND CLEANING(contemporary aproach)
Respecting original anatomy Shape of root canal preparation respects
and follow original anatomy
Protecting healthy teeth structures Increase resistance against fracture Decrease probability of perforation Apical preparation should be as small as it is
possible to procede adequate cleaning
CONCEPTS USED DURING PREPARATION
Straight line access (SLA) Coronal flaring Working lenght (WL) Apical width (AW) Patency Recapitulation Glidepath
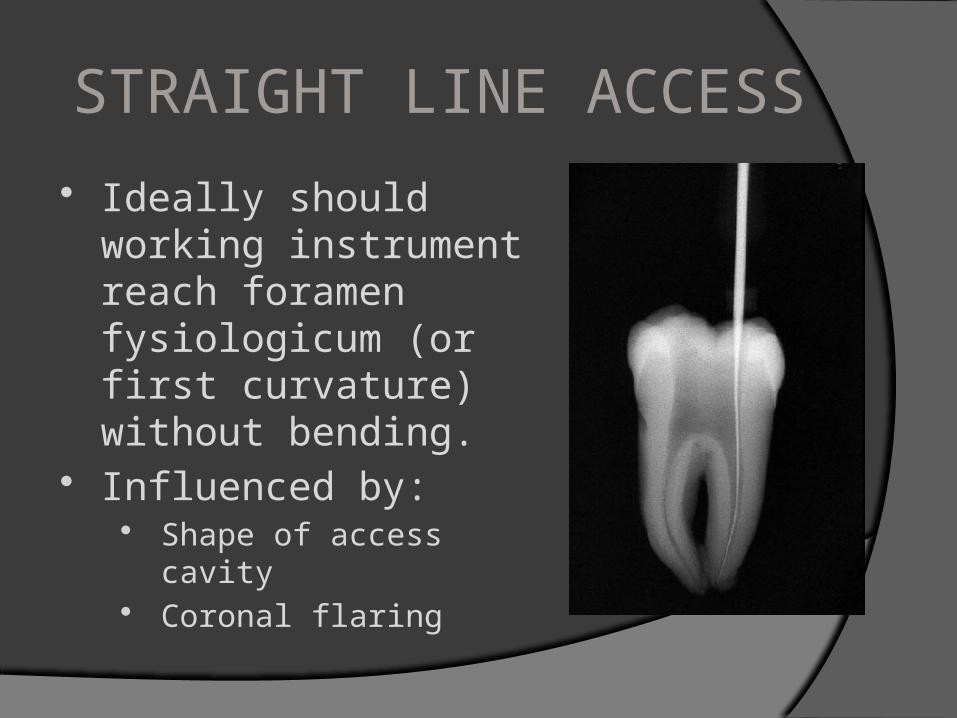
STRAIGHT LINE ACCESS
Ideally should working instrument reach foramen fysiologicum (or first curvature) without bending.
Influenced by: Shape of access cavity Coronal flaring
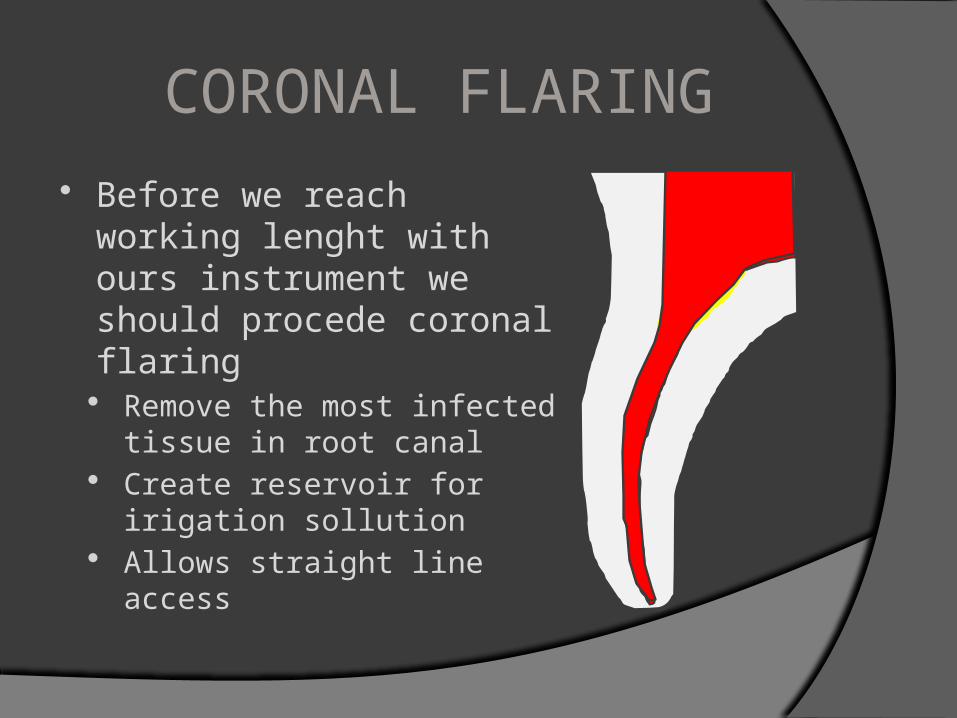
CORONAL FLARING
Before we reach working lenght with ours instrument we should procede coronal flaring Remove the most infected
tissue in root canal Create reservoir for
irigation sollution Allows straight line access
CORONAL FLARING
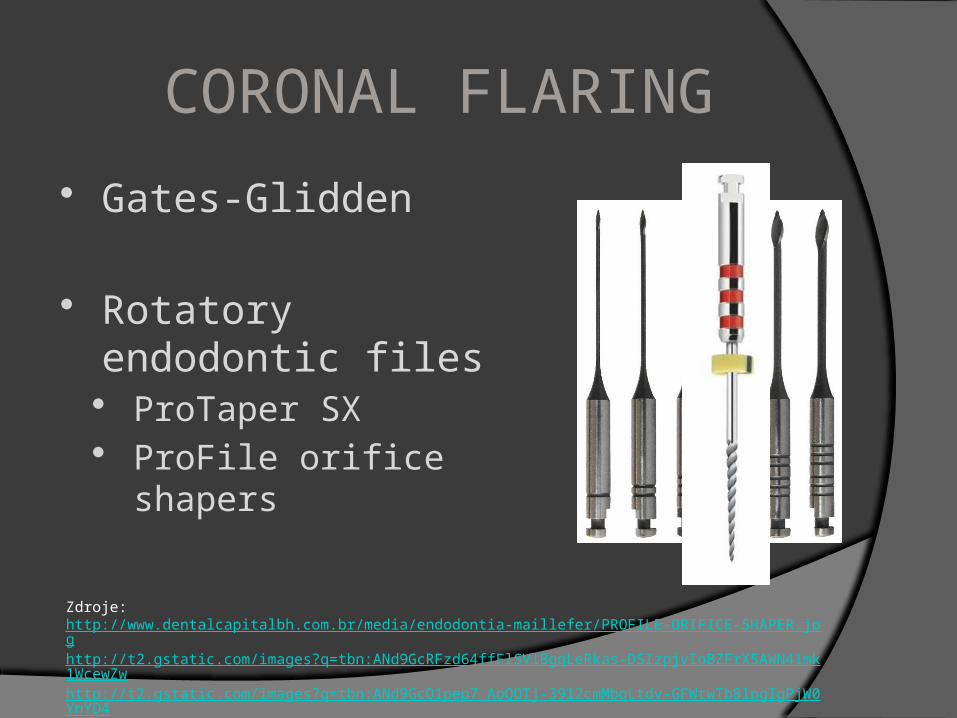
Gates-Glidden
Rotatory endodontic files ProTaper SX ProFile orifice shapers
Zdroje:http://www.dentalcapitalbh.com.br/media/endodontia-maillefer/PROFILE-ORIFICE-SHAPER.jpghttp://t2.gstatic.com/images?q=tbn:ANd9GcRFzd64ffFlSVlBgqLeRkas-DSIzpjvIoBZFrX5AWN41mk1WcewZwhttp://t2.gstatic.com/images?q=tbn:ANd9GcQ1pep7_AoQOTj-39l2cmMbqLtdv-GFWtwTb8lpgIgPjW0YnYD4
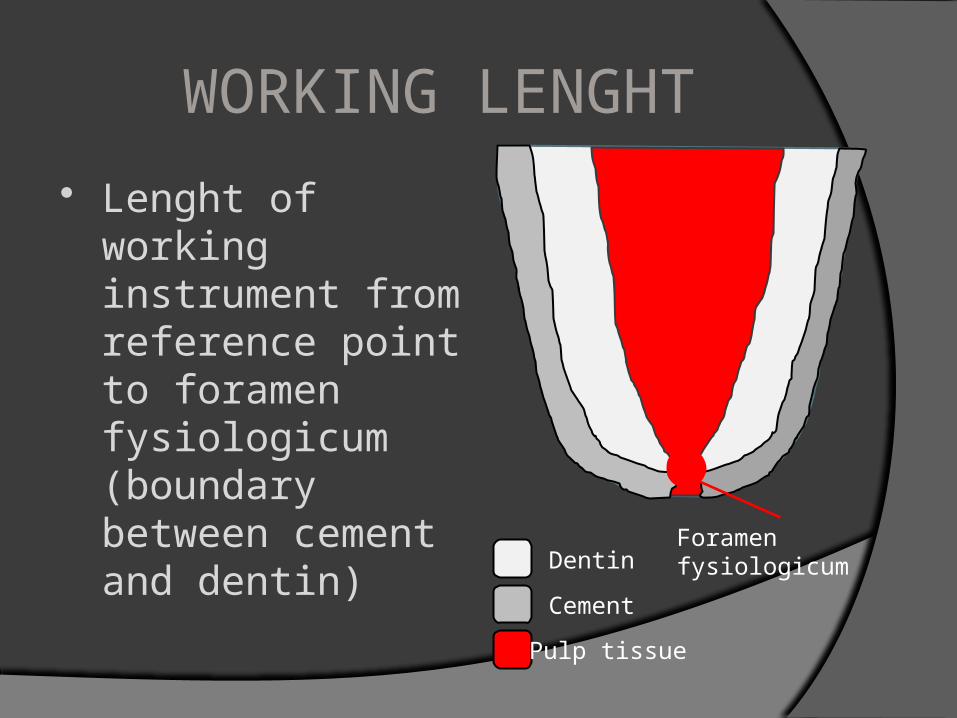
WORKING LENGHT
Lenght of working instrument from reference point to foramen fysiologicum (boundary between cement and dentin)
Dentin
Cement
Pulp tissue
Foramen fysiologicum
WORKING LENGHT
We can find it out Average values – very unprecise. Can be
used only as safe lenght Radiologically – unprecise. Fysiological
foramen is usually about 1-1,5 mm from anatomical apex
Electronically– electronic apex locator (EAL) are based on pricipal that resistance between oral mucosa and periodontal ligaments is constant
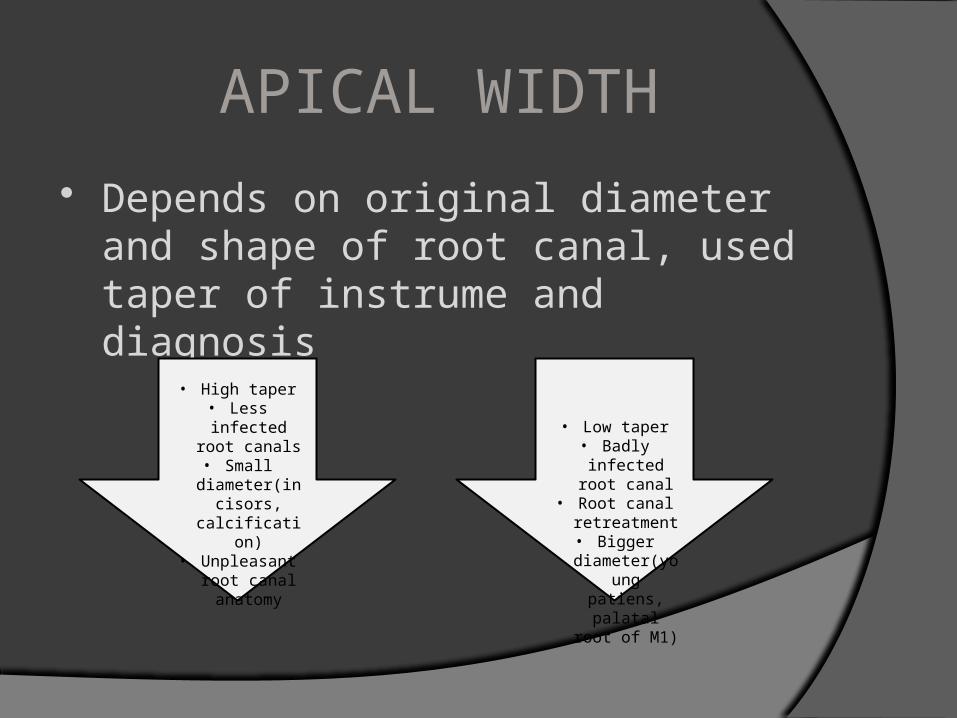
APICAL WIDTH
Depends on original diameter and shape of root canal, used taper of instrume and diagnosis
• High taper• Less infected
root canals• Small
diameter(incisors,
calcification)• Unpleasant
root canal anatomy
• Low taper• Badly infected
root canal• Root canal
retreatment• Bigger
diameter(young patiens,
palatal root of M1)
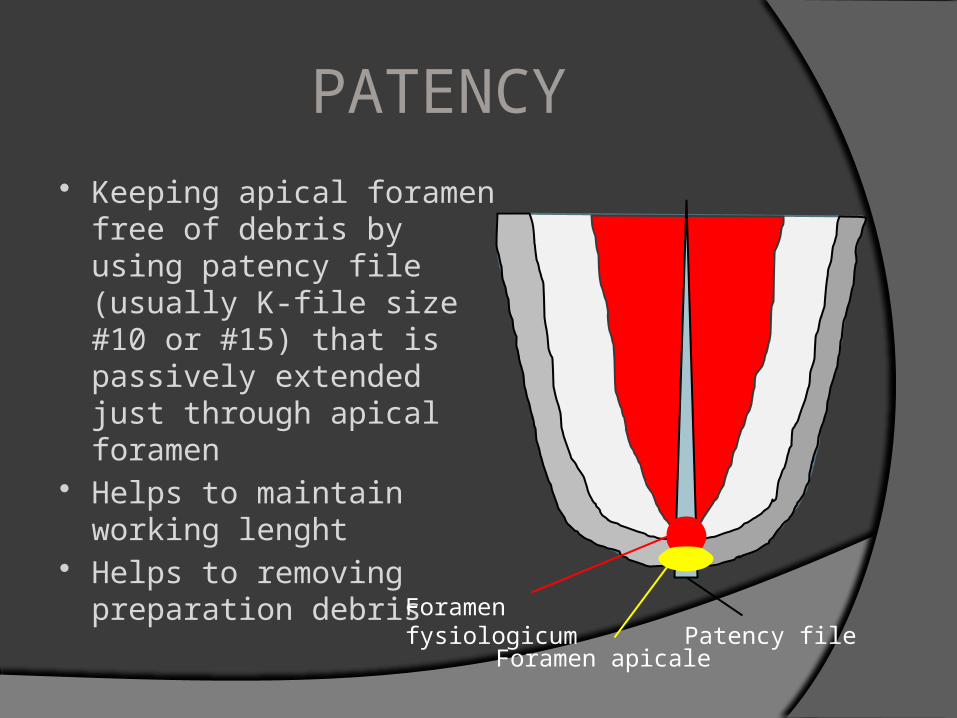
PATENCY Keeping apical foramen
free of debris by using patency file (usually K-file size #10 or #15) that is passively extended just through apical foramen
Helps to maintain working lenght
Helps to removing preparation debris
Foramen fysiologicum
Foramen apicalePatency file

RECAPITULATION Checking the working
lenght with the working instruments with a 1ISO smaller diameter than working instrument we have used before
Helps to maintain working lenght
Helps to remove preparation debris
GLIDEPATH
Using of (usually) stainless steel files before Ni-Ti rotarory files
Producing smooth reproducible glide path for rotatory instruments
Preparation at least to ISO 15(allows removing preparation debris)
Checking straight line access Valuable information abou root canal anatomy
TECHNIQUES AND METHODS OF ROOT CANAL PREPARATION
Technique – instrumentation with one file
Method – instrumentation sequence (can obtain more techniques)
We divide to hand, rotatory,hybrid (following are hand ones)
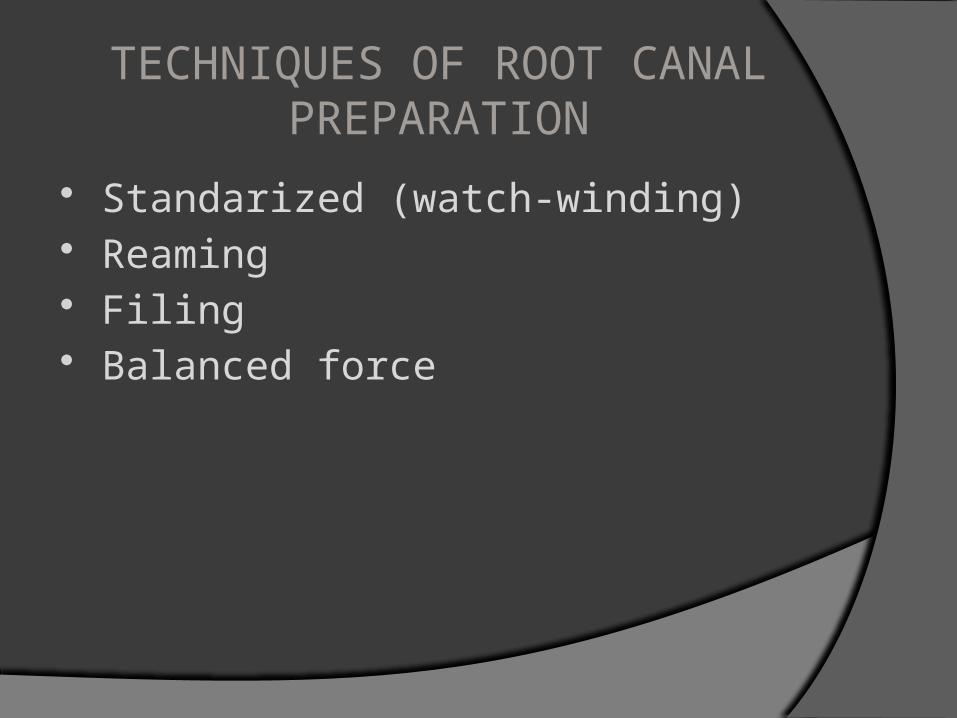
TECHNIQUES OF ROOT CANAL PREPARATION
Standarized (watch-winding) Reaming Filing Balanced force
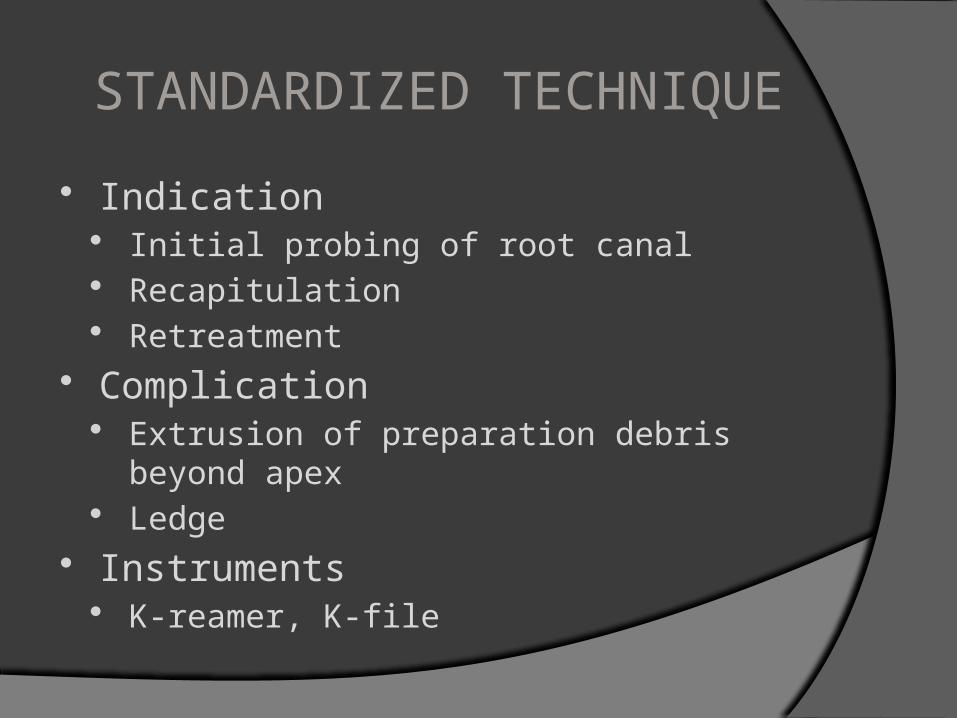
STANDARDIZED TECHNIQUE
Indication Initial probing of root canal Recapitulation Retreatment
Complication Extrusion of preparation debris beyond apex Ledge
Instruments K-reamer, K-file
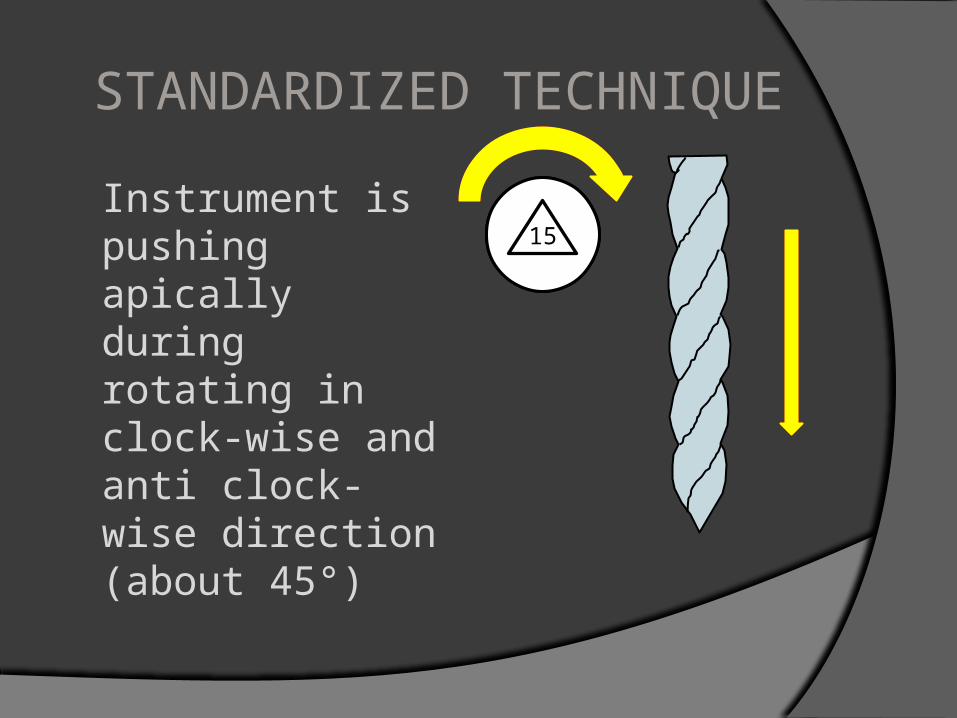
STANDARDIZED TECHNIQUE
Instrument is pushing apically during rotating in clock-wise and anti clock-wise direction (about 45°)
1515
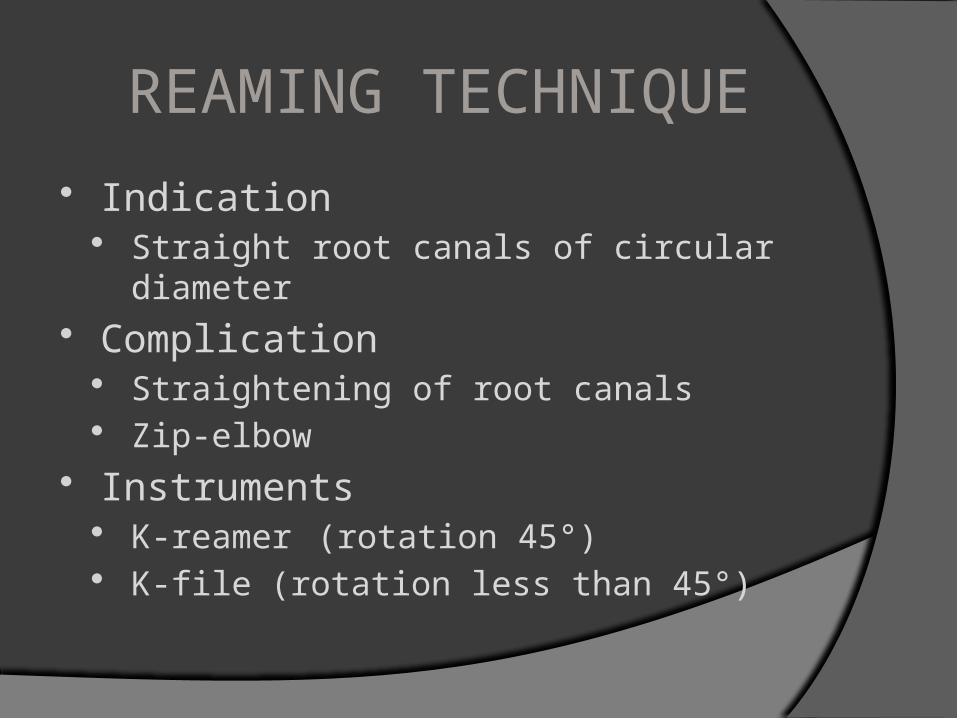
REAMING TECHNIQUE
Indication Straight root canals of circular diameter
Complication Straightening of root canals Zip-elbow
Instruments K-reamer (rotation 45°) K-file (rotation less than 45°)
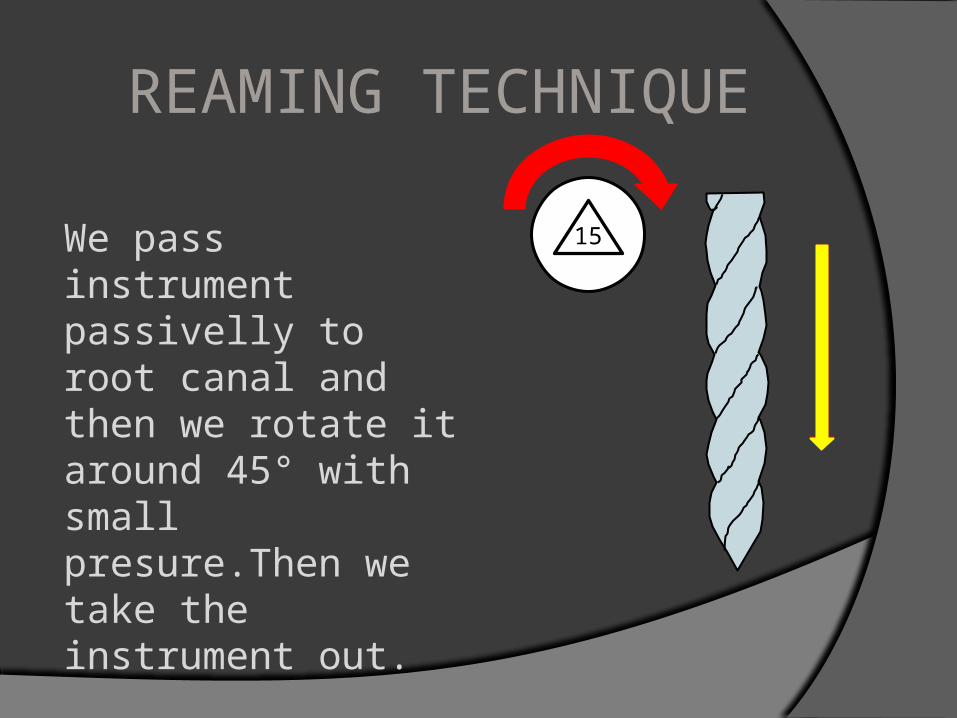
REAMING TECHNIQUE
We pass instrument passivelly to root canal and then we rotate it around 45° with small presure.Then we take the instrument out.
15

FILING TECHNIQUE
Indication Oval shape root canals Retreatment Smoothing the preparation
Complication Extruding debris through apex
Instrument H-file
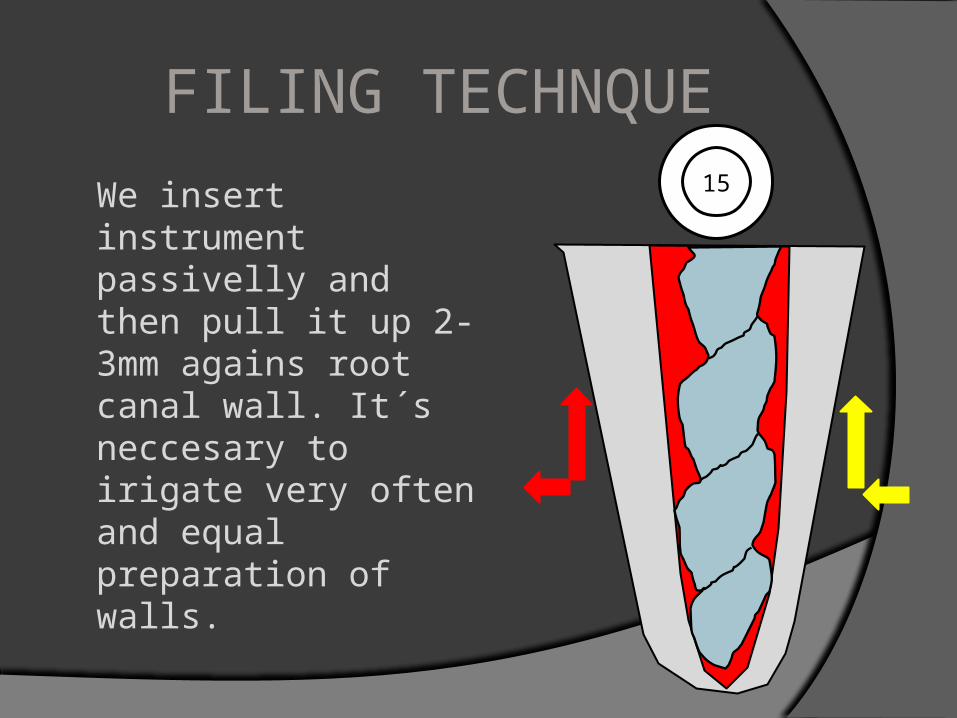
FILING TECHNQUE
We insert instrument passivelly and then pull it up 2-3mm agains root canal wall. It´s neccesary to irigate very often and equal preparation of walls.
15
BALANCED FORCE TECHNIQUE
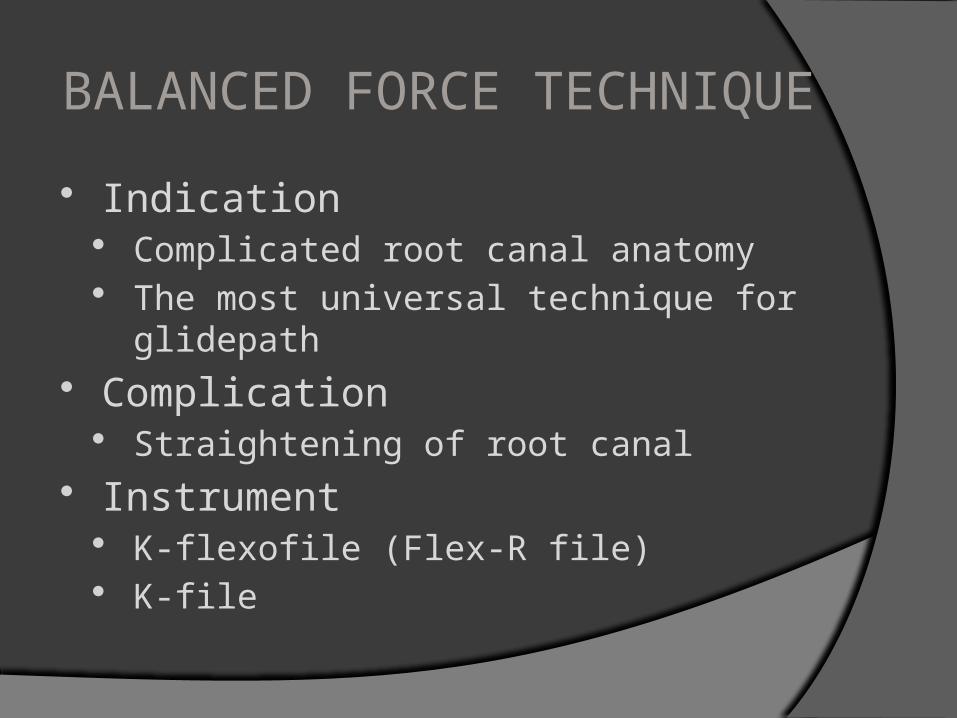
Indication Complicated root canal anatomy The most universal technique for glidepath
Complication Straightening of root canal
Instrument K-flexofile (Flex-R file) K-file
BALANCED FORCE TECHNIQUESTEP 1
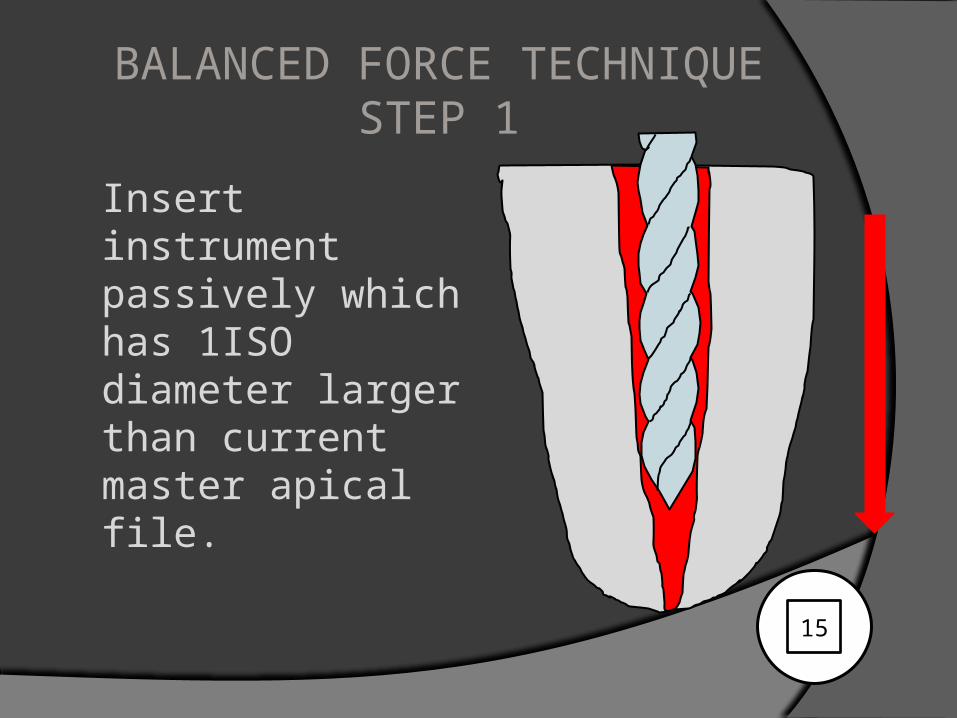
Insert instrument passively which has 1ISO diameter larger than current master apical file.
15

BALANCED FORCE TECHNIQUESTEP 2
With small pressure we rotate instrument around 90° in the clock-wise direction. Instrument will engage dentin of the root canal wall.
15
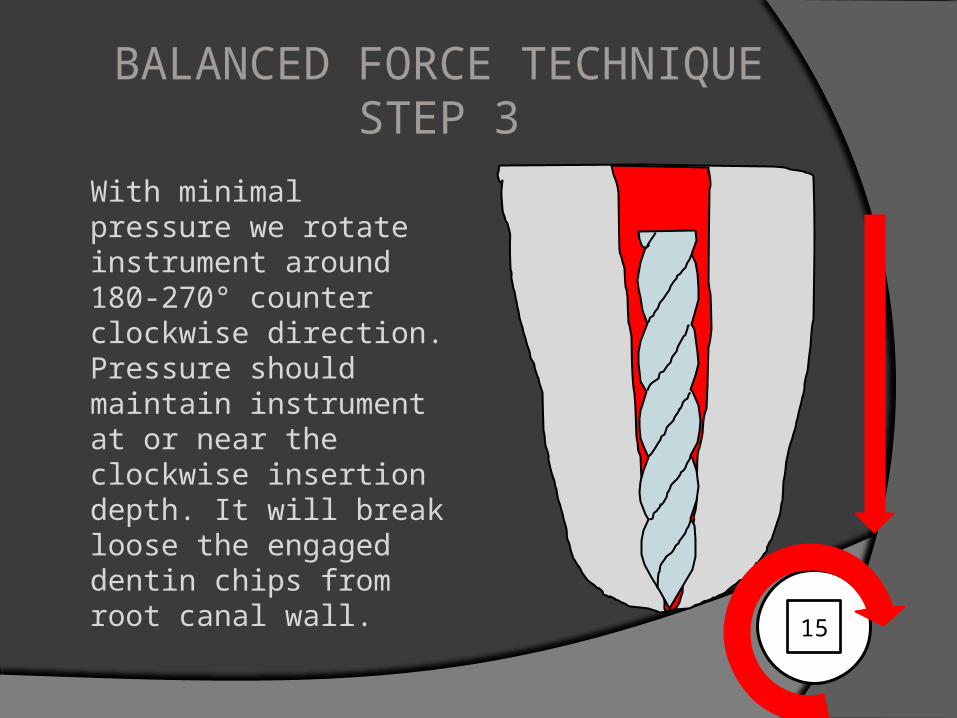
BALANCED FORCE TECHNIQUESTEP 3
With minimal pressure we rotate instrument around 180-270° counter clockwise direction. Pressure should maintain instrument at or near the clockwise insertion depth. It will break loose the engaged dentin chips from root canal wall.
15

BALANCED FORCE TECHNIQUESTEP 4
The file si then removed from root canal by a slow clockwise rotation around 360° that loads debris into the flutes and elevates is away.
15
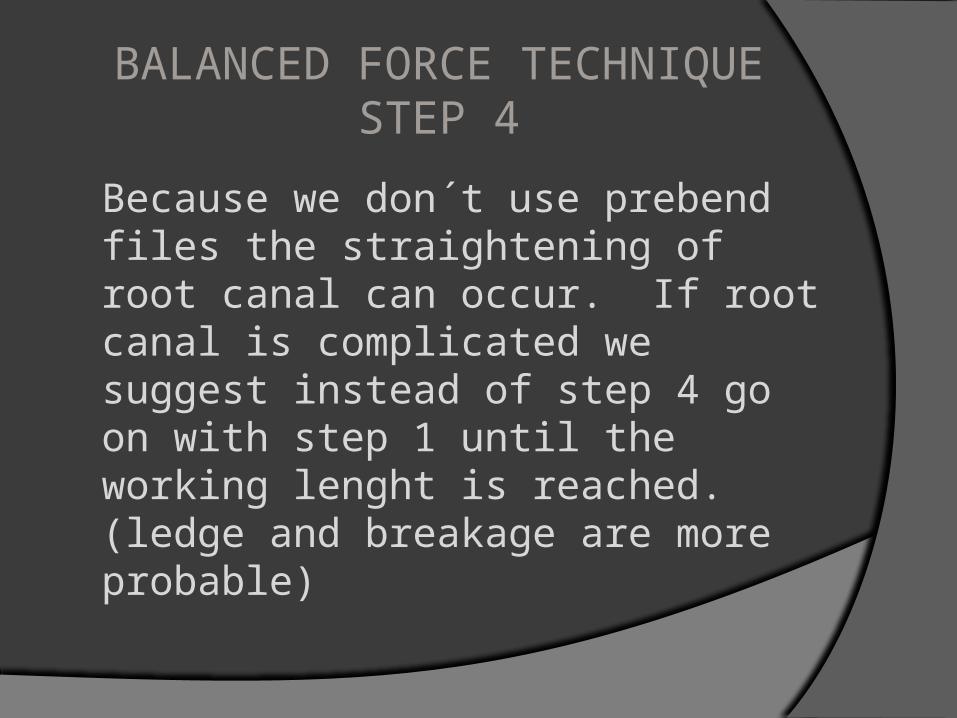
BALANCED FORCE TECHNIQUESTEP 4
Because we don´t use prebend files the straightening of root canal can occur. If root canal is complicated we suggest instead of step 4 go on with step 1 until the working lenght is reached. (ledge and breakage are more probable)

METHODS OF ROOT CANAL PREPARATION
Apicocoronal – we prepara from begging with complete working lenght or we shorten it.
Combined (reaming-filing) Step-back
Coronoapical – we prepare with shortened working lenght which is further prolonged.
Step-down Double flared Crowndown presureless
COMBINED METHOD
Indication Straight canals (oval) Recreation of apical stop after
overinstrumentation of apex Complication
Zip-elbow, perforation (in case of curvature in apical part of root canal)
Instruments Changing of K-file and H-file
COMBINED METHOD
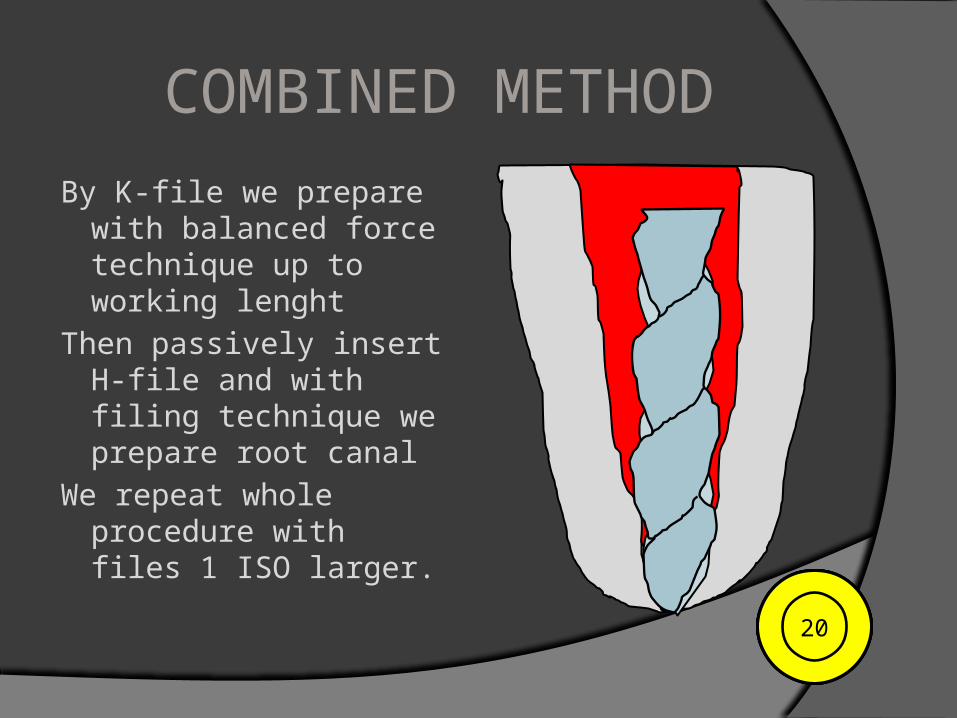
By K-file we prepare with balanced force technique up to working lenght
Then passively insert H-file and with filing technique we prepare root canal
We repeat whole procedure with files 1 ISO larger. 15152020

STEP-BACK METHOD
Indication Mediate to severe curved canals
Complication Reduction of their occurence Time demanding
Instruments In the past prebend H-file, these days are
prefered K-files
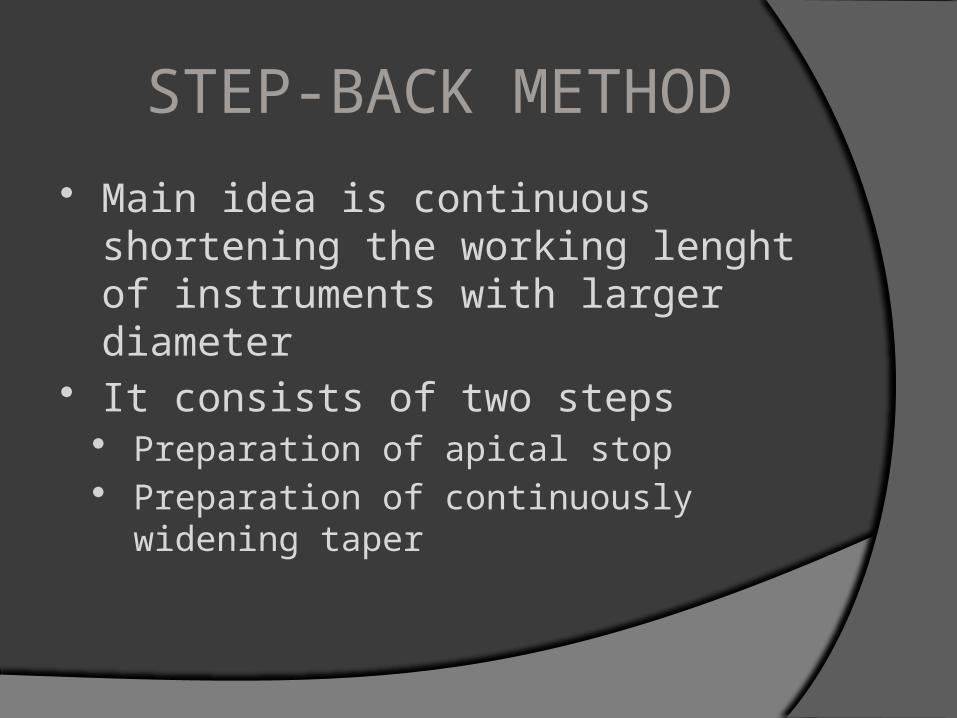
STEP-BACK METHOD
Main idea is continuous shortening the working lenght of instruments with larger diameter
It consists of two steps Preparation of apical stop Preparation of continuously widening taper
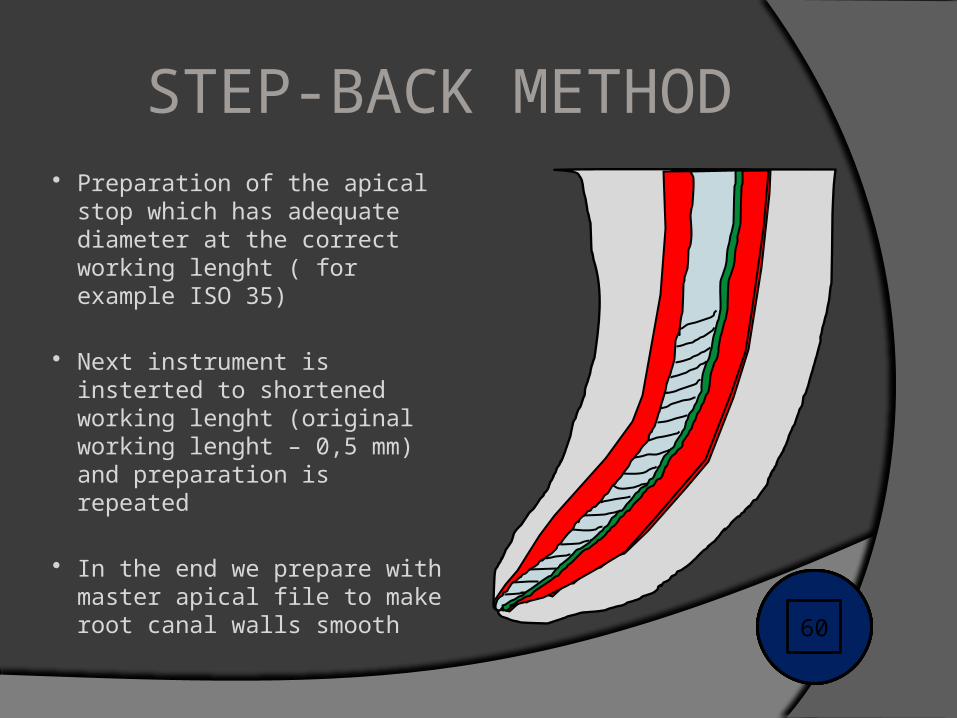
STEP-BACK METHOD Preparation of the apical stop
which has adequate diameter at the correct working lenght ( for example ISO 35)
Next instrument is insterted to shortened working lenght (original working lenght – 0,5 mm) and preparation is repeated
In the end we prepare with master apical file to make root canal walls smooth 354045505560
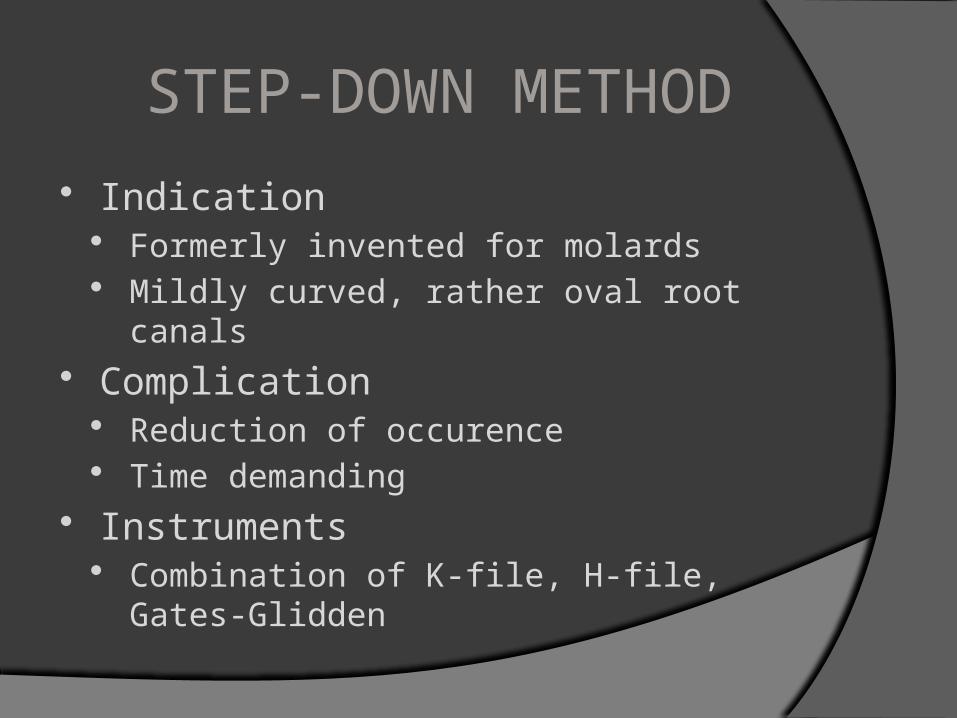
STEP-DOWN METHOD
Indication Formerly invented for molards Mildly curved, rather oval root canals
Complication Reduction of occurence Time demanding
Instruments Combination of K-file, H-file, Gates-Glidden
STEP-DOWN METHOD
Contains 3 steps Aim is to:
Determine working lenght which is constant Minimalize the possiblity of extrusion the
debris throught apex Precise recognition of apical width
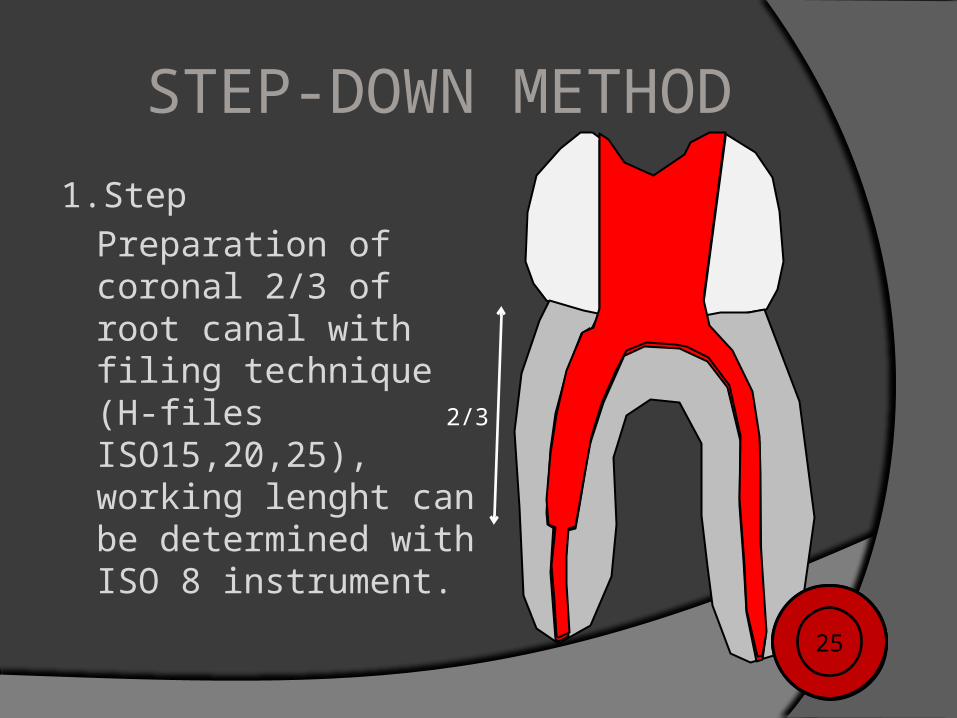
STEP-DOWN METHOD
1.Step
Preparation of coronal 2/3 of root canal with filing technique (H-files ISO15,20,25), working lenght can be determined with ISO 8 instrument.
2/3
152025

STEP-DOWN METHOD
2.Step
Coronal flaring with Gates-Glidden (1-4), or ProTaper/ProFile
2/3
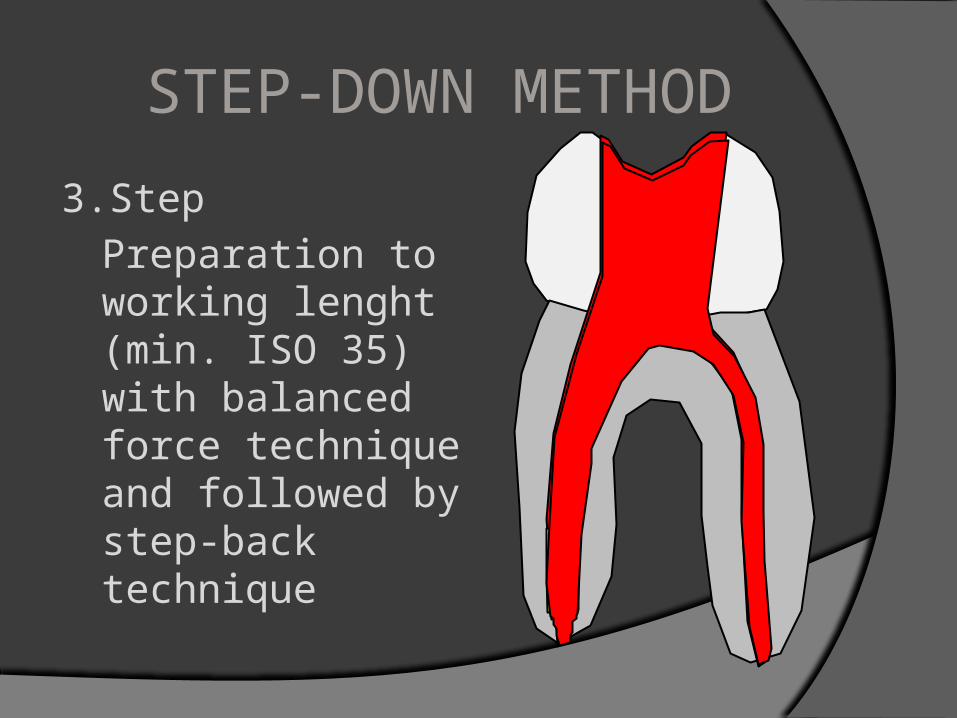
STEP-DOWN METHOD
3.Step
Preparation to working lenght (min. ISO 35) with balanced force technique and followed by step-back technique
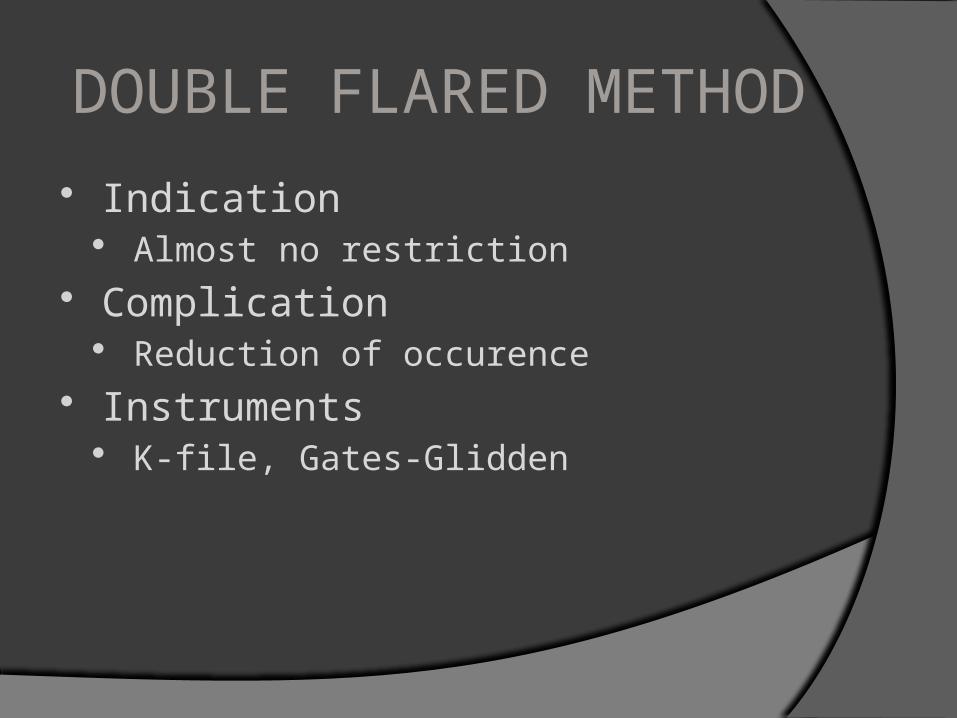
DOUBLE FLARED METHOD
Indication Almost no restriction
Complication Reduction of occurence
Instruments K-file, Gates-Glidden

DOUBLE FLARED METHOD
In fact it´s step-down method where the first step is missing. Thorought coronal flaring brings same advantages as with step-down method. In the same time is reduced possibility of extruding infection apically
Koronal flaring + step-back

DOUBLE FLARED METHOD
1.Step
Coronal flaring with Gates-Glidden (1-4), či ProTaper/ProFile
2/3
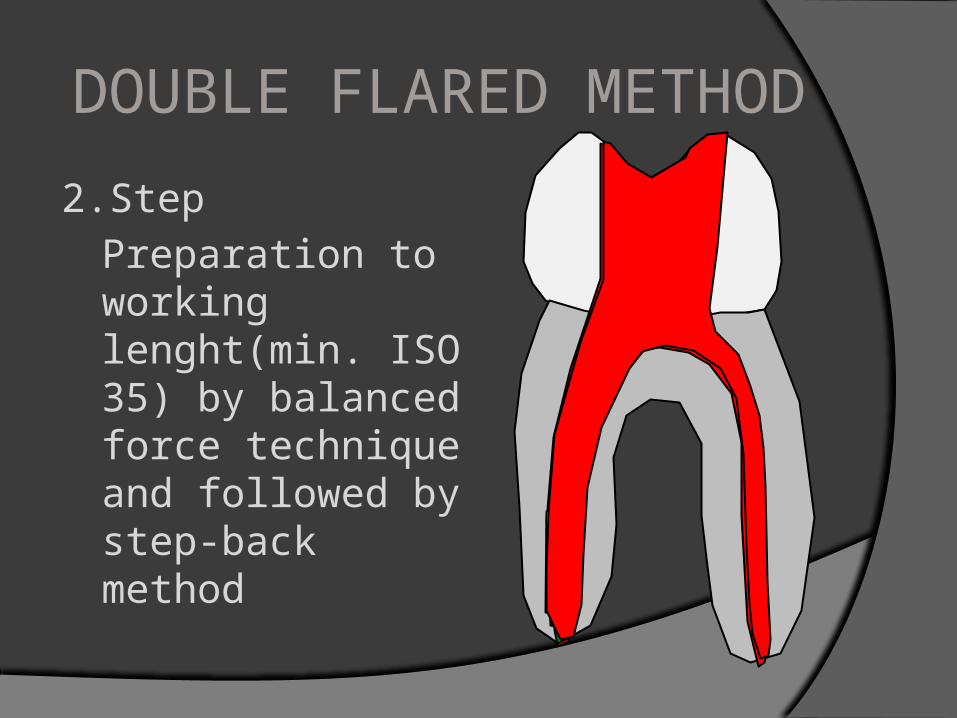
DOUBLE FLARED METHOD
2.Step
Preparation to working lenght(min. ISO 35) by balanced force technique and followed by step-back method
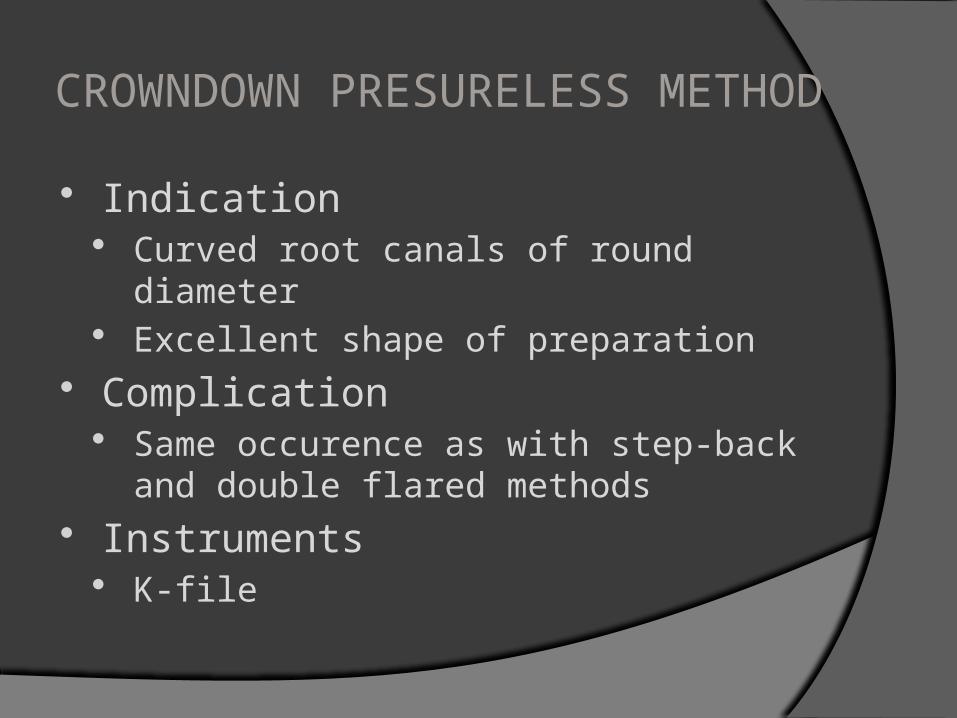
CROWNDOWN PRESURELESS METHOD
Indication Curved root canals of round diameter Excellent shape of preparation
Complication Same occurence as with step-back and
double flared methods Instruments
K-file
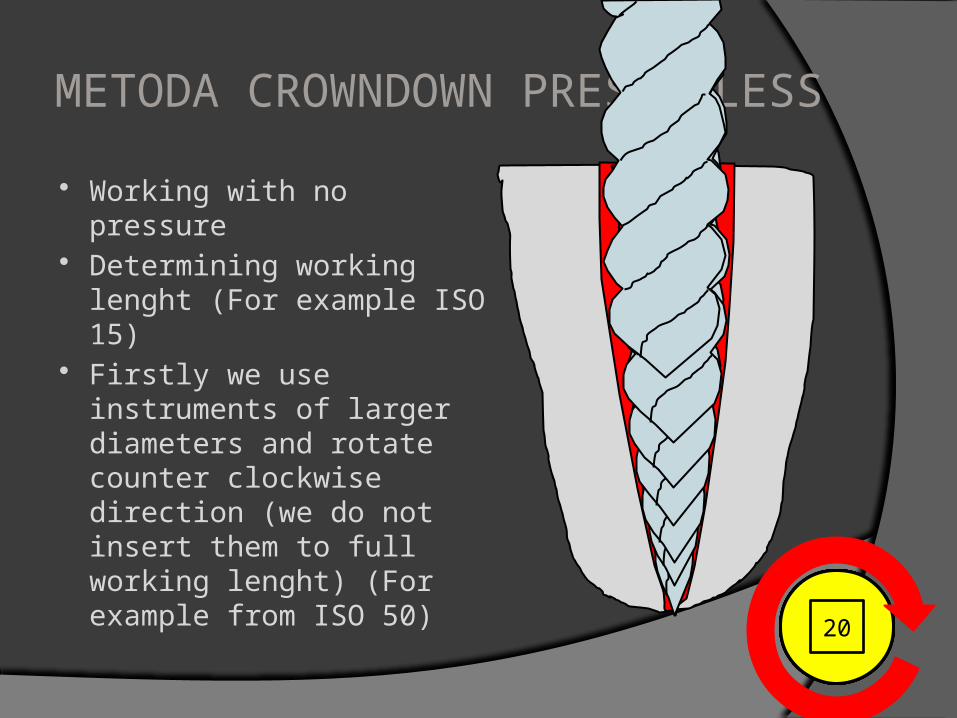
METODA CROWNDOWN PRESURELESS
Working with no pressure Determining working
lenght (For example ISO 15)
Firstly we use instruments of larger diameters and rotate counter clockwise direction (we do not insert them to full working lenght) (For example from ISO 50)
1550454035302520
CROWNDOWN PRESURELESS METHOD
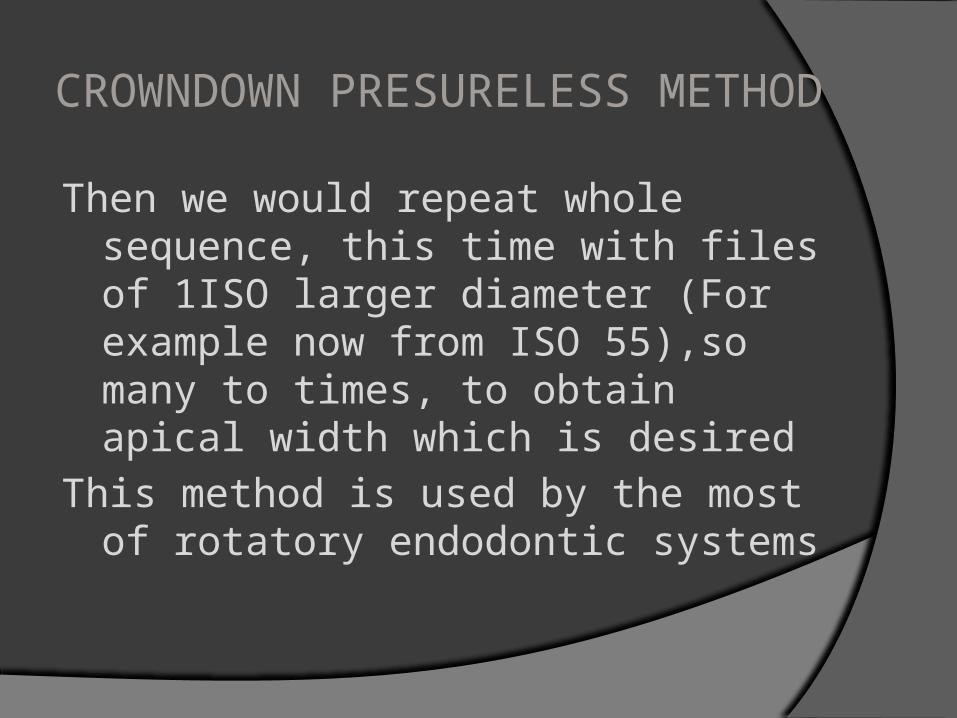
Then we would repeat whole sequence, this time with files of 1ISO larger diameter (For example now from ISO 55),so many to times, to obtain apical width which is desired
This method is used by the most of rotatory endodontic systems

Thanks for attention