paper bead projects earrings - brotherusa · 2018-07-10 · paper bead earrings (continued) step...
TRANSCRIPT
projects
step 1.
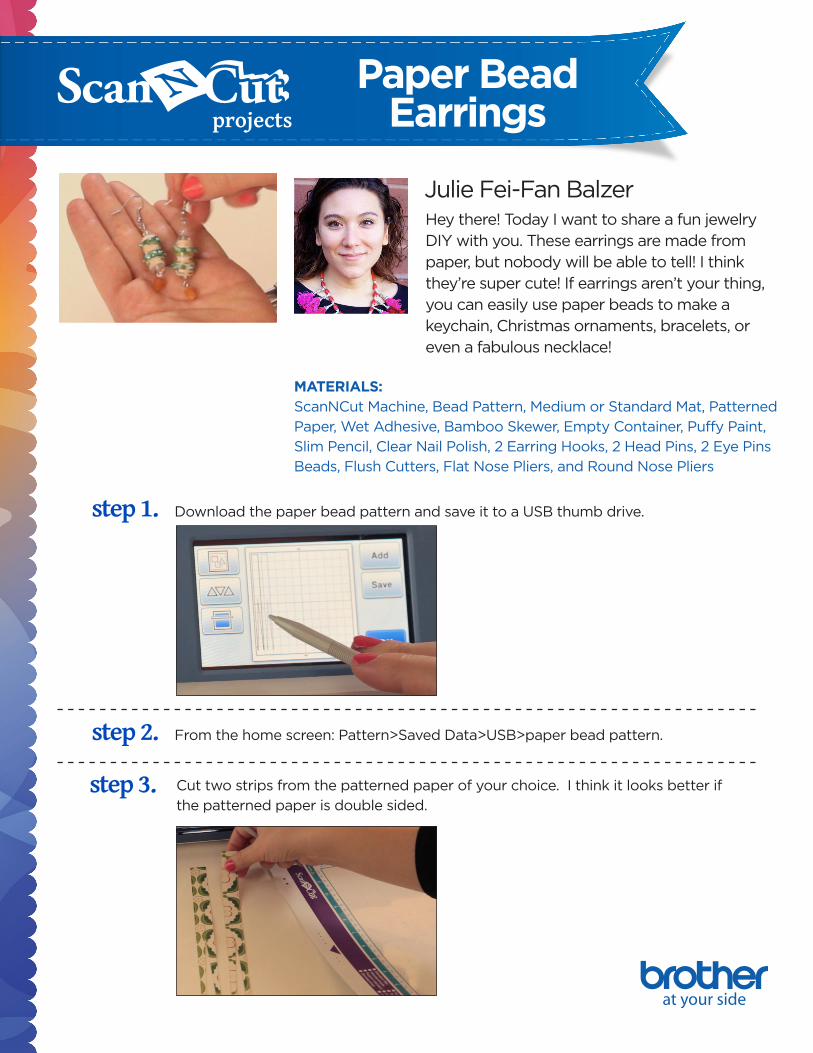
Hey there! Today I want to share a fun jewelry DIY with you. These earrings are made from paper, but nobody will be able to tell! I think they’re super cute! If earrings aren’t your thing, you can easily use paper beads to make a keychain, Christmas ornaments, bracelets, or even a fabulous necklace!
Paper Bead Earrings
Julie Fei-Fan Balzer
MATERIALS: ScanNCut Machine, Bead Pattern, Medium or Standard Mat, Patterned
Paper, Wet Adhesive, Bamboo Skewer, Empty Container, Puffy Paint,
Slim Pencil, Clear Nail Polish, 2 Earring Hooks, 2 Head Pins, 2 Eye Pins
Beads, Flush Cutters, Flat Nose Pliers, and Round Nose Pliers
Download the paper bead pattern and save it to a USB thumb drive.
step 2. From the home screen: Pattern>Saved Data>USB>paper bead pattern.
step 3. Cut two strips from the patterned paper of your choice. I think it looks better if
the patterned paper is double sided.

PAPER BEAD EARRINGS (CONTINUED)
step 4. Wrap the first paper strip around a thin pencil, starting with the fat end and
leaving the forked tails until the end. Use a wet adhesive to spot glue as you go.
step 5. Repeat with the second strip.
step 6. Allow the glue to dry completely.
step 7. Coat both beads with clear nail polish. If you wish, you can remove the beads
from the pencils and coat both ends with clear nail polish as well.
step 8. Allow the nail polish to dry completely. Apply a second coat if desired.
step 9. Place the beads back onto the pencil and decorate the wider portions with
puff paint “spikes.”

PAPER BEAD EARRINGS (CONTINUED)
step 10. Allow the puff paint to dry completely.
step 11. Create your earrings:
A) String an end bead (wide
enough to fill the “mouth” of the
paper bead), one paper bead,
a second end bead, and a small
decorative bead onto an eye pin.
Create a wire loop at the top.
B) String a small colorful bead onto
a head pin and create a wire loop
at the top.
C) Add the component from step “b”
to the component from step “a.”
D) Add an earring hook.