merida - · pdf filemerida please review the notes on page 2 before beginning. skill level:...
TRANSCRIPT
Disclaimer: This is solely a not-for-profit fan activity, and in no way intends to infringe on
copyrights held by Disney, Disney Enterprises, or other professional Disney-related agencies.
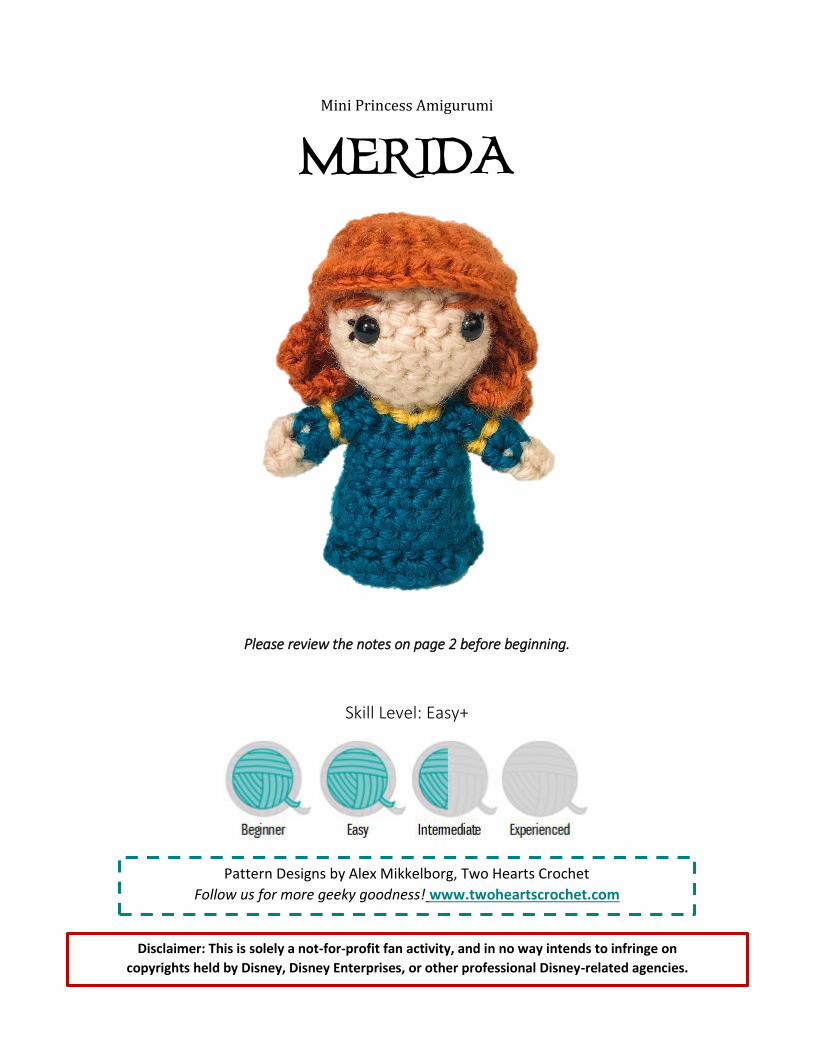
Mini Princess Amigurumi
MERIDA
Please review the notes on page 2 before beginning.
Skill Level: Easy+
Pattern Designs by Alex Mikkelborg, Two Hearts Crochet
Follow us for more geeky goodness! www.twoheartscrochet.com

PATTERN NOTES
ch – chain
sl st – slip stitch
sc – single crochet
hdc – half-double crochet
dc – double crochet
inc – increase (ex: single crochet inc = sc inc)
dec – decrease (ex: single crochet dec = sc dec)
* * - complete instructions between the * for the
total number of times indicated
STITCH KEY
I recommend using a size D/3.25mm hook.
I recommend worsted- or aran-weight yarn in these colors:
skin tone, dark teal, gold, and rusty orange
YARN AND HOOK
CONTINUOUS ROUNDS If desired, you can work these patterns in continuous rounds, rather than joining.
The instructions are written for joining, but feel free to use the method you are most
comfortable with!
Polyester Fiberfill Stuffing (available at any local craft store) Plastic Safety Eyes, 6mm, black (2 per doll)
Yarn needle (for sewing in ends) Embroidery floss and/or crochet thread, black
OTHER MATERIALS
Head
Rnd 1) In SKIN TONE, make a Magic Circle. Ch 1 and work 6 sc in the center of the Magic Circle. Join to the beginning sc of the round and ch 1. (6)
Rnd 2) *sc inc* - repeat 6 times. Join and ch 1. (12)
Rnd 3) *sc inc, sc* - repeat 6 times. Join and ch 1. (18)
Rnds 4-7) 18 sc. Join and ch 1. (18)
Insert the eyes into the 8th and 12th stitches of round 5, so that there are 3 sc stitches between the eyes.
Rnd 8) *sc dec, sc* - repeat 6 times. Join and ch 1. (12)
Carefully stuff the head, but do not overstuff!
Rnd 9) *sc dec* - repeat 6 times. Join and ch 1. (6)
Rnd 10) 6 sc. Change to DARK TEAL. Join and ch 1. (6)
Body
Rnd 11) In DARK TEAL, *sc inc* - repeat 6 times. Join and ch 1. (12)
Rnd 12) *4 sc, sc inc* - repeat 2 times, then 2 sc. Join and ch 1. (14)
Rnds 13-14) 14 sc. Join and ch 1. (14)
Rnd 15) *4 sc, sc inc* - repeat 2 times, then sc inc, 3 sc. Join and ch 1. (17)
Rnds 16-18) 17 sc. Join and ch 1. (17)
Rnd 19) In BACK LOOPS ONLY, *sc dec, sc* - repeat 5 times, then sc dec. Join and ch 1. (11)
Carefully stuff the body, but do not overstuff!
Rnd 20) In BOTH LOOPS, *sc dec* - repeat 5 times, then sc. Join and fasten off. (6)
Use the tail end of the yarn and a yarn needle to sew closed the opening at the base of the body. Weave in ends.
With DARK TEAL, insert your hook into the FRONT LOOP of the first st of rnd 19, ch 1. Then begin rnd 21.
Rnd 21) *sc inc, sl st* – repeat 8 times. Sl st in the last st of the rnd. Fasten off and weave in ends. (25)
Arms (Make 2)
Rnd 1) In SKIN TONE, make a Magic Circle. Ch 1 and work 5 sc in the center of the Magic Circle. Join to the beginning sc of the round and ch 1. (5)
Rnd 2) 5 sc. Change to DARK TEAL. Join and ch 1. (5)
Rnds 3-4) In DARK TEAL, 5 sc. Join and ch 1. (5)
Rnd 5) 5 sc. Join and fasten off. (5)
Hair (Bottom/Hidden Piece)
When joining to Round 2, make sure to place your first slip stitch (highlighted in the
instructions below in blue) in the stitch right next to the chain—not the same stitch as where
the chain started. Then place your second slip stitch (highlighted below in red) in the next
stitch. Then start your next chain.
Row 1) In RUSTY ORANGE, ch 13. Starting in the 2nd chain space from the hook, 12 sc. Turn
and ch 1. (12)
Row 2) 12 sc. Do not turn and ch 1, but continue as written below.
At this point, you will be creating six medium-length chains that will fall down the doll’s
shoulders and back.

Row 3 – 1st “chain”) Continuing from row 2, ch 7. Starting in the 2nd chain space from the
hook, 6 sc. Join to row 2 with a sl st in the stitch that is right next to the start of the chain.
Sl st in the next st. Continue to next “chain”. (6)
Row 3 – 2nd “chain”) Continuing from row 2, ch 11. Starting in the 2nd chain space from
the hook, 10 sc. Join to row 2 with a sl st in the stitch that is right next to the start of the
chain. Sl st in the next st. Continue to next “chain”. (10)
Row 3 – 3rd “chain”) Continuing from row 2, ch 11. Starting in the 2nd chain space from
the hook, 10 sc. Join to row 2 with a sl st in the stitch that is right next to the start of the
chain. Sl st in the next st. Continue to next “chain”. (10)
Row 3 – 4th “chain”) Continuing from row 2, ch 11. Starting in the 2nd chain space from
the hook, 10 sc. Join to row 2 with a sl st in the stitch that is right next to the start of the
chain. Sl st in the next st. Continue to next “chain”. (10)
Row 3 – 5th “chain”) Continuing from row 2, ch 11. Starting in the 2nd chain space from
the hook, 10 sc. Join to row 2 with a sl st in the stitch that is right next to the start of the
chain. Sl st in the next st. Continue to next “chain”. (10)
Row 3 – 6th “chain”) Continuing from row 2, ch 7. Starting in the 2nd chain space from the
hook, 6 sc. Join to row 2 with a sl st in the stitch that is right next to the start of the chain.
(6)
Your “chains” are complete! To finish, simply fasten off, leaving a long tail.
Hair (Top Piece)
Rnd 1) In RUSTY ORANGE, make a Magic Circle. Ch 1 and work 7 sc in the center of the Magic
Circle. Join to the beginning sc of the round and ch 1. (7)
Rnd 2) *sc inc* - repeat 7 times. Join and ch 1. (14)
Rnd 3) *sc inc, sc* - repeat 7 times. Join and ch 1. (21)
Rnds 4-5) 21 sc. Join and ch 1. (21)
At this point, you will be working back and forth, creating an opening for the doll’s face.

Row 6) 12 sc. Ch 1 and turn. (12)
Row 7) 12 sc. Do not ch 1 and turn! (12)
At this point, you will be creating six short chains that will fall down the doll’s shoulders and
back.
When joining to Row 7, make sure to place your first slip stitch (highlighted in the
instructions below in blue) in the stitch right next to the chain—not the same stitch as where
the chain started. Then place your second slip stitch (highlighted below in red) in the next
stitch. Then start your next chain.
Row 8 – 1st “chain”) Continuing from row 7, ch 4. Starting in the 2nd chain space from the
hook, 3 sc. Join to row 7 with a sl st in the stitch that is right next to the start of the chain.
Sl st in the next st. Continue to next “chain”. (3)
Row 8 – 2nd “chain”) Ch 7. Starting in the 2nd chain space from the hook, 6 sc. Join to row
7 with a sl st in the stitch that is right next to the start of the chain. Sl st in next st.
Continue to next “chain”. (6)
Row 8 – 3rd “chain”) Ch 7. Starting in the 2nd chain space from the hook, 6 sc. Join to row
7 with a sl st in the stitch that is right next to the start of the chain. Sl st in next st.
Continue to next “chain”. (6)
Row 8 – 4th “chain”) Ch 7. Starting in the 2nd chain space from the hook, 6 sc. Join to row
7 with a sl st in the stitch that is right next to the start of the chain. Sl st in next st.
Continue to next “chain”. (6)
Row 8 – 5th “chain”) Ch 7. Starting in the 2nd chain space from the hook, 6 sc. Join to row
7 with a sl st in the stitch that is right next to the start of the chain. Sl st in next st.
Continue to next “chain”. (6)
Row 8 – 6th “chain”) ch 4. Starting in the 2nd chain space from the hook, 3 sc. Join to row 7
with a sl st in the stitch that is right next to the start of the chain. (3)
Your “chains” are complete! To finish, you will work the bangs. This will be stitched across
the front of the hair piece:

Row 9) 3 sc up the side, sl st, 3 hdc inc, sc inc, 3 hdc inc, 3 sc down the other side. Fasten off.
(21)
Finishing Steps
Use a strand of GOLD yarn and a yarn needle to embroider the neckline details onto the doll’s dress. See photos if necessary.
Use a strand of GOLD yarn and a yarn needle to embroider the sleeve details onto the doll’s arms. See photos if necessary.
Use a yarn needle and the tail ends of the yarn to carefully sew the arms onto the body between rounds 11 and 12. If desired, you can stitch the openings at the tops of the arms flat before sewing the arms to the body.
Sew the bottom/hidden hair piece to the doll’s head. Try sewing it to rnd 4 of the doll’s head, making sure the piece is centered along the back of the head.
Sew the top hair piece to the doll’s head (over the bottom/hidden hair piece).
Use a yarn needle and a strand of RUSTY ORANGE yarn to embroider on eyebrows.
Use a yarn needle and a strand of BLACK THREAD to embroider on eyelashes.
Weave in all ends.

PHOTOS
