chapter 14. physical examinations and assessment procedures the medical assistant is responsible...
TRANSCRIPT

PHYSICAL EXAMINATIONS
AND ASSESSMENT PROCEDURES
Chapter 14

Physical Examinations and Assessment Procedures
The medical assistant is responsible for the preparation of patients for examinations and procedures performs by the physician
Procedures Of The Eye And Ear
In assisting with eye and ear examinations, you may be expected to hand instruments to the physician as needed
You will be responsible for making sure that the instruments are clean and in working order
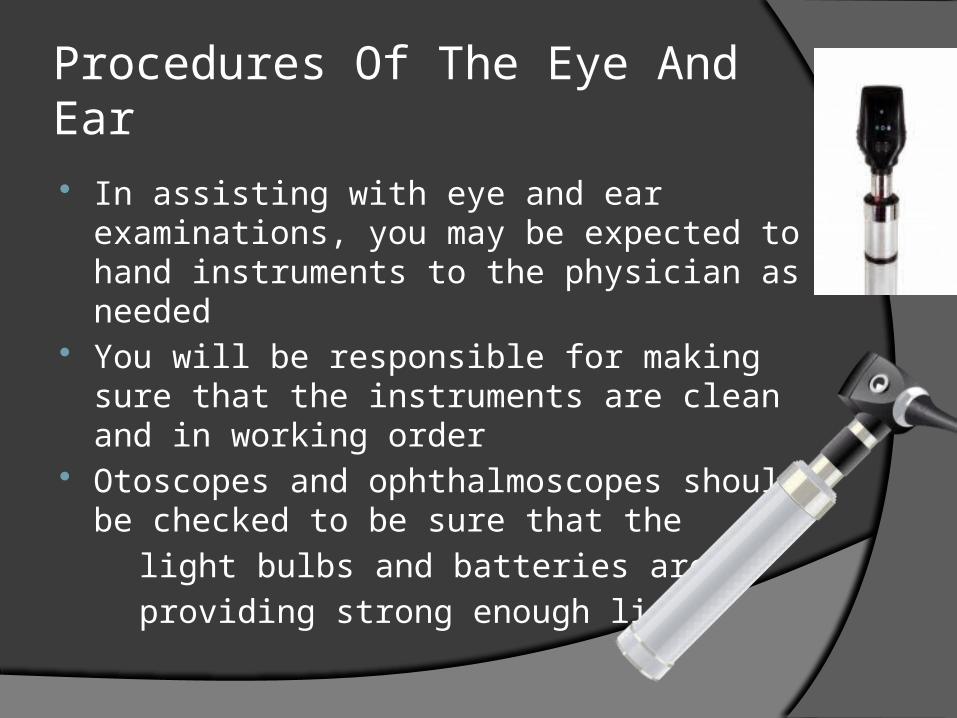
Otoscopes and ophthalmoscopes should be checked to be sure that the
light bulbs and batteries are
providing strong enough light
Procedures Of The Eye And Ear
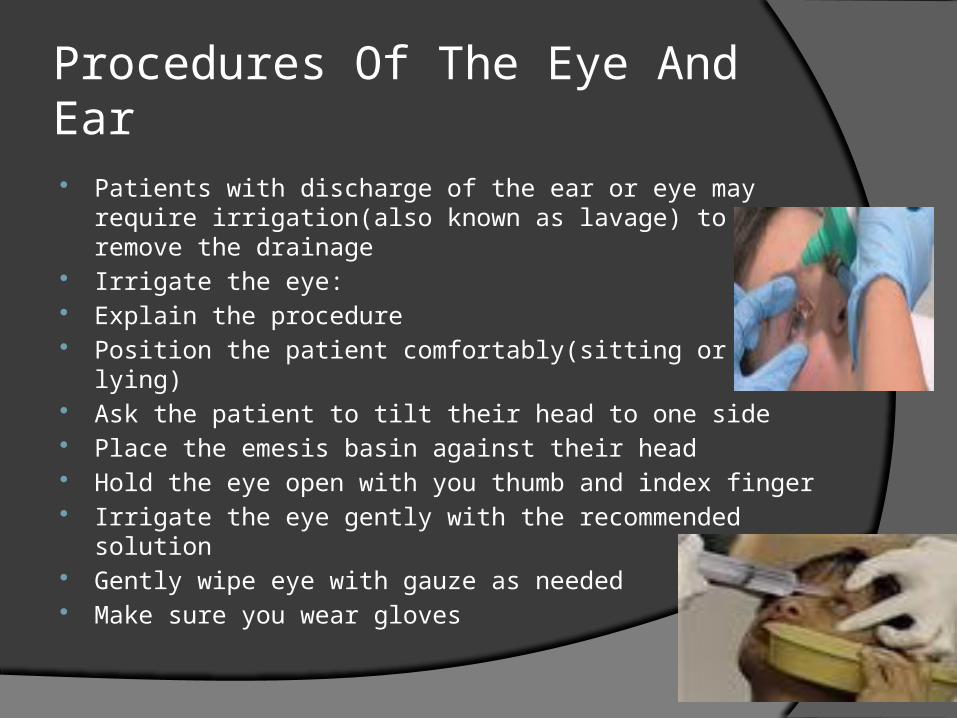
Patients with discharge of the ear or eye may require irrigation(also known as lavage) to remove the drainage
Irrigate the eye: Explain the procedure Position the patient comfortably(sitting or lying) Ask the patient to tilt their head to one side Place the emesis basin against their head Hold the eye open with you thumb and index finger Irrigate the eye gently with the recommended solution Gently wipe eye with gauze as needed Make sure you wear gloves
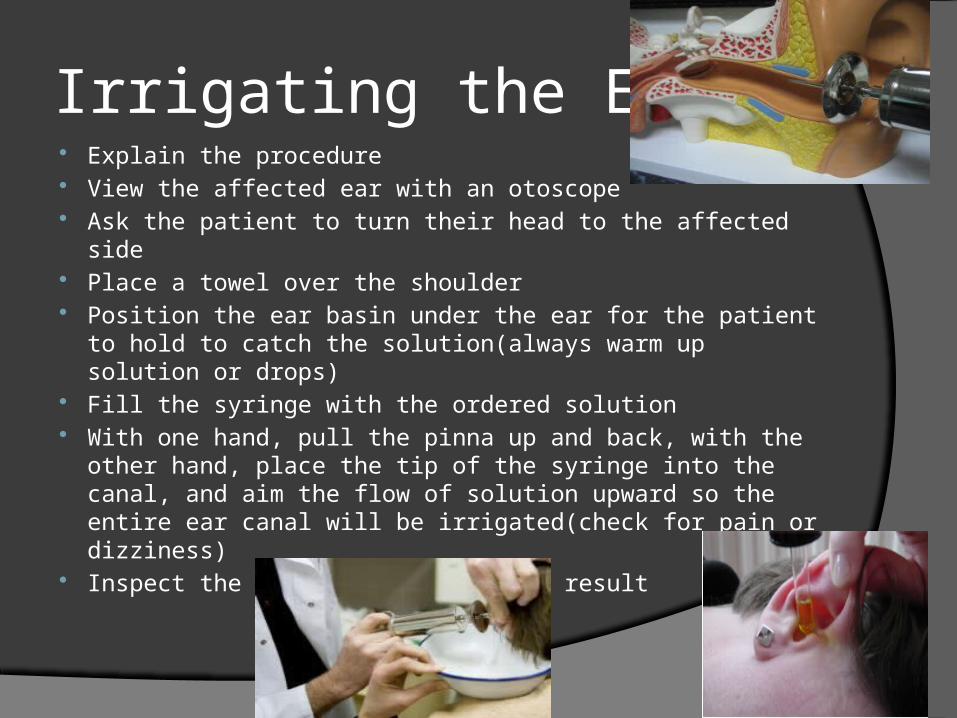
Irrigating the Ear Explain the procedure View the affected ear with an otoscope Ask the patient to turn their head to the affected side Place a towel over the shoulder Position the ear basin under the ear for the patient to hold
to catch the solution(always warm up solution or drops) Fill the syringe with the ordered solution With one hand, pull the pinna up and back, with the other
hand, place the tip of the syringe into the canal, and aim the flow of solution upward so the entire ear canal will be irrigated(check for pain or dizziness)
Inspect the canal for the desired result

Screen Visual Acuity with a Snellen Chart This measures the distant visual acuity of a
patient Ask the patient to read the chart with both
eyes(OU) first, standing 20 feet from the chart To test the right eye, have the patient cover the
left eye, keeping both eyes opened(vise-versa) Have the patient wear their contacts or glasses Record the smallest line that the patient can
read(only 2 errors on the chart) Example right eye(OD) 20/15 left eye(OS)
20/20 both eyes(OU) 20/20, no squinting observed

Screen Visual Acuity with the Jaeger System This is to determine near
distant visual acuity Have the patient hold the
chart between 14 and 16 inches from the eyes
Instruct the patient to read(out loud) the paragraphs of the card with both eyes, first without corrective lenses and then with
The smallest line that the patient can read should be recorded

Determine Color Vision Acuity by the Ishihara Method This is determine color vision
acuity Ask the patient to read the
plates with both eyes (with corrected lenses on)
Have the patient cover one eye then test again
Record any frames the patient misses

Auditory Acuity
An audiometer is an instrument used to measure one’s hearing
The patient wears earphones and is in a soundproof booth
The patient will listen to the sound and the patient will signal when the sound is heard
This will test one ear at a time Chart results(printout will be done a well)

Hearing Assessment During a exam, the physician will use a tuning fork to
test the patient’s hearing The physician strikes the tuning fork and then holds
the stem against the patient mastoid bone until the patient no longer hears the sound
The prongs of the tuning fork are then placed about 1 inch from the auditory meatus(opening to the ear) This is called the Rinne test
In a normal ear, the sound is heard about twice as long
The Weber test is preformed by striking the tuning fork and placing it on the forehead or the vertex of the head to determine whether the sound is heard equally by both ears

Preparing For Examinations The medical assistant must
know how to operate the examination table in order to ensure the examination goes smoothly
Preparation of the room for an examination is also the responsibility of the medical assistant(biohazard, face guards, gowns, gloves, light source, speculums, ect)
After every examination clean the table and use new table paper

Examination Positions
A patient will be asked to assume certain positions in order to facilitate examination of the body
There are 12 positions that may be utilized
The medical assistant must know the names and be able to assist the patient into the positions

Anatomical Position
This means to stand erect, arms at sides with palms pointed forward
This allows a visual inspection of posture and movements
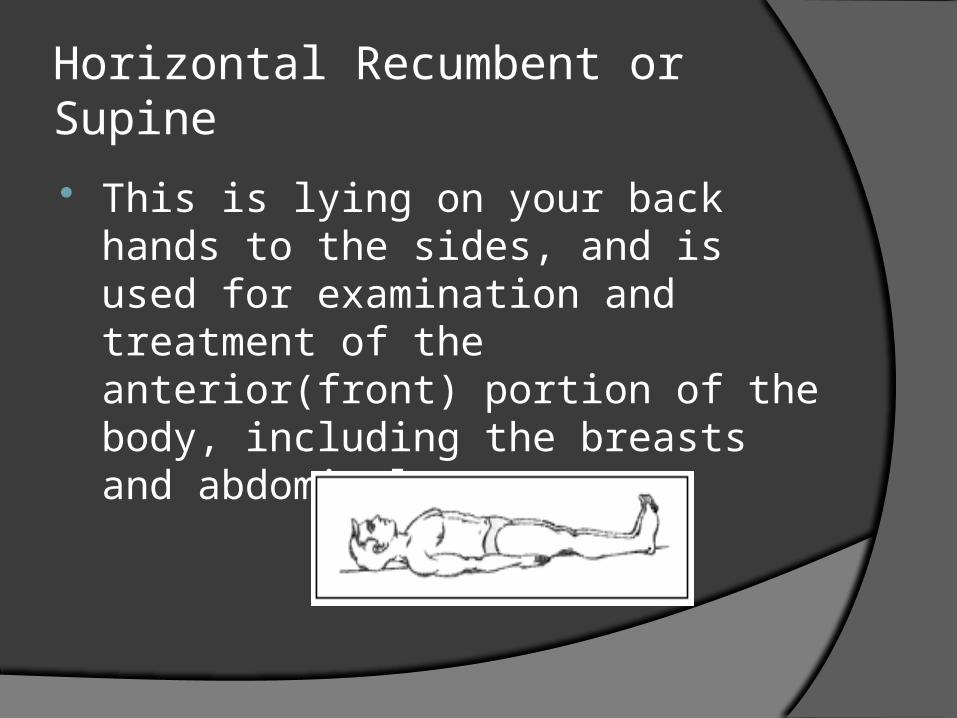
Horizontal Recumbent or Supine
This is lying on your back hands to the sides, and is used for examination and treatment of the anterior(front) portion of the body, including the breasts and abdominal organs
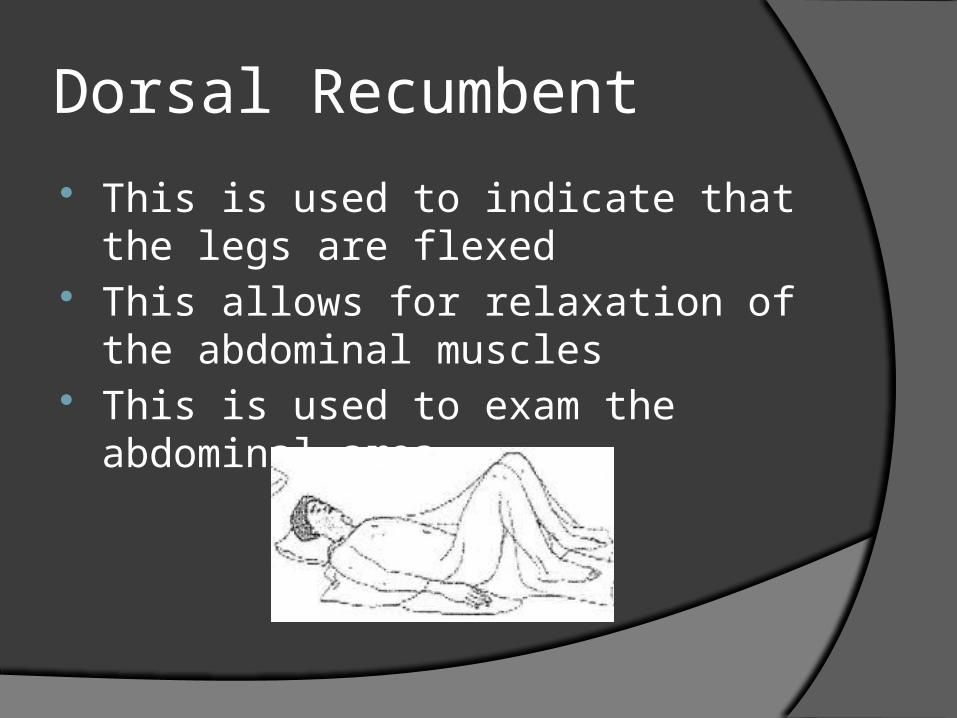
Dorsal Recumbent
This is used to indicate that the legs are flexed
This allows for relaxation of the abdominal muscles
This is used to exam the abdominal area

Prone Position
This is a horizontal position(lying on the abdomen, head turned to the side, flexed arms, with the hands at the sides or flexed and under the forehead)
This is used to examine the back and spine

The Sims’ Position A position in which the patient lies on the side with
the knee and thigh drawn upward toward the chest. The chest and abdomen are allowed to fall forward.
This position is used for rectal exams, rectal temperature, and instilling rectal medications

Knee-Chest Position
This is a position, with the patient on their hands and knees, flexed arms folded under the head
This is used for rectal exams (sigmoidoscopy)
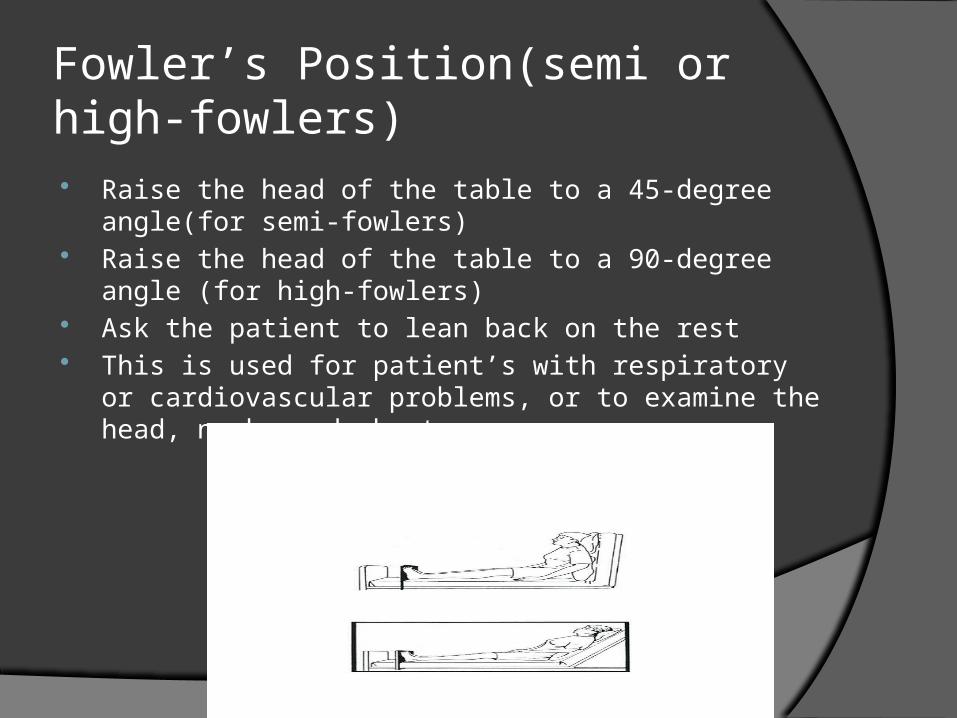
Fowler’s Position(semi or high-fowlers) Raise the head of the table to a 45-degree angle(for semi-
fowlers) Raise the head of the table to a 90-degree angle (for high-
fowlers) Ask the patient to lean back on the rest This is used for patient’s with respiratory or cardiovascular
problems, or to examine the head, neck, and chest area

Lithotomy Position
This is a supine position, with the patient heels in the stirrups
This position is used for vaginal or rectal exams
This position can also be used for examination of the male area as well
More on page 702

The Medical Assistant’s Role Preparation of the room Preparation of the examination equipment Preparation of the patient The medical assistant will probably be the
main person with whom the patient interacts prior and during the examination
It is important for the patient to feel comfortable in their surroundings

Examination Techniques Physicians are skilled in a
variety of techniques In assisting you are expected
to have basic knowledge of these terms:
Inspection: this is the initial part of the exam(skin color, rashes general appearance, level of anxiety, gait (which is their walk) this is a large part of the sensory system
Palpation: is evaluation using the sense of touch, the body can be felt using one hand, two hands or fingers(breast palpation to feel for abnormal lumps)
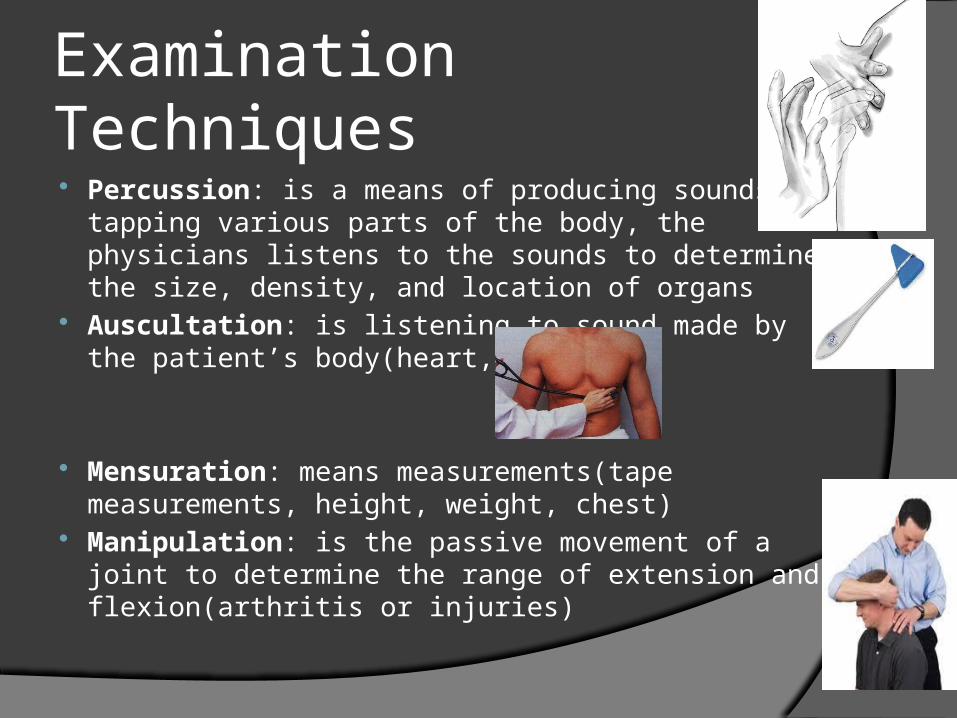
Examination Techniques Percussion: is a means of producing sounds by
tapping various parts of the body, the physicians listens to the sounds to determine the size, density, and location of organs
Auscultation: is listening to sound made by the patient’s body(heart, lung)
Mensuration: means measurements(tape measurements, height, weight, chest)
Manipulation: is the passive movement of a joint to determine the range of extension and flexion(arthritis or injuries)
After The Examination
Always be sure to help the patient down from the examination table
Answer any questions If a procedure has been performed, give
the patient an expected time for results(have the patient call or schedule a follow up appointment)

Documentation Of The Exam The problem oriented medical
record(POMR) is used for a new patient workup and for patient’s with serious or chronic illnesses(diabetes, heart condition) or for acute or single minor complaints(sore throat)
Data is recorded under the SOAP notes
Physical Examination Table There is a list of procedures/screening
and the age that they are performed Page 718 Table 14-2
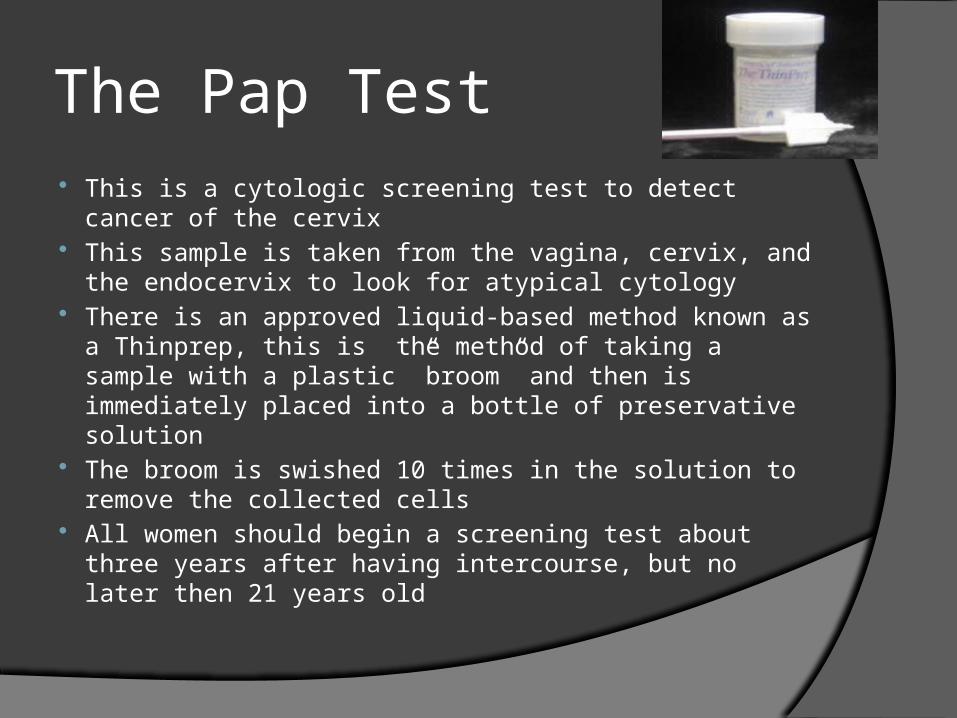
The Pap Test This is a cytologic screening test to detect cancer of the
cervix This sample is taken from the vagina, cervix, and the
endocervix to look for atypical cytology There is an approved liquid-based method known as a
Thinprep, this is the method of taking a sample with a plastic ”broom” and then is immediately placed into a bottle of preservative solution
The broom is swished 10 times in the solution to remove the collected cells
All women should begin a screening test about three years after having intercourse, but no later then 21 years old
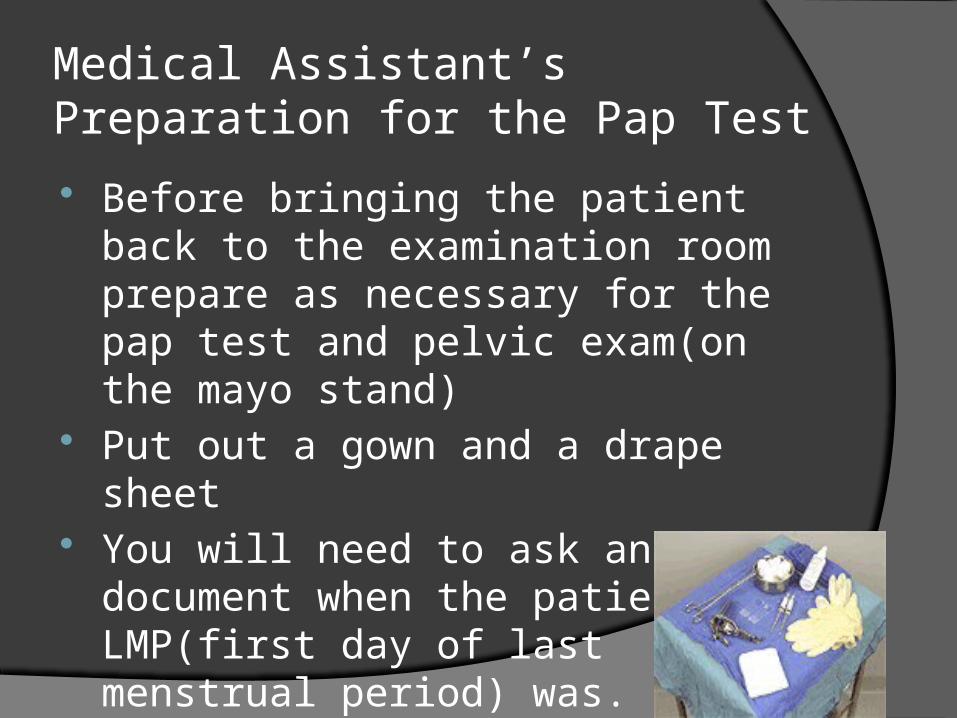
Medical Assistant’s Preparation for the Pap Test
Before bringing the patient back to the examination room prepare as necessary for the pap test and pelvic exam(on the mayo stand)
Put out a gown and a drape sheet You will need to ask and document
when the patient’s LMP(first day of last menstrual period) was.

Obstetrics Patients The same principles apply in assisting with
obstetrics patients as apply in assisting with the complete physical examinations
EDD is the estimated date of delivery A normal pregnancy can range from 37 to
41 weeks, so exact dates are not possible An infant born before the 37th week is
considered premature. The baby is considerably underweight, and presents challenges due to lack of development

Medical Assistant’s Role for Prenatal Visits Interview the patient for any problems Request a urine sample(some complications of
pregnancy can be identified by urine tests) Measure weight Measure vital signs(hypertension is an indicator
of complications) This can prevent the placenta from getting enough blood. If the placenta doesn't get enough blood, your baby gets less oxygen and food. This can result in low birth weight.
Prepare the patient for physician's exam Assist the patient if needed

Medical Assistant’s Role for Prenatal Visits Schedule any tests as needed Utrasonography: May be performed the first
trimester to confirm pregnancy and later to monitor progression
A fetoscope(special stethoscope) or a Doppler fetal pulse monitor and gel are applied to the abdomen to determine the developing fetus’s heart rate
A flexible centimeter tape is used to measure the height or top of the uterus from the pubis to evaluate the growth
of the fetus after the 3rd month

The Pediatric Patient Pediatrics is a specialty of medicine that cares for children
from birth to adulthood Pediatric patients are examined much more frequently than
adults and must be monitored carefully because of their rapid growth, especially in the first year
The infant begins its journey through the pediatrics' office on day 2 or 3
Weight, height, and head circumference will be measured Immunization will be started at 2 months of age(hep B should
be giving in the hospital) The baby will continue to be examined at 2 to 3 months
intervals throughout the first 18 months The child will continue to be examined on a yearly basis to
monitor their development

Immunization schedule 2012

Assisting With The Pediatric Exam There are some physicians who require
that all patients have their vital signs taken at every visit regardless of the reason for the visit
Because little ones may be uncooperative at times, you may need to assist the physician or they may ask their caregiver

Pediatric Measurements
Growth charts are essential in the course of the child’s examination, diagnosis, and treatment
The physician can compare the child’s measurements in relation to the percentile(that of other children the same age)


Growth Chart Example In this example, you can see that a two year old boy who is
30 pounds is at the 75th percentile for his weight. What does that mean? It means that he weighs more than about 75% of boys his age. It also means that 25% of 2 year old boys weigh more than he does. Is that normal? Sure, if that is where he has always been on the growth charts.
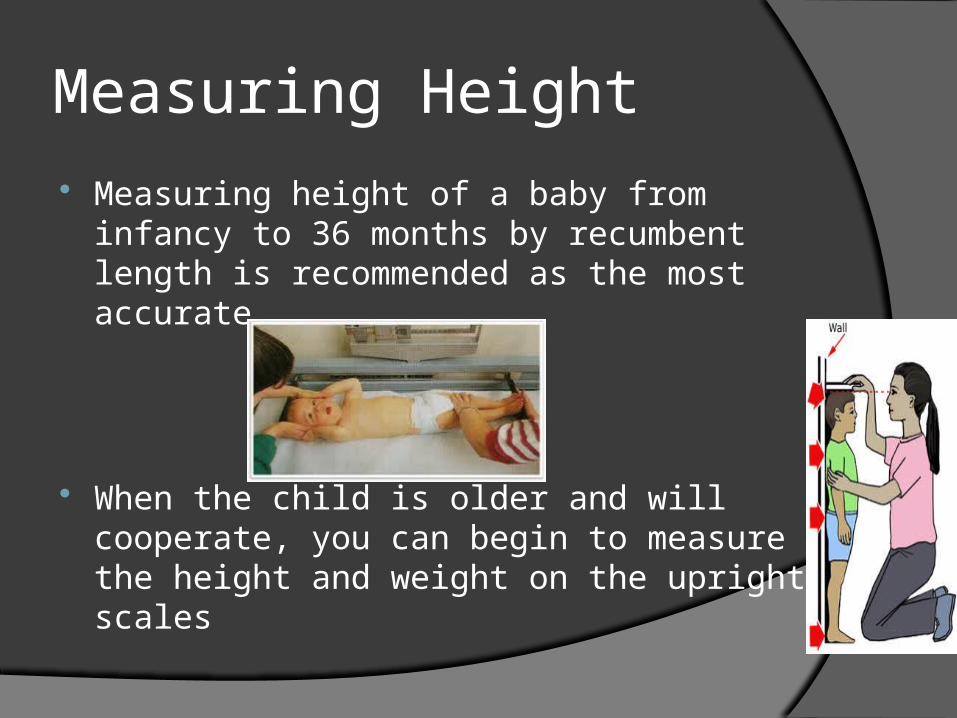
Measuring Height
Measuring height of a baby from infancy to 36 months by recumbent length is recommended as the most accurate
When the child is older and will cooperate, you can begin to measure the height and weight on the upright scales
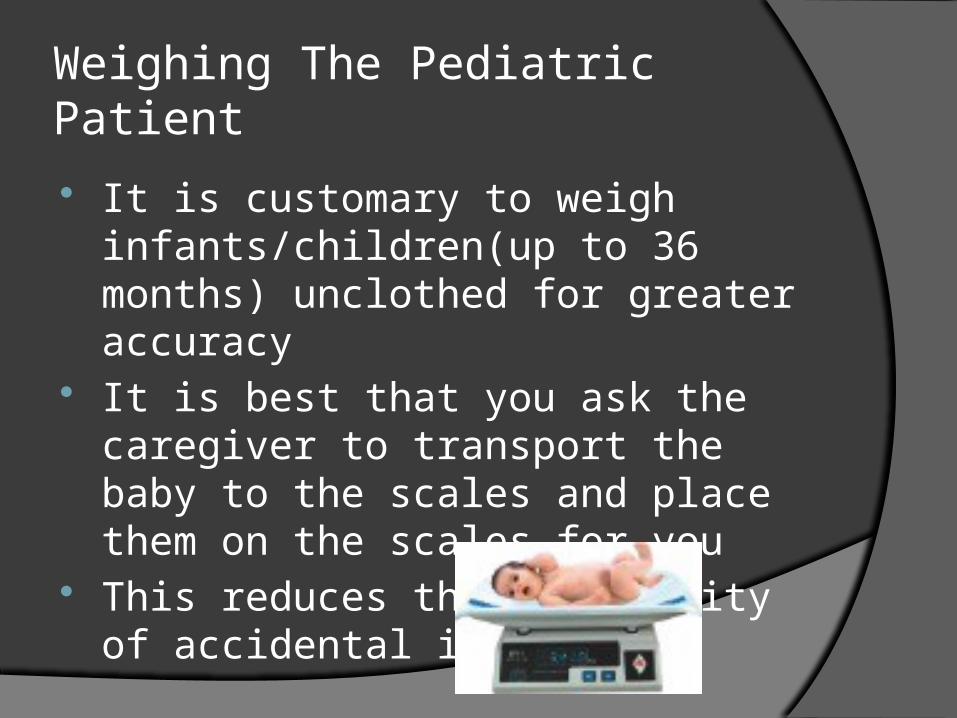
Weighing The Pediatric Patient
It is customary to weigh infants/children(up to 36 months) unclothed for greater accuracy
It is best that you ask the caregiver to transport the baby to the scales and place them on the scales for you
This reduces the possibility of accidental injuries

Head Circumference
This is important for alerting the physician of abnormal development
This should be done up to age 36 months
This is placed about an inch above the ears, and around the forehead to get an accurate measurement

Chest Circumference
The chest circumference is measured by placing the flexible measuring tape around the child’s chest just below the nipples
This is not required on the growth cart, by must be recorded in the patient’s chart