1 flash 2 flash concepts reviewed. 2 flash has three types of symbols 1.graphic symbols 2.button...
Post on 19-Dec-2015
224 views
TRANSCRIPT
1
Flash 2
Flash Concepts Reviewed

2
Flash has three types of symbols
1. Graphic symbols2. Button symbols3. Movie clip symbols
Dragging an object into the library opens the convert to symbol window
You can also select an object and press f8 to convert to a symbol
3
Symbol Instances
Dragging any symbol from the library onto the stage creates an instance (copy) of the symbol
You can have infinite instances of a symbolDeleting an instance from the stage does not delete symbol from libraryChanging the original symbol in the library will change all the instancesInstances can be uniquely modified using the Property Inspector
4
Creating a symbol demo
–Import a graphic or image into your library
–Open library (Window>Library)
–Drag object from stage into the library or Modify>Convert to Symbol (F8)
–Type a name, choose the Graphic or Movieclip symbol option, choose middle box for its Registration (center point), click on OK
–Symbol is now in Library and an instance of this symbol is on stage (can have infinite instances of a symbol)
–Deleting an instance from the stage does not delete symbol from library
5
Modifying Symbols –Double click on an instance on stage OR double click on symbol in library to edit(opens symbol in symbols edit timeline)
Both methods allow you to modify the symbol, all instances of the symbol will show these changes
–Once changes have been made you will have to exit symbol edit timeline screen by clicking on the Scene 1 link or the back arrow both located above the timeline (on the Edit Bar Toolbar)
6
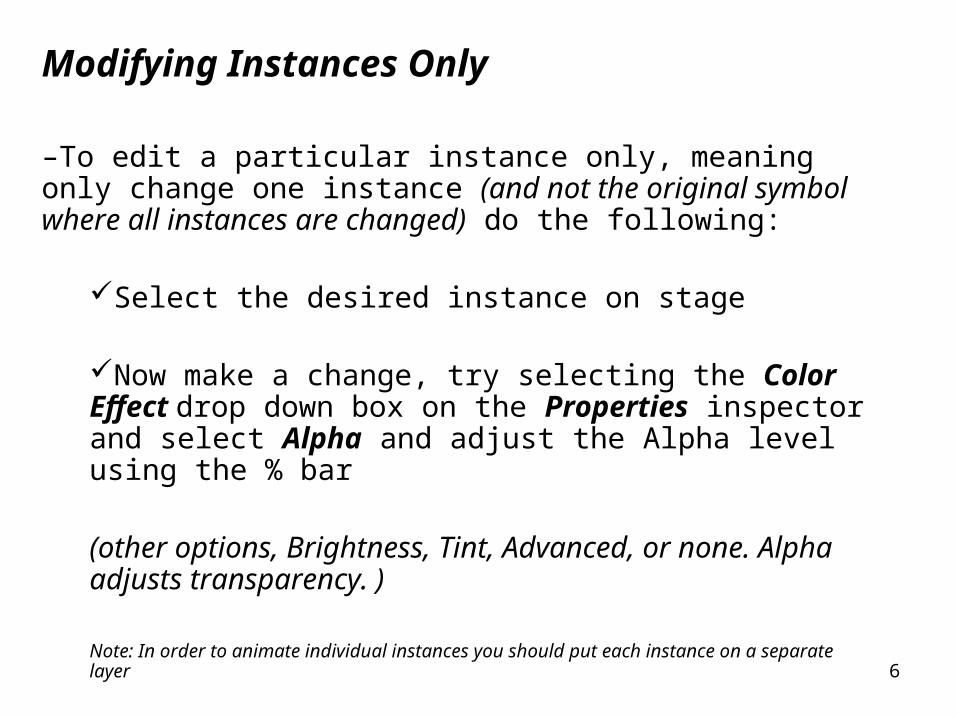
Modifying Instances Only
–To edit a particular instance only, meaning only change one instance (and not the original symbol where all instances are changed) do the following:
Select the desired instance on stage
Now make a change, try selecting the Color Effect drop down box on the Properties inspector and select Alpha and adjust the Alpha level using the % bar
(other options, Brightness, Tint, Advanced, or none. Alpha adjusts transparency. )
Note: In order to animate individual instances you should put each instance on a separate layer

7
Animating graphic symbols demo
–Create a new graphic symbol–Draw a shape and convert to a symbol–Double click on symbol in library to edit–Within the graphic symbol timeline create a blank keyframe (f7) on frame 24 and draw a new shape–Shape tween between the two objects–Add a keyframe on frame 48 and using the color mixer (shift f9 to open) change the fill color–Within the property inspector set the alpha to 0 –Shape tween between all keyframes–Exit symbol timeline (click on Scene 1)–Drag instance of symbol onto timeline–Add frames (f5) to Scene 1 timeline (must have the same number of frames, 48 in example above, in order to play symbol’s complete animation) –Graphic symbols are know as timeline dependent, they are tied to the main timeline
8
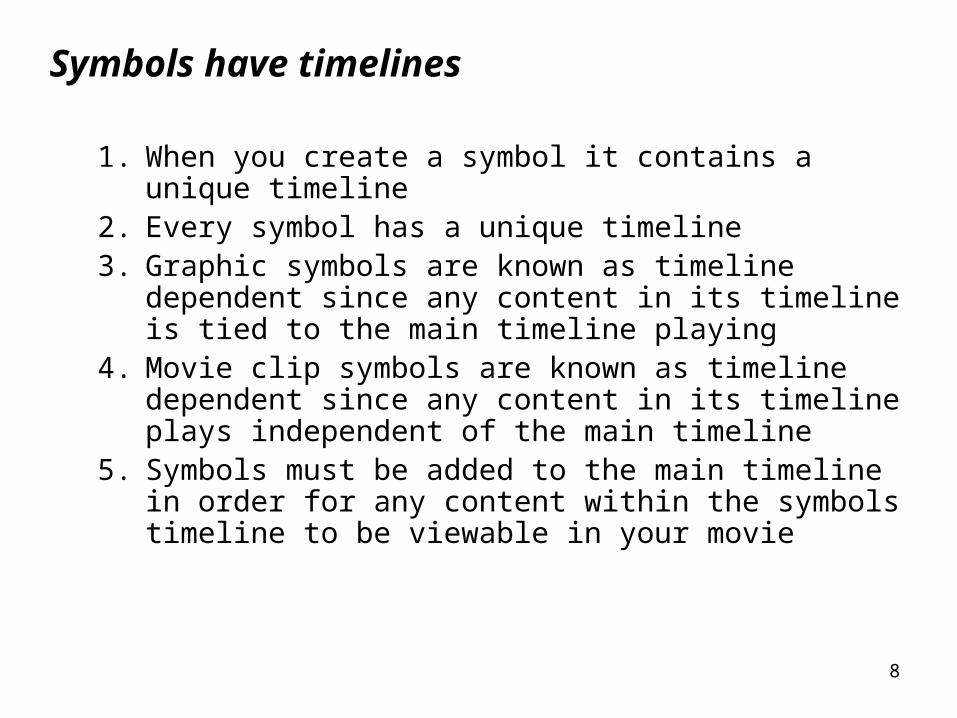
Symbols have timelines
1. When you create a symbol it contains a unique timeline2. Every symbol has a unique timeline3. Graphic symbols are known as timeline dependent since
any content in its timeline is tied to the main timeline playing4. Movie clip symbols are known as timeline dependent since
any content in its timeline plays independent of the main timeline
5. Symbols must be added to the main timeline in order for any content within the symbols timeline to be viewable in your movie
9
Buttons demo
− A button is a type of symbol
− Buttons in Flash are used to add interactivity
− Buttons can range from being basic, to rollover, to animated rollover, to containing audio effects, or being invisible
− Buttons can be programmed with actions written in Actionscript
10
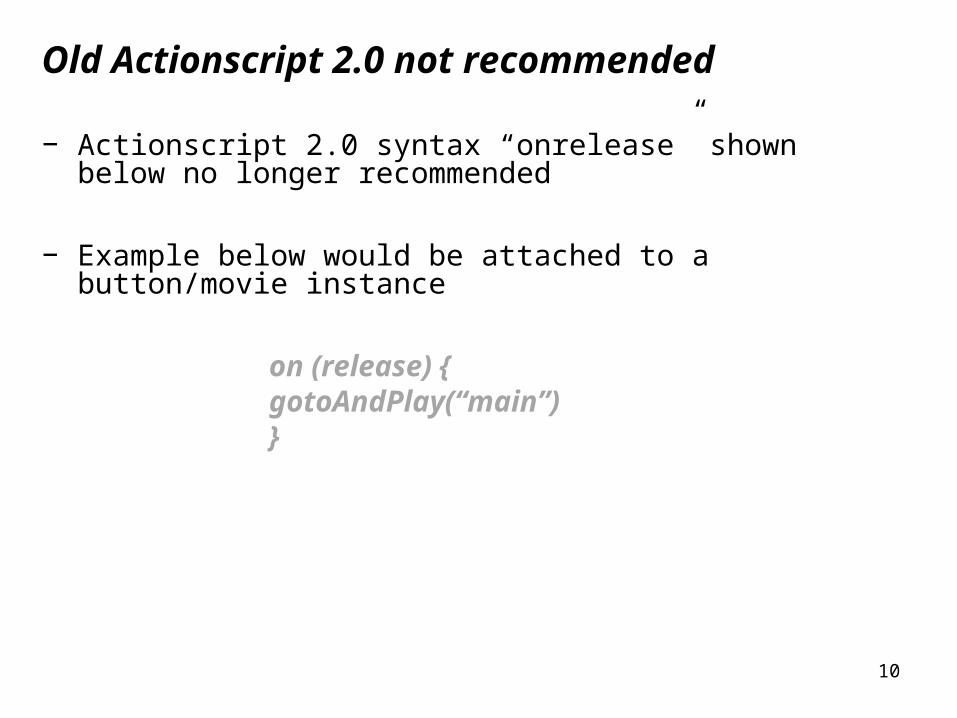
Old Actionscript 2.0 not recommended
− Actionscript 2.0 syntax “onrelease” shown below no longer recommended
− Example below would be attached to a button/movie instance
on (release) {gotoAndPlay(“main”)}
11
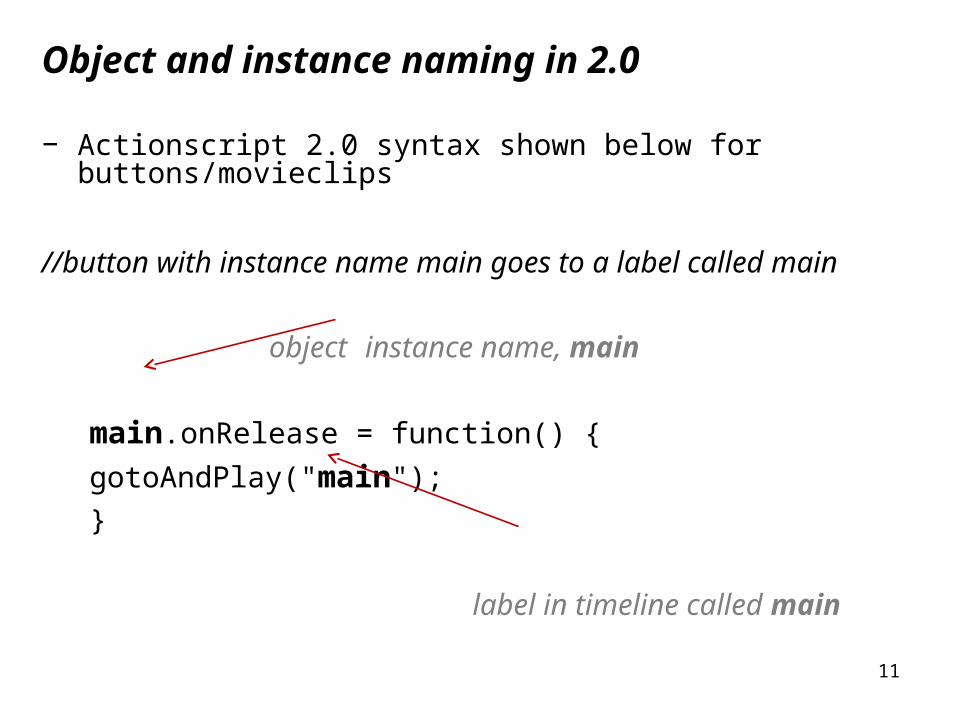
Object and instance naming in 2.0
− Actionscript 2.0 syntax shown below for buttons/movieclips
//button with instance name main goes to a label called main
object instance name, main
main.onRelease = function() {
gotoAndPlay("main");
}
label in timeline called main
12
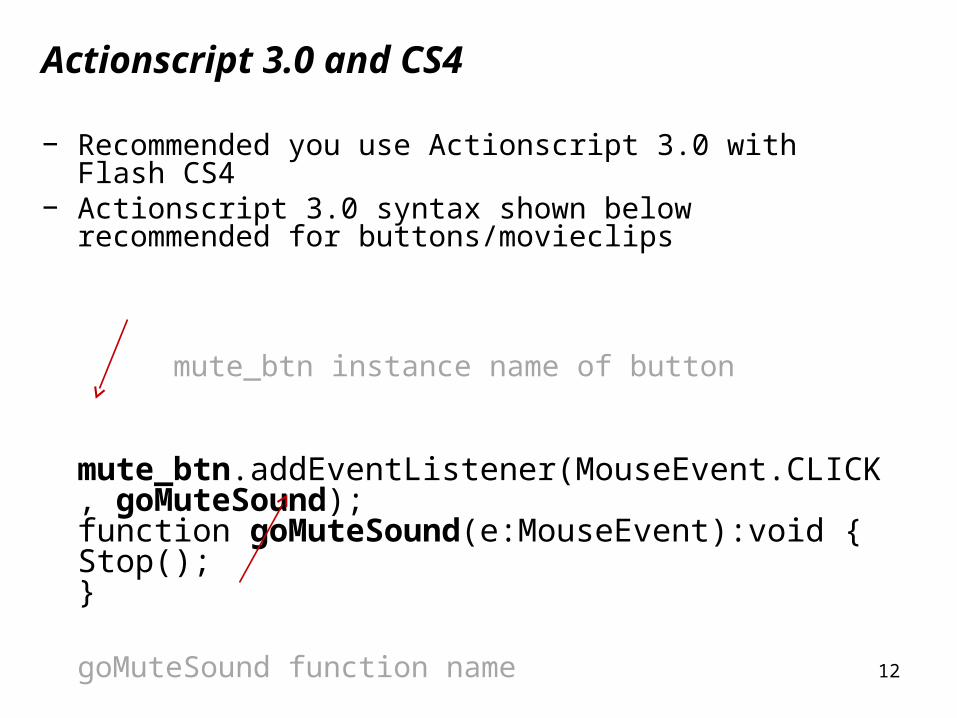
Actionscript 3.0 and CS4
− Recommended you use Actionscript 3.0 with Flash CS4− Actionscript 3.0 syntax shown below recommended for
buttons/movieclips
mute_btn instance name of button
mute_btn.addEventListener(MouseEvent.CLICK, goMuteSound);function goMuteSound(e:MouseEvent):void {Stop();}
goMuteSound function name
label in timeline called main
13
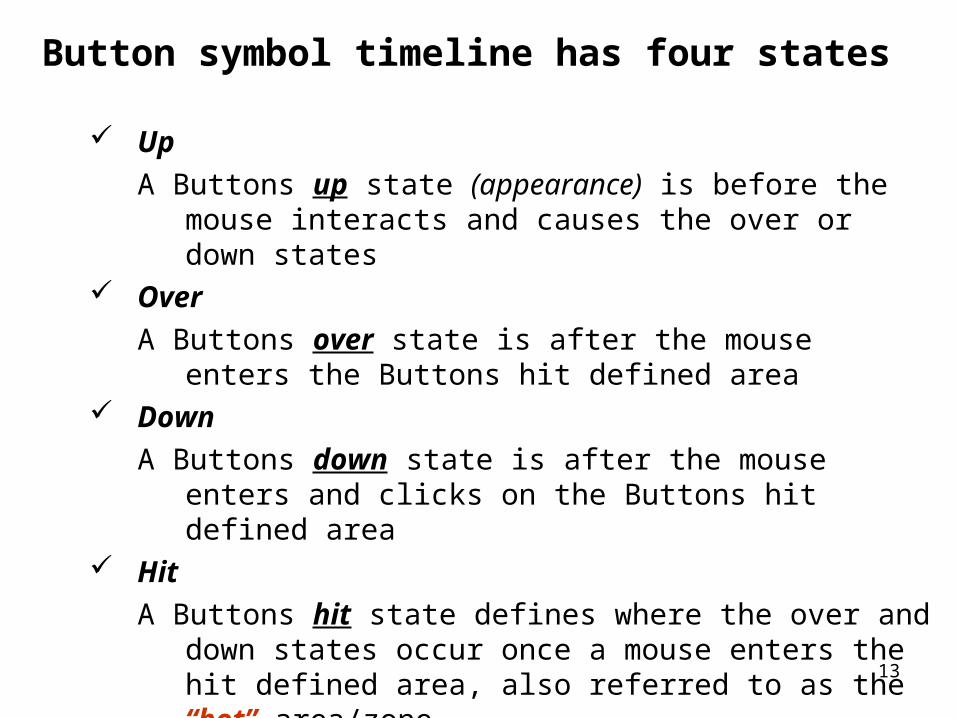
Button symbol timeline has four states
Up
A Buttons up state (appearance) is before the mouse interacts and causes the over or down states
Over
A Buttons over state is after the mouse enters the Buttons hit defined area
Down
A Buttons down state is after the mouse enters and clicks on the Buttons hit defined area
Hit
A Buttons hit state defines where the over and down states occur once a mouse enters the hit defined area, also referred to as the “hot” area/zone

14
Button hit state
–The hit state represents the area the user mouses over in order to initiate the over and down states of a button
–If there is no frame or no keyframe in the hit state then the previous state with content (either over or down) and its contents will represent the hit area
–If there is a blank keyframe in the hit state then the over and down states will be disabled
15
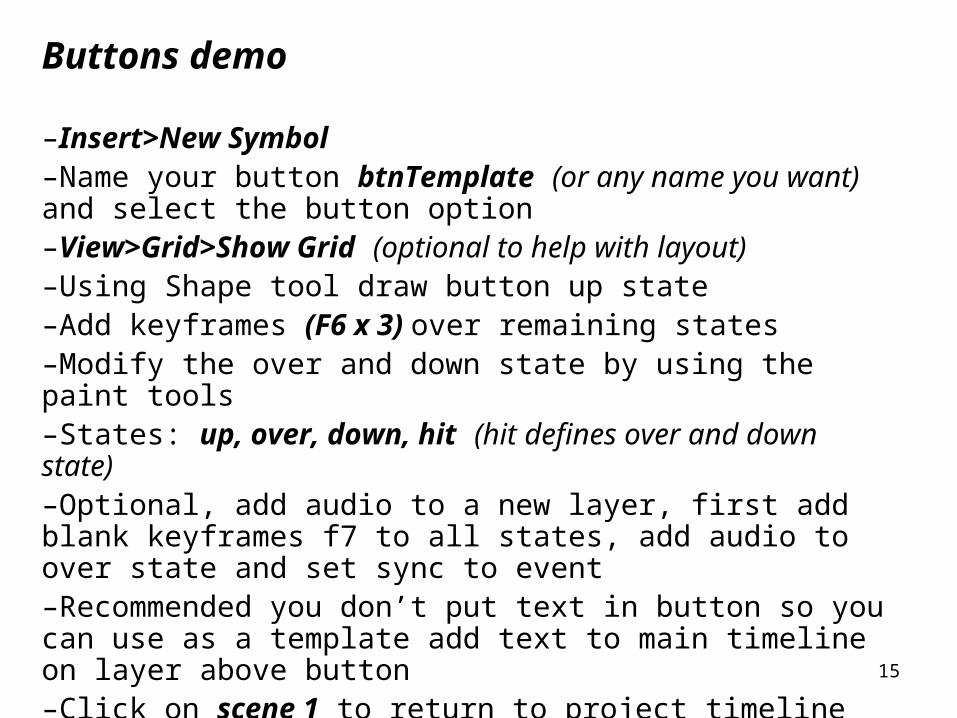
Buttons demo
–Insert>New Symbol–Name your button btnTemplate (or any name you want) and select the button option–View>Grid>Show Grid (optional to help with layout)–Using Shape tool draw button up state–Add keyframes (F6 x 3) over remaining states–Modify the over and down state by using the paint tools–States: up, over, down, hit (hit defines over and down state)–Optional, add audio to a new layer, first add blank keyframes f7 to all states, add audio to over state and set sync to event–Recommended you don’t put text in button so you can use as a template add text to main timeline on layer above button–Click on scene 1 to return to project timeline–Drag an instance of button onto stage–Control>Enable Simple Buttons or Control>Test Movie
16
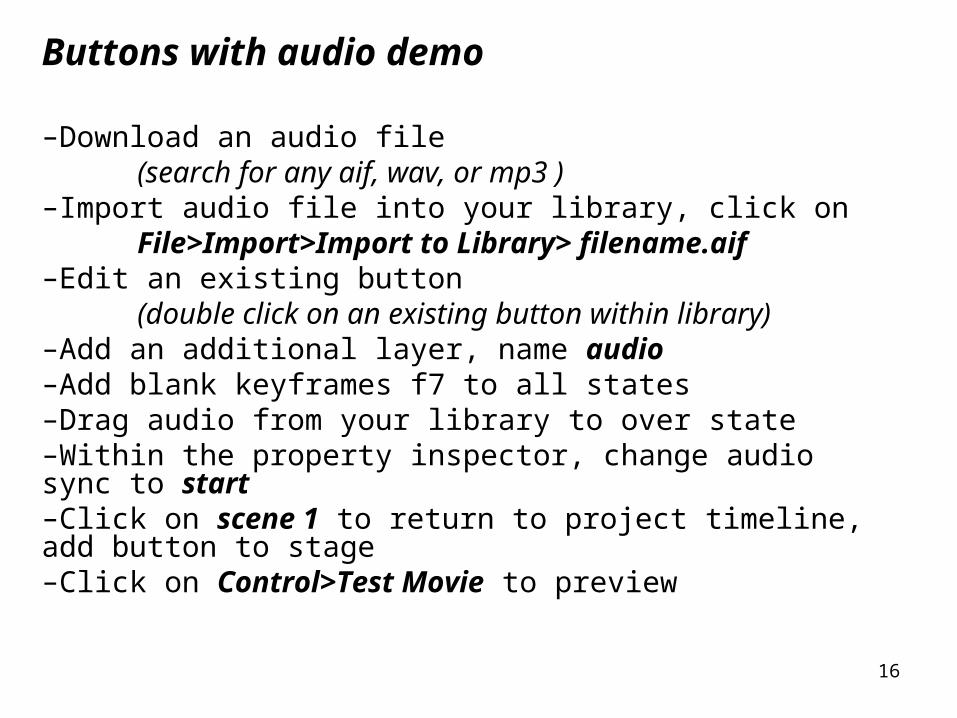
Buttons with audio demo
–Download an audio file (search for any aif, wav, or mp3 )–Import audio file into your library, click on
File>Import>Import to Library> filename.aif–Edit an existing button
(double click on an existing button within library)–Add an additional layer, name audio–Add blank keyframes f7 to all states–Drag audio from your library to over state–Within the property inspector, change audio sync to start–Click on scene 1 to return to project timeline, add button to stage–Click on Control>Test Movie to preview
17
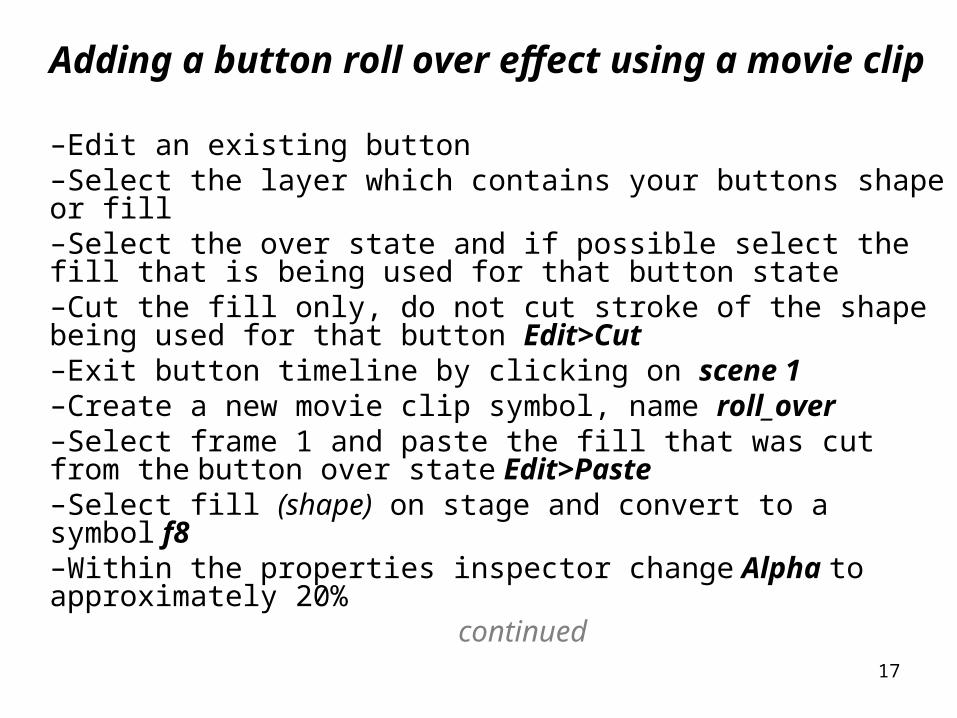
Adding a button roll over effect using a movie clip –Edit an existing button–Select the layer which contains your buttons shape or fill–Select the over state and if possible select the fill that is being used for that button state–Cut the fill only, do not cut stroke of the shape being used for that button Edit>Cut–Exit button timeline by clicking on scene 1–Create a new movie clip symbol, name roll_over–Select frame 1 and paste the fill that was cut from the button over state Edit>Paste–Select fill (shape) on stage and convert to a symbol f8 –Within the properties inspector change Alpha to approximately 20%
continued
18
Adding a button roll over effect using a movie clip
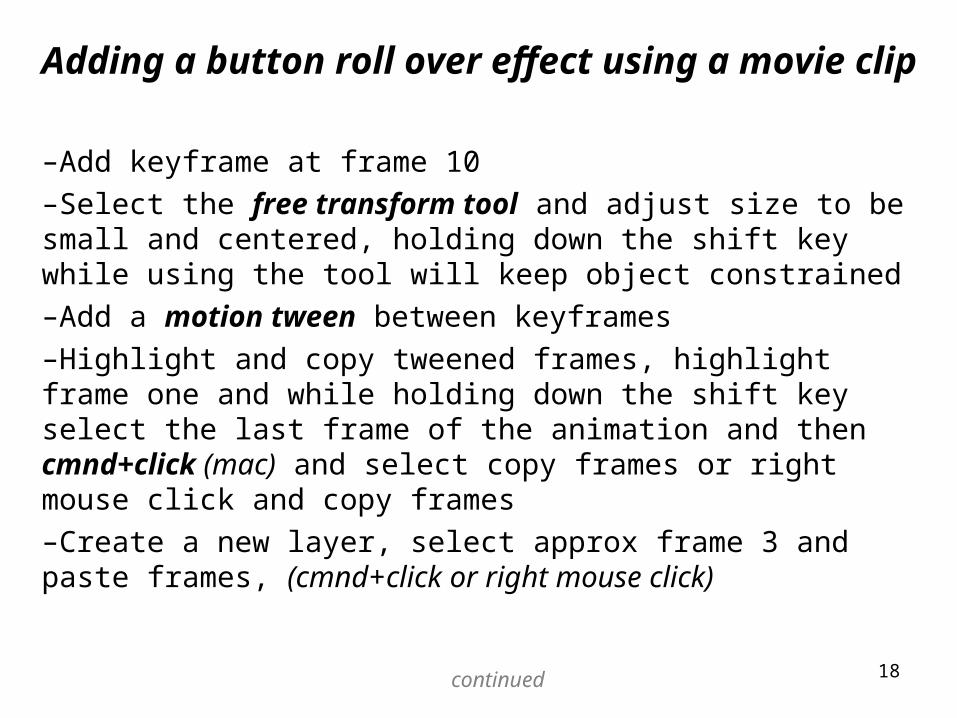
–Add keyframe at frame 10
–Select the free transform tool and adjust size to be small and centered, holding down the shift key while using the tool will keep object constrained
–Add a motion tween between keyframes
–Highlight and copy tweened frames, highlight frame one and while holding down the shift key select the last frame of the animation and then cmnd+click (mac) and select copy frames or right mouse click and copy frames
–Create a new layer, select approx frame 3 and paste frames, (cmnd+click or right mouse click)
continued
19
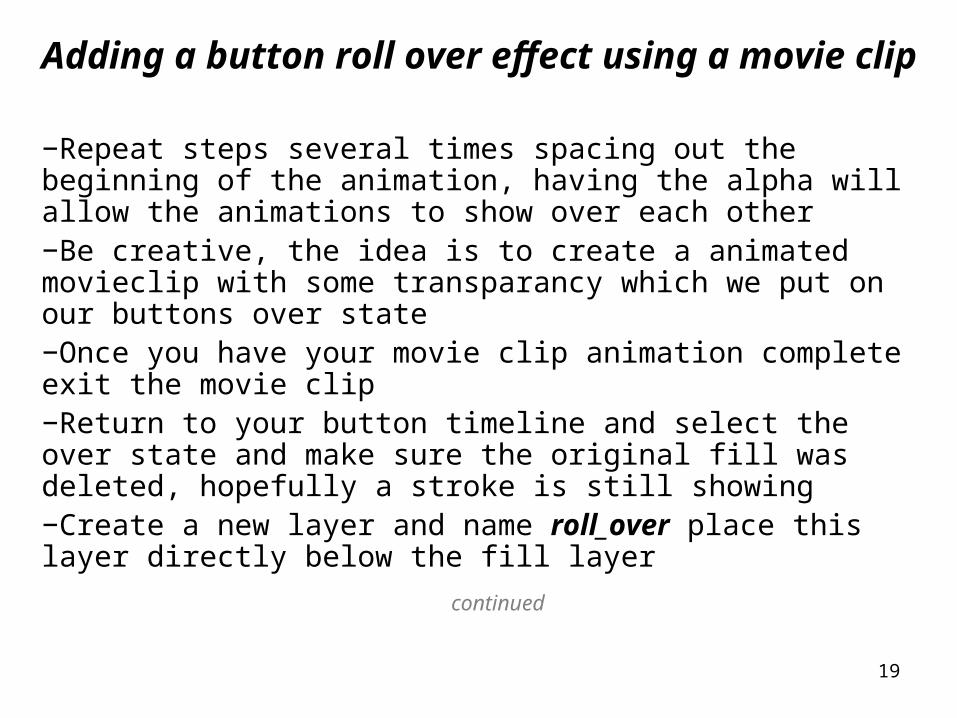
Adding a button roll over effect using a movie clip −Repeat steps several times spacing out the beginning of the animation, having the alpha will allow the animations to show over each other−Be creative, the idea is to create a animated movieclip with some transparancy which we put on our buttons over state−Once you have your movie clip animation complete exit the movie clip−Return to your button timeline and select the over state and make sure the original fill was deleted, hopefully a stroke is still showing−Create a new layer and name roll_over place this layer directly below the fill layer
continued

20
Adding a button roll over effect using a movie clip
–Insert blank keyframe f7 over the up, over, and down states
–Place movieclip in the over state, movieclips keyframe should only show in the over state
–Position movieclip so it appears to fit inside the stroke
–Exit button timeline and Control>Test Movie
21
Duplicating Buttons demo
–Once you have created a button, you can duplicate it, creating a new symbol which you can then modify uniquely–Select desired button in the library–Control click (mac) or right mouse click (pc)–Select duplicate option–Type new name for button, click OK–Double click on new button in library to modify–Modify new button as desired–Click on scene 1 to return to project timeline–Add button to stage

22
Invisible Buttons demo
–Insert>New Symbol
–Name your button btnInvisible
–Select button option
–Select over state
–Draw button in over state
–Click F6 to add keyframe on the down state
–The up state must be left blank, add blank keyframe if necessary
–You can add additional layers and audio to any of the other states, always leaving the up state blank
–Click on scene 1 to return to project timeline
–Click on Control>Test Movie to preview

23
Timeline Independent vs Dependent
Graphic symbols are timeline dependent
Movie clip symbols are timeline independent
–Timeline independent means that a symbol continues to animate or play even when the main timeline has stopped.
–Timeline dependent means that when the main project timeline stops that the graphic symbol will also stop. Timeline dependent also means the main project timeline must have the minimum number of frames as the symbols timeline in order for a symbols complete animation to display.
24
Movie clip symbols Timeline Independent
–Movie clips continue to play, even if the Main Timeline has stopped, thus known as “Timeline Independent”
–MC symbols can contain multiple layers, including graphic symbols, button symbols, movie clip symbols, animations, sounds, and Actionscripting
–Preview independence by creating a movie clip with animation which is longer than your project timeline and adding a stop action to your main timeline
–Control>Test Movie
25
Movie clip timeline independent demo
–Insert>New Symbol–Name mcSample –Select the Movie clip option–Create a tween or animation on the movie clip timeline–Click on scene 1 to return to the project timeline –Drag instance of movie clip onto stage of main scene–Make scene shorter than the movieclips timeline–Add a stop(); script to any frame in the main scene timeline–Click on Control>Test Movie to preview–Movie clip will repeat and unlike a animated graphic symbol it doesn’t need to have the same number of frames in the project timeline as its symbols timeline–Movie clips are timeline independent, so they will continue to repeat even when the main timeline has stopped (unless you tell the movie clip to stop)
26
Graphic symbol timeline dependent demo
–Create a new graphic symbol–Within the graphic symbol timeline create an animation that is 30 frames long–Exit symbol timeline (click on Scene 1)–Drag instance of graphic symbol onto timeline, extend frames to frame 15 (f5)–Place a stop action in your main timeline at frame 15–Control>Test Movie–Create a new movie clip symbol, create an animation that is 30 frames long–Drag an instance movie clip onto timeline–Control>Test Movie–You would need to add frames to Scene 1 timeline (f5) and remove stop action in order for complete graphic symbol animation to show (main timeline must have same number of frames, or more, as the graphic symbol in order to completely play)
27
Actionscript
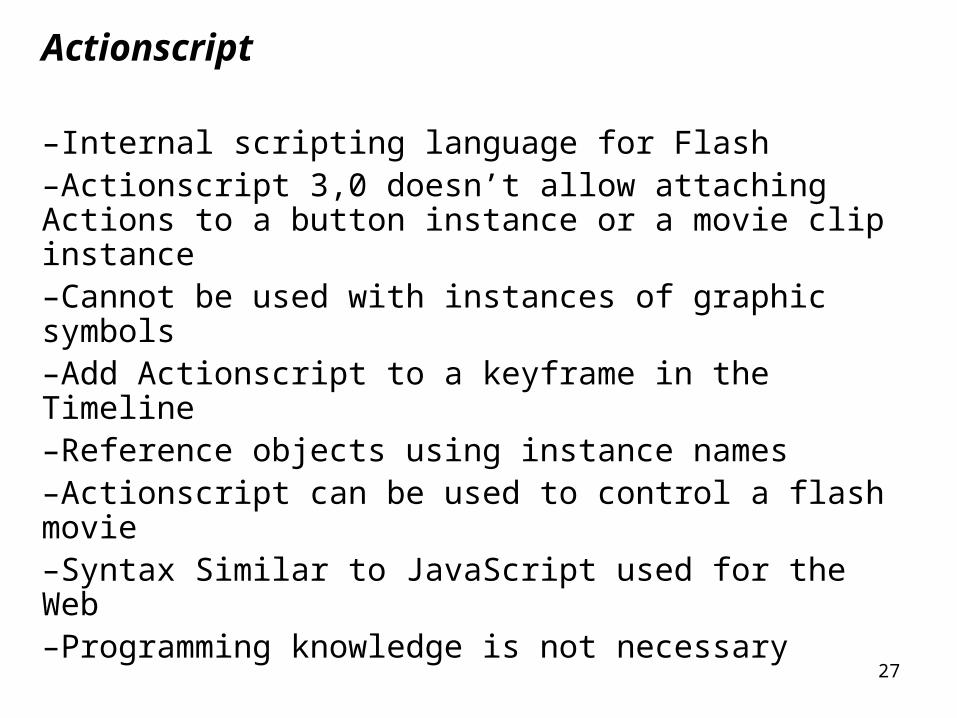
–Internal scripting language for Flash–Actionscript 3,0 doesn’t allow attaching Actions to a button instance or a movie clip instance–Cannot be used with instances of graphic symbols–Add Actionscript to a keyframe in the Timeline–Reference objects using instance names–Actionscript can be used to control a flash movie–Syntax Similar to JavaScript used for the Web–Programming knowledge is not necessary
28
Actionscript Timeline
–Actionscript 3.0 now mandatory with some CS4 features
–Actionscript 3.0 released with CS3
–Actionscript 2.0 can still be used, not recommended
29
Actionscript 3.0 Example
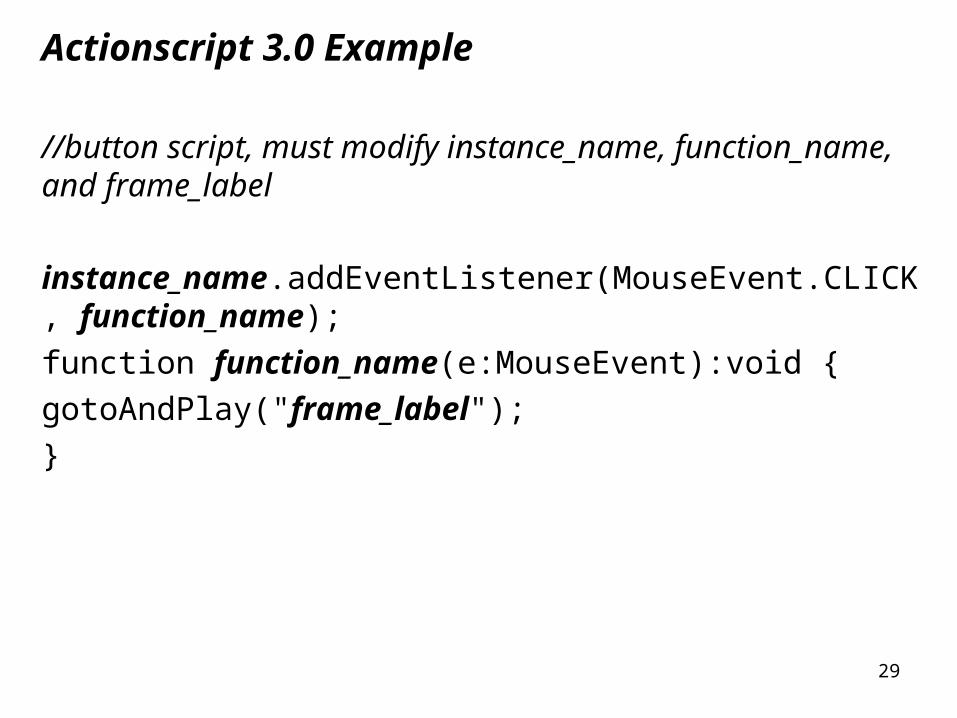
//button script, must modify instance_name, function_name, and frame_label
instance_name.addEventListener(MouseEvent.CLICK, function_name);
function function_name(e:MouseEvent):void {
gotoAndPlay("frame_label");
}
30
Actions Panel
–Actions panel (f9) where you type any Actionscript
–Script assist options aids in adding parameters to scripts
–Actions panel is where you create and edit object actions or frame actions
–Allows you to choose from code/scripts organized by categories or allows you to manually type out
31
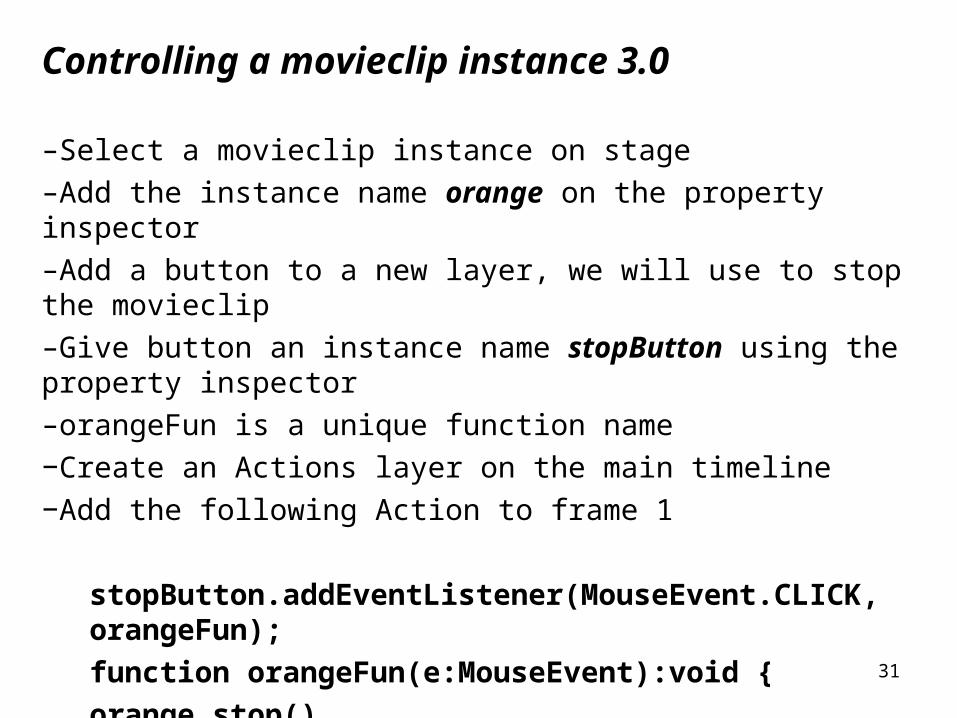
Controlling a movieclip instance 3.0
–Select a movieclip instance on stage
–Add the instance name orange on the property inspector
–Add a button to a new layer, we will use to stop the movieclip
–Give button an instance name stopButton using the property inspector
–orangeFun is a unique function name
−Create an Actions layer on the main timeline
−Add the following Action to frame 1
stopButton.addEventListener(MouseEvent.CLICK, orangeFun);
function orangeFun(e:MouseEvent):void {
orange.stop()
}
32
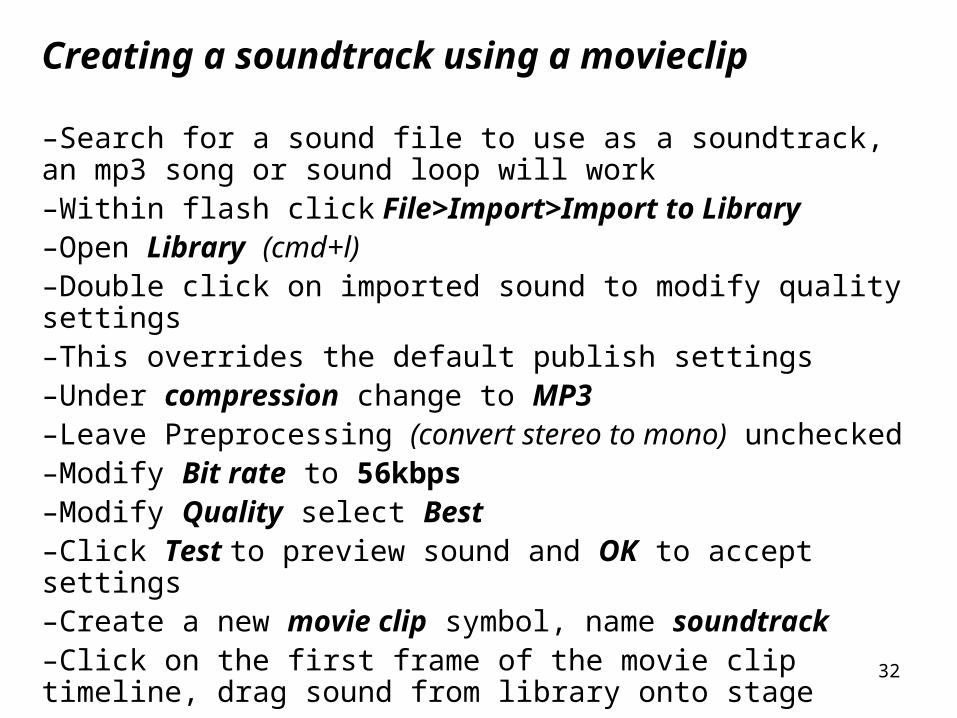
Creating a soundtrack using a movieclip
–Search for a sound file to use as a soundtrack, an mp3 song or sound loop will work–Within flash click File>Import>Import to Library–Open Library (cmd+l)–Double click on imported sound to modify quality settings–This overrides the default publish settings–Under compression change to MP3 –Leave Preprocessing (convert stereo to mono) unchecked–Modify Bit rate to 56kbps–Modify Quality select Best–Click Test to preview sound and OK to accept settings–Create a new movie clip symbol, name soundtrack–Click on the first frame of the movie clip timeline, drag sound from library onto stage
Continued

33
Creating a soundtrack using a movieclip
–Press f5 to insert frames so that entire sound (soundwave) shows–Within the Properties inspector verify that Sync is set to Stream–Click on Edit if you wish to edit the sound level–Return to the project timeline (click on Scene 1)–Insert new layer, name soundtrack–Click on frame 1 and drag sound loop movie clip to stage–Extend MC (f5) so that it appears for the duration you want the soundtrack to play–Control>Test Movie
34
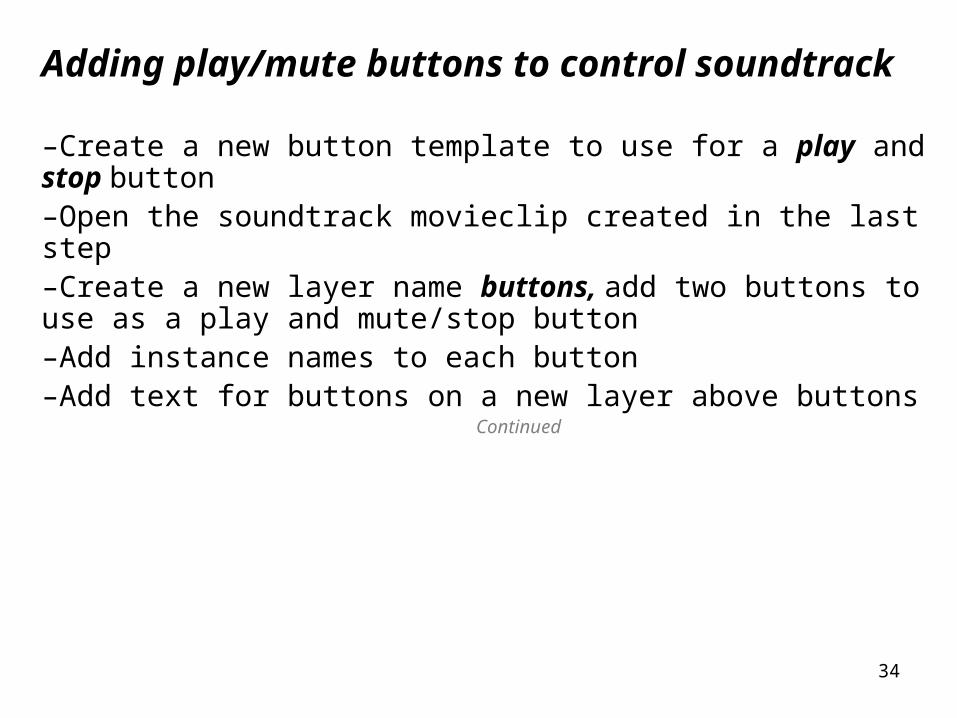
Adding play/mute buttons to control soundtrack
–Create a new button template to use for a play and stop button–Open the soundtrack movieclip created in the last step–Create a new layer name buttons, add two buttons to use as a play and mute/stop button–Add instance names to each button–Add text for buttons on a new layer above buttons
Continued
35
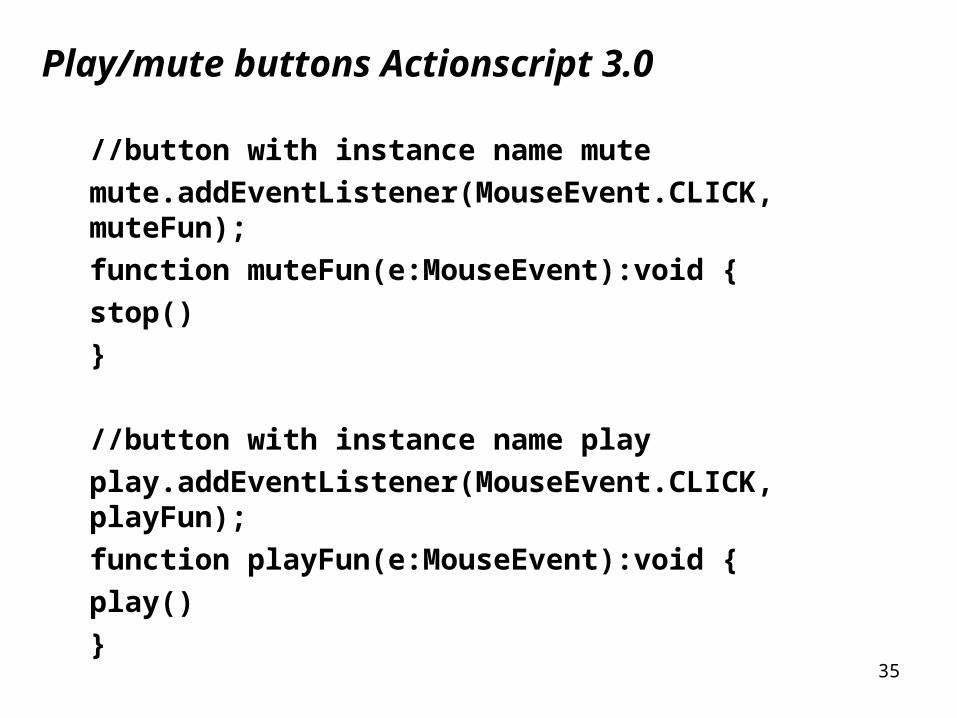
Play/mute buttons Actionscript 3.0
//button with instance name mute
mute.addEventListener(MouseEvent.CLICK, muteFun);
function muteFun(e:MouseEvent):void {
stop()
}
//button with instance name play
play.addEventListener(MouseEvent.CLICK, playFun);
function playFun(e:MouseEvent):void {
play()
}
36
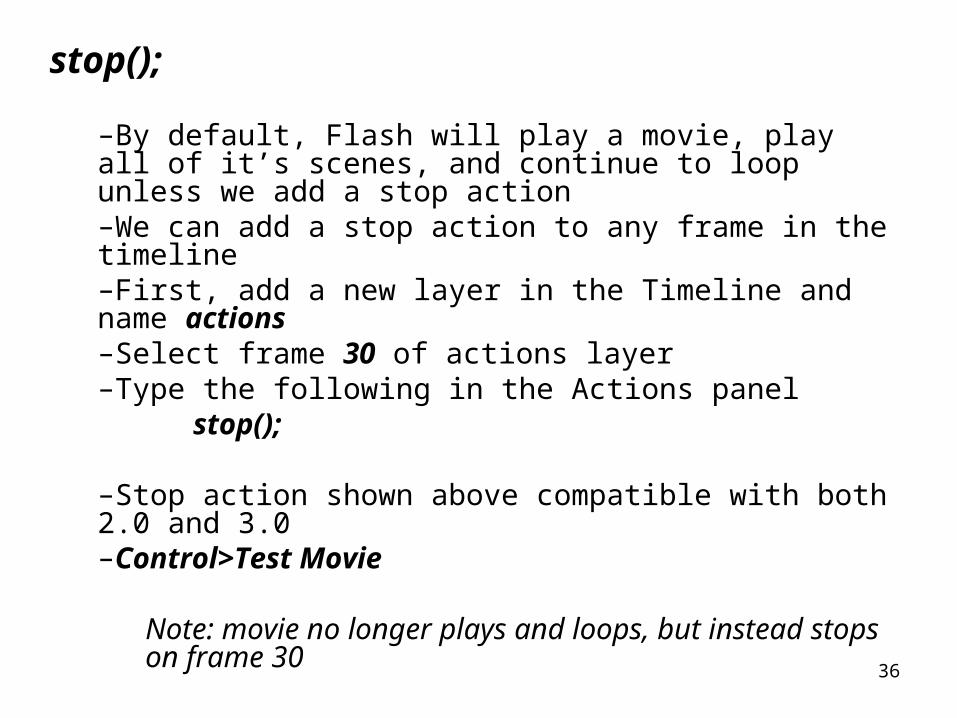
stop();
–By default, Flash will play a movie, play all of it’s scenes, and continue to loop unless we add a stop action–We can add a stop action to any frame in the timeline–First, add a new layer in the Timeline and name actions–Select frame 30 of actions layer–Type the following in the Actions panel
stop();
–Stop action shown above compatible with both 2.0 and 3.0–Control>Test Movie
Note: movie no longer plays and loops, but instead stops on frame 30
37
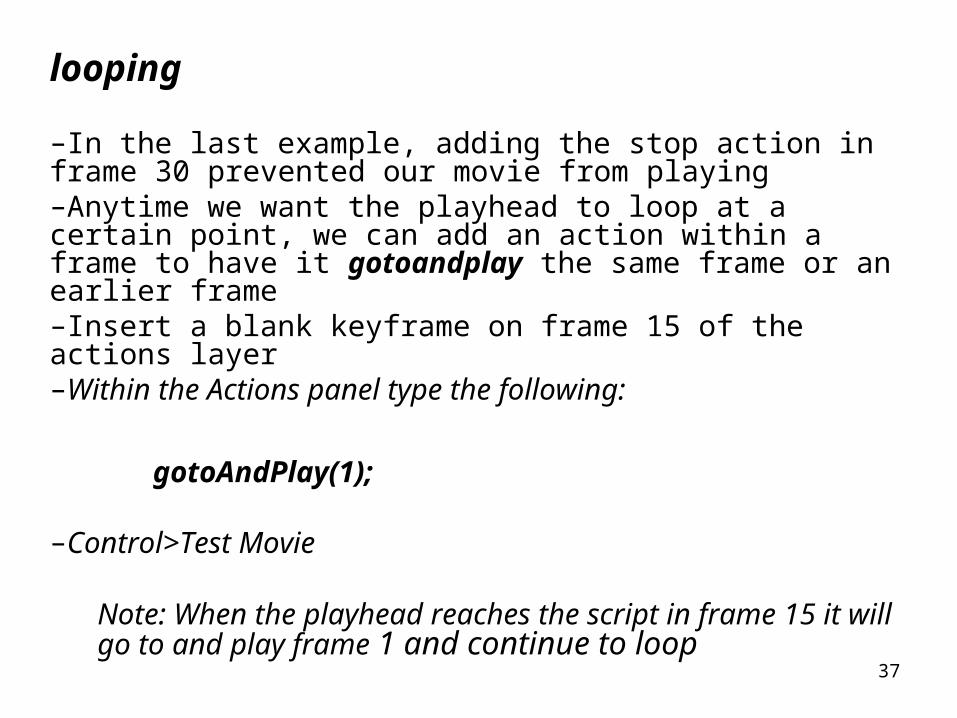
looping
–In the last example, adding the stop action in frame 30 prevented our movie from playing–Anytime we want the playhead to loop at a certain point, we can add an action within a frame to have it gotoandplay the same frame or an earlier frame–Insert a blank keyframe on frame 15 of the actions layer –Within the Actions panel type the following:
gotoAndPlay(1);
–Control>Test Movie
Note: When the playhead reaches the script in frame 15 it will go to and play frame 1 and continue to loop
38
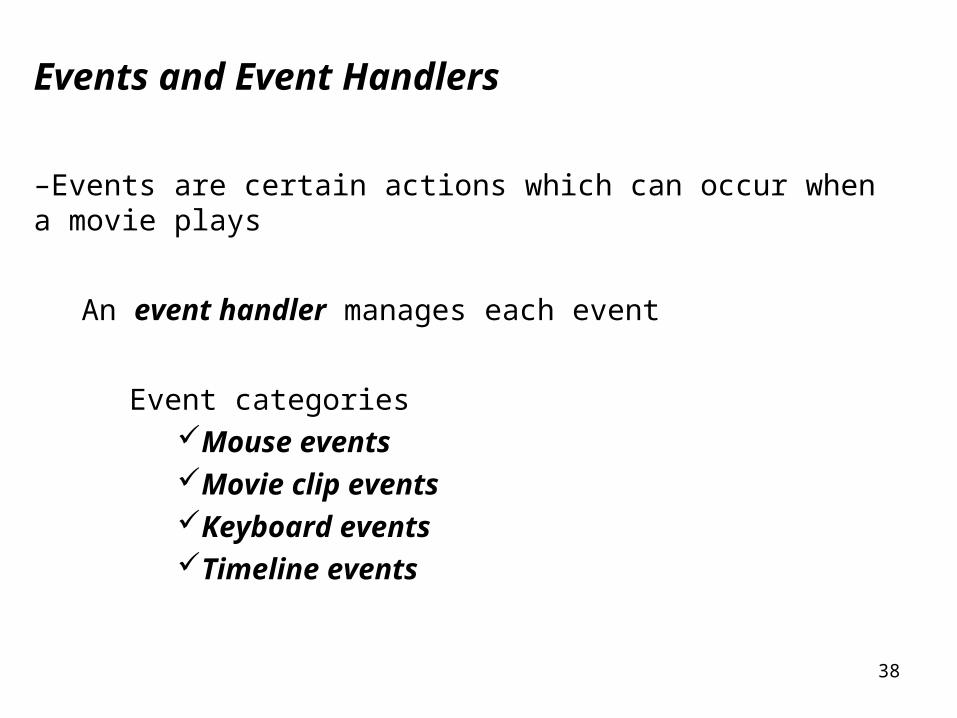
Events and Event Handlers
–Events are certain actions which can occur when a movie plays
An event handler manages each event
Event categoriesMouse eventsMovie clip eventsKeyboard eventsTimeline events
39
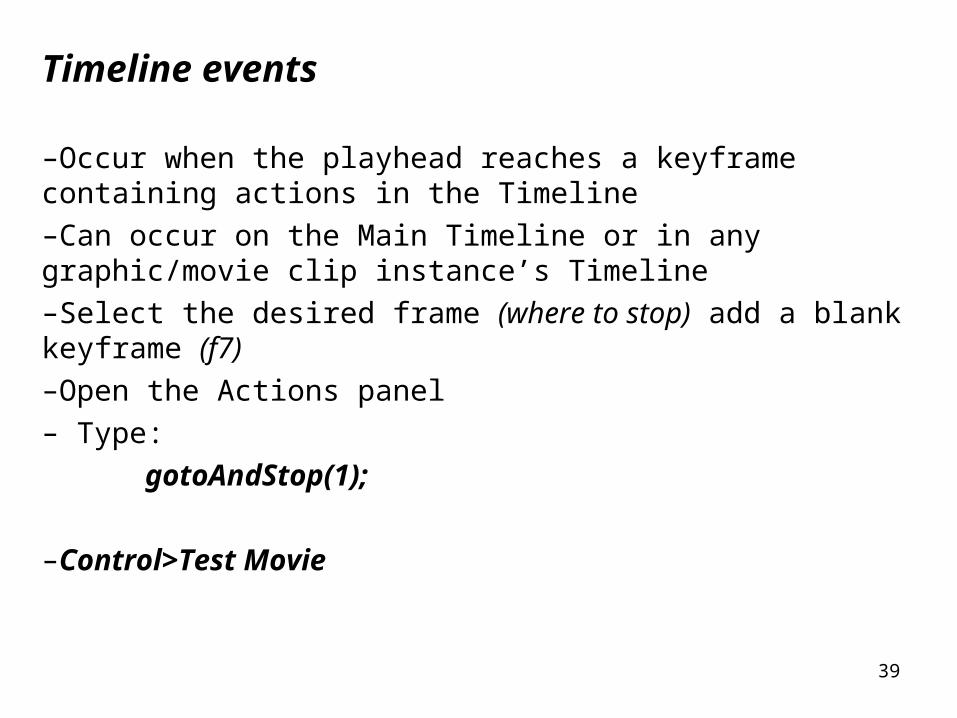
Timeline events
–Occur when the playhead reaches a keyframe containing actions in the Timeline
–Can occur on the Main Timeline or in any graphic/movie clip instance’s Timeline
–Select the desired frame (where to stop) add a blank keyframe (f7)
–Open the Actions panel
– Type:
gotoAndStop(1);
–Control>Test Movie

40
Targeting Movie clips
–Alternatively we could have used target paths to map to named instances, variables, and objects within the movie–You must first give an object an instance name within the property inspector before using the target path to map to that object–Target path is an icon located within Action Panel–Click on target path icon–Select desired target path (select the instance name that you want the movie to go to and play), then click Ok–Actionscript will add location, add desired action, period must appear after path as shown below
_root.play();
–Control>Test Movie
continued

41
dot syntax reviewed
this.boarder.play();
This reads, find an object called boarder located in this timeline (where action is located) and then play
_root.boarder.play();
This reads, return to the main scene 1 timeline, find an object called boarder and then play
42
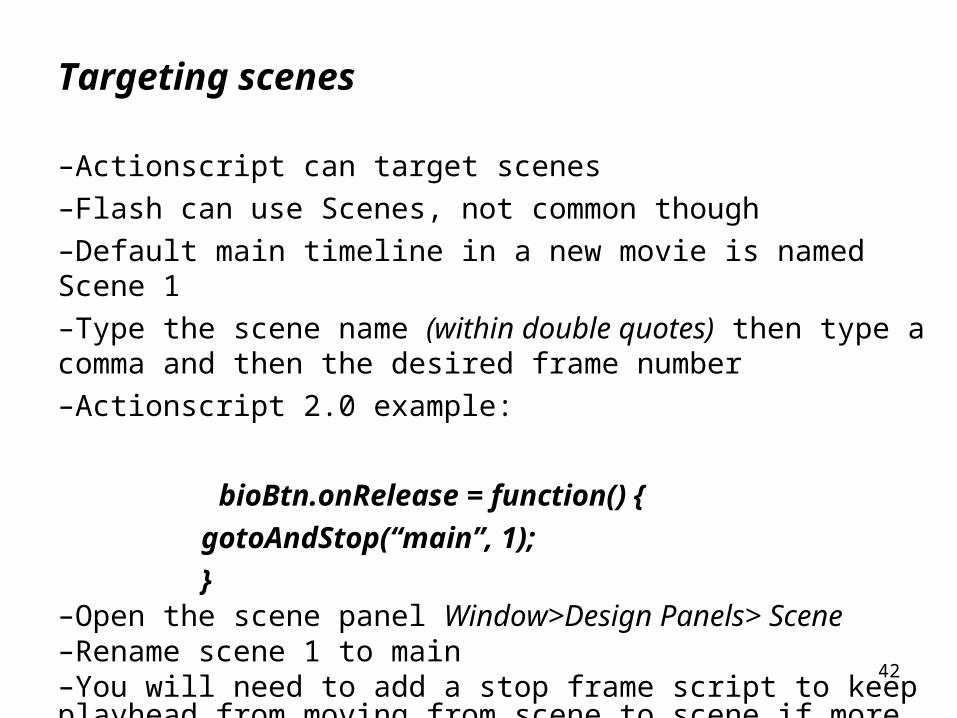
Targeting scenes
–Actionscript can target scenes
–Flash can use Scenes, not common though
–Default main timeline in a new movie is named Scene 1
–Type the scene name (within double quotes) then type a comma and then the desired frame number
–Actionscript 2.0 example:
bioBtn.onRelease = function() {
gotoAndStop(“main”, 1);
}–Open the scene panel Window>Design Panels> Scene–Rename scene 1 to main–You will need to add a stop frame script to keep playhead from moving from scene to scene if more than one scene
43
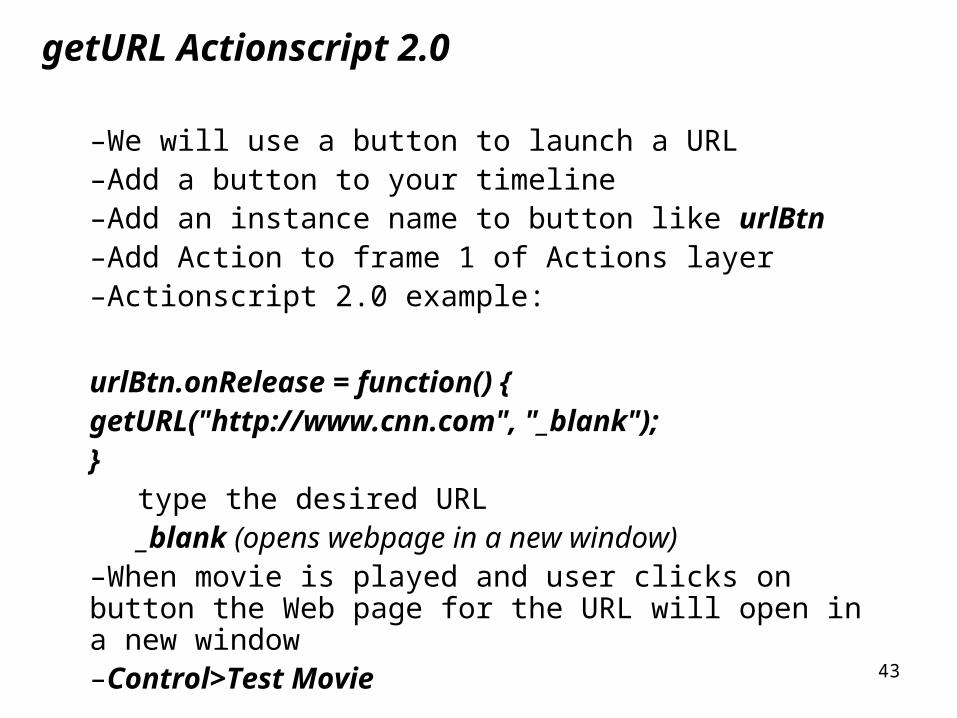
getURL Actionscript 2.0
–We will use a button to launch a URL–Add a button to your timeline–Add an instance name to button like urlBtn–Add Action to frame 1 of Actions layer–Actionscript 2.0 example:
urlBtn.onRelease = function() {getURL("http://www.cnn.com", "_blank");}
type the desired URL _blank (opens webpage in a new window)
–When movie is played and user clicks on button the Web page for the URL will open in a new window–Control>Test Movie
44
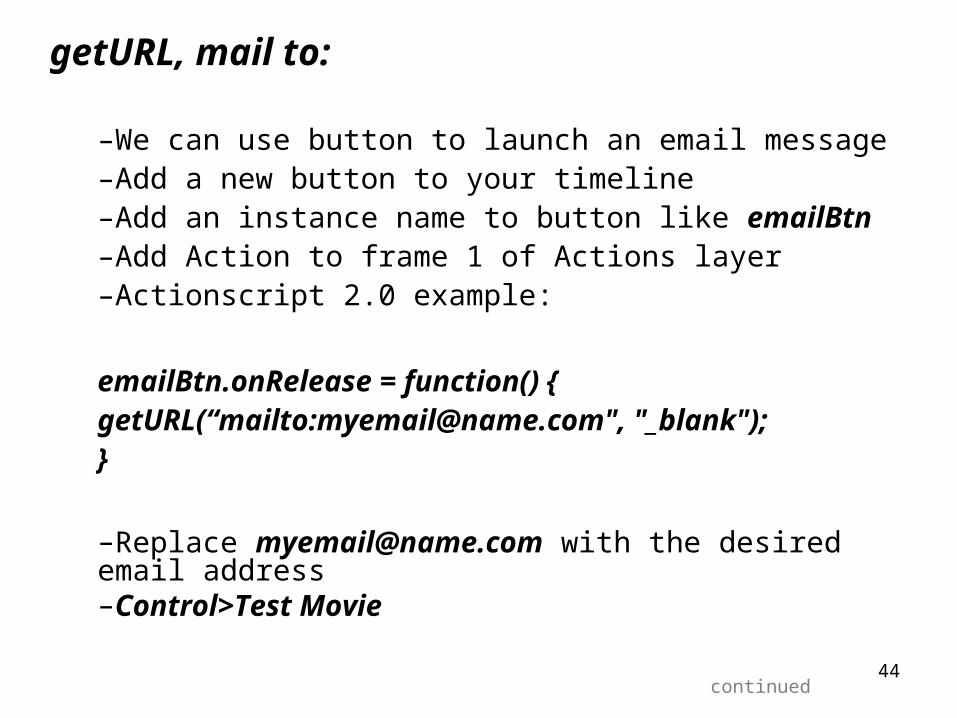
getURL, mail to:
–We can use button to launch an email message–Add a new button to your timeline–Add an instance name to button like emailBtn–Add Action to frame 1 of Actions layer–Actionscript 2.0 example:
emailBtn.onRelease = function() {getURL(“mailto:[email protected]", "_blank");}
–Replace [email protected] with the desired email address–Control>Test Movie
continued
45
getURL, mail to: problems
–When movie is played and user clicks on button the Default email editor will open–Only works if user has a default email program like outlook set up on their computer–Not supported on the macs used in lab since there is no email program installed–As a result this is not a reliable way to link to your email since many people do not use email programs, web email is not an email program

46
Behaviors Panel (obsolete, don’t use) -not available in Actionscript 3.0
Behaviors give the ability to add specific functionality to movies without having to write out or modify any Actionscript (A behavior is basically a pre-created or canned Actionscript action)
Categories of behaviors:DataEmbedded VideoMediaMovieclipSoundWeb
Each category provides menu options for selecting a specific behavior
-end