this presentation was given to the newbury astronomical ... · this presentation was given to the...
TRANSCRIPT

This presentation was given to the Newbury Astronomical Society
Beginners Section on Wednesday 17th April 2019.
1

In our modern age of technology there is a great interest in science in general
but particularly in astronomy. There are now many facets to the hobby of
astronomy involving many branches of modern technology. This technology
is more readily available to the interested amateur now than any time in our
history. Scientific instruments such as a good telescope that fifty years ago
would have cost what an average man earned in a year can now cost closer to
the average earnings in one month. The quality of these instruments has also
improved enormously. They also have the advantage of modern electronics
including computerised goto guidance systems.
Most amateur astronomers have some interest in computers and with the
availability of many types of good quality cameras at very reasonable prices,
have an interest in photography. Combining all this modern technology has
produced a great boom in the branch of astronomy we now know as astro-
imaging.
2
There are three main ways to use a camera to take pictures of the night sky,
these are:
1 Direct imaging and with the camera on a tripod.
2 With the camera fixed to a telescope mounting.
3 Taking pictures through a telescope.
3
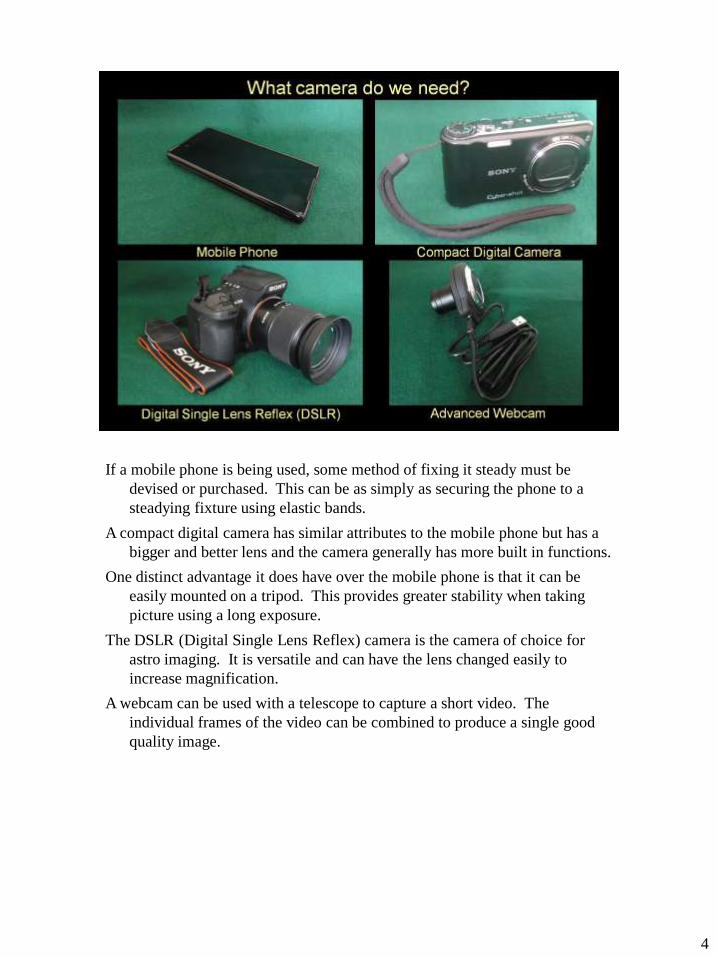
If a mobile phone is being used, some method of fixing it steady must be
devised or purchased. This can be as simply as securing the phone to a
steadying fixture using elastic bands.
A compact digital camera has similar attributes to the mobile phone but has a
bigger and better lens and the camera generally has more built in functions.
One distinct advantage it does have over the mobile phone is that it can be
easily mounted on a tripod. This provides greater stability when taking
picture using a long exposure.
The DSLR (Digital Single Lens Reflex) camera is the camera of choice for
astro imaging. It is versatile and can have the lens changed easily to
increase magnification.
A webcam can be used with a telescope to capture a short video. The
individual frames of the video can be combined to produce a single good
quality image.
4
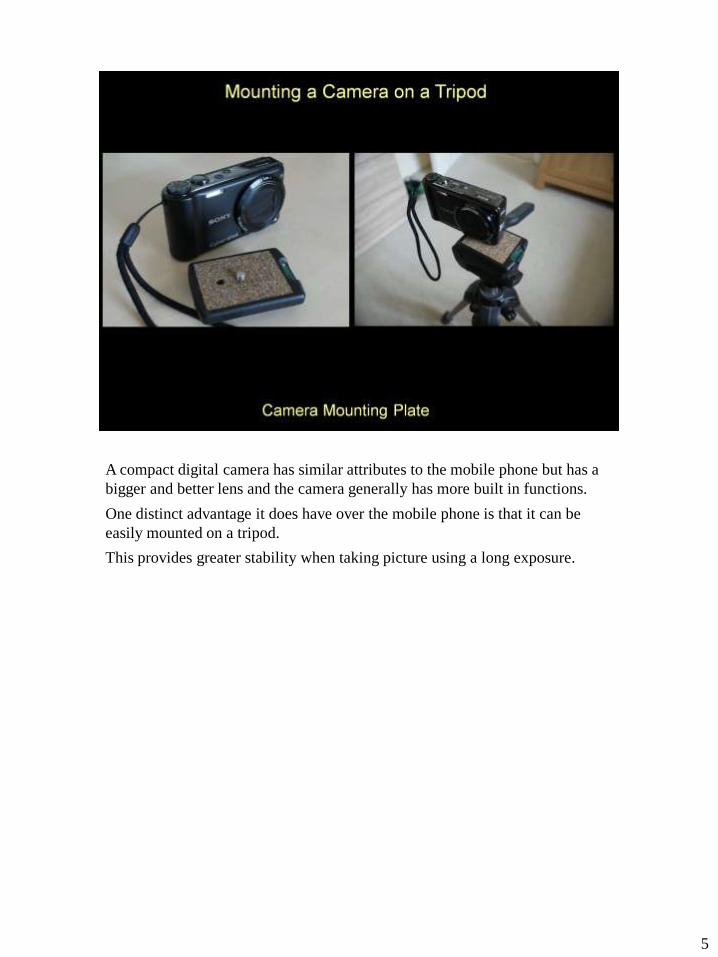
A compact digital camera has similar attributes to the mobile phone but has a
bigger and better lens and the camera generally has more built in functions.
One distinct advantage it does have over the mobile phone is that it can be
easily mounted on a tripod.
This provides greater stability when taking picture using a long exposure.
5
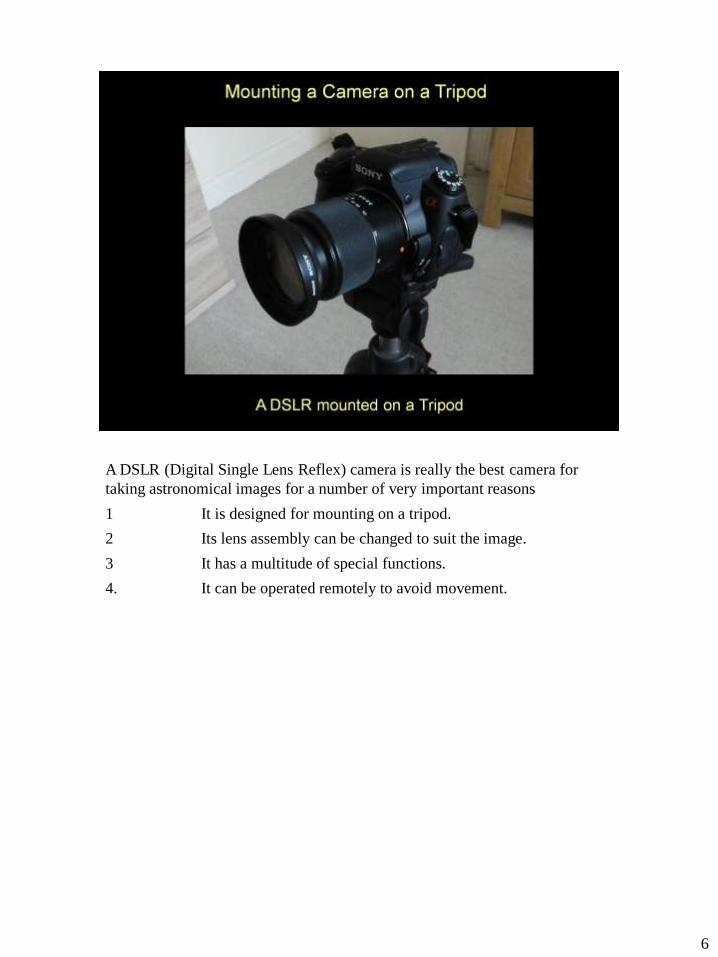
A DSLR (Digital Single Lens Reflex) camera is really the best camera for
taking astronomical images for a number of very important reasons
1 It is designed for mounting on a tripod.
2 Its lens assembly can be changed to suit the image.
3 It has a multitude of special functions.
4. It can be operated remotely to avoid movement.
6
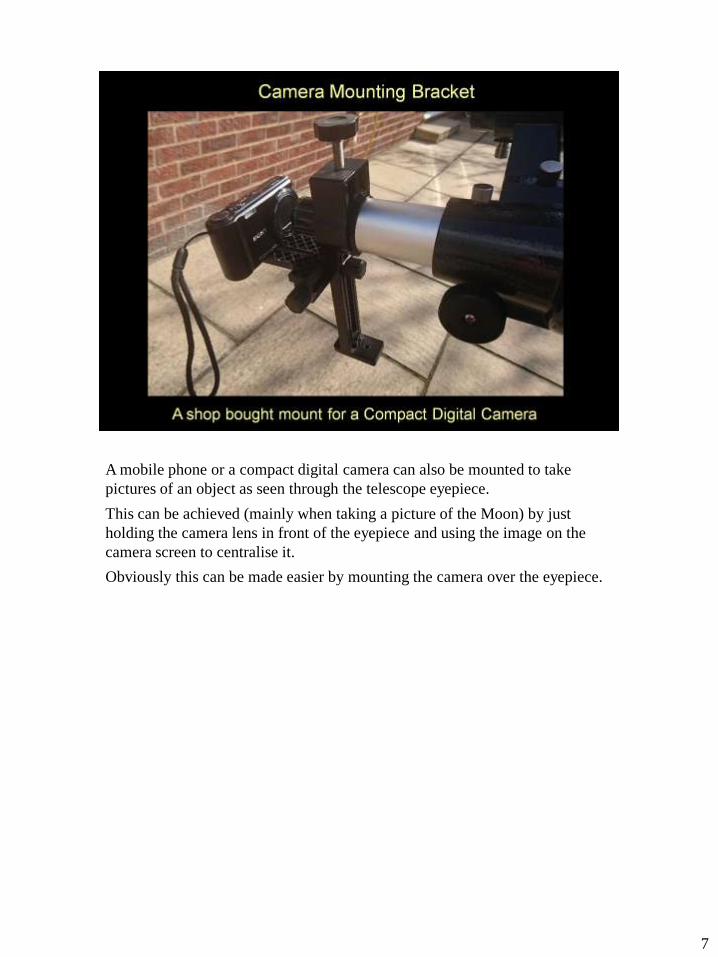
A mobile phone or a compact digital camera can also be mounted to take
pictures of an object as seen through the telescope eyepiece.
This can be achieved (mainly when taking a picture of the Moon) by just
holding the camera lens in front of the eyepiece and using the image on the
camera screen to centralise it.
Obviously this can be made easier by mounting the camera over the eyepiece.
7
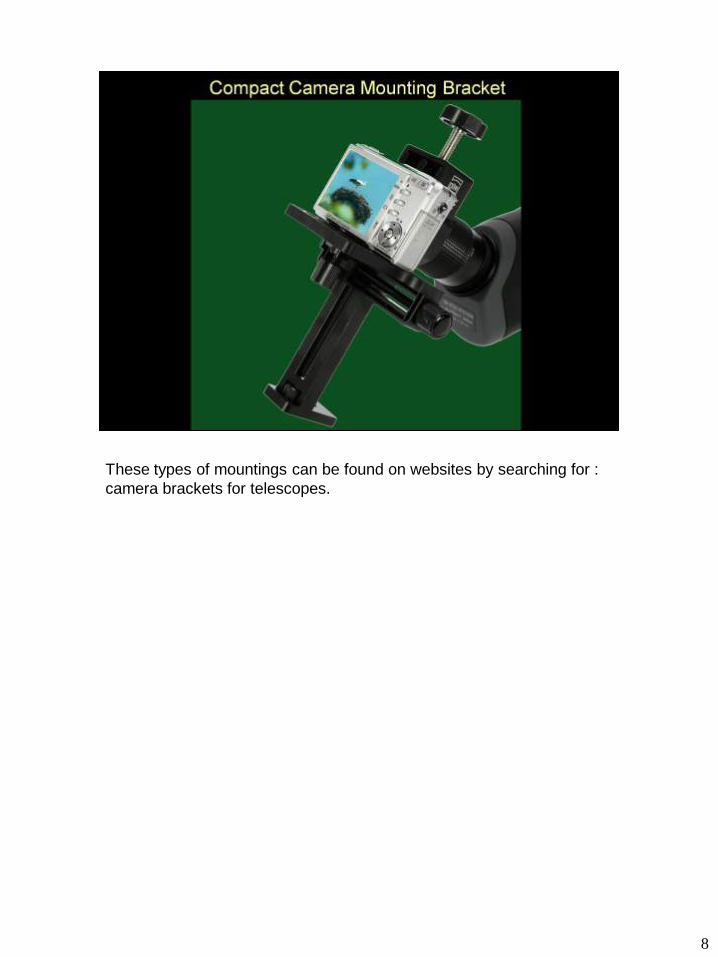
These types of mountings can be found on websites by searching for :
camera brackets for telescopes.
8
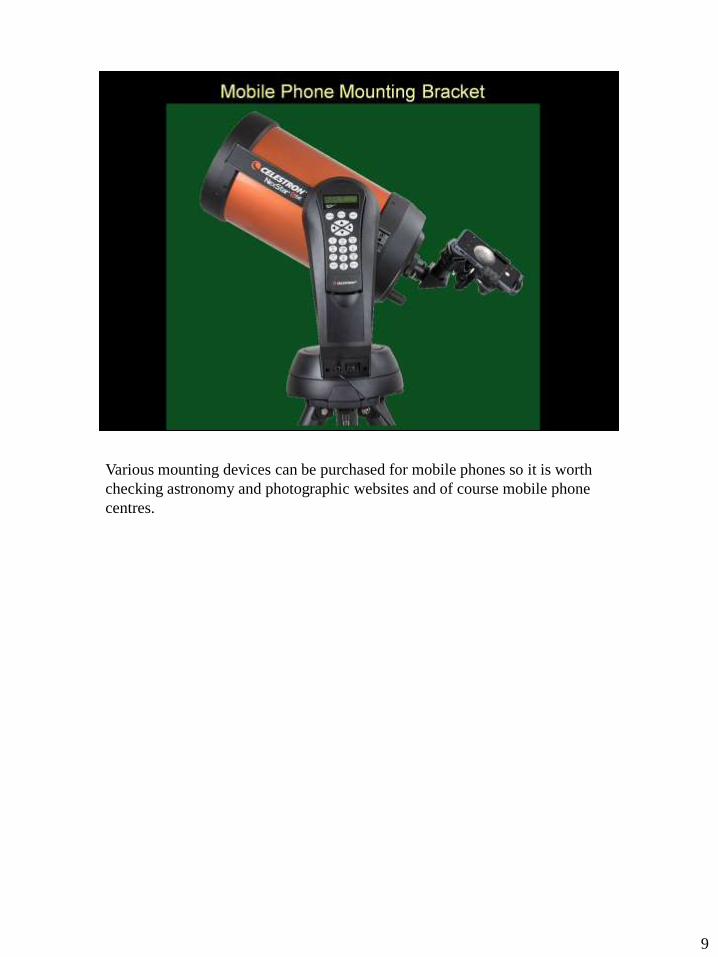
Various mounting devices can be purchased for mobile phones so it is worth
checking astronomy and photographic websites and of course mobile phone
centres.
9
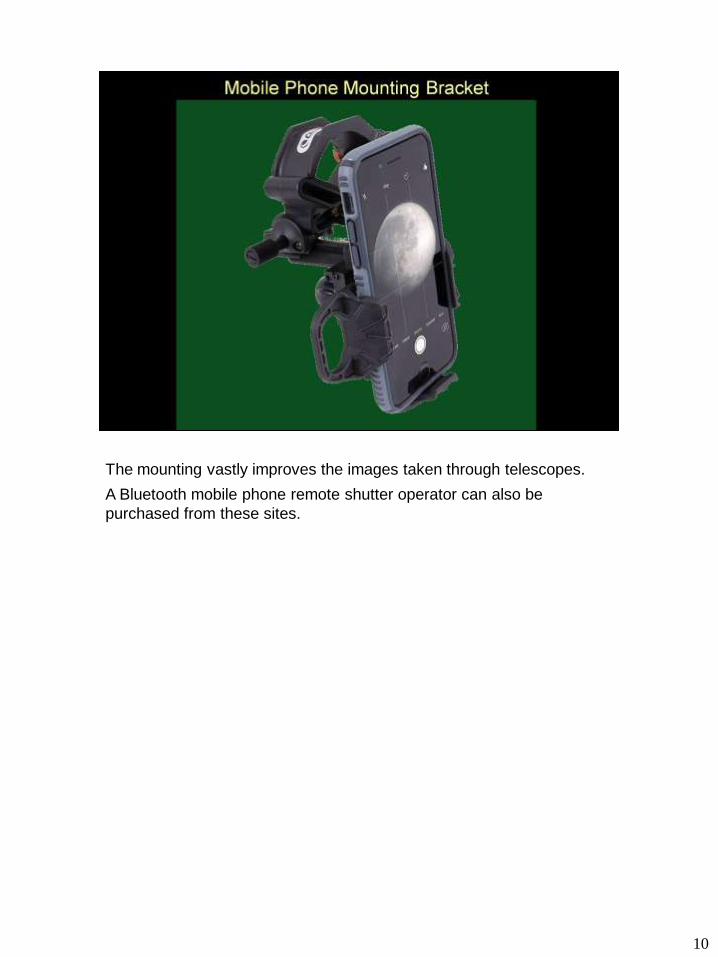
The mounting vastly improves the images taken through telescopes.
A Bluetooth mobile phone remote shutter operator can also be
purchased from these sites.
10
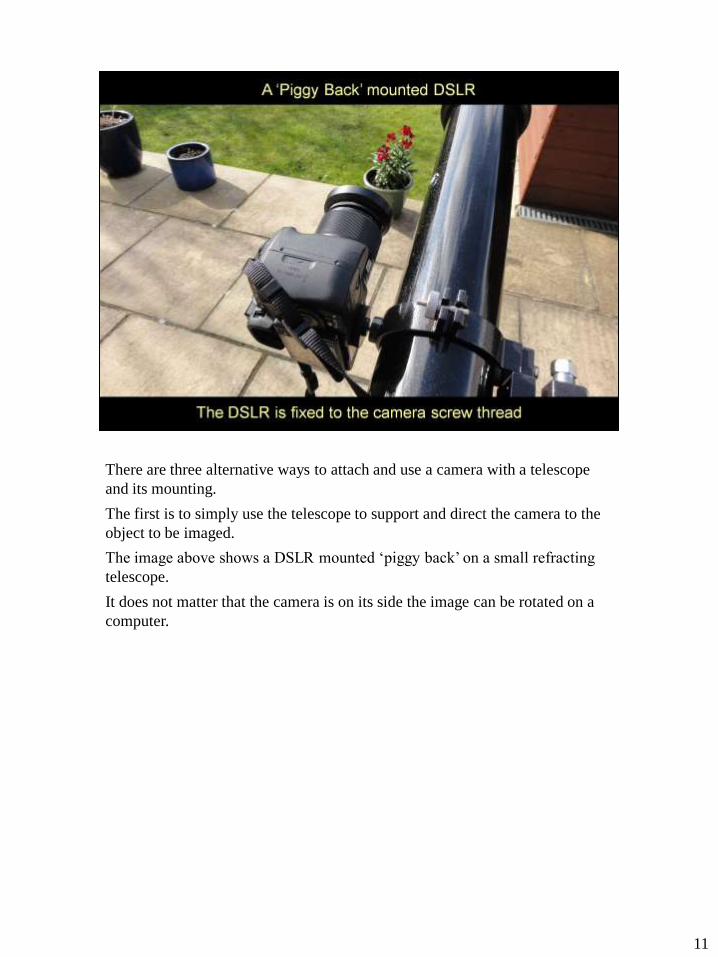
There are three alternative ways to attach and use a camera with a telescope
and its mounting.
The first is to simply use the telescope to support and direct the camera to the
object to be imaged.
The image above shows a DSLR mounted ‘piggy back’ on a small refracting
telescope.
It does not matter that the camera is on its side the image can be rotated on a
computer.
11
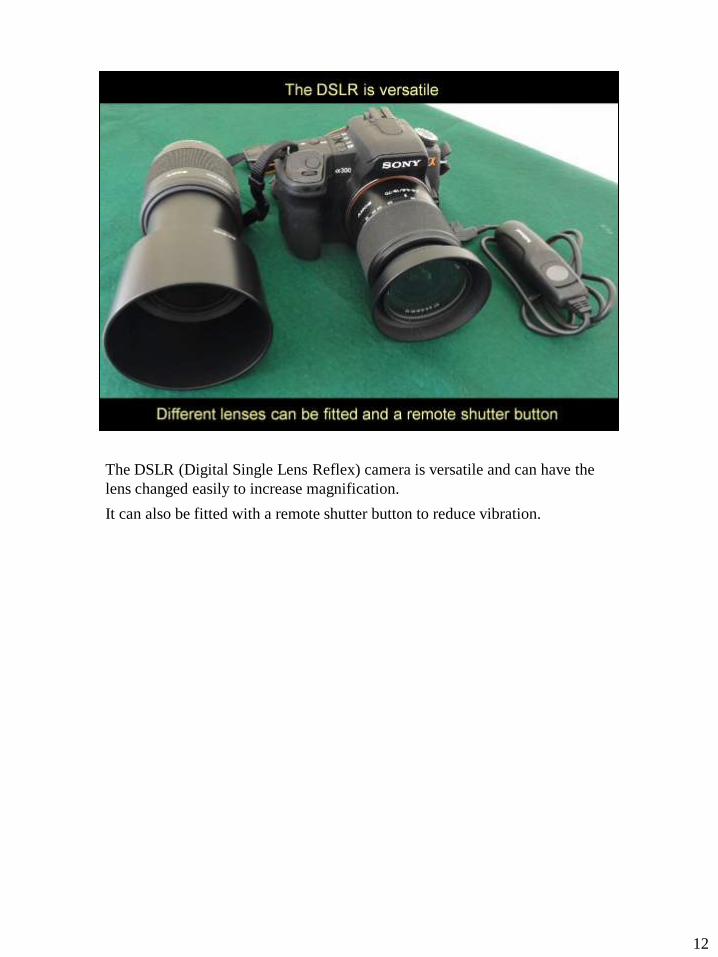
The DSLR (Digital Single Lens Reflex) camera is versatile and can have the
lens changed easily to increase magnification.
It can also be fitted with a remote shutter button to reduce vibration.
12
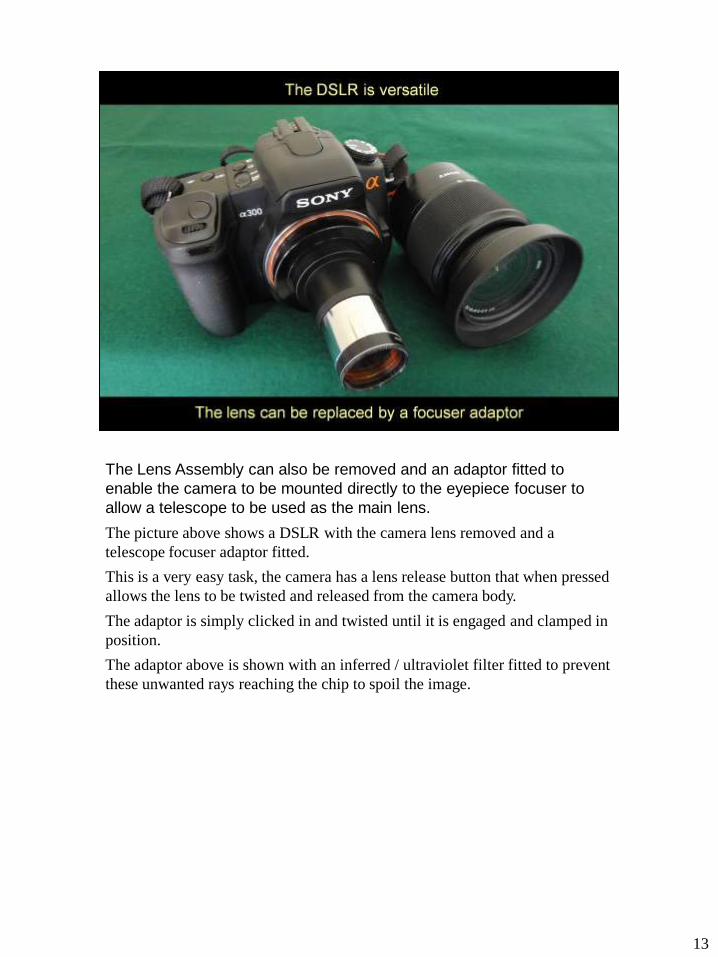
The Lens Assembly can also be removed and an adaptor fitted to
enable the camera to be mounted directly to the eyepiece focuser to
allow a telescope to be used as the main lens.
The picture above shows a DSLR with the camera lens removed and a
telescope focuser adaptor fitted.
This is a very easy task, the camera has a lens release button that when pressed
allows the lens to be twisted and released from the camera body.
The adaptor is simply clicked in and twisted until it is engaged and clamped in
position.
The adaptor above is shown with an inferred / ultraviolet filter fitted to prevent
these unwanted rays reaching the chip to spoil the image.
13
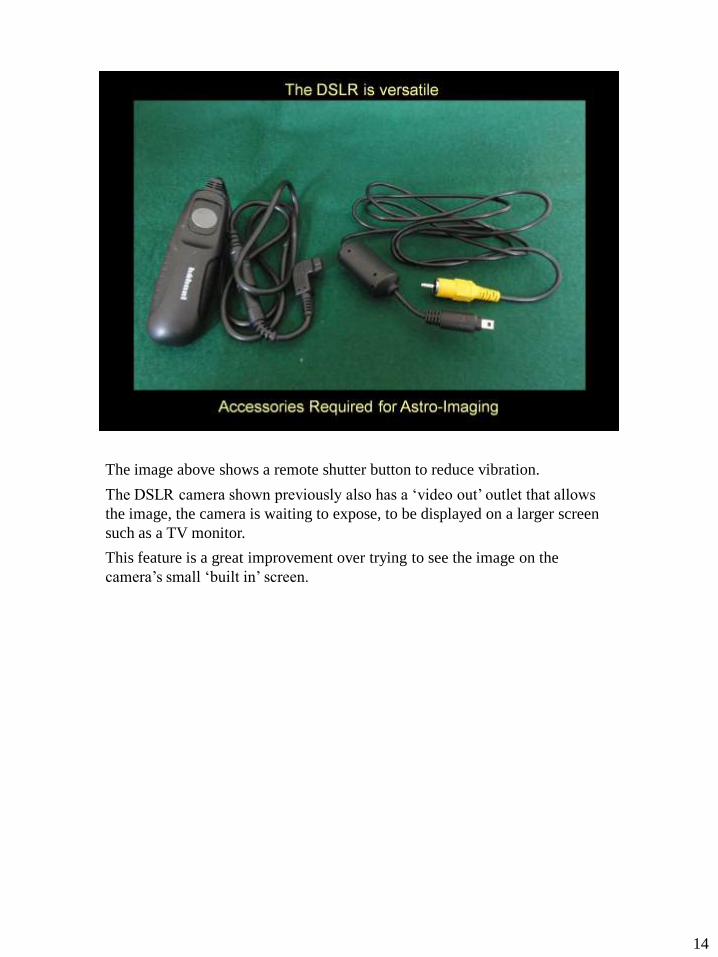
The image above shows a remote shutter button to reduce vibration.
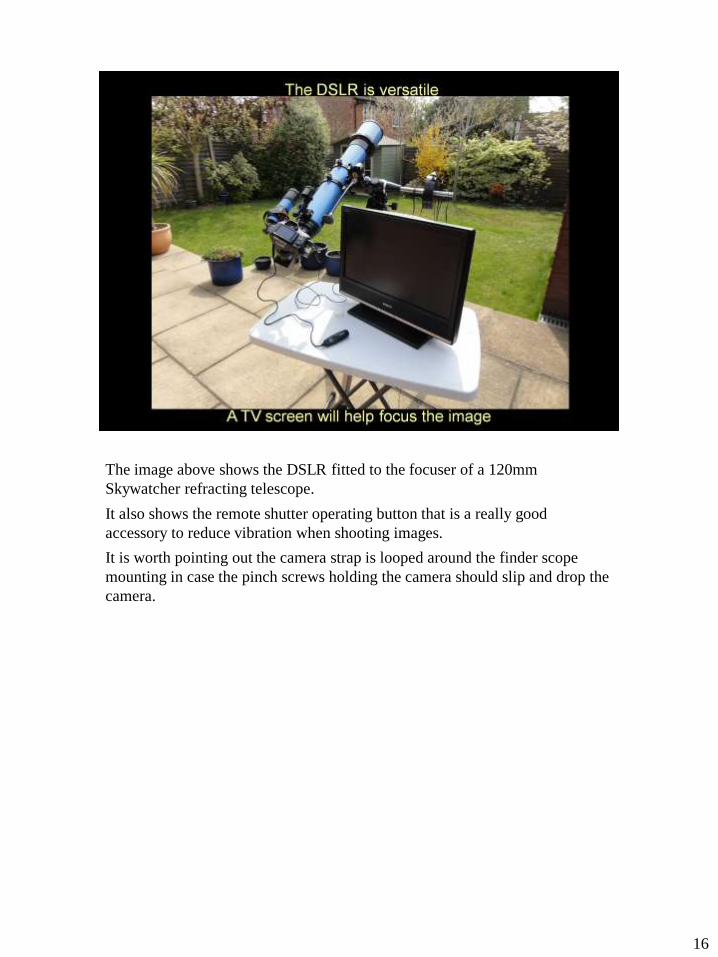
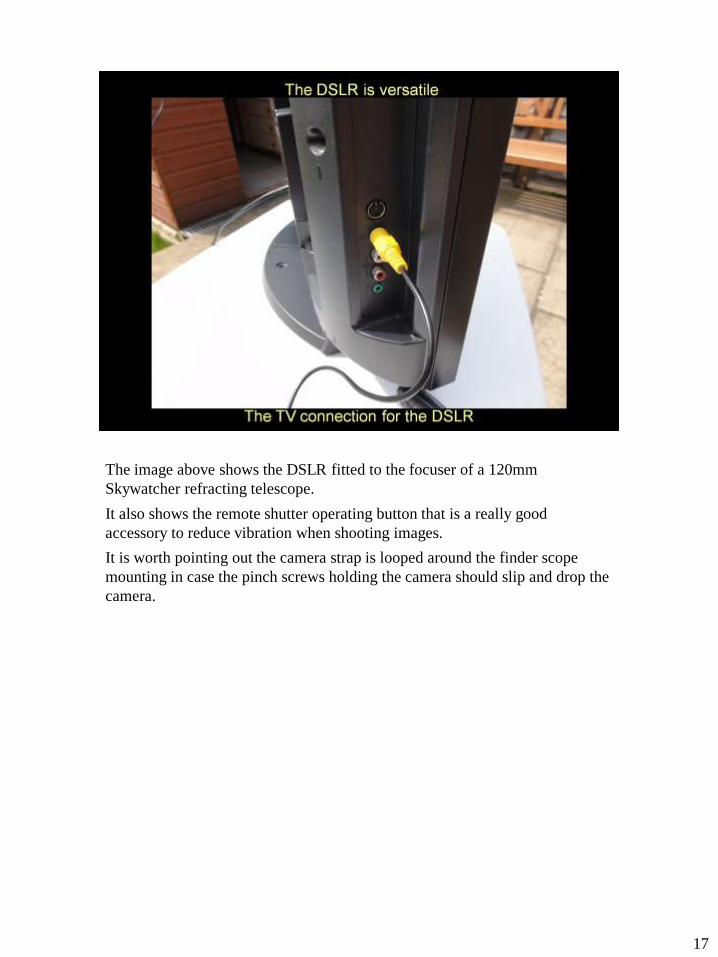
The DSLR camera shown previously also has a ‘video out’ outlet that allows
the image, the camera is waiting to expose, to be displayed on a larger screen
such as a TV monitor.
This feature is a great improvement over trying to see the image on the
camera’s small ‘built in’ screen.
14
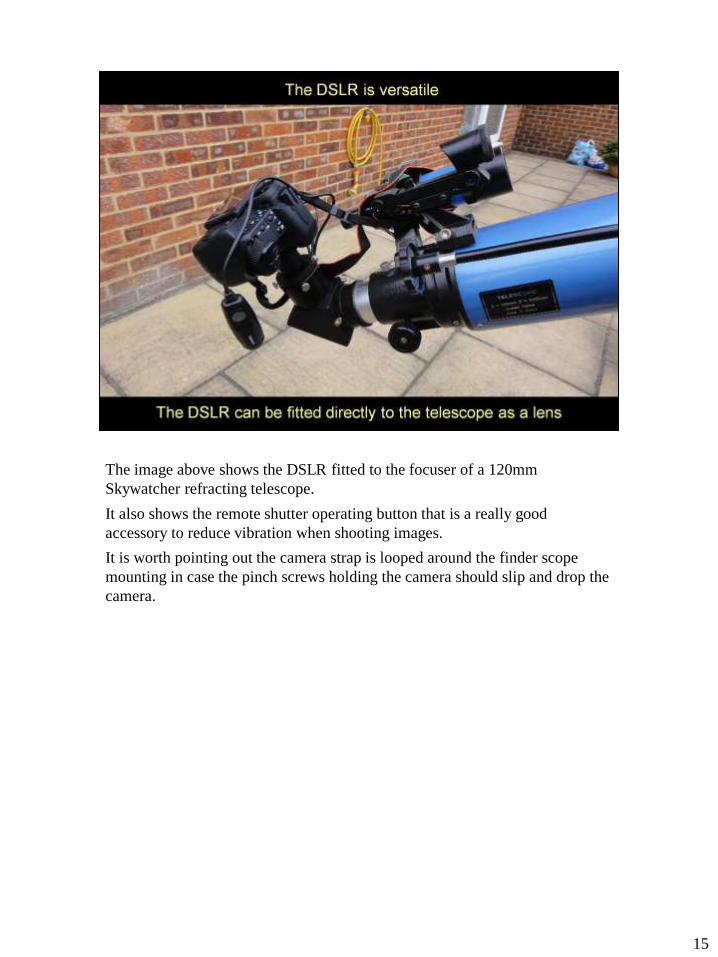
The image above shows the DSLR fitted to the focuser of a 120mm
Skywatcher refracting telescope.
It also shows the remote shutter operating button that is a really good
accessory to reduce vibration when shooting images.
It is worth pointing out the camera strap is looped around the finder scope
mounting in case the pinch screws holding the camera should slip and drop the
camera.
15
The image above shows the DSLR fitted to the focuser of a 120mm
Skywatcher refracting telescope.
It also shows the remote shutter operating button that is a really good
accessory to reduce vibration when shooting images.
It is worth pointing out the camera strap is looped around the finder scope
mounting in case the pinch screws holding the camera should slip and drop the
camera.
16
The image above shows the DSLR fitted to the focuser of a 120mm
Skywatcher refracting telescope.
It also shows the remote shutter operating button that is a really good
accessory to reduce vibration when shooting images.
It is worth pointing out the camera strap is looped around the finder scope
mounting in case the pinch screws holding the camera should slip and drop the
camera.
17
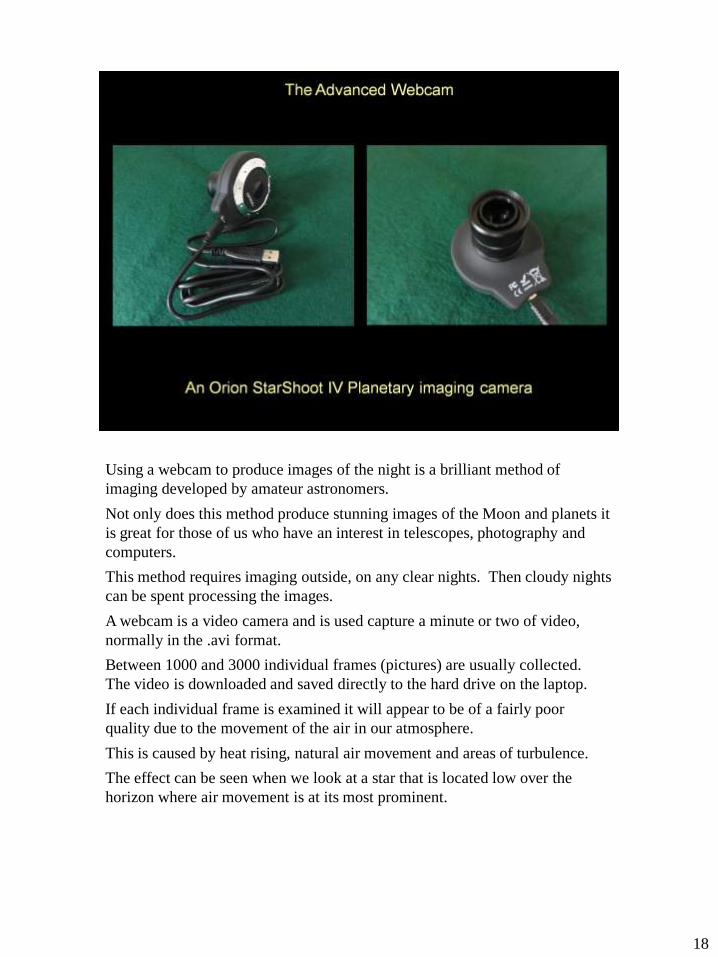
Using a webcam to produce images of the night is a brilliant method of
imaging developed by amateur astronomers.
Not only does this method produce stunning images of the Moon and planets it
is great for those of us who have an interest in telescopes, photography and
computers.
This method requires imaging outside, on any clear nights. Then cloudy nights
can be spent processing the images.
A webcam is a video camera and is used capture a minute or two of video,
normally in the .avi format.
Between 1000 and 3000 individual frames (pictures) are usually collected.
The video is downloaded and saved directly to the hard drive on the laptop.
If each individual frame is examined it will appear to be of a fairly poor
quality due to the movement of the air in our atmosphere.
This is caused by heat rising, natural air movement and areas of turbulence.
The effect can be seen when we look at a star that is located low over the
horizon where air movement is at its most prominent.
18

The image above shows a webcam attached to a telescope and connected to a
laptop via the USB connection.
It is of course necessary to first point the telescope so the target can be seen in
the eyepiece.
Then the eyepiece is removed and the camera fitted in its place.
When the webcam software is opened it appears with a window to show what
the camera is going to capture.
It will be necessary to focus the image using the telescope focuser and
centralise the target.
By collecting a video of short exposure frames the amount of movement is
minimised.
It is however in the smaller details on the image that the ‘blurring’ effect is
most noticeable.
Each feature on the image recorded will appear slightly different on each
frame.
Our task is to average out this movement by combining all the separate frames
into one image.
19
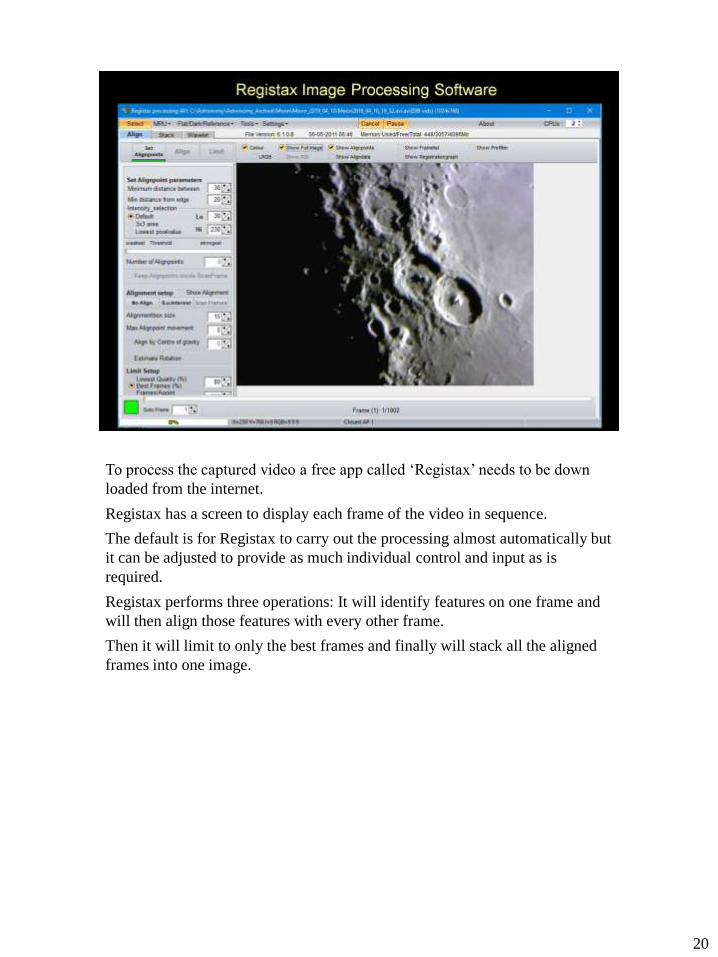
To process the captured video a free app called ‘Registax’ needs to be down
loaded from the internet.
Registax has a screen to display each frame of the video in sequence.
The default is for Registax to carry out the processing almost automatically but
it can be adjusted to provide as much individual control and input as is
required.
Registax performs three operations: It will identify features on one frame and
will then align those features with every other frame.
Then it will limit to only the best frames and finally will stack all the aligned
frames into one image.
20
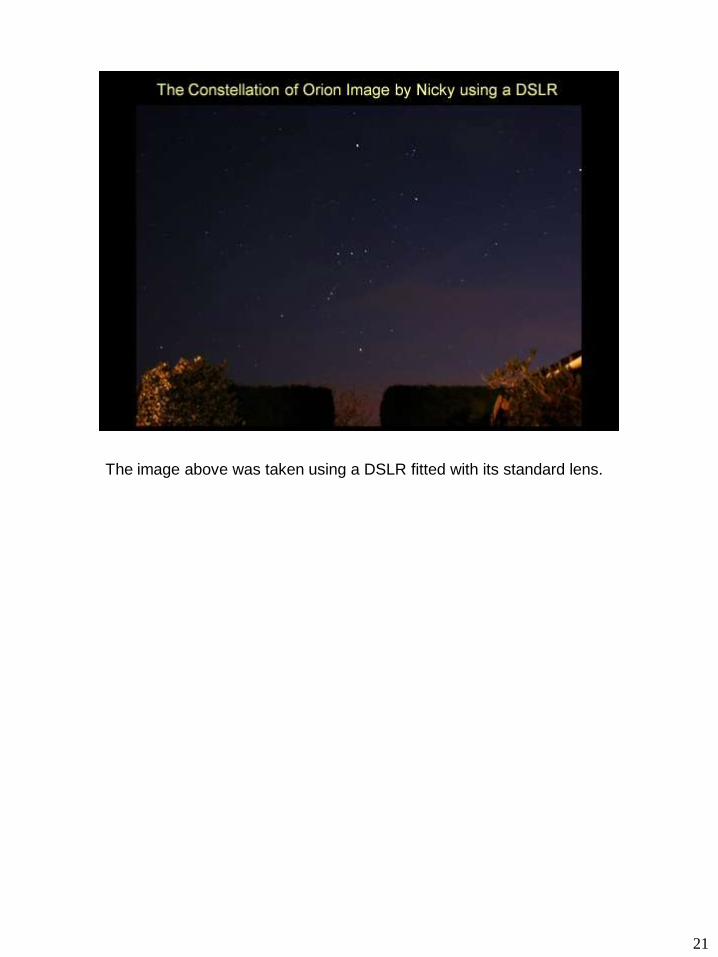
The image above was taken using a DSLR fitted with its standard lens.
21

These two images were captured using a DSLR fitted directly to the
focuser on a 120mm refracting telescope.
The images have not been processed, they are as they were
downloaded from the camera to the computer.
22
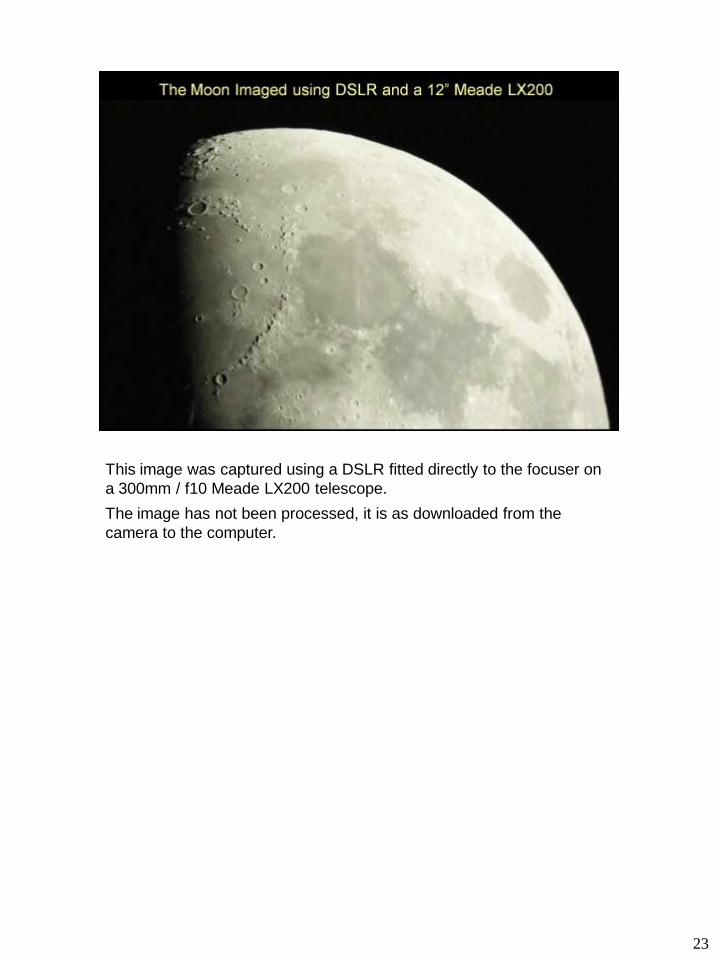
This image was captured using a DSLR fitted directly to the focuser on
a 300mm / f10 Meade LX200 telescope.
The image has not been processed, it is as downloaded from the
camera to the computer.
23
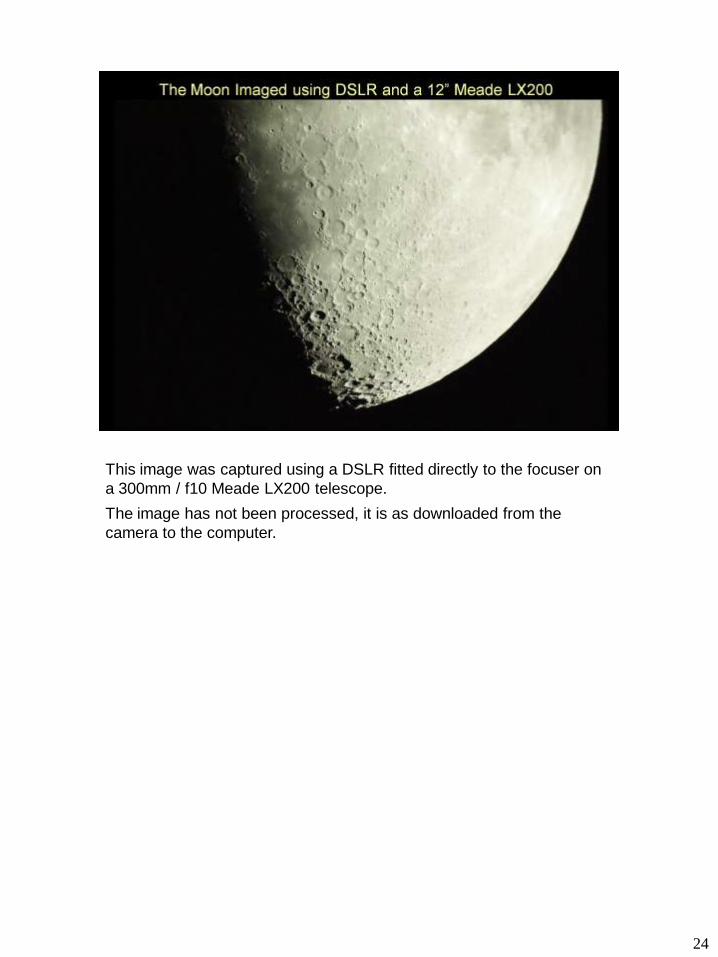
This image was captured using a DSLR fitted directly to the focuser on
a 300mm / f10 Meade LX200 telescope.
The image has not been processed, it is as downloaded from the
camera to the computer.
24
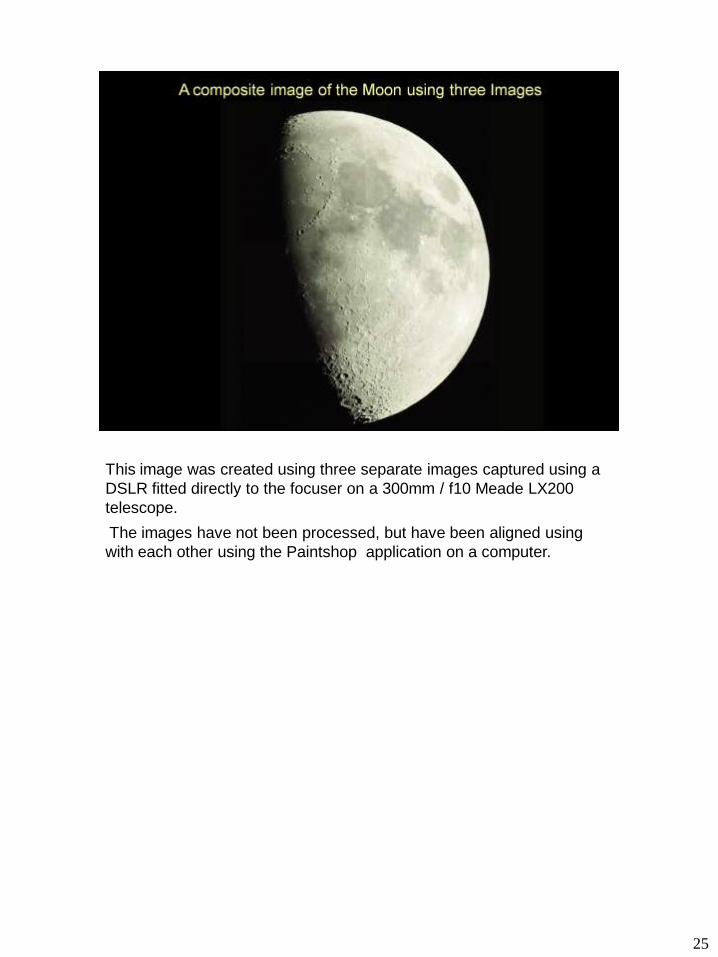
This image was created using three separate images captured using a
DSLR fitted directly to the focuser on a 300mm / f10 Meade LX200
telescope.
The images have not been processed, but have been aligned using
with each other using the Paintshop application on a computer.
25
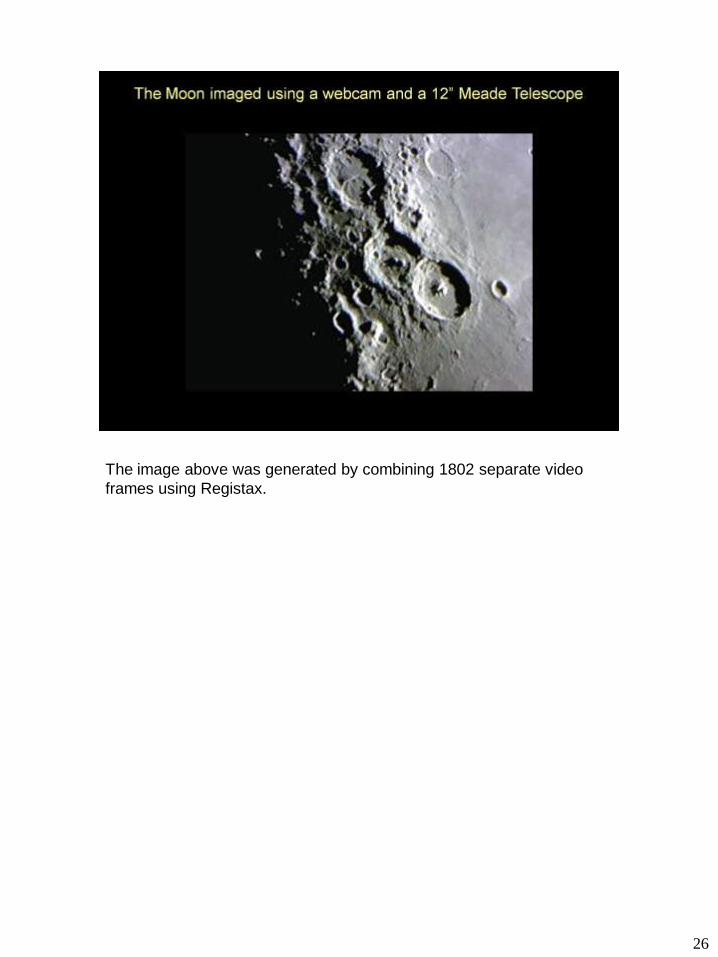
The image above was generated by combining 1802 separate video
frames using Registax.
26
27
28
29
T
30
31