subwoofer installation in 2008 prius with jbl audio
TRANSCRIPT

1
Subwoofer installation in 2008 Prius (with JBL audio system):
Done by: Murali Kudipudi
Done on: 8/10/2012
Goal in this document:
I have a 2008 Prius. I recently bought it used. So far, I love it. I am little disappointed with sound. I
thought I add a subwoofer to fill in those lower frequencies that the Prius sound system lacks. My goal is
to connect JBL speaker outputs to speaker level inputs (high level input) to my subwoofer amplifier. I
read in different web sites that JBL amplifier does not feed full range to the front speakers. But it does
feed full range to the rear speakers. So I thought rear speaker outputs from JBL amplifier is the good
place to tap into for the input to my sub-woofer.
Tools I have used:
1. Wire cutter
2. Wire crimper
3. Multi-meter
4. Screw driver.
My experience with Audio installs:
Zero. But I have good understanding on circuits, electronics and the current flow.
References:
1. Prius Chat Forum: I cannot emphasize enough. All the people are so helpful. It would not have been
possible for me to do this without the help of that web site.
Time:
It took around two and a half hours.
Disclaimer:
This method worked for me. I am not responsible for any losses that are incurred by following this
document.

2
Parts I bought:
• Boss BASS600 600 Watt Subwoofer with built in amplifier (Amazon link).
• Boss Kit-2 Complete 8 Gauge Amplifier Installation Kit (Amazon link).

3
• Wire tap-in squeeze connecters (Radioshack link).
Process:
1. First I had to decide where I want to place the Subwoofer. I have decided to put right behind the
rear seat on driver’s side stuck to the wall of the car.
Picture – 1

4
(Taken from the back of the car on passenger side with trunk door open.)
2. Once I have decided, I had to figure out how to run the wires to the JBL amplifier that is under the
passenger seat. I ran the wires through the rear seats, door frames and to the amplifier.
3. Before we start I want to show what I have in the Boss Kit-2 Complete 8 Gauge Amplifier Installation
Kit.
Picture – 2
(It has 8-guage Ground wire, wire enclosure, speaker wire, RCA wire, 8-guage power cable, 15 Amp fuse, remote power wire,
wire terminals and wire ties.)
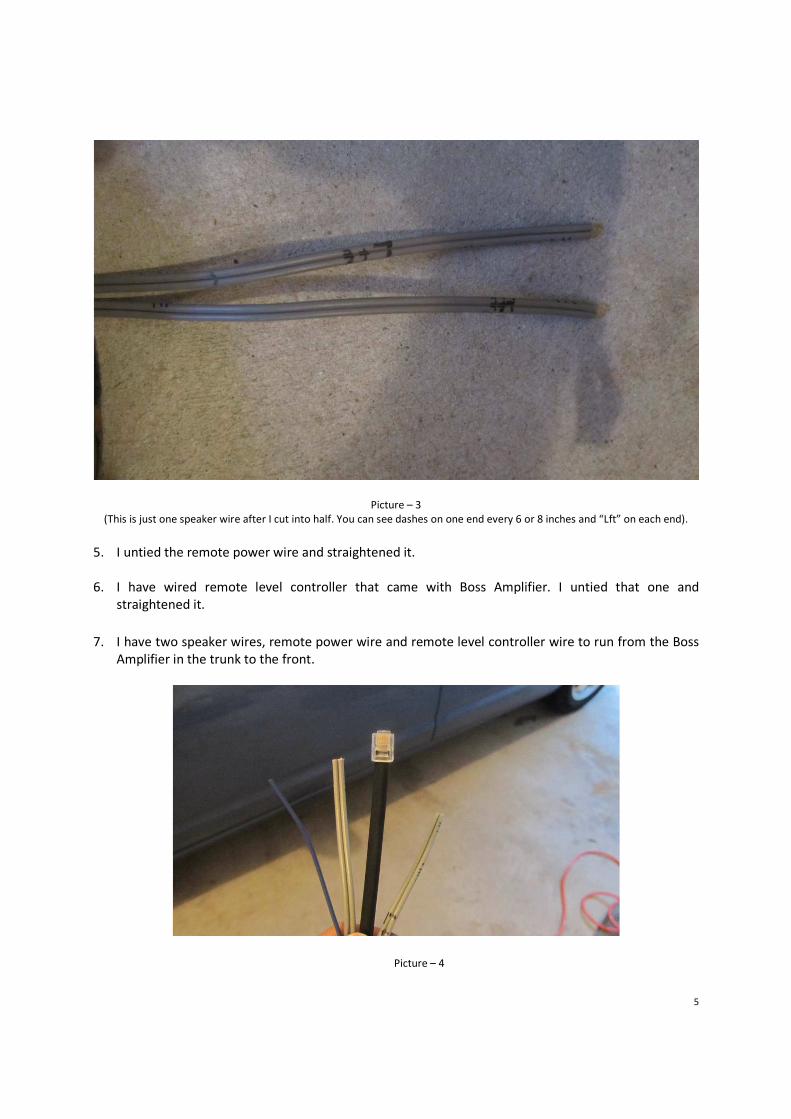
4. I have started with untying speaker wire. It is 30 feet wire with both positive and negatives.
Everything is just grey. My amplifier has high level inputs. So my goal is to get the rear left and right
speaker output’s positive and negative and feed to my amplifier. As I have to differentiate between
which wire I am going to use for positive and which one for negative, I marked dashes on one side of
the wire. After that marking is done, I cut the wire into half. So I have 15 feet of speaker wire that I
know which one is positive and which one is negative. Now I have to know which one is going to be
used for left and which one is for right. So I marked “Lft” on each end of one wire. So I know that will
be used for Left rear channel output (from JBL amplifier) and input (to my Boss Subwoofer
amplifier). This makes my life easier to figure out the right terminals after I run the wires through.
5
Picture – 3
(This is just one speaker wire after I cut into half. You can see dashes on one end every 6 or 8 inches and “Lft” on each end).
5. I untied the remote power wire and straightened it.
6. I have wired remote level controller that came with Boss Amplifier. I untied that one and
straightened it.
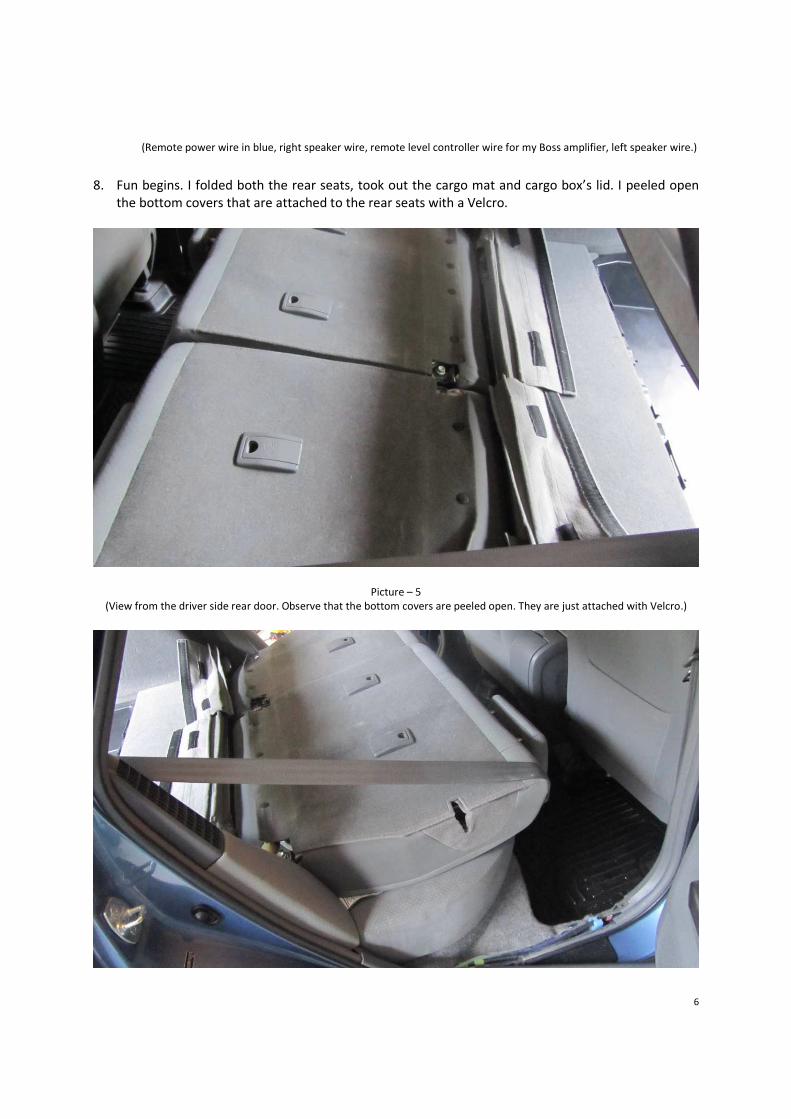
7. I have two speaker wires, remote power wire and remote level controller wire to run from the Boss
Amplifier in the trunk to the front.
Picture – 4
6
(Remote power wire in blue, right speaker wire, remote level controller wire for my Boss amplifier, left speaker wire.)
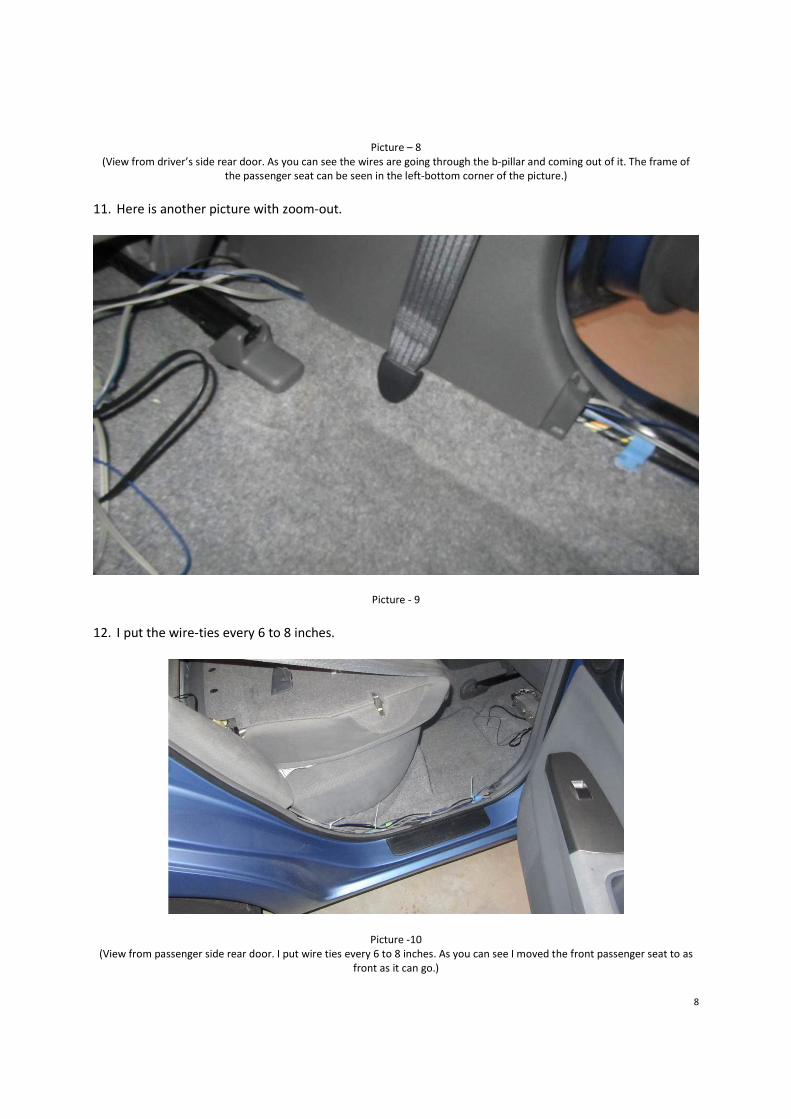
8. Fun begins. I folded both the rear seats, took out the cargo mat and cargo box’s lid. I peeled open
the bottom covers that are attached to the rear seats with a Velcro.
Picture – 5
(View from the driver side rear door. Observe that the bottom covers are peeled open. They are just attached with Velcro.)

7
Picture – 6
(View from the passenger side rear door. You can see I pry opened the door frame. I opened with my hands. I
mean to say I did not need to use any tools)
9. My goal is to pull the wires from Boss amplifier to JBL amplifier under the front passenger seat
through rear passenger seats and through the door frames. First I started with pulling the wires from
back of the rear set to the door frame.
Picture – 7
(View from passenger side rear door. I just took the ends of the wires in my left hand and pushed it from the top. I inserted my
right hand from the bottom of the seat and pulled the wire.)
10. After pulling the wire, I just lifted the plastic thing on the B-pillar with my fingers and pushed the
wires under it.
8
Picture – 8
(View from driver’s side rear door. As you can see the wires are going through the b-pillar and coming out of it. The frame of
the passenger seat can be seen in the left-bottom corner of the picture.)
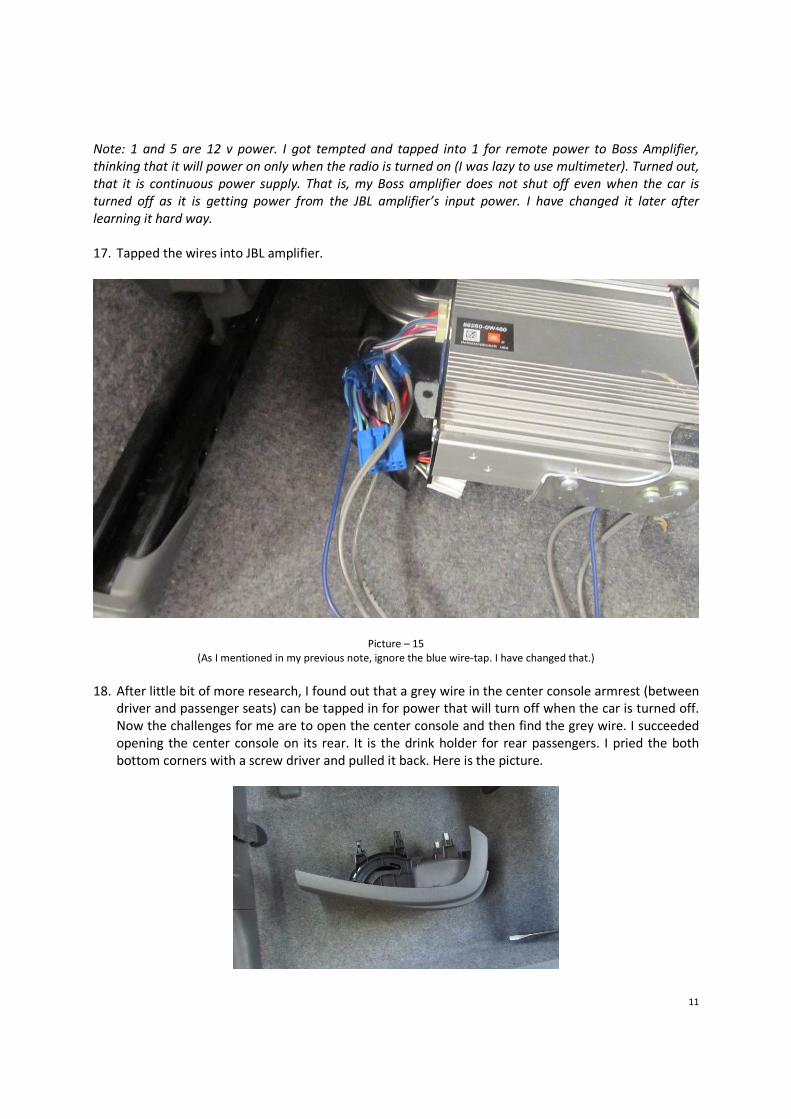
11. Here is another picture with zoom-out.
Picture - 9
12. I put the wire-ties every 6 to 8 inches.
Picture -10
(View from passenger side rear door. I put wire ties every 6 to 8 inches. As you can see I moved the front passenger seat to as
front as it can go.)

9
13. I took out the rear cargo box and put the wire ties every 6 to 8 inches.
Picture – 11
(View from the back of the car.)
14. I ran the wire through the rear seat.

10
Picture – 12
(View from the passenger side rear door facing the back of the car. You can see the door frame’s cover in the picture.)
15. Now, unplug the blue plug from JBL amplifier. I pushed hard on the top middle of the molex and
pulled it out. In Toyota terms they call this as S 14 molex.
Picture – 13
(View from the passenger side rear seat looking down at the floor.)
16. S14 molex. 3, 9, 4 and 10 are the speaker outputs that have to be tapped into.
a. 3 – Rear Left + (Black color wire)
b. 9 – Rear Left – (Yellow color wire)
c. 4 – Rear Right – (White color wire)
d. 10 – Rear Right + (Red color wire)
Picture – 14
11
Note: 1 and 5 are 12 v power. I got tempted and tapped into 1 for remote power to Boss Amplifier,
thinking that it will power on only when the radio is turned on (I was lazy to use multimeter). Turned out,
that it is continuous power supply. That is, my Boss amplifier does not shut off even when the car is
turned off as it is getting power from the JBL amplifier’s input power. I have changed it later after
learning it hard way.
17. Tapped the wires into JBL amplifier.
Picture – 15
(As I mentioned in my previous note, ignore the blue wire-tap. I have changed that.)
18. After little bit of more research, I found out that a grey wire in the center console armrest (between
driver and passenger seats) can be tapped in for power that will turn off when the car is turned off.
Now the challenges for me are to open the center console and then find the grey wire. I succeeded
opening the center console on its rear. It is the drink holder for rear passengers. I pried the both
bottom corners with a screw driver and pulled it back. Here is the picture.

12
Picture – 16
(There is the screw driver I used to pry this.)
19. There are two grey wires. One grey wire is thinner than the other one. That is the one I tapped into.
Picture – 17
(View of the center console on its back after it is opened.)
20. Final look at the front.
13
Picture – 18
(View with passenger seat slide to the front. Observe the blue wire going into the center console. That is the one that got
tapped into thin grey wire.)
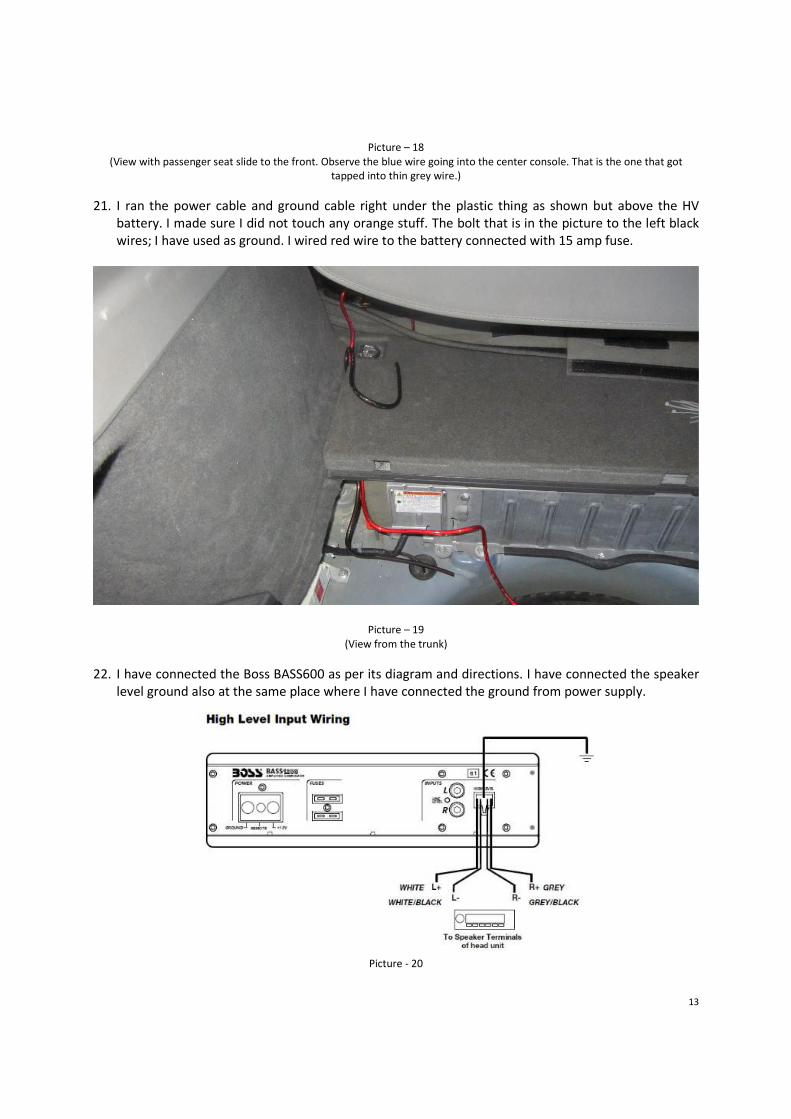
21. I ran the power cable and ground cable right under the plastic thing as shown but above the HV
battery. I made sure I did not touch any orange stuff. The bolt that is in the picture to the left black
wires; I have used as ground. I wired red wire to the battery connected with 15 amp fuse.
Picture – 19
(View from the trunk)
22. I have connected the Boss BASS600 as per its diagram and directions. I have connected the speaker
level ground also at the same place where I have connected the ground from power supply.
Picture - 20

14
23. Put everything together and attached the subwoofer to the side with the supplied industrial grade
Velcro.
Picture – 21
(View from the trunk with tonneau cover on.)
Picture – 22
15
(View from the trunk with tonneau cover off.)
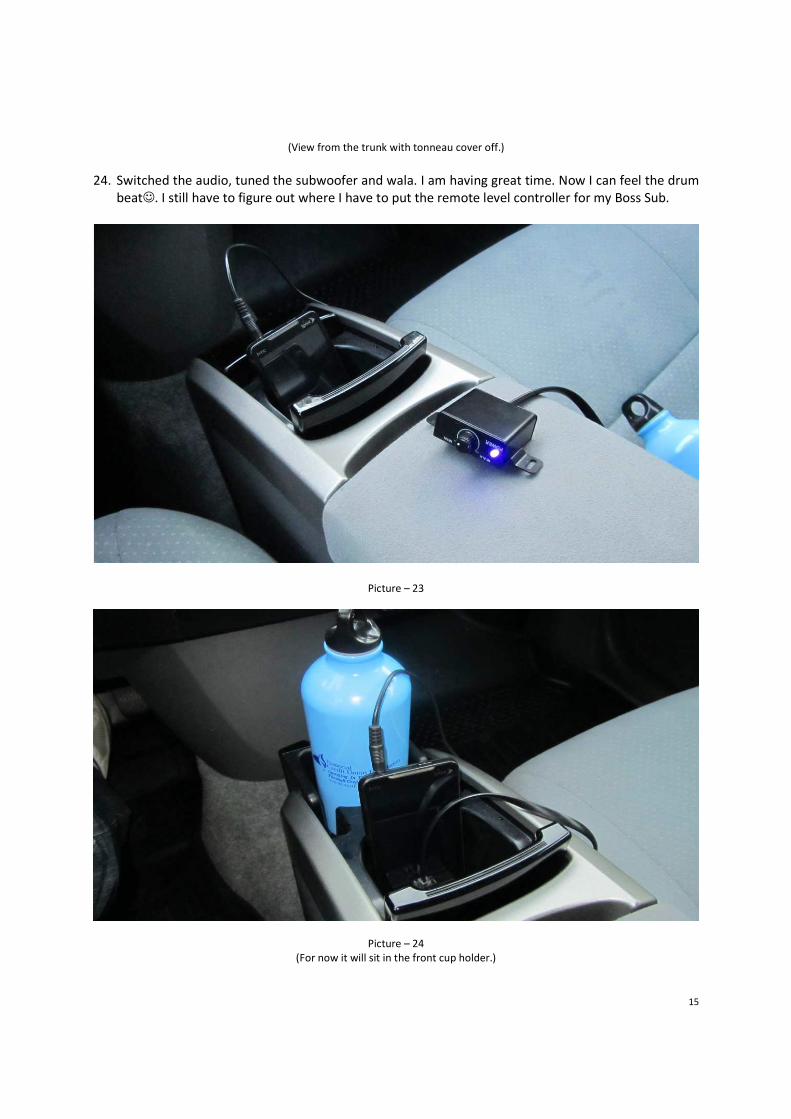
24. Switched the audio, tuned the subwoofer and wala. I am having great time. Now I can feel the drum
beat☺. I still have to figure out where I have to put the remote level controller for my Boss Sub.
Picture – 23
Picture – 24
(For now it will sit in the front cup holder.)