step by step enrollment guide · our system recognizes you. have the following information handy...
TRANSCRIPT
Step by Step Enrollment GuideThis guide explains our online benefits enrollment tool. Use it to reference key steps that maximize and lock in your benefits.
CONNECT. SELECT. PROTECT.
https://compass.empyreanbenefits.com/CSDTRUST
2
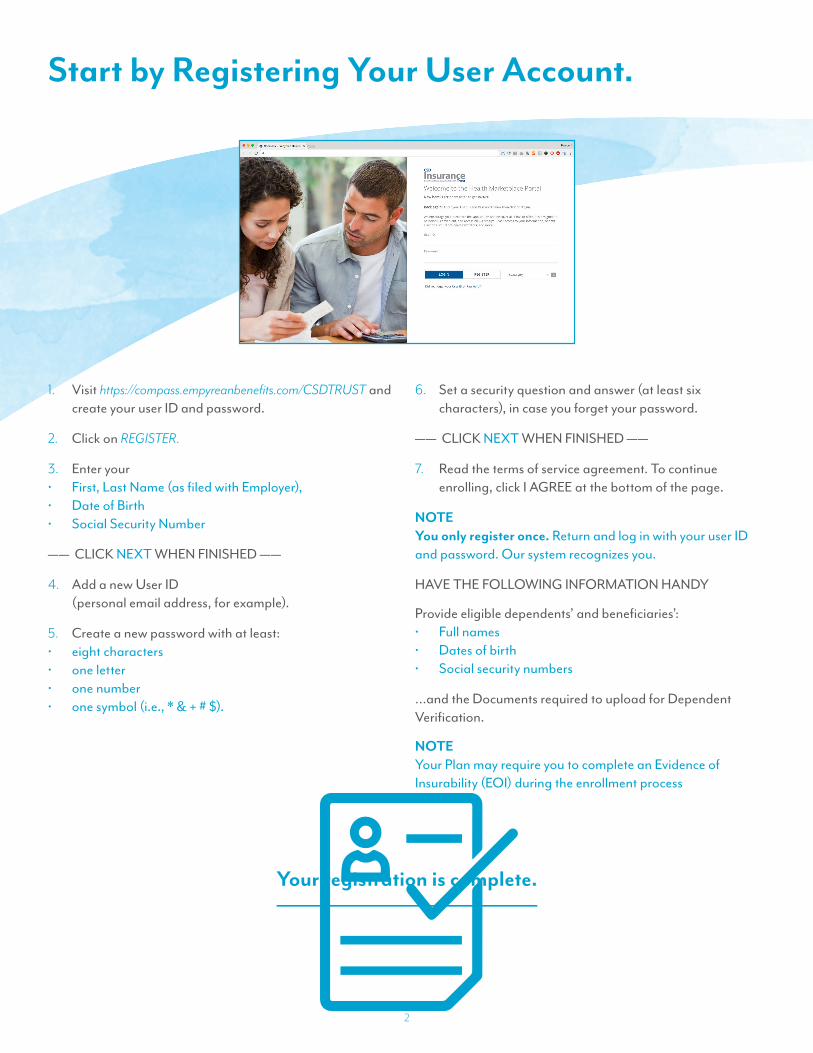
1. Visit https://compass.empyreanbenefits.com/CSDTRUST and create your user ID and password.
2. Click on REGISTER.
3. Enter your • First, Last Name (as filed with Employer), • Date of Birth• Social Security Number
—— CLICK NEXT WHEN FINISHED ——
4. Add a new User ID (personal email address, for example).
5. Create a new password with at least: • eight characters• one letter• one number• one symbol (i.e., * & + # $).
6. Set a security question and answer (at least six characters), in case you forget your password.
—— CLICK NEXT WHEN FINISHED ——
7. Read the terms of service agreement. To continue enrolling, click I AGREE at the bottom of the page.
NOTEYou only register once. Return and log in with your user ID and password. Our system recognizes you.
HAVE THE FOLLOWING INFORMATION HANDY
Provide eligible dependents’ and beneficiaries’:• Full names• Dates of birth• Social security numbers
…and the Documents required to upload for Dependent Verification.
NOTEYour Plan may require you to complete an Evidence of Insurability (EOI) during the enrollment process
Your registration is complete.
Start by Registering Your User Account.

3
LAUNCH YOUR ENROLLMENT
When you log in you’ll see a welcome screen. (fig. 1)
Click on Pending Open Enrollment (or other) Event.
Begin on Step 1 of the enrollment flow.
Follow the prompts in each step.
An indicator shows your progress per step.
STEP 1 — PERSONAL INFORMATION (fig. 2)1.1 Review your information (automatically populated).1.2 Click the EDIT button to make changes.
—— CLICK NEXT WHEN FINISHED ——
NOTEIf inaccurate data is not editable, contact Human Resources (HR).
USER TIPSYour progress is saved anytime you click NEXT or SAVE. You can log in later to finish your enrollment.
Click PREVIOUS to review elections or make changes.
Make sure to finish your enrollment. Elections are NOT recorded in the system UNTIL you save and accept them (see Step 6) and get confirmation. (fig. 10)
To know if you completed enrollment, look for a green check mark and message that says your benefits are confirmed and ready to take effect when Open Enrollment closes.
NOTERemember to log out of the enrollment site in the upper left corner when finished with your enrollment.
Get Ready to Enroll for Your Benefits.
figure 1
figure 2
4
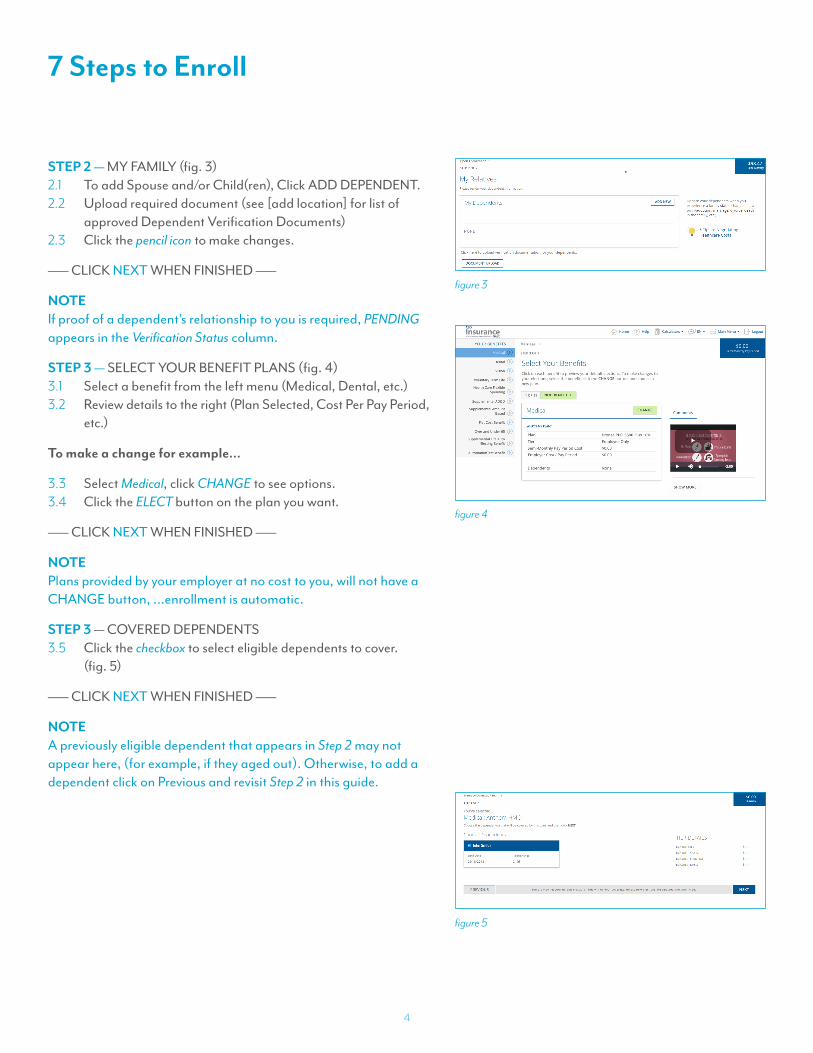
STEP 2 — MY FAMILY (fig. 3)2.1 To add Spouse and/or Child(ren), Click ADD DEPENDENT.2.2 Upload required document (see [add location] for list of
approved Dependent Verification Documents)2.3 Click the pencil icon to make changes.
—— CLICK NEXT WHEN FINISHED ——
NOTEIf proof of a dependent’s relationship to you is required, PENDING appears in the Verification Status column.
STEP 3 — SELECT YOUR BENEFIT PLANS (fig. 4)3.1 Select a benefit from the left menu (Medical, Dental, etc.)3.2 Review details to the right (Plan Selected, Cost Per Pay Period,
etc.)
To make a change for example…
3.3 Select Medical, click CHANGE to see options.3.4 Click the ELECT button on the plan you want.
—— CLICK NEXT WHEN FINISHED ——
NOTEPlans provided by your employer at no cost to you, will not have a CHANGE button, …enrollment is automatic.
STEP 3 — COVERED DEPENDENTS3.5 Click the checkbox to select eligible dependents to cover.
(fig. 5)
—— CLICK NEXT WHEN FINISHED ——
NOTEA previously eligible dependent that appears in Step 2 may not appear here, (for example, if they aged out). Otherwise, to add a dependent click on Previous and revisit Step 2 in this guide.
7 Steps to Enroll
figure 5
figure 3
figure 4
5
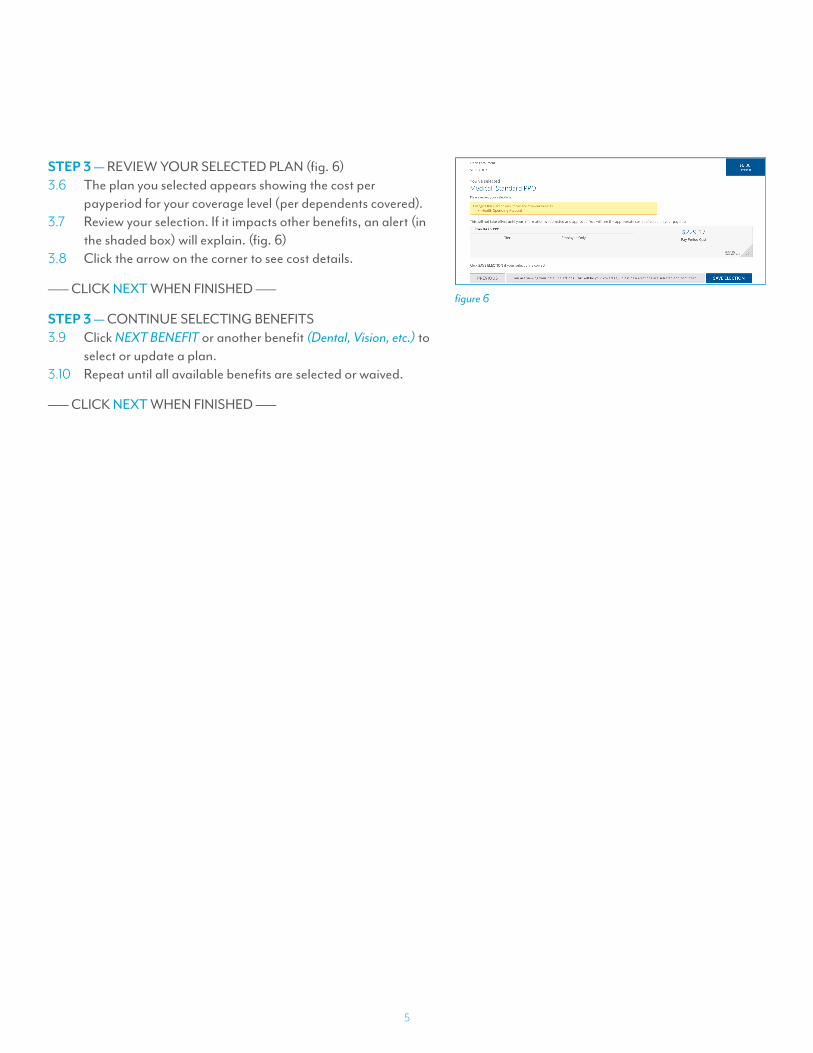
STEP 3 — REVIEW YOUR SELECTED PLAN (fig. 6)3.6 The plan you selected appears showing the cost per
payperiod for your coverage level (per dependents covered).3.7 Review your selection. If it impacts other benefits, an alert (in
the shaded box) will explain. (fig. 6)3.8 Click the arrow on the corner to see cost details.
—— CLICK NEXT WHEN FINISHED ——
STEP 3 — CONTINUE SELECTING BENEFITS3.9 Click NEXT BENEFIT or another benefit (Dental, Vision, etc.) to
select or update a plan.3.10 Repeat until all available benefits are selected or waived.
—— CLICK NEXT WHEN FINISHED ——
figure 6
6
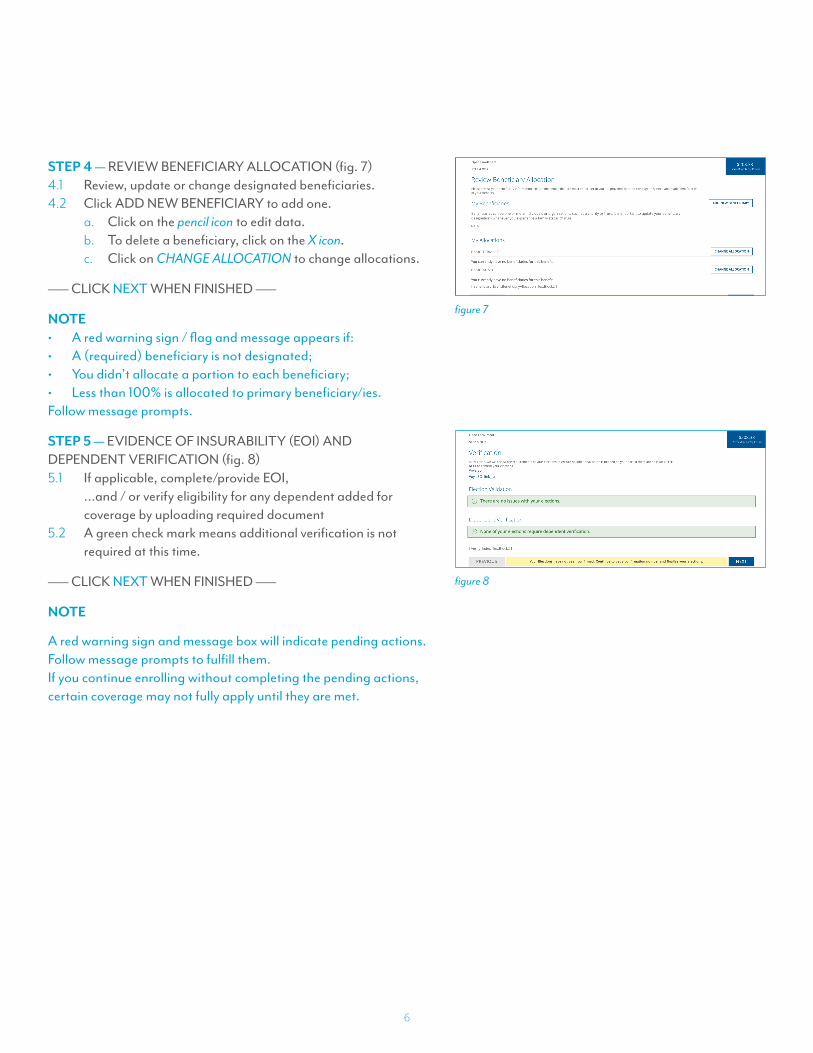
STEP 4 — REVIEW BENEFICIARY ALLOCATION (fig. 7)4.1 Review, update or change designated beneficiaries.4.2 Click ADD NEW BENEFICIARY to add one.
a. Click on the pencil icon to edit data.b. To delete a beneficiary, click on the X icon.c. Click on CHANGE ALLOCATION to change allocations.
—— CLICK NEXT WHEN FINISHED ——
NOTE• A red warning sign / flag and message appears if:• A (required) beneficiary is not designated;• You didn’t allocate a portion to each beneficiary;• Less than 100% is allocated to primary beneficiary/ies.Follow message prompts.
STEP 5 — EVIDENCE OF INSURABILITY (EOI) AND DEPENDENT VERIFICATION (fig. 8)5.1 If applicable, complete/provide EOI,
…and / or verify eligibility for any dependent added for coverage by uploading required document
5.2 A green check mark means additional verification is not required at this time.
—— CLICK NEXT WHEN FINISHED ——
NOTE
A red warning sign and message box will indicate pending actions. Follow message prompts to fulfill them.If you continue enrolling without completing the pending actions, certain coverage may not fully apply until they are met.
figure 8
figure 7

7
STEP 6 — FINAL REVIEW (fig. 9)6.1 Carefully review cost summary, benefit elections, and
dependent data for accuracy.
NOTETotal costs will not match approved costs in the first four columns if:
• A part of additional life insurance is pending EOI, …and/or• Proof (as required) of a dependent’s relationship to you has not
been provided.
6.2 Click the pencil icon or EDIT button to make changes.
—— CLICK SAVE ELECTIONS WHEN FINISHED ——
One last pop-up message appears…
6.3 To continue reviewing or updating click on DENY …or To confirm your enrollment click ACCEPT.
NOTEWhen you click ACCEPT, updates are recorded into the system and ready to go into effect when annual enrollment closes.
If you do not click ACCEPT, pending updates will not take effect
STEP 7 — CONFIRMATION (fig. 10)7.1 Review the final confirmation summary and use the
confirmation number for future reference.7.2 To print for your records, click PRINT STATEMENT,
…or To print later, login and click Review Your Benefits History.
—— LOG OUT WHEN FINISHED ——
Return to manage your benefits whenever you need.
figure 9
figure 10
Congrats! You’re enrolled.
If you have any questions, you may contact the Benefits Service Center at 1-833-269-2142 from 7:00 AM to 7:00 PM CT, Monday through Friday.