single sign-on administrator guide - business.linkedin.com · overview the administrator for your...
TRANSCRIPT

Single Sign-On Administrator Guide
Last Revised January 2019

Disclaimer © 2018 LinkedIn Corporation, All Rights Reserved LinkedIn Corporation 1000 W. Maude Ave. Sunnyvale, CA 94085 This document may contain forward looking statements. Any information in this document is subject to change without notice. The software (and related documentation) may be used or copied only in accordance with the terms of your license agreement with us. No part of the software or documentation may be reproduced, transmitted, or translated in any form or by any means, electronic, mechanical, manual, optical, or otherwise, in part or in whole, except in accordance with the terms of your license agreement with us. LinkedIn Corporation and the LinkedIn Corporation logo are trademarks, servicemarks, or registered trademarks of LinkedIn Corporation in the United States and other countries. All other brand, service or product names are trademarks or registered trademarks of their respective companies or owners.

Contents
Disclaimer
Contents
Overview
Prerequisites
About Single Sign-On (SSO)
Why Should you use Single Sign-On?
Supported SSO Protocols
Configuring Single Sign-On (SSO)
Getting Started with SSO
Connecting to your Identity Provider
Downloading a File
Working with Individual Fields
Configuring your Identity Provider
Uploading a File
Entering Values Manually
Enabling Single Sign-On
Enable Options
Assigning Licenses
Requirements for Automatically Assigning Licenses
Custom Attributes
Verifying your Setup
Configuring Multiple SSO Connections
Creating Your SP-Initiated URL
Using Multiple Authentication Methods
Support
Supporting Documentation
Technical Issues
LinkedIn’s Privacy and Data Security Policy
LinkedIn Security Contacts

Overview The administrator for your company account can configure your company to authenticate to LinkedIn Learning using SSO through integration with LinkedIn’s enterprise platform.
Prerequisites
• Company account • Full administrator privileges • Identity Provider (IdP) administrative privileges
About Single Sign-On (SSO) Enterprise Single Sign-On (SSO) allows your company’s employees to sign into supported LinkedIn applications using their corporate credentials instead of their LinkedIn credentials. Using SSO and integrating with an SSO provider is not required to use LinkedIn applications. If SSO is not configured, your employees can authenticate themselves using their current personal LinkedIn credentials or create a new member account.
Why Should you use Single Sign-On?
• Leverage your existing company’s authentication • Better security when employees use your company’s established password protocols
rather than their individual accounts • Easier user management when employees leave your company
Supported SSO Protocols We currently support SAML version 2.0.

Configuring Single Sign-On (SSO)
Getting Started with SSO
1. Sign in to LinkedIn Learning 2. Access the Account Center using the following link: https://www.linkedin.com/learning-
admin/settings/global Note: In LinkedIn Learning, you can click Go to Admin in the banner and select Settings > Global Settings.
3. Click the arrow to the right of Single Sign-On (SSO) to expand the panel. There will be one SSO connection by default, but you are able to add more than one connection.

4. Click the arrow to the right of the default SSO connection to expand the panel, or click + Add a new SSO to add a new SSO.
5. Give your SSO connection a name. Do not include spaces.
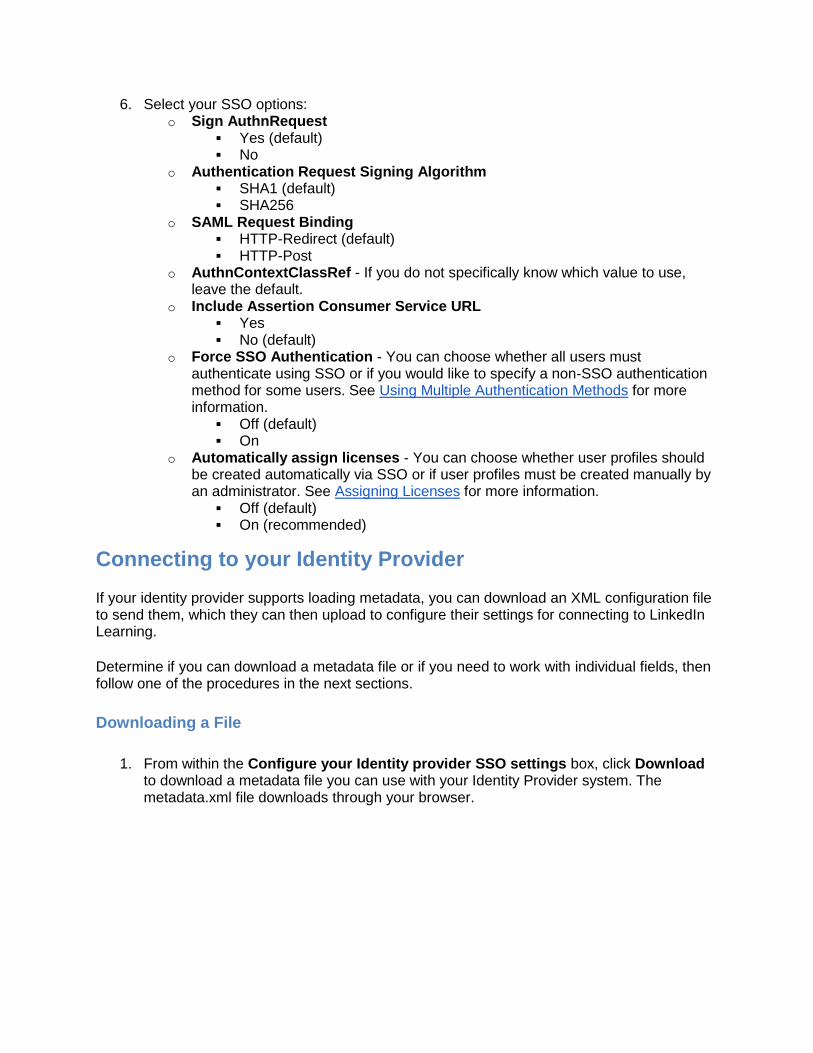
6. Select your SSO options: o Sign AuthnRequest
▪ Yes (default) ▪ No
o Authentication Request Signing Algorithm ▪ SHA1 (default) ▪ SHA256
o SAML Request Binding ▪ HTTP-Redirect (default) ▪ HTTP-Post
o AuthnContextClassRef - If you do not specifically know which value to use, leave the default.
o Include Assertion Consumer Service URL ▪ Yes ▪ No (default)
o Force SSO Authentication - You can choose whether all users must authenticate using SSO or if you would like to specify a non-SSO authentication method for some users. See Using Multiple Authentication Methods for more information.
▪ Off (default) ▪ On
o Automatically assign licenses - You can choose whether user profiles should be created automatically via SSO or if user profiles must be created manually by an administrator. See Assigning Licenses for more information.
▪ Off (default) ▪ On (recommended)
Connecting to your Identity Provider If your identity provider supports loading metadata, you can download an XML configuration file to send them, which they can then upload to configure their settings for connecting to LinkedIn Learning. Determine if you can download a metadata file or if you need to work with individual fields, then follow one of the procedures in the next sections.
Downloading a File
1. From within the Configure your Identity provider SSO settings box, click Download
to download a metadata file you can use with your Identity Provider system. The metadata.xml file downloads through your browser.

2. Access your Identity Provider system. 3. Upload the metadata file.
Note: You might not be able to import this file into your Identity Provider. For example, Okta does not have this functionality. If this is the case, continue to Working with Individual Fields.
4. Return to the SSO setup. 5. See Configuring your Identity Provider.
Working with Individual Fields
1. From within the Configure your Identity provider SSO settings box, click OR Click
Here to load and copy individual fields from the form.
2. Copy and paste the fields you want to include in your Identity Provider.
Configuring your Identity Provider Configure your Identity Provider to talk with LinkedIn’s platform. Determine if you can upload a metadata file from your Identity Provider or if you need to enter values manually, then follow one of the procedures in the next sections.
Uploading a File
1. From within the Configure the LinkedIn service provider SSO settings box, click
Upload XML file to add the metadata file from your Identity Provider.

2. Select the file and click Open. If successful, the fields display filled with the metadata.
Entering Values Manually
1. From within the Configure the LinkedIn service provider SSO settings box, use the
Click here link to add information manually.
2. Enter the following information: o Issuer String or Entity ID - must match the md:EntityDescriptor entityID field o Budget group - Choose the default option or leave blank. o IdP Redirect Endpoint - must match the md:SingleSignOnService location field
▪ Note: LinkedIn currently only supports the urn:oasis:names:tc:SAML:2.0:bindings:HTTP-Redirect binding.
o SAML Subject Identity attribute name - This is the attribute name in the SAML authentication response used to identify the employee. LinkedIn uses the following rules to identify the employee:
▪ If the SAML Authentication response provides a SAML assertion containing a set of attributes, you can provide the SAML attribute name of the attribute containing the employee’s identity in this text field. For example, if a numerical Employee ID is sent in a SAML attribute called employeeId, you could insert employeeId into the SAML Subject Identity

attribute name field, and LinkedIn uses the employeeId sent in each assertion to look up the employee identity.
▪ If nothing is specified in this field, LinkedIn looks up the employee by the value of the NameId sent in the <saml:Subject> in the assertion. This field must be a unique ID. If this value is not an email address, it is highly recommended that email address be provided as an additional attribute.
▪ If we cannot find the user by either the attribute set in the SAML Subject Identity attribute name field or by the unique identifier, as set in the NameId in the <saml:Subject>, LinkedIn does not authenticate the user. If automatic license provisioning is enabled and the user is not found, a new user profile will be created using this value.
o Public Certificate - LinkedIn verifies the validity of the SAML assertion sent in the SAML authentication response using the x.509 certificate used for signing by your Identity Provider. If we cannot validate the signature of the authentication response, your user is not authenticated.
3. Click Save SSO configuration.
Enabling Single Sign-On After you have completed your configuration, enable SSO. Click the Authenticate users with SSO dropdown and select Active. See the Enable Options table below for information about when to use the available options.
Enable Options
Status Description
Off • No SSO implementation setup required. • Users can sign in to assigned licenses with their LinkedIn-based logic.
Pilot mode (IdP Only)
• SSO is set up and configured. • Pilot mode enforces SSO for IdP-initiated flows for employees given
access through the IdP, but still allows normal LinkedIn-based sign-in for SP-initiated flows. It does not require users to authenticate through the IdP to sign in. They can access the application directly through LinkedIn.

• This is useful when configuring SSO for the first time but should not be used once testing is complete.
• When SSO is in Pilot mode, new users cannot be added. This should only be used temporarily by the SSO admin while actively testing.
On • SSO is set up and enabled. • Users must sign in through the IdP-initiated flow or SP-initiated flow.
Regardless of which method is used, authentication is required.
Warning: When selecting On after initial setup, do not close the window until you are sure SSO is working properly; otherwise, you will need to contact customer support to disable SSO on your account. It’s recommended that you use the Pilot option to validate your IdP-initiated flow before setting SSO to On.
• IdP-Initiated Flow: When a user starts in their Identity Provider (such as Okta, Azure, or Ping) to access an application.
• SP-Initiated Flow: When a user goes directly to LinkedIn Learning (service provider) to access their license.
Assigning Licenses Once SSO has been enabled, you can automatically assign licenses to your employees by toggling Automatically assign licenses on. When enabled, users are automatically granted a license when they are authenticated for the first time.
Notes:
• When this option is enabled, a new user profile gets created automatically upon authentication if we are unable to locate an existing user with a matching identifier.
• If this option is not enabled, users must be added manually by an admin on the People tab and must be identified by their email address or other unique identifier.
Requirements for Automatically Assigning Licenses
One reason SAML 2.0 has become so popular is its flexibility when sending extra information to the service provider. When an identity provider sends an assertion, it includes attributes describing the user. These attributes allow LinkedIn to both identify the user and automatically provision users. A few of the possible attributes are described in this section.

NameID
If an attribute was not specified as the SAML Subject Identity attribute name when configuring the SSO connection, a NameID must be included in the SAML assertion. This may be referred to as a Unique Identifier or as Name ID, depending on the Identity Provider, and is typically included by default. The value must be a unique identifier like an email address or employee number to automatically provision a user’s account
Email Address (Strongly Recommended)
Email Address can be used to identify users with or without SSO. Although email addresses are allowed as the users’ main identifier, we do recommend using an employee ID or some other unique value that will not change and including Email as an additional attribute.
Identity providers use different naming conventions, so LinkedIn looks for an email address in the following attribute names sequentially:
• EmailAddress • email • Email • Mail • emailAddress • User.email
If your identity provider uses a different naming convention, you can configure this in the Custom Attributes section.
First Name (Optional)
Just like email addresses, identity providers might send the first name in several common fields. To provide out-of-the-box compatibility with most identity providers, LinkedIn tries to find the first name in the following attribute names:
• FirstName • first_name • firstname • firstName • User.FirstName
Last Name (Optional)
LinkedIn looks for the last name in the following attribute names:
• LastName • last_name • lastname • lastName • User.LastName

Custom Attributes You can specify custom name mappings to correspond to IdP settings (rather than using the default mappings). Enter your custom attribute name and select the attribute label to map it to.
Important: Use the actual attribute name as it appears in the SAML Response, not the friendly name.
The following are some of the labels that can be mapped to custom, user-provided attributes.
• Building Code • Department • Desk Location • Job Function • Job Level • Manager • Mobile Phone Number • Primary Email Address • First Name • Last Name • Worker Status • Worker Type • Work Title • Work Phone Number
To map to a custom attribute label, choose Custom from the Map to dropdown and input your own custom attribute label.
Verifying Your Setup Verify that you’ve correctly integrated with your Identity Provider and have the following in place:
• SSO is enabled and set to Active. • A LinkedIn Learning application is configured in your Identity Provider as previously
instructed. • The LinkedIn Learning application configured in your IdP has been provisioned to the
appropriate users. • A SAML Subject NameID value is being sent in the SAML Response or a SAML Subject
Identity has been defined in the Configure the LinkedIn service provider SSO settings to use an alternate attribute name as the identifier.

Test using:
• Your Identity Provider initiated login o Launch LinkedIn Learning directly from your Identity Provider
• Service Provider initiated login o First, locate your Account ID from the URL in the browser. Example:
https://www.linkedin.com/learning-admin/settings/global?account=2108666 o To create an SP-initiated URL, use the following format:
https://www.linkedin.com/checkpoint/enterprise/login/<account id>?application=learning
▪ Example: https://www.linkedin.com/checkpoint/enterprise/login/2108666?application=learning
▪ This SP-initiated URL can be used to activate new users if automatic license provisioning is enabled.
o If you have already connected your personal LinkedIn profile to LinkedIn Learning, navigate to https://www.linkedin.com/learning/login and log in with your LinkedIn credentials. You should be directed to your IdP for authentication and then redirected back to LinkedIn Learning.
Note: If you have associated your LinkedIn profile to LinkedIn Learning, you may be prompted to log in to LinkedIn with your personal credentials after authenticating via SSO. This is separate from SSO and does not mean SSO is broken. Follow the instructions on the screen and log in with your LinkedIn credentials.
Configuring Multiple SSO Connections LinkedIn Learning supports multiple SSO connections to allow for Test/QA connections or multiple Identity Providers. To create a new SSO Connection:
1. Open the Single Sign-On (SSO) panel and click Add a new SSO. 2. Give your new SSO connection a name. Do not include spaces. 3. Follow the same steps as above to configure and enable your new SSO connection.
Note: Make sure to switch the connection to Active. 4. If this connection should be the default authentication method, select Set as Default. If
not, you will need to create a specific SP-initiated URL to use.
Note: When using multiple SSO connections, one must always be the default connection. The default connection will be used for any LMS integrations.

Creating Your SP-Initiated URL
When using multiple SSO connections, you will need to create a special SP-initiated URL for each non-default connection. To generate this URL:
1. First, locate your Account ID from the URL in the browser. Example: https://www.linkedin.com/learning-admin/settings/global?account=2108666
2. To create the SP-initiated URL, use the following format: https://www.linkedin.com/checkpoint/enterprise/login/<account id>?application=learning&authModeName=<SSO Connection Name>
• Example: https://www.linkedin.com/checkpoint/enterprise/login/2108666?application=learning&authModeName=OneLogin-Attribute_test
• This SP-initiated URL can be used to activate new users if automatic license provisioning is enabled.
Using Multiple Authentication Methods When configuring SSO, you will see an option called Force SSO Authentication. If SSO is your only form of authentication, this toggle should be enabled.
When this toggle is disabled, admins have the option of specifying an authentication method on a per-user basis. If you would like to learn more about using multiple authentication methods on your account, please reach out to your Customer Success Manager for more information.

Support
Supporting Documentation
• Adding Employee Data Administrator Guide • Privacy and Security Whitepaper: Account Center Employee Database Integration (EDI)
and Single Sign-On (SSO) • Tutorial: Azure Active Directory integration with LinkedIn Learning • Okta: How to Configure SAML 2.0 for LinkedIn Learning • LinkedIn Learning LTI Implementation Document • LinkedIn Learning Multi-Authentication Implementation Document
Technical Issues If you have technical issues with the SSO setup, contact your account team or application support team through the help center.
LinkedIn’s Privacy and Data Security Policy https://www.linkedin.com/legal/privacy-policy
LinkedIn Security Contacts If you have any security questions or you would like to report a security issue, write to us at [email protected].