preview and print reports preview and print reports ... - myobtraining.my.myob.com/au/ad/reporter...
TRANSCRIPT

http://clientsupport.myob.com.au/training � 1800 555 666
Preview and Print Reports
Preview and Print Reports (for MAS Users)
This document includes a copy of the concepts and procedures that form the basis of this self-paced online learning module.
As you work your way through this self-paced online learning module, you might like to print this document so that you can:
• Make your own notes to record procedural steps and additional information provided by your instructor
• Keep a printed record of procedures and key points
Participant Profile
This module is suitable for General Users.
Learning Outcomes
In this module, you will learn how to:
• Navigate within the Report Generator
• Preview reports
• Drill down within a Preview to check the underlying data
• Update and refresh data in a report
• Print or Export a Report
• Adjust the data and the presentation of a Report
• Consolidate multiple ledgers into a single Report

© 2006 — MYOB Technology Pty Ltd 1
Preview and print Reports
In this module you will learn how to:
• Navigate within the Report Generator
• Preview reports
• Drill down within a Preview to check the underlying data
• Update and refresh data in a report
• Print or Export a Report
• Adjust the data and the presentation of a Report
• Consolidate multiple ledgers into a single Report
Overview of Reporter
Reporter includes
• Pre designed compliance Reports
• Pre designed management Reports designed to meet a range of business needs
• A range of Column Templates that allow you to vary the presentation and content of your report

© 2006 — MYOB Technology Pty Ltd 2
General Ledger
Balance Sheet
Introduction to Reporter
Master Reports
The Report types
Practice Master
Client Report
Master Report

© 2006 — MYOB Technology Pty Ltd 3
Introduction to Reporter
The Reporter hierarchy
• Masters exist at the top level
• Practice Mastersrepresent the middle level
• Client Reports are the lowest level in the hierarchy
The Reporter icons
• Master - the top level in the Reporter hierarchy
• Client level - the lowest level in the Reporter hierarchy
• Practice Master - the middle level in the Reporter hierarchy
© 2006 — MYOB Technology Pty Ltd 4
Launch Reporter
How to launch Reporter
1. From the Start�Programs command, select MYOB Accountants Enterprise
2. Open System Services
3. From your list of client ledgers, open a ledger
4. From the ledger, select Reports�Reporter�Generate reports…
Key points: Launch Reporter
• Reporter is always launched from within a client ledger
• To preview or print reports, use the Generatereports… menu option
© 2006 — MYOB Technology Pty Ltd 5
Navigate in Reporter
You can jump between views:
• Reports
• Favourites
• Non transaction data, and
• Column Template Editor
You can also change various report settings for that session of Reporter.
How to navigate in Reporter
Click on an icon in the toolbar to switch to that option, or select from the View menu
You can show or hide each element within the Task Pane by clicking on the double arrows for that element
You can click on the Toggle View button to remove or display the Task Pane
and
and
Key points: Navigate in Reporter
• You can switch between the various views by selecting that option from the View menu or on the toolbar
• You can display or hide the Task Pane
• You can display or hide each element in the TaskPane
• You can change various report settings within the Task Pane to change the appearance and contents of your reports
© 2006 — MYOB Technology Pty Ltd 6
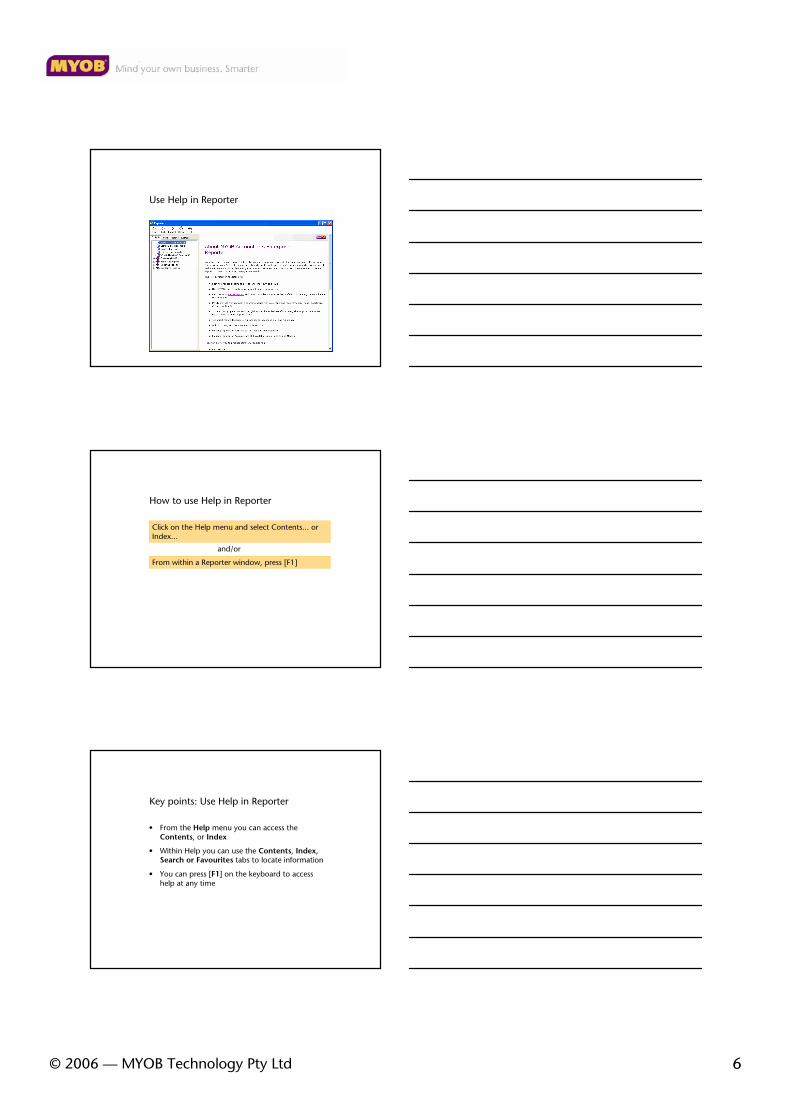
Use Help in Reporter
How to use Help in Reporter
Click on the Help menu and select Contents... or Index...
From within a Reporter window, press [F1]
and/or
Key points: Use Help in Reporter
• From the Help menu you can access the Contents, or Index
• Within Help you can use the Contents, Index, Search or Favourites tabs to locate information
• You can press [F1] on the keyboard to access help at any time
© 2006 — MYOB Technology Pty Ltd 7
You should now know how to:
� Launch Reporter from the Generate reports… menu option
� Navigate within Reporter
� Use Help within Reporter
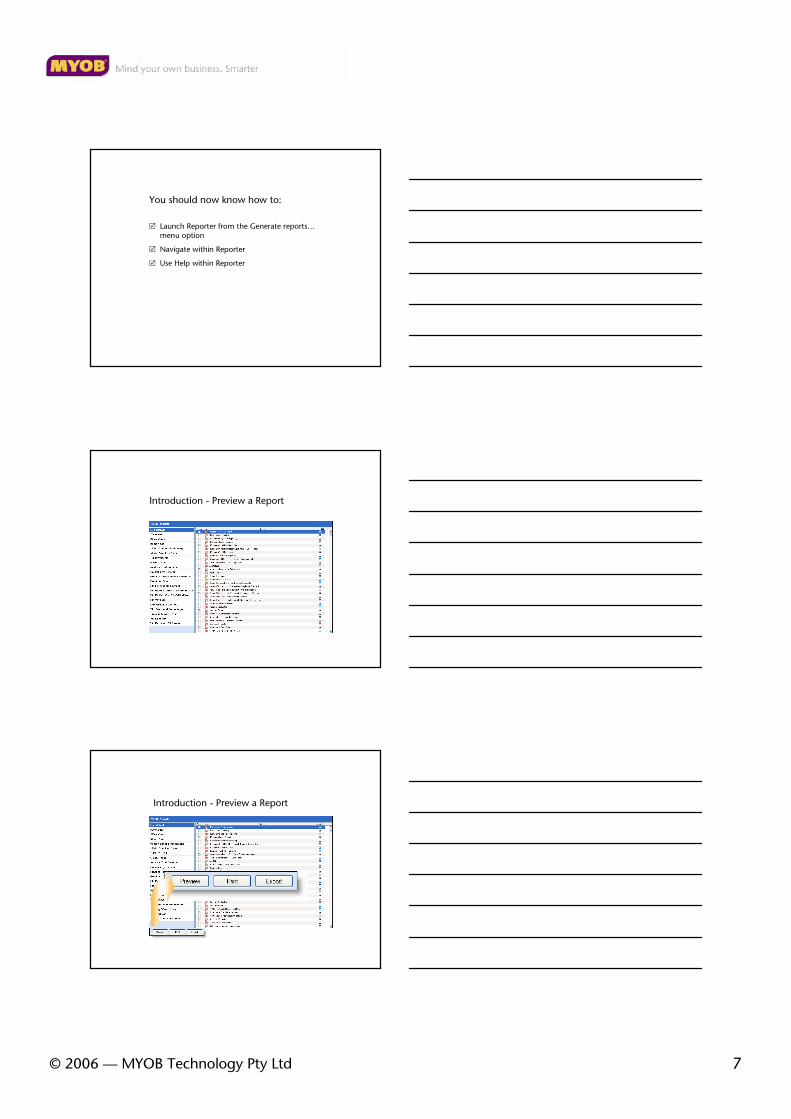
Introduction - Preview a Report
Introduction - Preview a Report
© 2006 — MYOB Technology Pty Ltd 8
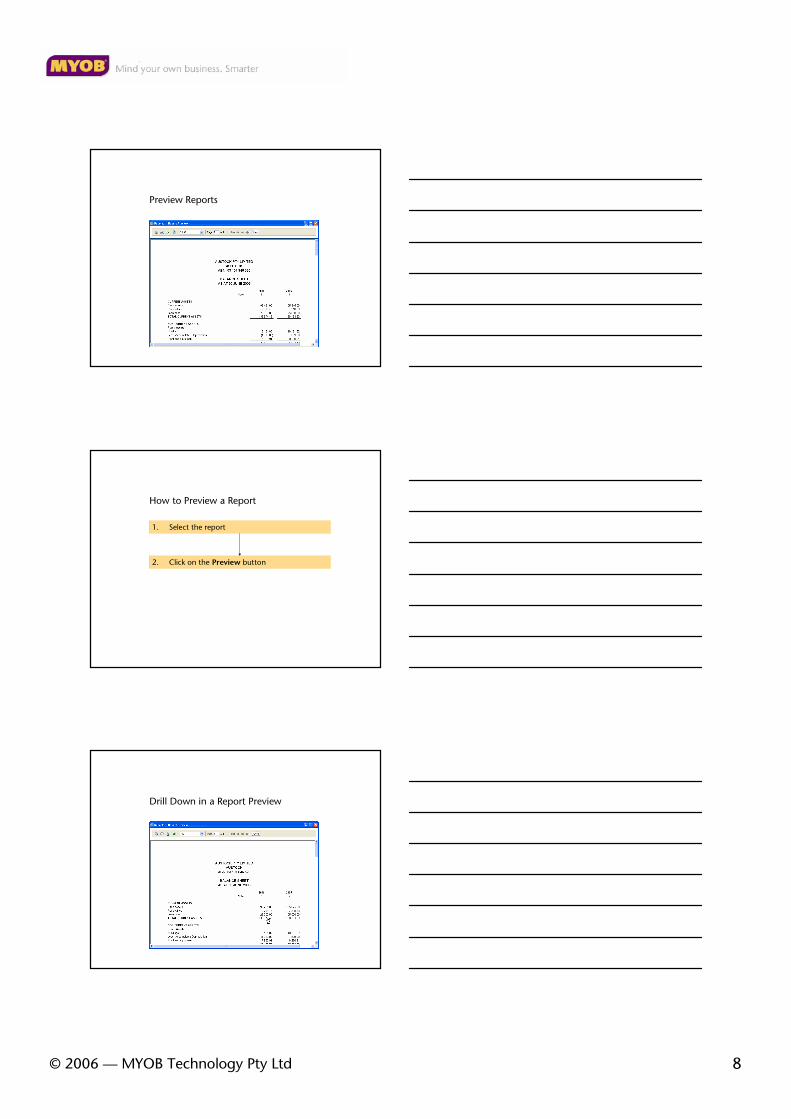
Preview Reports
How to Preview a Report
1. Select the report
2. Click on the Preview button
Drill Down in a Report Preview
© 2006 — MYOB Technology Pty Ltd 9
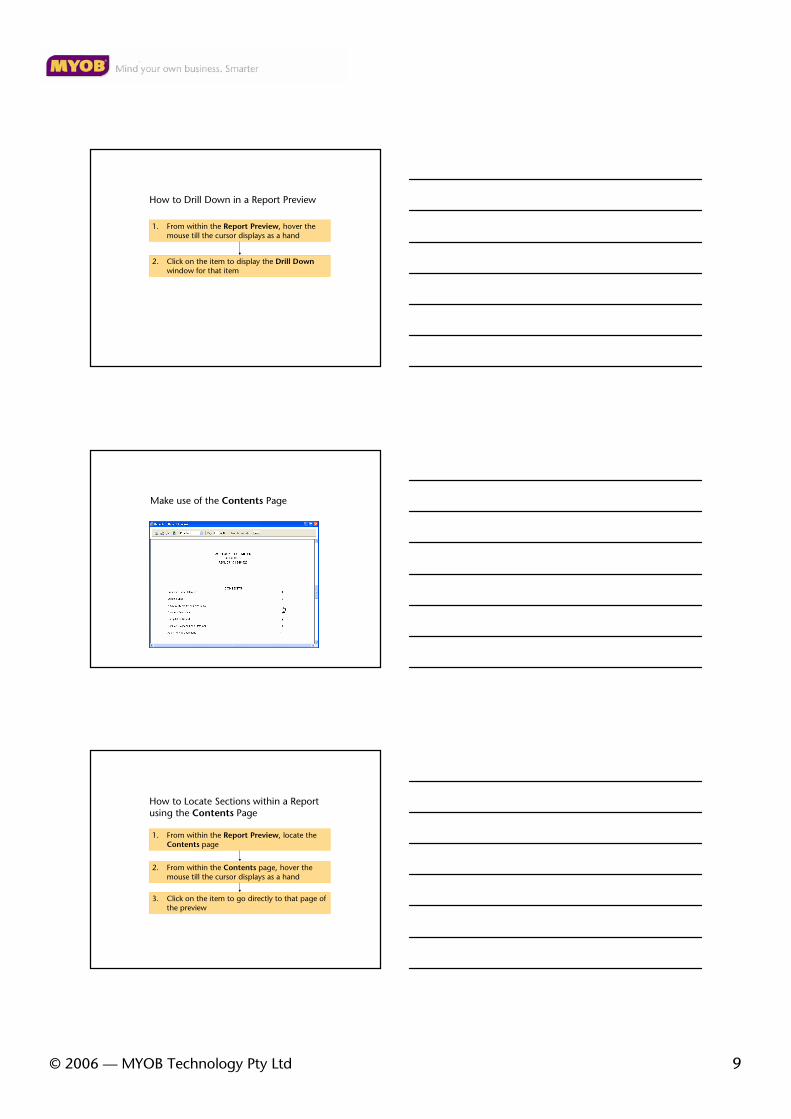
How to Drill Down in a Report Preview
1. From within the Report Preview, hover the mouse till the cursor displays as a hand
2. Click on the item to display the Drill Downwindow for that item
Make use of the Contents Page
How to Locate Sections within a Report using the Contents Page
1. From within the Report Preview, locate the Contents page
3. Click on the item to go directly to that page of the preview
2. From within the Contents page, hover the mouse till the cursor displays as a hand
© 2006 — MYOB Technology Pty Ltd 10
Key Points: Preview Reports
• You can preview one or more reports from the Reports view
• The Report Preview is a WYSIWYG view of a report... What You See is What You Get
• You can drill down within a Report Preview to view the component account balances that make up an item in the Preview
• When the Contents page is included in a report, you can click on any line item to jump directly to that section of the Report Preview
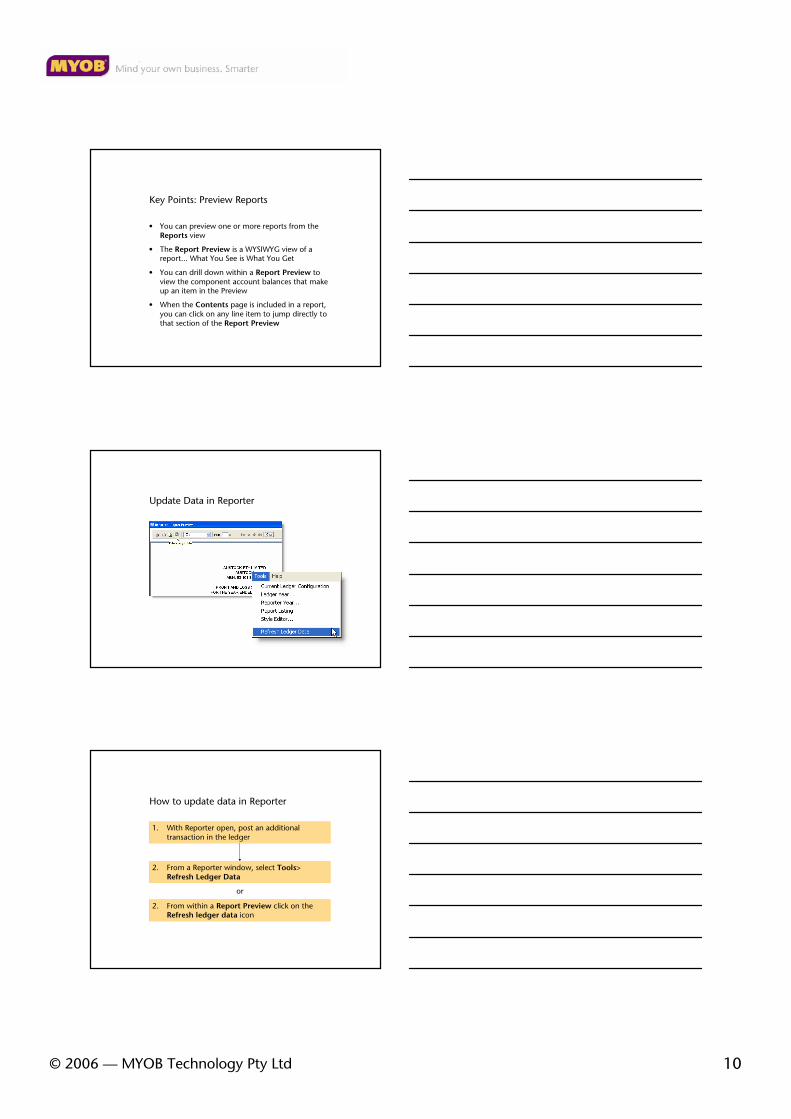
Update Data in Reporter
How to update data in Reporter
1. With Reporter open, post an additional transaction in the ledger
2. From within a Report Preview click on the Refresh ledger data icon
2. From a Reporter window, select Tools> Refresh Ledger Data
or

© 2006 — MYOB Technology Pty Ltd 11
Key Points: How to update data in Reporter
• You can access the ledger, update a transaction and then refresh via the Tools menu in Reporter
• You can access the ledger, update a transaction and then refresh your Report Preview
• You can access Non transaction data, update it and then refresh your Report Preview
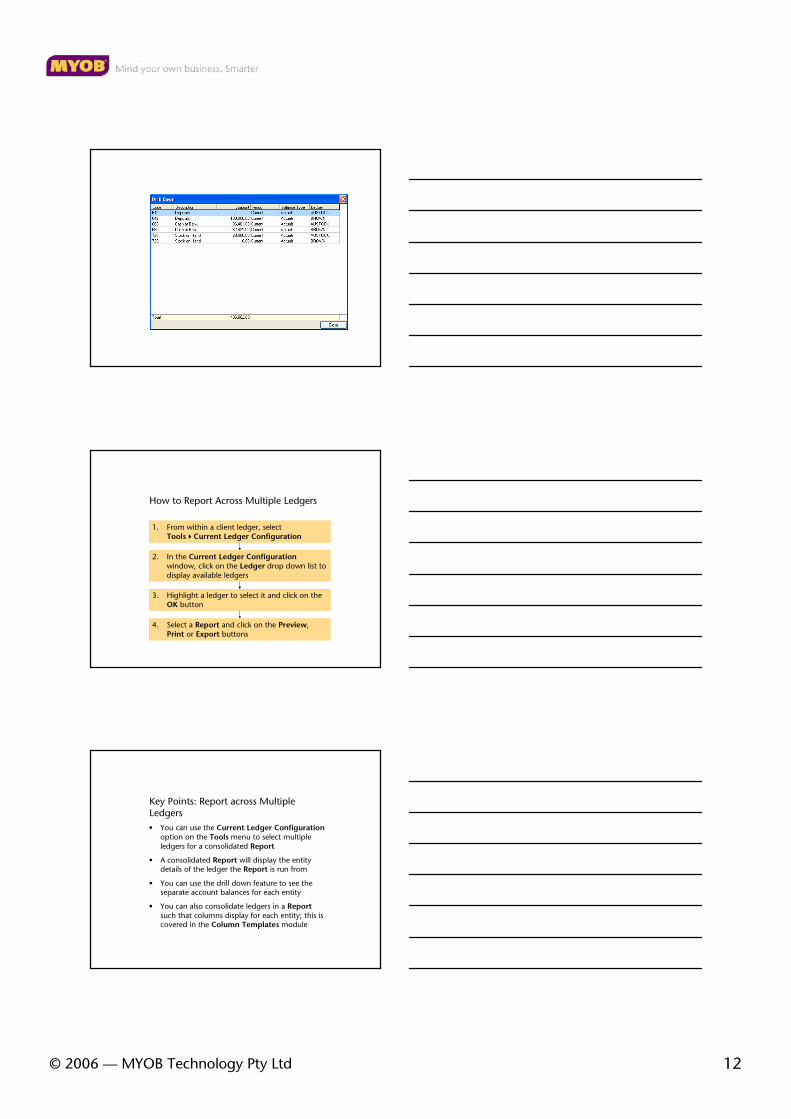
Report Across Multiple Ledgers
© 2006 — MYOB Technology Pty Ltd 12
How to Report Across Multiple Ledgers
1. From within a client ledger, select Tools�Current Ledger Configuration
2. In the Current Ledger Configurationwindow, click on the Ledger drop down list to display available ledgers
3. Highlight a ledger to select it and click on the OK button
4. Select a Report and click on the Preview, Print or Export buttons
Key Points: Report across Multiple Ledgers
• You can use the Current Ledger Configurationoption on the Tools menu to select multiple ledgers for a consolidated Report
• A consolidated Report will display the entity details of the ledger the Report is run from
• You can use the drill down feature to see the separate account balances for each entity
• You can also consolidate ledgers in a Reportsuch that columns display for each entity; this is covered in the Column Templates module

© 2006 — MYOB Technology Pty Ltd 13
Export a Report
The key benefits of the export functionality are that
• You are able to use your report data to produce other documents, such as a business plan for a client, or graphs and charts to include with a report
• You can email draft reports to others for review
How to Export a Report
1. From the Reports window, click on the Export button
4. Choose a Save as type
2. Choose a Save in location
3. Accept the default File name or specify a File name
5. Click on the Save button
6. Locate the exported file and open it
1. From a Report Preview, click on the Export report icon
or
© 2006 — MYOB Technology Pty Ltd 14
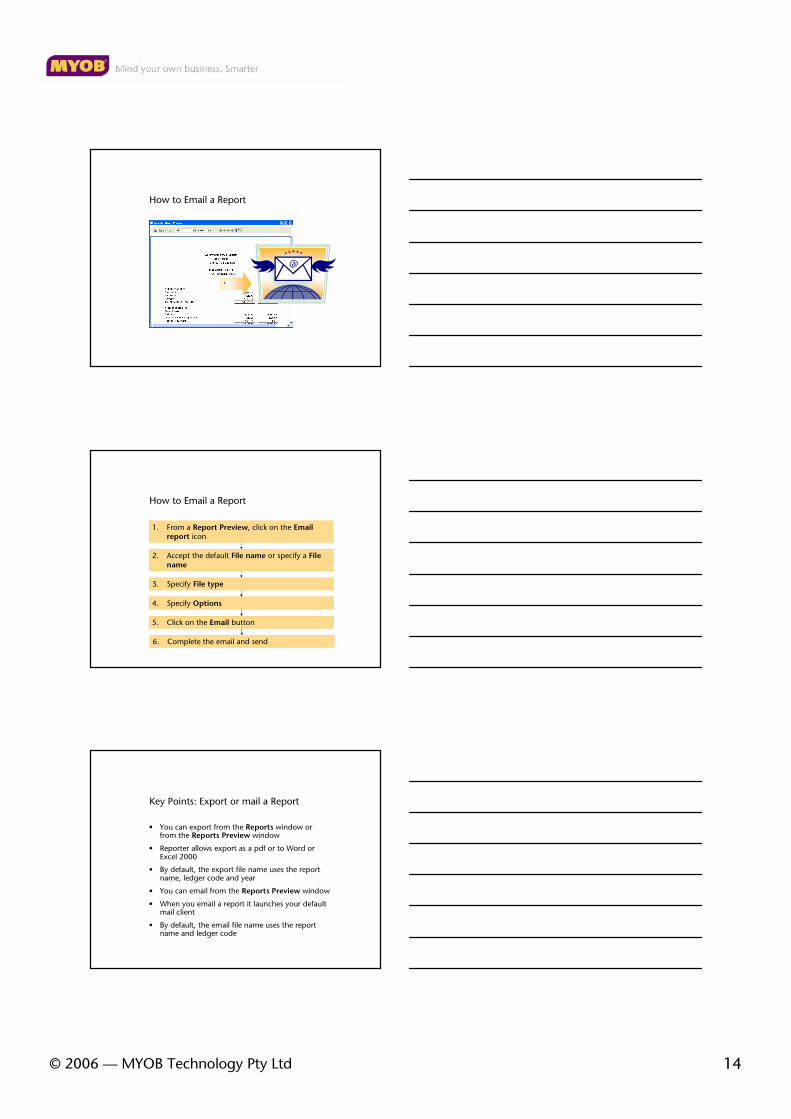
How to Email a Report
How to Email a Report
3. Specify File type
2. Accept the default File name or specify a File name
1. From a Report Preview, click on the Email report icon
4. Specify Options
5. Click on the Email button
6. Complete the email and send
Key Points: Export or mail a Report
• You can export from the Reports window or from the Reports Preview window
• Reporter allows export as a pdf or to Word or Excel 2000
• By default, the export file name uses the report name, ledger code and year
• You can email from the Reports Preview window
• When you email a report it launches your default mail client
• By default, the email file name uses the report name and ledger code
© 2006 — MYOB Technology Pty Ltd 15
You now know how to:
• Preview a Report
• Drill down to view data within a Report Preview
• Refresh data from within a Reports window
• Refresh a Report Preview after a data update
• Export a Report
• Email a Report
Introduction – The Task Pane
Introduction – The Task Pane
© 2006 — MYOB Technology Pty Ltd 16
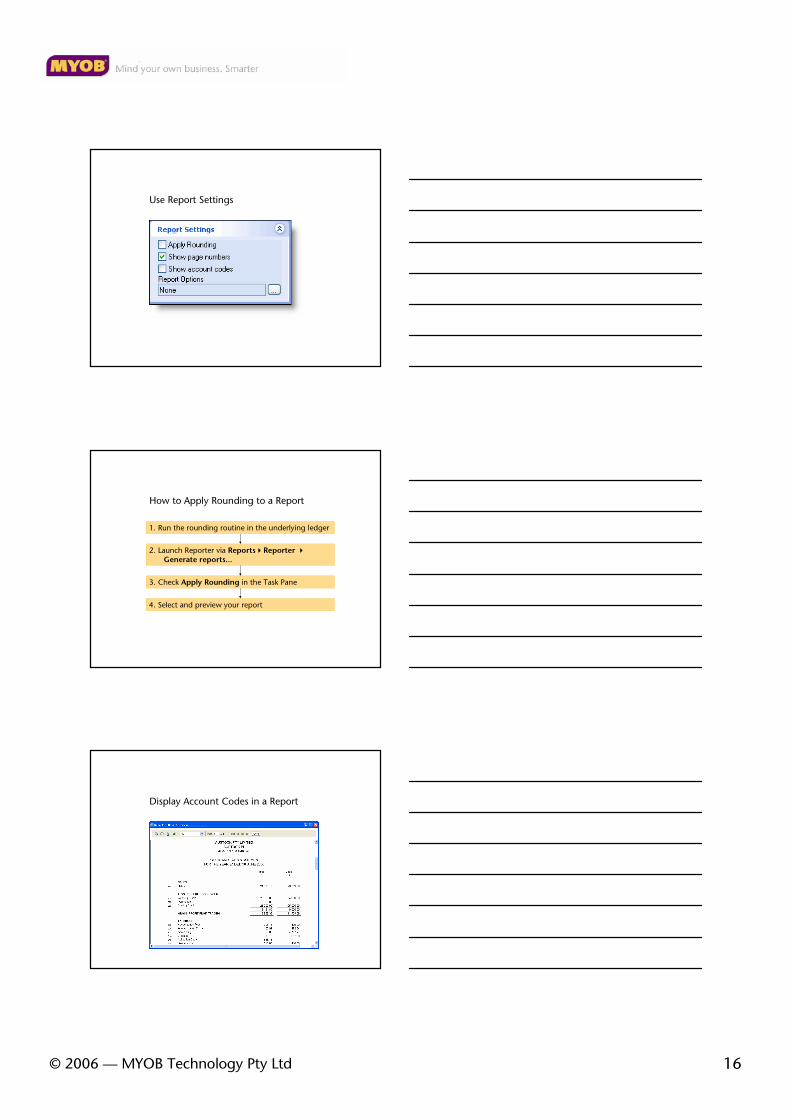
Use Report Settings
How to Apply Rounding to a Report
1. Run the rounding routine in the underlying ledger
2. Launch Reporter via Reports�Reporter �Generate reports...
3. Check Apply Rounding in the Task Pane
4. Select and preview your report
Display Account Codes in a Report
© 2006 — MYOB Technology Pty Ltd 17
How to Display Account Codes in a Report
3. Preview or print the Report
2. Select a Report that includes account codes in its design
1. From within the Reports window check Show account codes
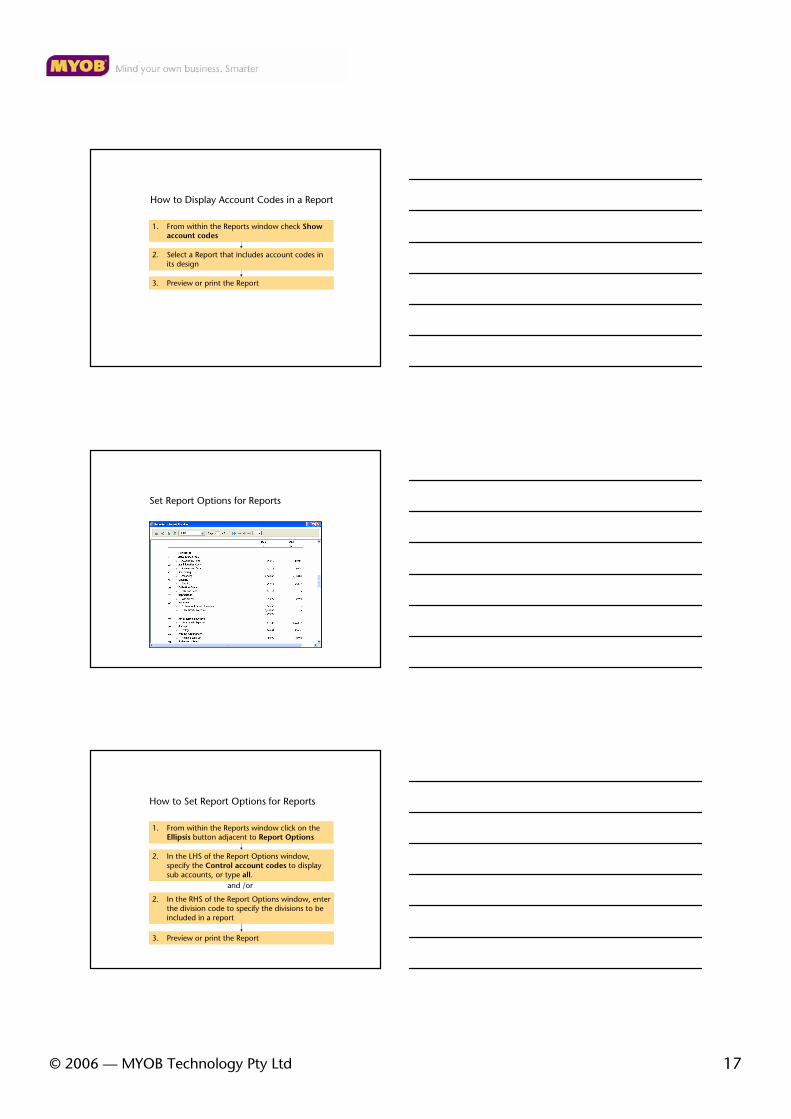
Set Report Options for Reports
How to Set Report Options for Reports
2. In the LHS of the Report Options window, specify the Control account codes to display sub accounts, or type all.
1. From within the Reports window click on the Ellipsis button adjacent to Report Options
3. Preview or print the Report
2. In the RHS of the Report Options window, enter the division code to specify the divisions to be included in a report
and /or
© 2006 — MYOB Technology Pty Ltd 18
Key Points: Use Report Settings
• Reports can display rounded data... the process is dependant on the underlying GL.
• You can include or remove page numbers from a report
• You can display account codes in a column to the left of the account descriptions, if the report’s design provides for account codes to be included
• You can choose to display sub account balances when running reports.
• You can choose to include one or more divisions when running reports.
• Sub codes are only included if the underlying design does not prevent them from displaying.
Change the Year or Period
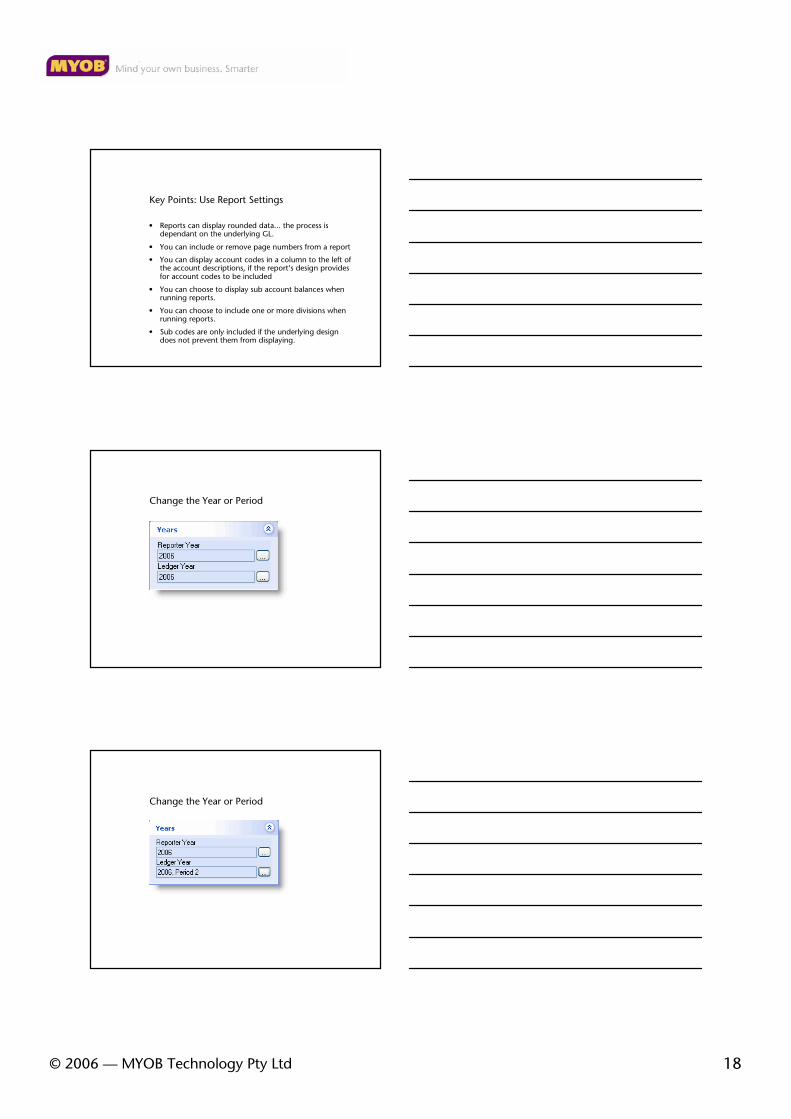
Change the Year or Period
© 2006 — MYOB Technology Pty Ltd 19
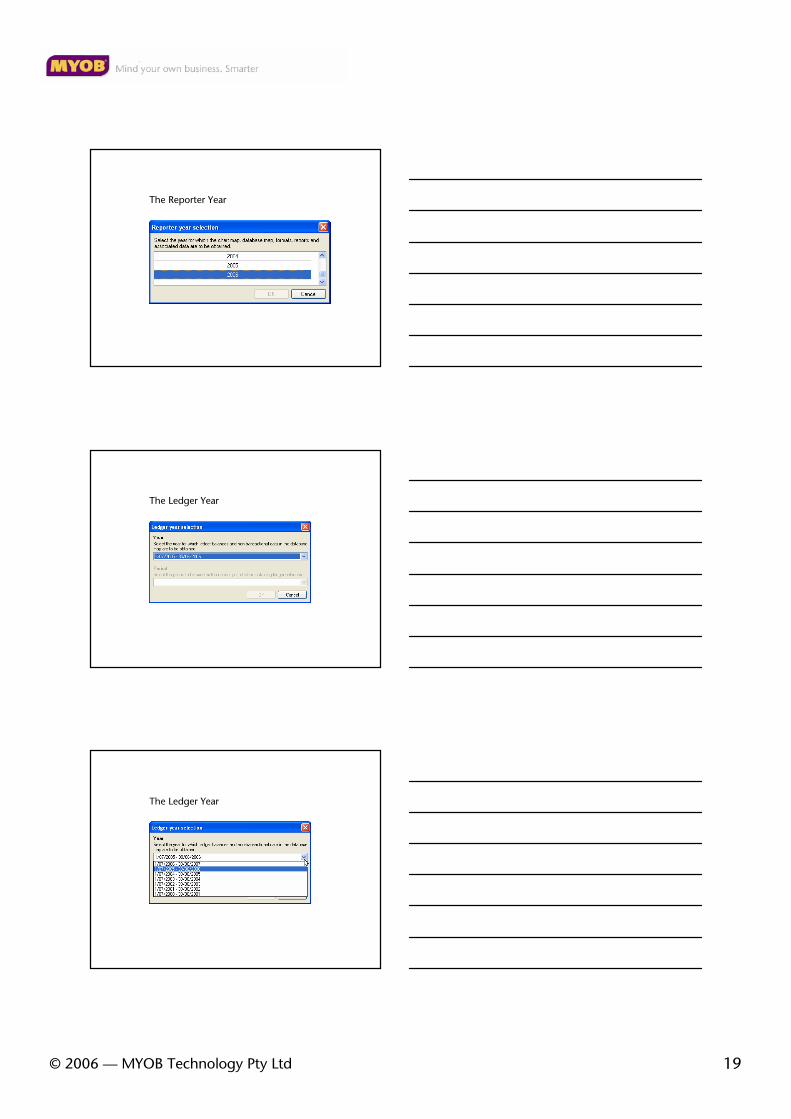
The Reporter Year
The Ledger Year
The Ledger Year
© 2006 — MYOB Technology Pty Ltd 20
How to change the Reporter year and the Ledger year for a Report
1. In the Years element, click on the ellipsis adjacent to Reporter Year
5. From the Year drop down list, click on a year to select it
3. Click on the OK button
4. In the Years element, click on the ellipsis adjacent to Ledger Year
6. Click on the OK button
2. Click on a year to highlight it
Key Points: Change the Year or Period
• The year you select as the Reporter Yeardetermines which Master Reports, Practice Master and Client reports are used to generate your reports.
• The year or period you select as the Ledger Yearwill appear in your report as the Current year or period
• The Ledger Year or period drop down lists the years or periods that are set up in the underlying ledger
• When entering non-transaction data be sure to check the Ledger Year
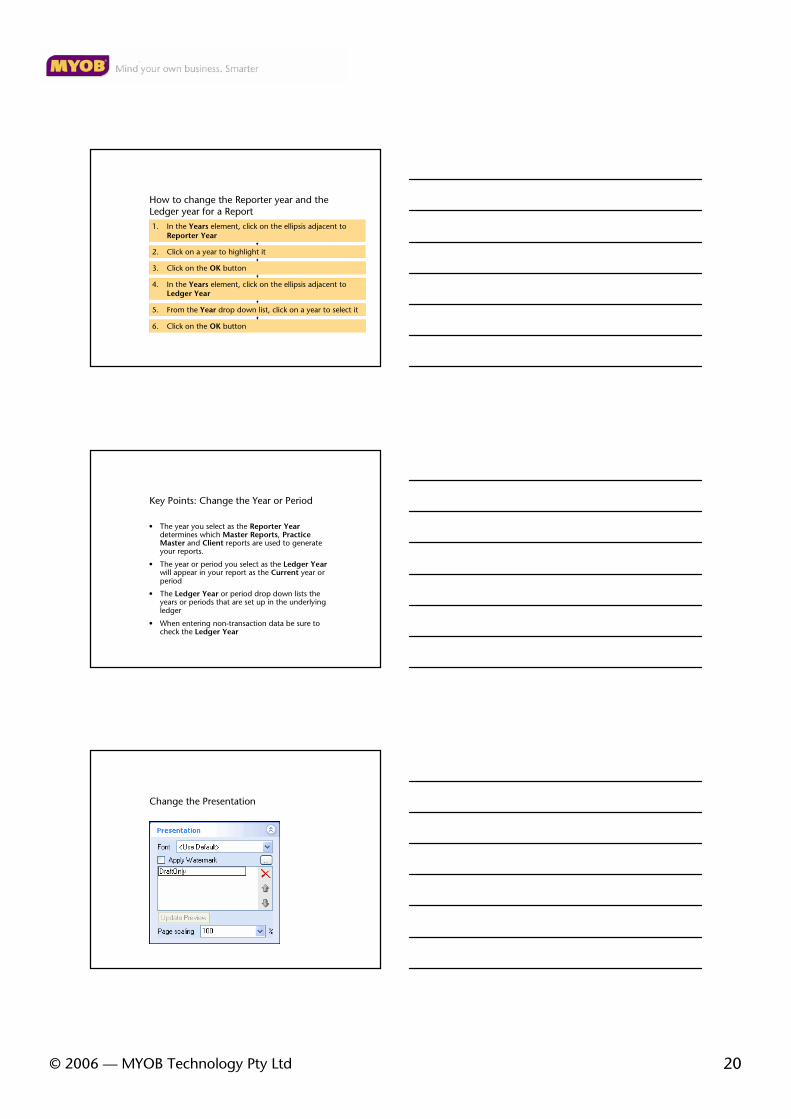
Change the Presentation

© 2006 — MYOB Technology Pty Ltd 21
How to create a Watermark
1. In the Presentation element, open the Watermark Editor window
5. On the Page Range tab, specify the pages
3. Name the Watermark, specify Type and other specifications
4. On the Location tab, specify the location on the page
6. Click on the Apply button and Close the Watermark Editor window
2. On the Type tab, click on the New Watermark icon
© 2006 — MYOB Technology Pty Ltd 22
How to change the Presentation of a Report
1. In the Presentation element, click on the drop down list adjacent to the Font field to select a font
3. Click in the Watermark drop down list and select a Watermark
4. In the Page scaling field, click on the drop down list and choose a scaling %
2. Click in the Apply Watermark checkbox
Key Points: Change the Presentation
• Changes in the Presentation Element are for that ledger only
• When changing the watermark for a previewed Report, you must click on the Update Preview button
• Watermarks can also be created at the Practicelevel; this would be appropriate for a watermark that is used right across all of your clients
• If you find that the last column or the last row of a report is forced to another page, scaling might provide a better presentation
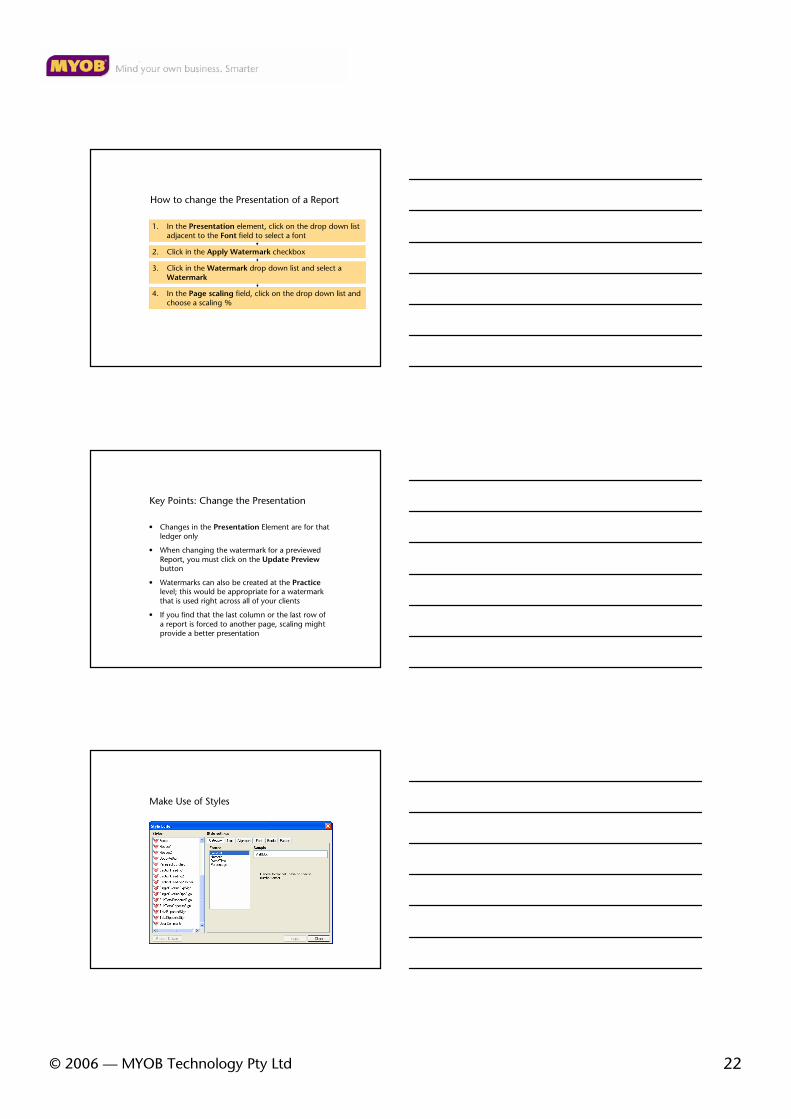
Make Use of Styles
© 2006 — MYOB Technology Pty Ltd 23
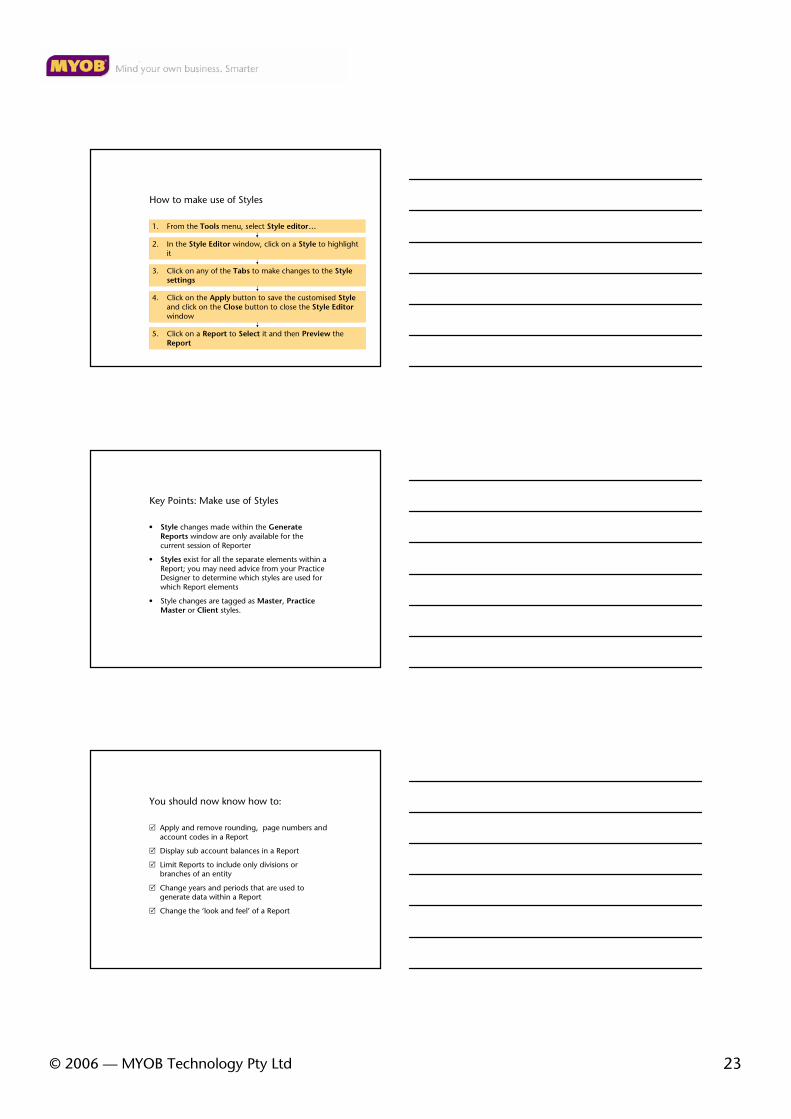
How to make use of Styles
1. From the Tools menu, select Style editor…
3. Click on any of the Tabs to make changes to the Style settings
4. Click on the Apply button to save the customised Styleand click on the Close button to close the Style Editorwindow
2. In the Style Editor window, click on a Style to highlight it
5. Click on a Report to Select it and then Preview the Report
Key Points: Make use of Styles
• Style changes made within the Generate Reports window are only available for the current session of Reporter
• Styles exist for all the separate elements within a Report; you may need advice from your Practice Designer to determine which styles are used for which Report elements
• Style changes are tagged as Master, Practice Master or Client styles.
You should now know how to:
� Apply and remove rounding, page numbers and account codes in a Report
� Display sub account balances in a Report
� Limit Reports to include only divisions or branches of an entity
� Change years and periods that are used to generate data within a Report
� Change the ‘look and feel’ of a Report
© 2006 — MYOB Technology Pty Ltd 24
In completing this module, you have learnt how to:
� Navigate within the Report Generator
� Preview reports
� Drill down within a Preview to check the underlying data
� Update and refresh data in a report
� Print or Export a Report
� Adjust the data and the presentation of a Report
� Consolidate multiple ledgers into a single Report