mosaic - andover fabricsfree pattern download available 1384 broadway new york, ny 10018 tel. (800)...
TRANSCRIPT

Free Pattern Download Available1384 Broadway New York, NY 10018
Tel. (800) 223-5678 • andoverfabrics.com
3/15/18
Mosaic BY SHANNON BRINKLEY
Create / Explore Quilts designed by: Shannon Brinkley
Quilt Size: 50" x 60"
andoverfabrics.com
Quilt �nishes 50" x 60"
Fabric ACut (6) strips 22" x WOF for binding Cut (1) word template (read Step 4 for directions)
Fabric BCut (1) strip 32" x 52" (cut crosswise and pieced)Cut (1) strip 32" x 12”
Fabric CCut (1) strip 32" x 52" (cut crosswise and pieced)Cut (1) strip 32" x 23”
Fabric DCut (1) strip 32" x 43"Cut (1) strip 32" x 39" Cut (1) strip 32" x 20"
Fabric ECut (1) strip 32" x 35"Cut (1) strip 32" x 28" Cut (1) strip 32" x 16"
Fabric FCut (1) strip 32" x 52" (cut crosswise and pieced)Cut (1) strip 32" x 32" Cut (1) strip 32" x 23"
Fabric GCut (1) strip 32" x 42"
Fabric HCut (1) strip 32" x 52" (cut crosswise and pieced)Cut (1) strip 32" x 43" Cut (1) strip 32" x 13" Cut (1) strip 32" x 12"
Fabric ICut (1) strip 32" x 39"Cut (1) strip 32" x 35"
Fabric JCut (1) strip 32" x 52" (cut crosswise and pieced)
Fabric KCut (1) strip 32" x 52" (cut crosswise and pieced)Cut (1) strip 32" x 27"
Fabric LCut (1) strip 32" x 52" (cut crosswise and pieced)Cut (1) strip 32" x 20"
Fabric MCut (2) strips 32" x 52" (cut crosswise and pieced)Cut (1) strip 32" x 16"
Fabric NCut (1) strip 32" x 32"
Fabric OCut (1) strip 32" x 52" (cut crosswise and pieced)
BackingCut (2) panels 33" x 56", pieced to fit quilt top with overlap on all sides
Also needed: 2 yard fusible web (non-paper backing) such as Mistyfuse or Wonder Webparchment paper
Cu�ing DirectionsNote: Read assembly directions before cutting patches. All measurements are cut sizes and include 4" seam allowances. WOF designates the width of fabric from selvedge to selvedge (approximately 42" wide).
This throw-size quilt shows o� the colorful floral and geometric fabrics in easy-to piece strips. Choose from two color ways, or because of the simplicity of the design, you may want to make one of each.
Create / Explore QuiltsIntroducing Andover Fabrics new collection: MOSAIC by Shannon BrinkleyQuilt designed by Shannon Brinkley
Fabric Requirements Yardage Pink Quilt Blue Quilt*Fabric A *appliqué 1 yard 8879-E 8879-B**Fabric B setting 4 yard 8880-E 8880-BFabric C setting 4 yard 8882-CN 8882-CNFabric D setting s yard 8882-WW 8882-WWFabric E setting 4 yard 8883-C 8883-CFabric F setting s yard 8884-C 8884-CFabric G setting 8 yard 8884-E 8884-BFabric H setting s yard 8885-C 8885-CFabric I setting 4 yard 8885-E 8886-BOFabric J setting 4 yard 8886-CL 8886-CLFabric K setting 4 yard 8886-CN 8886-CNFabric L setting 4 yard 8886-EO 8886-BFabric M setting s yard 8886-ER 8885-BFabric N setting 8 yard 8887-C 8887-CFabric O setting 4 yard 8887-E 8887-B**Backing 34 yards 8880-E 8880-B*includes binding
Page 2 of 15 Free Pa�ern Download Available at www.andoverfabrics.com 3/15/18

Making the Quilt
1. To make cutting easier, the strip lengths are in whole inches. This results in some of the pieced strips being slightly longer than others. The quilt will be trimmed later.
2. Refer to the Quilt Diagram to determine which strips are joined to make each pieced row. Choose a strip that is on the left side of the quilt and the strip that is joined with it. Place the left strip right sides up on a flat surface. Position the right strip at the end of the first, right side down and aligned as shown in Diagram 1. With a ruler, draw a diagonal line from the top left corner of the second strip to the bottom right corner just along the bottom edge of the first strip. Stitch along the drawn line. Trim the excess fabric from the corner, and press open (Diagram 2). Be sure that the strips are aligned along their long edges. If they are not, adjust your stitching and pressing. Repeat this to make all the pieced rows.
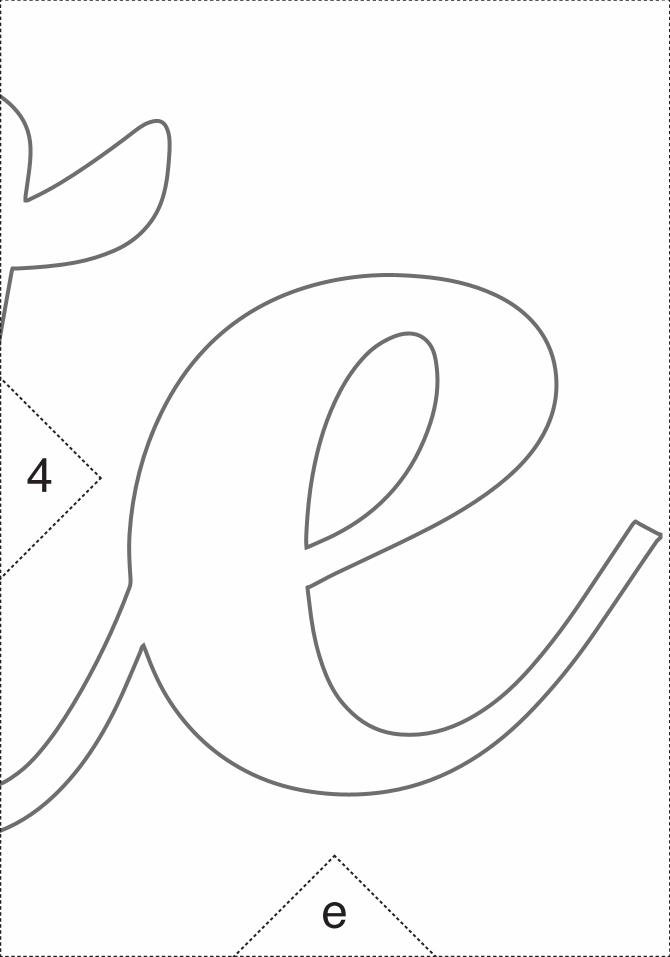
4. Follow these directions for an easy transfer trick to make the appliqué word. Trace the template onto parchment paper with a #2 pencil, marking darkly. You can use a Sharpie pen instead if you wish. Leave a few inches of blank parchment paper surrounding the traced shape.
5. Cut a piece of fusible web slightly larger than the appliqué shape. Hint: For very dark fabrics, use 2 layers of fusible web, or use a white colored pencil. Cut Fabric A slightly larger than the fusible web. On a pressing surface, layer the parchment paper traced side up. Position the fusible web on top, then lay the fabric right side up on top of the paper. With a hot iron, press the layers to transfer the fusible web and design to the wrong side of the fabric.
6. Flip the layers over, and place on a hard surface with the parchment paper on top. Burnish the drawn line to transfer the design by rubbing the pencil or pen line firmly with your thumbnail or a burnishing tool. (A blunt crochet hook works well.) Once the lines have been transferred, carefully peel o� the parchment paper. If for some reason the lines do not transfer, repress and reburnish. If the line still doesn’t transfer, cut out the appliqué piece with the parchment paper attached, and peel away the paper after cutting.
7. With very sharp, small scissors, cut out the word. Follow manufacturer’s directions for the webbing to fuse the word to the quilt. Refer to the quilt photograph for placement.
8. Finish the edges of the appliqué with a satin or zigzag machine stitch.
Finishing the Quilt 9. Layer the quilt with batting and backing and baste.
Quilt in the ditch between strips and around the appliqué. Bind to finish the quilt.
3. Refer to the Quilt Diagram and arrange the 20 rows in order. Stitch rows together along their long edges. The use of a walking foot or even-feed foot on the machine will keep the strips flatter. Press the seam allowances in one direction. Trim the sides of the quilt so all rows are even. The measurement does not matter that much, but trim the quilt to 502" wide if desired.
Create / Explore Quilts
Page 3 of 15 Free Pa�ern Download Available at www.andoverfabrics.com 3/15/18
Diagram 2
Diagram 1
NOTE: General printing instructions for templates are available at this website: h�ps://bit.ly/2JB1IDo

Quilt Diagram
Create / Explore Quilt
Page 4 of 15 Free Pa�ern Download Available at www.andoverfabrics.com 3/15/18
M 52"
I 35"
L 52"
G 42"
B 52"
O 52"
F 32"
N 32"
F 52"
H 52"
D 43"
E 16"
J 52"
C 52"
K 52"
D 20"
27"
B 12"
16"
52"
39"
20" L
43" H
13" H
12" H
39" D
23" C
28" E
23" F
35" E

Free Pattern Download Available1384 Broadway New York, NY 10018
Tel. (800) 223-5678 • andoverfabrics.com
Mosaic BY SHANNON BRINKLEY
3/15/18
*Indicates fabrics usedin both quilt pa�erns.
Fabrics shown are 25% of actual size.
8879-B* (blue) 8879-C 8879-E* (pink)
8880-B* (blue) 8880-C 8880-E* (pink)
8883-B 8883-C* (both) 8883-E
8884-B* (blue) 8884-C* (both) 8884-E* (pink)
8885-B* (blue) 8885-C* (both) 8885-E* (pink)
8887-B* (blue) 8887-C* (both) 8887-E* (pink)
8882-B 8882-CN* (both)
8882-E 8882-WW* (both)
8886-B* (blue) 8886-BO* (blue)
8886-CK8886-C
8886-CL* (both) 8886-CN* (both)
8886-EO* (pink) 8886-ER* (pink)

1
a
1” 1 cm
Create & Exploretemplates
shannon-brinkley.com © 2018 SHANNON BRINKLEY, BOTTLE TREE LLC. All rights reserved.

1 1
b
2

c
2 2 3

d
3 3 4
e
44

aa
5
shannon-brinkley.com © 2018 SHANNON BRINKLEY, BOTTLE TREE LLC. All rights reserved.

bb
5 5 6

cc
6 6 7

dd
7 7 8

ee
88