lms installation guide for single server deployment · nicelabel lms installation guide for single...
TRANSCRIPT

NiceLabel LMS
Installation Guide for Single Server Deployment
Rev-1702 ©NiceLabel 2017.
www.nicelabel.com

1 Contents1 Contents 22 Architecture 3
2.1 Server Components and Roles 3
2.2 Client Components 3
3 Prerequisites 4
3.1 System Requirements 4
3.2 Installation Prerequisites 5
4 Installing NiceLabel LMS 6
4.1 Installing Control Center 6
4.2 Installing Web Printing Site 11
4.3 Installing Support for WebDAV 13
4.3.1 Enabling WebClient Service to use "Automatic" Startup Type 13
4.3.2 Installing Desktop Experience 14
4.3.3 Installing WebDAV redirector 16
5 Activation 186 Accessing NiceLabel LMS 19
6.1 Access from Internal Network 19
6.2 Access from Internet 19
6.2.1 Port Forwarding 19
6.2.2 Other Methods 20
7 Support 21
7.1 Online Self-help 21
7.2 Contacting Technical Support 21
www.nicelabel.com 2

2 ArchitectureNiceLabel LMS uses the client-server model of computing, using which the server provides resources (such as consolidated storage of files and history of printing events), and the client provides label design and printout functionality. Print client is available as a desktop client for on-premise computers and as a Web client for remote users connecting over the Internet. Clients and server communicate over a computer network using the TCP/IP protocol.
This installation guide provides installation steps for the single-server deployment scenario. In this case, all server components are installed on the same computer.
WARNING: In this document, we are using Windows Server 2016 and Microsoft SQL Server 2016 Express. Similar installation steps are necessary with other supported Windows operating systems or other supported versions of Microsoft SQL Server.
NOTE: For instructions on how to install NiceLabel components on multiple servers and in multi-tier environments, see more detailed NiceLabel Control Center Installation Guide and NiceLabel Web Printing Installation Guide.
2.1 Server Components And RolesThese are the components that you have to install and/or configure on the server.
l Web applications (Control Center and Web Printing). These are the main Control Center software components that run on Microsoft Internet Information Services (IIS) using .NET platform.
l Database back-end. This is the database server that runs Microsoft SQL Server and hosts the Control Center database.
2.2 Client ComponentsThere are two types of client components.
l NiceLabel 2017. This client provides label and application designer, and desktop print application. NiceLabel 2017 is installed on the on-premise computers.
l NiceLabel Web client. This is the print application for Web printing. You would install it on the print stations, located either on-premise or on external computers.
www.nicelabel.com 3

3 Prerequisites3.1 System Requirements
o Hardware and software requirements
l CPU: Intel or compatible x86 family processor
l Memory: 2 GB or more RAM
l Hard drive: 1 GB of available disk space
l 32-bit or 64-bit Windows operating systems: Windows Server 2008 R2, Windows 7, Windows 8, Windows 8.1, Windows Server 2012, Windows Server 2012 R2, Win-dows 10, Windows Server 2016 (Windows Server Core and Windows Nano Server are not supported)
l Microsoft .NET Framework Version 4.5 or higher
l Display: 1366 × 768 or higher resolution monitor
l Recommended printer drivers: NiceLabel printer driver V5.1 or higher
Additional Requirements for NiceLabel Control Center and NiceLabel PowerForms Web Components
l Recommended browsers: Internet Explorer 9+, Google Chrome (latest), Mozilla Fire-fox (latest)
l Enabled JavaScript in web browser
l Installed at least one printer driver. The label preview functionality requires at least one printer driver to be installed on the Control Center server.
l Enabled TLS 1.0 protocol in Windows. By default, this protocol is enabled in Win-dows operating system. If you have it disabled, make sure to re-enable it during the installation.
You can install NiceLabel LMS on physical of virtual computer.
TIP: To keep the setup as simple as possible, NiceLabel recommends you to install NiceLabel LMS on a dedicated computer. This helps you avoid potential conflicts with existing software.
www.nicelabel.com 4
o Database server
You need any of the following: Microsoft SQL Server 2005, Microsoft SQL Server 2008, Microsoft SQL Server 2012, Microsoft SQL Server 2014, Microsoft SQL Server 2016 (Express Edition of products listed above are also supported)
SQL Server is required for installing the NiceLabel database (default database name is NiceAN).
Microsoft SQL Server 2016 Express is included on NiceLabel DVD and will be started during Control Center installation.
o Web server
Internet Information Services (IIS) 7 or later is required. This Web server is provided with Windows operating system. It will be automatically enabled and configured during Control Center installation.
The IIS is required to run Control Center and Web Printing sites.
3.2 Installation Prerequisites
o Administrative Windows login
To install all prerequisites and NiceLabel LMS itself, log in as a user with administrative privileges, usually Administrator. This gives you full access to the server.
o Internet access
l For software activation. Internet access is required for activating the NiceLabel LMS license.
l For Web Printing access. Internet access is required for remote Web Printing users to access the server.
o Member of the IT team on standby
To make Web Printing functionality in NiceLabel LMS accessible to external users connecting from the Internet, reconfigure your network equipment (router / firewall).
www.nicelabel.com 5

4 Installing NiceLabel LMS4.1 Installing Control Center
NOTE: The instructions below assume you are installing the software from DVD. If you have downloaded the installer, run the file NiceLabelControlCenter2017.exe and continue with step 6.
Complete the following steps:
1. Log in to server as user with local administrative permissions, such as local Administrator user account.
2. Close all open applications before starting the installer.
3. Insert the NiceLabel DVD.
NOTE: If the application menu does not start automatically, double-click Start.exe.
4. Select Install NiceLabel LMS.
5. Select NiceLabel Control Center.
6. Select installer language. Click OK.
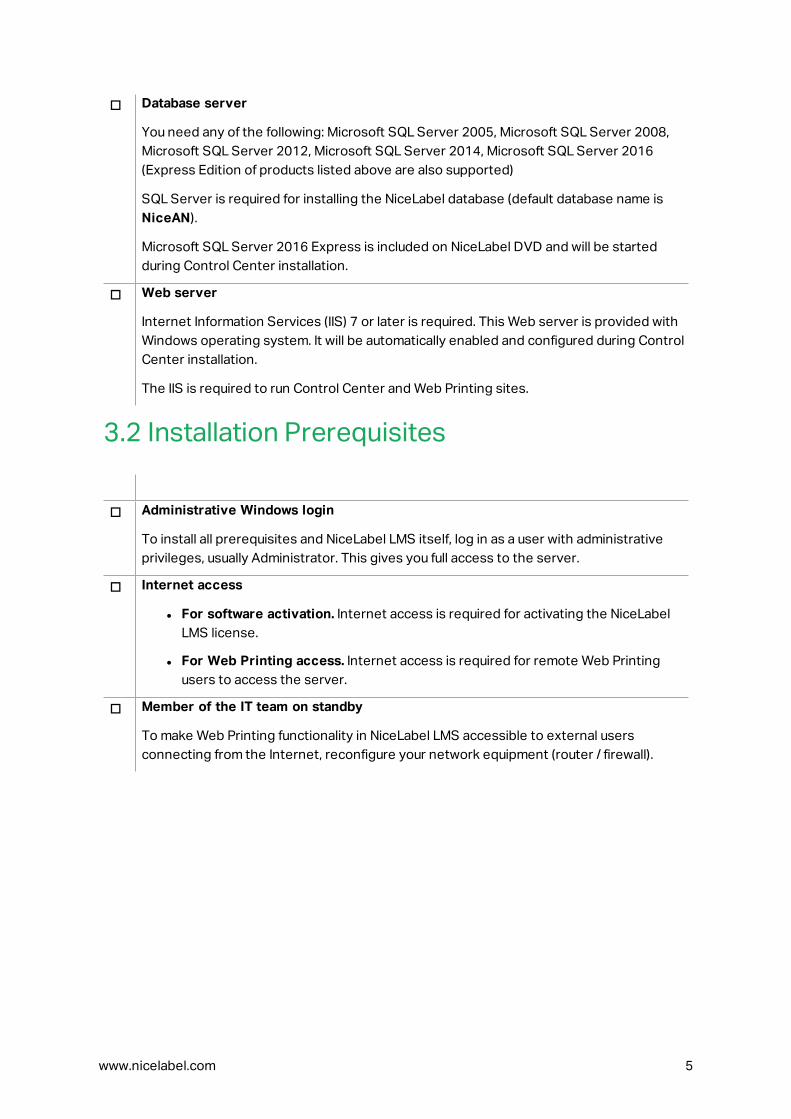
7. Installer verifies that the IIS and all of the required features are available. If some pre-requisites are missing or currently disabled, click button Enable Missing IIS Features to install or enable them.
www.nicelabel.com 6
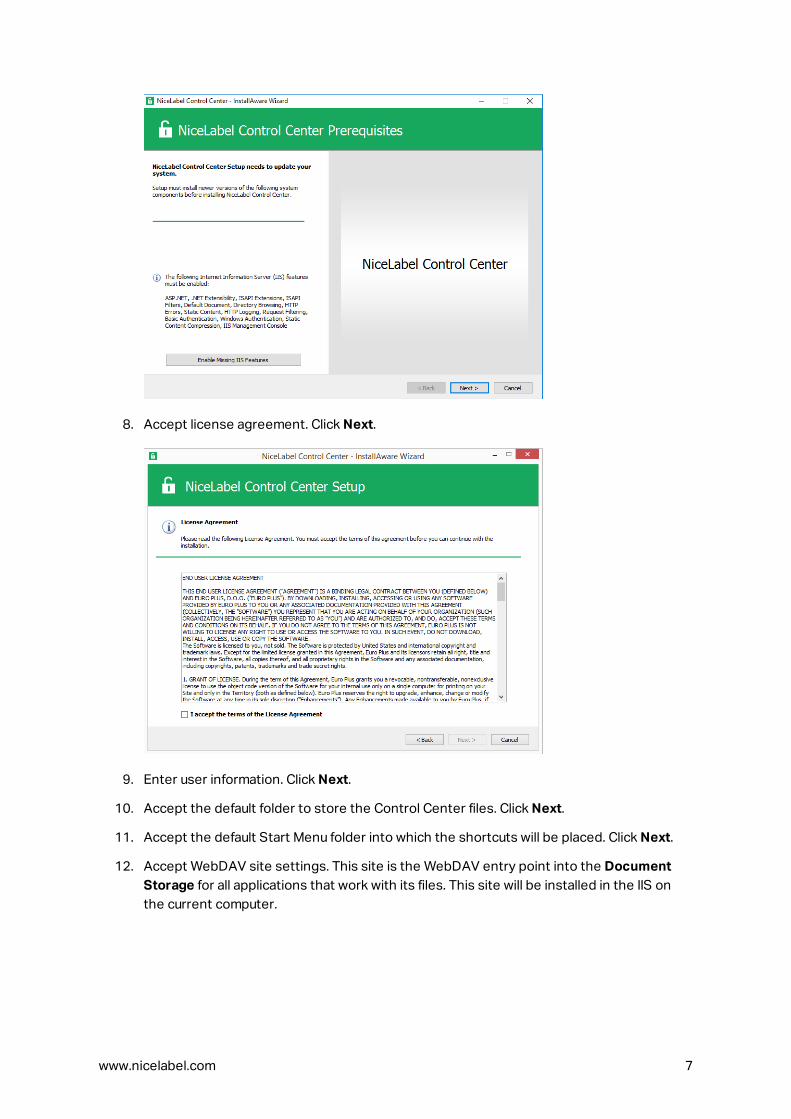
8. Accept license agreement. Click Next.
9. Enter user information. Click Next.
10. Accept the default folder to store the Control Center files. Click Next.
11. Accept the default Start Menu folder into which the shortcuts will be placed. Click Next.
12. Accept WebDAV site settings. This site is the WebDAV entry point into the Document Storage for all applications that work with its files. This site will be installed in the IIS on the current computer.
www.nicelabel.com 7

WARNING: Make sure the entered port number is not in use by any other application on this machine. The port might be used by a site in IIS, or by some other application. If this is a dedicated machine for NiceLabel software, the port is free.
13. Select a Microsoft SQL Server, which will be used by the Control Center. This is an infrastructure example with a single server – the local machine also performs the role of a database server. Select the local SQL Server. Keep default database name, if you do not have a reason to change it.
If you do not have the Microsoft SQL Server already installed, click Install SQL Server Express. The button is visible if the SQL Server 2016 installation setup exists in the same folder as Control Center setup file.
The installation of Microsoft SQL Server 2016 Express will start after pressing the button. After the installation is done, resume with the installation of Control Center and select the newly installed SQL instance.
NOTE: Internet access is required for this step. This enables the installer to download all necessary components.
www.nicelabel.com 8

1. 1. In the SQL Server 2016 installer, select Basic installation type.
2. Click Accept to accept the license terms.
3. Click Install to start the automated installation process. This might take several minutes.
4. (Optional step). Click Install SSMS to download and install SQL Server Management Studio. SQL Server Management Studio (SSMS) is an integrated environment that enables you to access, configure, manage, administer, and develop all SQL Server components.
Click Close.
www.nicelabel.com 9

5. The Instance Name will be preconfigured to the following setting.
(local)\sqlexpress
6. Keep the database name. Click Next.
14. Accept the default time interval during which the old data is removed from the database. Click Next.
NOTE: You can fine-tune the archiving time interval and data retention at a later time using Windows Task Scheduler.
15. Click Install.
www.nicelabel.com 10

16. Make sure the option Install NiceLabel Web Printing after this installation is complete is enabled and click Finish.
See chapter Installing Web Printing Site from step 6.
NOTE: This option is visible, when Web Printing installer is found in the same folder.
4.2 Installing Web Printing Site
NOTE: The instructions below assume you are installing software from the DVD. If you have started the installer from within Control Center installation, continue with step 6.
To install the Web Printing site on the same computer as Control Center, do the following:
1. Log in to server using the user with local administrative permissions, such as local Admin-istrator user account.
2. To ensure a complete installation, close all open applications before you start.
3. Insert the NiceLabel DVD.
NOTE: If the application menu does not start automatically, double-click Start.exe.
4. Select Install NiceLabel LMS.
5. Select NiceLabel Web Printing.
6. Select installation language from the drop-down list and click OK. Click Next.
www.nicelabel.com 11
7. Accept the license agreement. Click Next.
8. Enter user information. Click Next.
9. Accept a default folder where Web Printing files will be stored. Click Next.
10. Accept a default Start Menu folder into which shortcuts will be placed. Click Next.
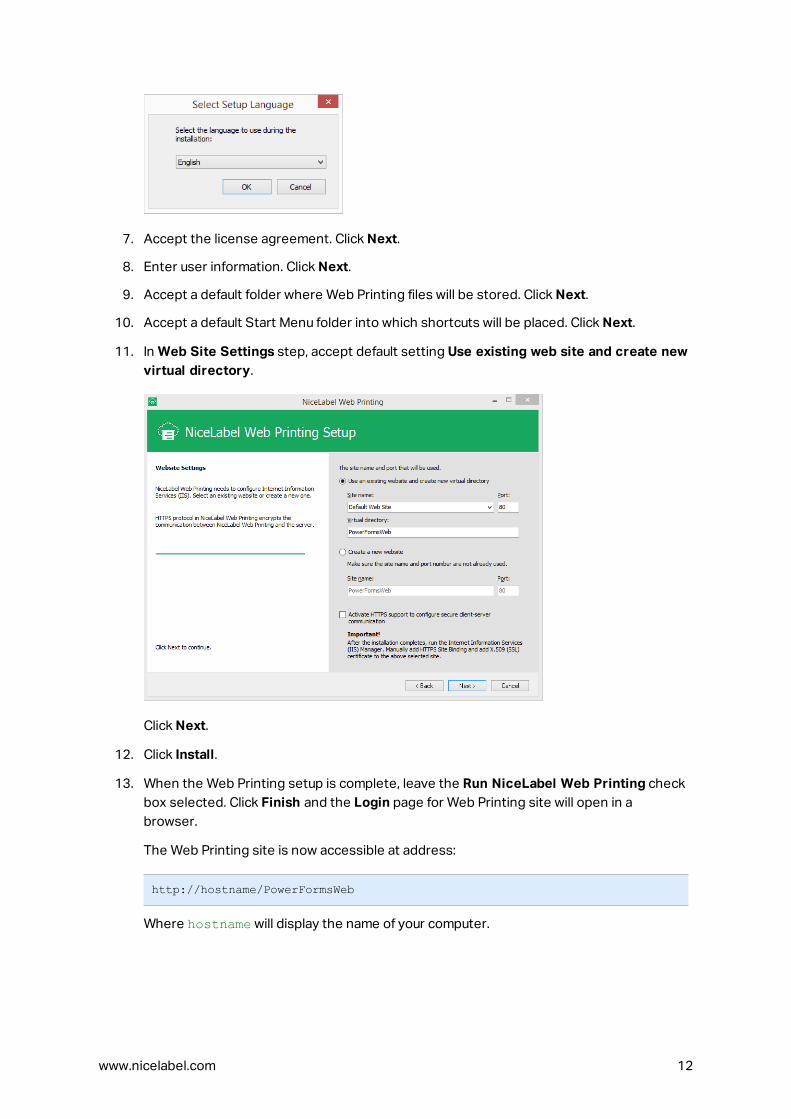
11. In Web Site Settings step, accept default setting Use existing web site and create new virtual directory.
Click Next.
12. Click Install.
13. When the Web Printing setup is complete, leave the Run NiceLabel Web Printing check box selected. Click Finish and the Login page for Web Printing site will open in a browser.
The Web Printing site is now accessible at address:
http://hostname/PowerFormsWeb
Where hostname will display the name of your computer.
www.nicelabel.com 12
4.3 Installing Support For WebDAVWebDAV (Web-based Distributed Authoring and Versioning) is a set of extensions to HTTP protocol. It provides a user framework for creating, changing and move documents on a server; typically a web server or a web share.
NiceLabel Control Center provides WebDAV access to the Document Storage files. All clients that interact with the Document Storage must have WebDAV support enabled.
TIP: Typically, the "clients" are NiceLabel Designer and NiceLabel Automation.
To ensure a successful connection between the client and WebDAV, make sure the following prerequisites are met on the client side:
l Windows 7, Windows 8/8.1 and Windows 10. WebDAV support is already installed and no further action is required.
l Windows Server 2008 R2 and 2012 R2. Enable Desktop Experience feature. See details below.
l Windows Server 2016. Enable Desktop Experience and WebDAV Redirector features. See instructions on how to install WebDAV Redirector below.
4.3.1 Enabling WebClient Service To Use "Automatic" Startup TypeWindows operating system supports access to WebDAV shares using WebClient service. When this service is stopped, users have no access to WebDAV shares. In Windows Vista, 7, 8/8.1 and Windows 10, the service is enabled in Manual startup mode.
In Windows Server 2008, 2012 (including R2) and 2016 editions, the default setup does not have web client service. You need to install Desktop Experience package to add web client service.
To make sure the WebDAV support is always available, set the WebClient service startup type to Automatic.
Do the following:
1. Press Windows key (or <Ctrl> + <Esc>) to open the search.
2. Type in Services and run the Services window.
3. Scroll down in the list and locate the service WebClient.
4. Double click WebClient to open its properties.
5. In Startup, type combo box select Automatic.
www.nicelabel.com 13

6. If the service is not running yet, click Start button.
7. Click OK.
8. Close Services window.
4.3.2 Installing Desktop ExperienceTo install Desktop Experience feature on Windows Server operating system, do the following.
NOTE: These instructions are for Windows Server 2012 R2.
1. Start Server Manager from the Start screen.
2. Click Manage, then click Add Roles and Features.
www.nicelabel.com 14

3. Select Role-based or feature-based installation. Click Next.
4. Select a local server from the server pool. Click Next.
5. The Desktop Experience feature is not a Server Role, so skip the Server Roles page by clicking Next.
6. In the Select Features section, expand User Interfaces and Infrastructure and check the Desktop Experience check box. Probably it will now ask you whether you also want to install the features required by Desktop Experience. Click the Add Features button to proceed. Now, click the Next button to proceed.
7. In the Confirmation section, optionally check the Restart the destination server automatically if required check box as the Desktop Experience feature will need a restart to complete. You can also manually restart the server after the wizard steps are complete.
www.nicelabel.com 15

8. Wait while the features are being installed. You can also close the Add Roles and Features Wizard window – it will continue to run in the background.
4.3.3 Installing WebDAV Redirector
NOTE: These instructions are for Windows Server 2016.
1. Start Server Manager from the Start screen.
2. Open Manage menu and click Add Roles and Features.
3. Click Features tab.
4. Select WebDAV Redirector feature.
5. Click Next to proceed to the Confirm installation selections window.
www.nicelabel.com 16

6. Click Install. You can close the window while the feature is being installed.
7. Close Add Roles and Features window.
www.nicelabel.com 17

5 ActivationTo activate the LMS Pro or LMS Enterprise license in the Control Center server, do the following:
1. Open a browser on a computer with access to the Internet.
2. Type in the URL to the Control Center.
http://hostname/epm
Where hostname in the URL is the name of your computer.
3. Go to Administration tab > Licenses.
4. Click the Activate new product link.
5. On Activation page, enter the required user information and the License Key that was provided with the product.
6. Click Next.
7. Registration Number is generated automatically. Make sure the computer has an Internet connection and click Finish to complete the activation.
www.nicelabel.com 18
6 Accessing NiceLabel LMS6.1 Access From Internal NetworkNow that you have installed and activated NiceLabel LMS on the server, these are the access points for the server that you can access while you are in the same network as the server (note the local name of the server):
NOTE: In all examples, the hostname should be replaced with the name of your server.
l NiceLabel Control Center
http://hostname/EPM
l NiceLabel Web Printing
http://hostname/PowerFormsWeb
6.2 Access From InternetWhenever you want users outside of your internal network to connect to your Web site, you have to publish the site on the Internet, no matter what you want to expose: Control Center itself or Web Printing.
You will need help from IT team in your company to set it up. There are different methods to publish a Web site on the Internet.
WARNING: Whenever you are publishing Web site on the internet, you are exposing your infrastructure to possible security attacks. Follow the security best practice guidelines to protect your Internet-facing Web server.
6.2.1 Port Forwarding
TIP: This might be the easiest method to implement.
l As the name suggest, you are forwarding all incoming requests on the public IP address to the internal computer, which is running NiceLabel LMS.
l IT administrator must configure the main router and/or firewall (that connects you to the Internet) to forward all incoming requests on port 80 to the port 80 on the internal com-puter hostname.
l The external user would visit your public IP address and see the Web Printing login page from computer hostname.
www.nicelabel.com 19

When connecting to your public IP address (this example shows 10.20.30.40 as the external IP address):
http://10.20.30.40/PowerFormsWeb
The users will actually get the content being served from Web Printing site.
l You need to be familiar with your public IP, so that you can send it to external users. The IP address can be static (always the same), or dynamic (the address changes after a defined time interval in h/s).
6.2.2 Other MethodsThe methods of publishing a Web site on the Internet might also be using a reverse proxy in the DMZ, using VPN connections, and other. These methods are outside the scope of this document.
www.nicelabel.com 20
7 Support7.1 Online Self-helpYou can find the latest builds, updates, workarounds for problems and Frequently Asked Questions (FAQ) on the product web site at www.nicelabel.com.
Full version of the installation guides:
l NiceLabel Control Center Installation Guide
l NiceLabel Web Printing Installation Guide
For more information please refer to:
l Knowledge base: https://www.nicelabel.com/support/knowledge-base
l NiceLabel Support: https://www.nicelabel.com/support/technical-support
l NiceLabel Tutorials: https://www.nicelabel.com/learning-center/tutorials
l NiceLabel Forums: https://forums.nicelabel.com/
NOTE: If you have a Service Maintenance Agreement (SMA), please contact the premium support as specified in the agreement.
7.2 Contacting Technical SupportAt some point, when you encounter a problem that you cannot solve by yourself, you may need to contact your support representative for additional assistance
https://www.nicelabel.com/support/technical-support
NOTE: If you have a Service Maintenance Agreement (SMA), please contact the premium support as specified in the agreement.
Before contacting support it would be very helpful, if you collected information about the problem, the computer and operating system, you are running NiceLabel software on. You can use the following checklist.
Checklist
o What happened? Write down exactly the error message that you get or make a screen shot of the error.
o When was the error discovered for the first time?
o What did you expect to happen?
o Have you discovered the problem earlier?
www.nicelabel.com 21
o Can the error be reproduced?
o How often did the error occur?
o Have you tried to use NiceLabel software this way earlier?
o If your problem is coming and going, please describe circumstances and under what con-ditions the error appears.
o Which version of NiceLabel software are you using?
o Which version of NiceLabel was used to design the label?
o Can you provide the files that you were using when the issue occurred (data files, con-figuration files, label files, etc.)?
o Which printer are you using?
o Which version of printer driver are you using?
o Which operating system are you using? In which language?
o Are you using firewall? Are all the required ports open?
o Which version of Microsoft .NET framework is installed?
www.nicelabel.com 22
Americas
+1 262 784 2456
EMEA
+386 4280 5000
Germany
+49 6104 68 99 80
China
+86 21 6249 0371
www.nicelabel.com