level 11: placing treasure chests · level 11: placing treasure chests welcome to level 11 of the...
TRANSCRIPT
Level 11: Placing Treasure Chests
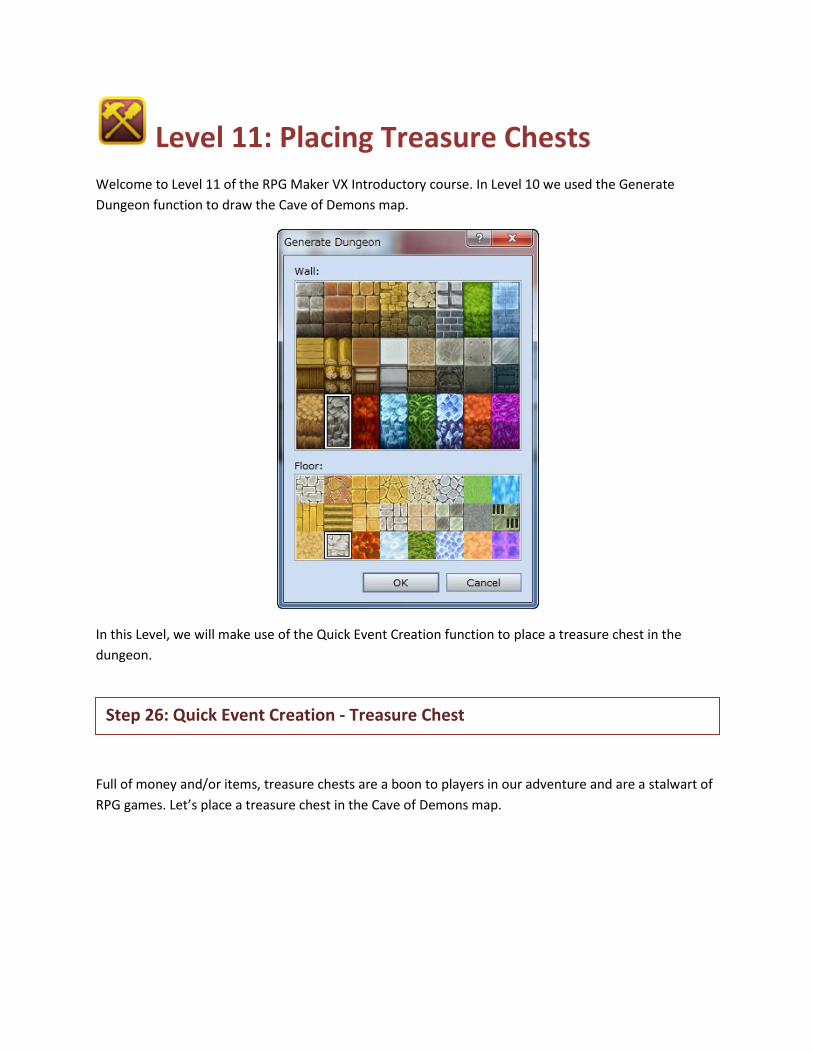
Welcome to Level 11 of the RPG Maker VX Introductory course. In Level 10 we used the Generate
Dungeon function to draw the Cave of Demons map.
In this Level, we will make use of the Quick Event Creation function to place a treasure chest in the
dungeon.
Full of money and/or items, treasure chests are a boon to players in our adventure and are a stalwart of
RPG games. Let’s place a treasure chest in the Cave of Demons map.
Step 26: Quick Event Creation - Treasure Chest

Switch to Event mode.
*Calling the Quick Event Creation function.
We’ve selected coordinates 018,024 of our Cave of Demons Level 1 map to place our treasure chest. You
can choose a suitable location on your map and right-click. From the pop-up menu, select “Quick Event
Creation” and “Treasure Chest”.
*Creating a Treasure Chest Event.

You can select the treasure chest’s graphic by double-clicking on the Graphic box. The contents can be
set in the Content pane. Let’s select Item. Once we do that, “0001:Potion” becomes selectable. With this
setting, the treasure chest will contain 1 potion. If you’d like to alter the contents, click on the “▼”
on the right. Now you can select from a variety of items, weapons and armor. This list can be adjusted in
the database.
*Selecting the contents of the treasure chest.
Once you’ve selected the contents, click on “OK” to exit the dialogue.
Let’s add another treasure box. This time, let’s put one filled with gold in the Good King’s Castle. Since
our main character starts off on the journey penniless, this will be a big help in getting ready.

Right-click on coordinates 010,014 of the Good King’s Castle map and select “Quick Event Creation” and
then “Treasure Chest”.
*Creating a Treasure Chest Event.
Set the contents to gold by selecting the “Gold” option in the Content pane. Then adjust the amount to
200 (or however much you like).

*Treasure chest in the Cave of Demons.
*Treasure chest in the Good King’s Castle.
Once your Events are finished, don’t forget to play-test.
Point: Setting the BGS Automatically
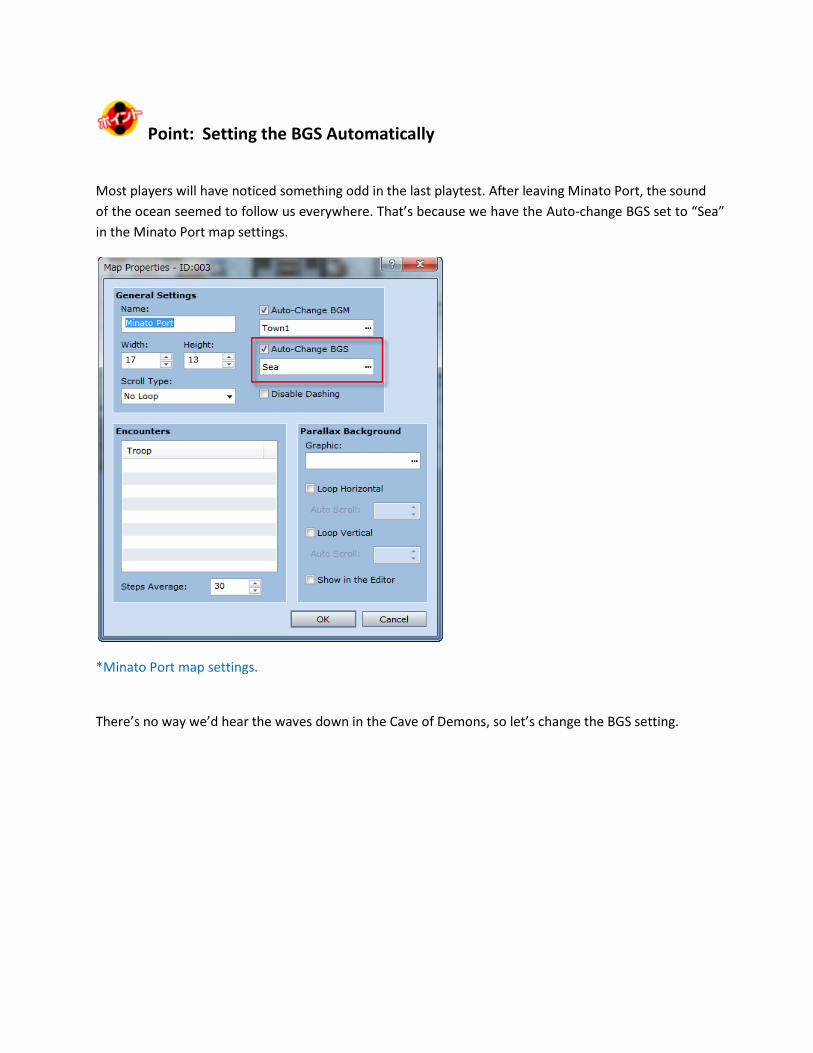
Most players will have noticed something odd in the last playtest. After leaving Minato Port, the sound
of the ocean seemed to follow us everywhere. That’s because we have the Auto-change BGS set to “Sea”
in the Minato Port map settings.
*Minato Port map settings.
There’s no way we’d hear the waves down in the Cave of Demons, so let’s change the BGS setting.

*Cave of Demons Level 1 map settings.
Open the map properties for Cave of Demons, check the box next to Auto-change BGS and click the
ellipse on the right.
*BGS setting dialoge.

The BGS setting dialogue should appear. Here, choose the very top option, “Nothing”, to ensure that
there is no BGS.
*Field map properties after setting BGS.
*Good King’s Castle map properties after setting BGS.

Go ahead and change the settings for any other maps where it would be strange to hear the waves
crashing.
*The BGS “Sea” is only available in the full version of RPG Maker VX.
Treasure Chest Events, like any other Event, can be edited in the Event Editor. Double-click on either of
your treasure chests and let’s look inside.
*Event Editor view of a Treasure Chest Event.
Step 27: Understanding Self Switches

If you look closely at the List of Event Commands you’ll see a new type of switch, the “Self Switch”. Put
simply, a Self Switch is a Switch that is contained to a single Event. Regular Switches can be referenced
by Events in the game, whereas a Self Switch can not. So unlike the Switches we have set so far, Self
Switches can not be used in the same way to control game flow.
Self Switch Properties
Can not be referenced by other Events.
A single Event can contain a total of 4.
Can not be named. The default names of A, B, C and D must be maintained.
Switch Properties
Can be referenced by any Event in the game.
Can be named.
The merits of using Self Switches is that they do not count towards the total number of regular Switches
used in a game. If you used a regular Switch for every Event in the game you’d have that many more
Switches to set, that many more to playtest...things would become very complicated very quickly.
Therefore, it’s quite important to know when to use Switches and when to rely on Self Switches.
Congratulations! You’ve cleared Level 11. Next, let’s create a locked door in our dungeon.
Return to Table of Contents