lab safety rules and procedures
TRANSCRIPT
BIOLOGY DEPARTMENT
LAB SAFETY RULES AND PROCEDURES
In order to make the most of the laboratory experience, it is essential that safety be a top priority. Students are expected to follow all lab safety rules and procedures as outlined here as well as any additional instructions, written or verbal, provided by the instructor. Students should consult with their Physician should they have any questions regarding their health (pregnancy, immune condition, etc).
1. Perform the experiments as directed. Do not do anything which is not part of an approved experimental procedure. Follow all instructions given by your instructor.
2. Be properly prepared to do the experiment. Read the written procedures in advance and understand what you are going to do. Know the hazards before you do the experiment.
3. Never work without instructor supervision.
4. Wear appropriate protective equipment as directed by the instructor. Gloves and eye protection are required for dissection of preserved materials. Disposable lab aprons are available for student use upon request.
5. Learn the locations and operation of emergency equipment. This includes eyewash, fire extinguisher, fire blanket, broken glass containers, sinks, and first aid supplies. Know what to do in case of emergency.
6. Act in a responsible manner at all times. No horseplay in the laboratory.
7. Long hair, loose clothing and dangling jewelry must be restrained. Open-toed shoes are not permitted.
8. Never taste a chemical. Check odors only if instructed to do so, by gently wafting some of the vapor towards your nose with your hand. Keep fingers, pencils and pens out of your mouth.
9. Turn off your Bunsen burner or hot plate whenever you are not using it. Never let it operate unattended.
10. Treat burns immediately by putting the burned area under cold water for at least 15 minutes. Cold water markedly reduces the subsequent pain and blisters.
11. Smoking, eating, drinking or applying cosmetics in the lab are not permitted in the laboratory.
12. Report all accidents, injuries, and close calls to your instructor immediately.
13. Dispose of chemicals and used dissection specimens properly. Broken glass goes in special receptacles.
14. To help avoid spills, containers should be kept away from the edge of workbench. Report all spills, including water, to the instructor. Anything spilled on a person must be washed off immediately with plenty of water. Note that many chemicals will stain clothing and tarnish jewelry.
15. Treat all chemicals with the respect they deserve. Know the hazards before you handle the material.
16. Never take specimens, models, chemicals, supplies, or equipment out of the laboratory.
17. Only approved WCJC personnel or enrolled students are permitted in the lab.
18. Notify your instructor of any allergies or medical conditions that he/she should be made aware.
19. Work area must be cleaned at the end of every laboratory period. Disinfectant is required for cleanup after laboratories involving dissection of preserved materials. Put away all equipment and reagents, and wash your hands at the end of each lab.
Additional measures applicable to Microbiology: 20. Thoroughly wash hands with antibacterial soap and disinfect tables at the beginning and
end of each lab session. 21. All books, backpacks, purses, etc. should be placed in a designated location. The only
items allowed at the work area are lab papers and pencils. 22. Place all used culture media or trash that has come in contact with live bacteria or body
fluids into the biohazard waste container. Place all other trash in the regular wastebaskets.
Live Bacterial Cultures for BIOL 2420 - Microbiology Alcaligenes faecalis Intestinal flora. Alpha hemolysis on blood agar growth medium. Motile. Coccal rods. Gram negative reaction. Aerobic incubation temperature 37°C. Tryptic soy agar growth medium.
Bacillus cereus Isolated from food. Presence in large amounts causes food poisoning. Central terminal spores. Motile. Rods; often in chains. Gram positive reaction. Aerobic. Incubation temperature 30°C. Tryptic soy agar growth medium.
Bacillus subtilis Found in soil. Central spores, chains. Produces antibiotics bacitracin, subtilin, and bacillin. Motile. Rods. Gram positive reaction. Aerobic. Incubation temperature 30°C. Tryptic soy agar growth medium.
Escherichia coli Often isolated from urinary tract infections. Normal intestinal flora. Lactose positive, indole positive, citrate negative. Motile. Rods. Gram negative reaction. Aerobic. Incubation temperature 37°C. Tryptic soy agar growth medium.
Enterobacter aerogenes Found in soil, water, and sewage, as well as serves as food for protozoans. Normal intestinal flora. Motile. Rods. Gram negative reaction. Aerobic. Incubation temperature 37°C. Tryptic soy agar growth medium.
Micrococcus luteus (Kocuria rhizophila) Found in water, air, soil, and on skin. Chromogenesis — yellow pigment produced. Nonmotile. Cocci; in tetrads. Gram positive reaction. Aerobic incubation temperature 30°C; will grow at 0–37°C. Tryptic soy agar growth medium.
Proteus vulgaris Isolated from human urinary tract and wound infections. Putrefactive odor. Motile. Rods. Gram negative reaction. Aerobic. Incubation temperature 37°C. Tryptic soy agar growth medium. Note: moderate potential pathogen; only used after learning proper infectious control technique.
Pseudomonas aeruginosa Isolated from human urinary tract infections, polluted water, and sewage. Noticeable odor of trimethylamine (grapes). May turn agar light green due to production of pyocyanine (blue pigment). Motile. Rods. Gram negative reaction. Aerobic. Incubation temperature 37°C. Tryptic soy agar growth medium. Note: moderate potential pathogen; only used after learning proper infectious control technique.
Staphylococcus epidermidis Normal flora of human skin. Coagulase negative, catalase positive. Nonmotile. Cocci; grape-like clusters. Gram positive reaction. Aerobic. Incubation temperature 37°C. Tryptic soy agar growth medium.
Aseptic Technique Lab
A. Growth Medium - contains nutrients that support microbial growth - uses agar as a solidifying agent - can be made selective due to nutrients, pH, antibiotics, etc. 1. Nutrient Agar - contains nutrients that support growth of a wide variety of bacteria - pH of 6.8 2. SDA – Sabouraud Dextrose Agar
- higher dextrose content: 4% - lower pH: 5.6 - favors fungal growth over bacterial
B. Exercise 1. Obtain 1 NA plate and 1 SDA plate as well as 4 sterile swabs. You will be using the swabs to sample the environment. Samples may come from skin, nails, floor, shoes, money, cell phone, etc., but NO samples from bodily orifices/secretions or from the toilet!!!! 2. Label the bottom of each plate with your name, the date, the type of agar (NA or SDA), and the source of your specimen (doorknob, shoe, etc...). Select 2 different sources, one for each side of the plate. 3. Moisten a swab in the tube of sterile water provided at your table and proceed to roll the swab on the surface of your first source to obtain a sample. 4. Transfer the sample to one side of your NA plate by gently rolling the swab in a zig-zag pattern across the surface of the plate. Be careful not to gouge the agar. Dispose of the swab in the trash. 5. Continue obtaining samples and transferring them onto the agar plates until you have 2 different samples on your NA plate and the same 2 samples on your SDA plate. C. Growth Results
1. Distinguish between bacterial and fungal colonies (describe each). 2. Distinguish between types of growth on NA vs SDA medium. 3. Based on growth results, are microbes ubiquitous?
D. Aseptic Technique
1. Why is aseptic technique necessary/important? 2. Identify ways to practice aseptic technique.
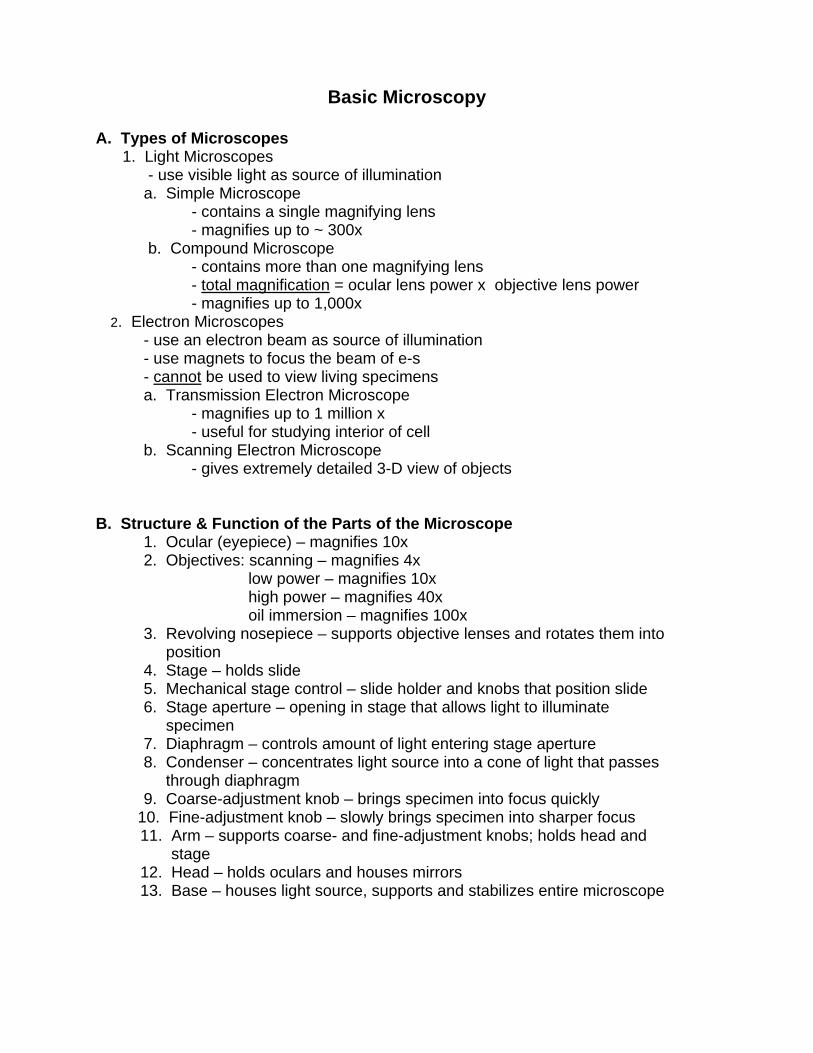
Basic Microscopy
A. Types of Microscopes 1. Light Microscopes - use visible light as source of illumination a. Simple Microscope - contains a single magnifying lens - magnifies up to ~ 300x b. Compound Microscope - contains more than one magnifying lens - total magnification = ocular lens power x objective lens power - magnifies up to 1,000x 2. Electron Microscopes - use an electron beam as source of illumination - use magnets to focus the beam of e-s - cannot be used to view living specimens a. Transmission Electron Microscope - magnifies up to 1 million x - useful for studying interior of cell b. Scanning Electron Microscope - gives extremely detailed 3-D view of objects B. Structure & Function of the Parts of the Microscope
1. Ocular (eyepiece) – magnifies 10x 2. Objectives: scanning – magnifies 4x
low power – magnifies 10x high power – magnifies 40x oil immersion – magnifies 100x
3. Revolving nosepiece – supports objective lenses and rotates them into position 4. Stage – holds slide 5. Mechanical stage control – slide holder and knobs that position slide 6. Stage aperture – opening in stage that allows light to illuminate specimen 7. Diaphragm – controls amount of light entering stage aperture 8. Condenser – concentrates light source into a cone of light that passes through diaphragm 9. Coarse-adjustment knob – brings specimen into focus quickly
10. Fine-adjustment knob – slowly brings specimen into sharper focus 11. Arm – supports coarse- and fine-adjustment knobs; holds head and stage 12. Head – holds oculars and houses mirrors 13. Base – houses light source, supports and stabilizes entire microscope
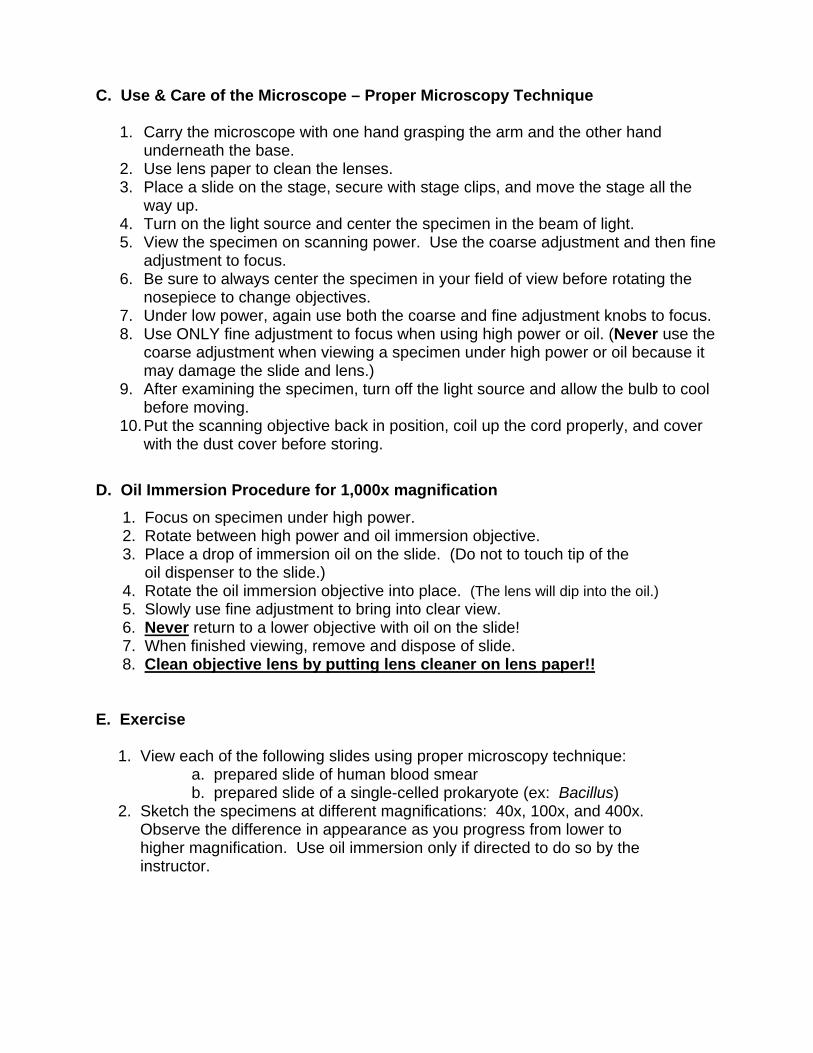
C. Use & Care of the Microscope – Proper Microscopy Technique
1. Carry the microscope with one hand grasping the arm and the other hand underneath the base.
2. Use lens paper to clean the lenses. 3. Place a slide on the stage, secure with stage clips, and move the stage all the
way up. 4. Turn on the light source and center the specimen in the beam of light. 5. View the specimen on scanning power. Use the coarse adjustment and then fine
adjustment to focus. 6. Be sure to always center the specimen in your field of view before rotating the
nosepiece to change objectives. 7. Under low power, again use both the coarse and fine adjustment knobs to focus. 8. Use ONLY fine adjustment to focus when using high power or oil. (Never use the
coarse adjustment when viewing a specimen under high power or oil because it may damage the slide and lens.)
9. After examining the specimen, turn off the light source and allow the bulb to cool before moving.
10. Put the scanning objective back in position, coil up the cord properly, and cover with the dust cover before storing.
D. Oil Immersion Procedure for 1,000x magnification
1. Focus on specimen under high power. 2. Rotate between high power and oil immersion objective. 3. Place a drop of immersion oil on the slide. (Do not to touch tip of the oil dispenser to the slide.) 4. Rotate the oil immersion objective into place. (The lens will dip into the oil.) 5. Slowly use fine adjustment to bring into clear view. 6. Never return to a lower objective with oil on the slide! 7. When finished viewing, remove and dispose of slide. 8. Clean objective lens by putting lens cleaner on lens paper!! E. Exercise 1. View each of the following slides using proper microscopy technique: a. prepared slide of human blood smear b. prepared slide of a single-celled prokaryote (ex: Bacillus) 2. Sketch the specimens at different magnifications: 40x, 100x, and 400x. Observe the difference in appearance as you progress from lower to higher magnification. Use oil immersion only if directed to do so by the instructor.

Media Inoculation
A. Culturing Microbes 1. Inoculation - a sample is transferred to the growth medium - provides ample nutrients and space; may be solid or liquid - use sterile swabs, inoculating loops, or inoculating needles
2. Incubation - allow to grow at optimum T: usually 20-400C (68-104 0 F) - may be at room temperature or inside incubator - cell number increases rapidly
3. Isolation
- some inoculation techniques separate bacterial cells to form individual colonies – contain a single type of bacteria - subculturing will eventually achieve a pure culture – a single species present in the medium
- we will use the streak plate technique to achieve isolation Quadrant Streak 4. Inspection
- look at microbe’s characteristics both macro- and microscopically - macro: colony morphology, color, consistency, (smell),... - micro: shape, arrangement, stain results,…
5. Information Gathering
- additional tests for function and characteristics - biochemical tests, immunological tests, genetic typing,...
6. Identification - use analysis and results of inspection and information gathering to identify species
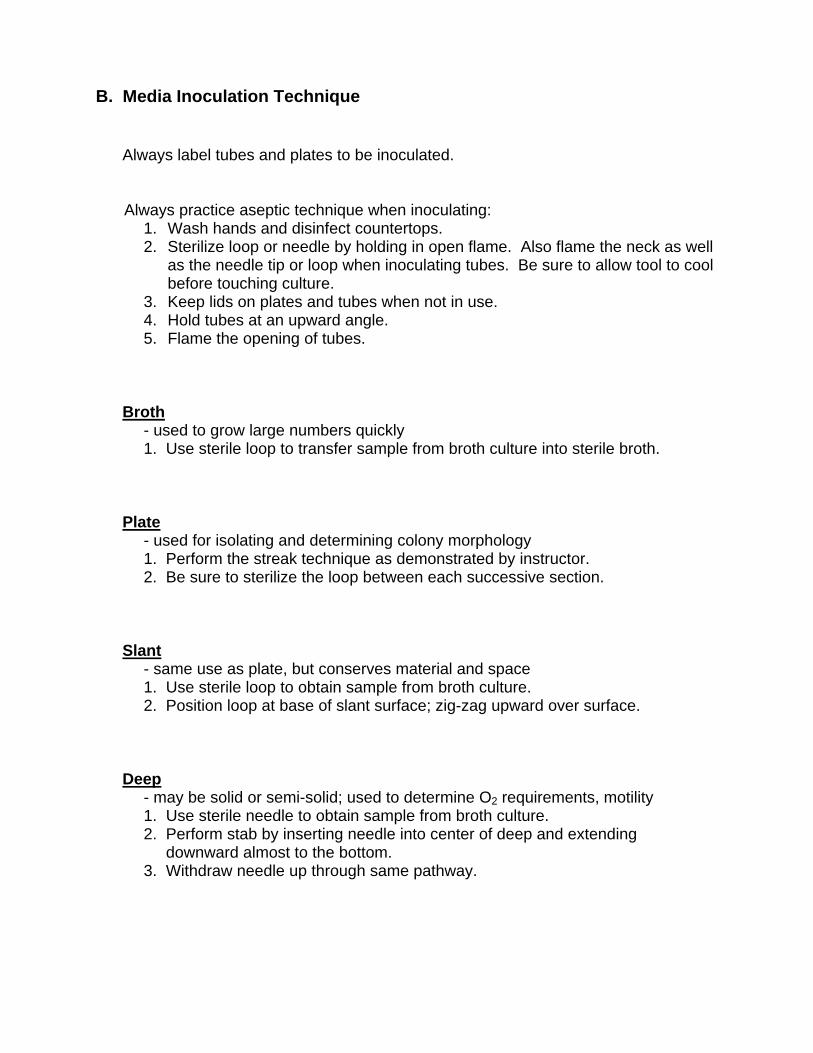
B. Media Inoculation Technique
Always label tubes and plates to be inoculated.
Always practice aseptic technique when inoculating:
1. Wash hands and disinfect countertops. 2. Sterilize loop or needle by holding in open flame. Also flame the neck as well
as the needle tip or loop when inoculating tubes. Be sure to allow tool to cool before touching culture.
3. Keep lids on plates and tubes when not in use. 4. Hold tubes at an upward angle. 5. Flame the opening of tubes.
Broth
- used to grow large numbers quickly 1. Use sterile loop to transfer sample from broth culture into sterile broth.
Plate
- used for isolating and determining colony morphology 1. Perform the streak technique as demonstrated by instructor. 2. Be sure to sterilize the loop between each successive section.
Slant
- same use as plate, but conserves material and space 1. Use sterile loop to obtain sample from broth culture. 2. Position loop at base of slant surface; zig-zag upward over surface.
Deep
- may be solid or semi-solid; used to determine O2 requirements, motility 1. Use sterile needle to obtain sample from broth culture. 2. Perform stab by inserting needle into center of deep and extending downward almost to the bottom. 3. Withdraw needle up through same pathway.
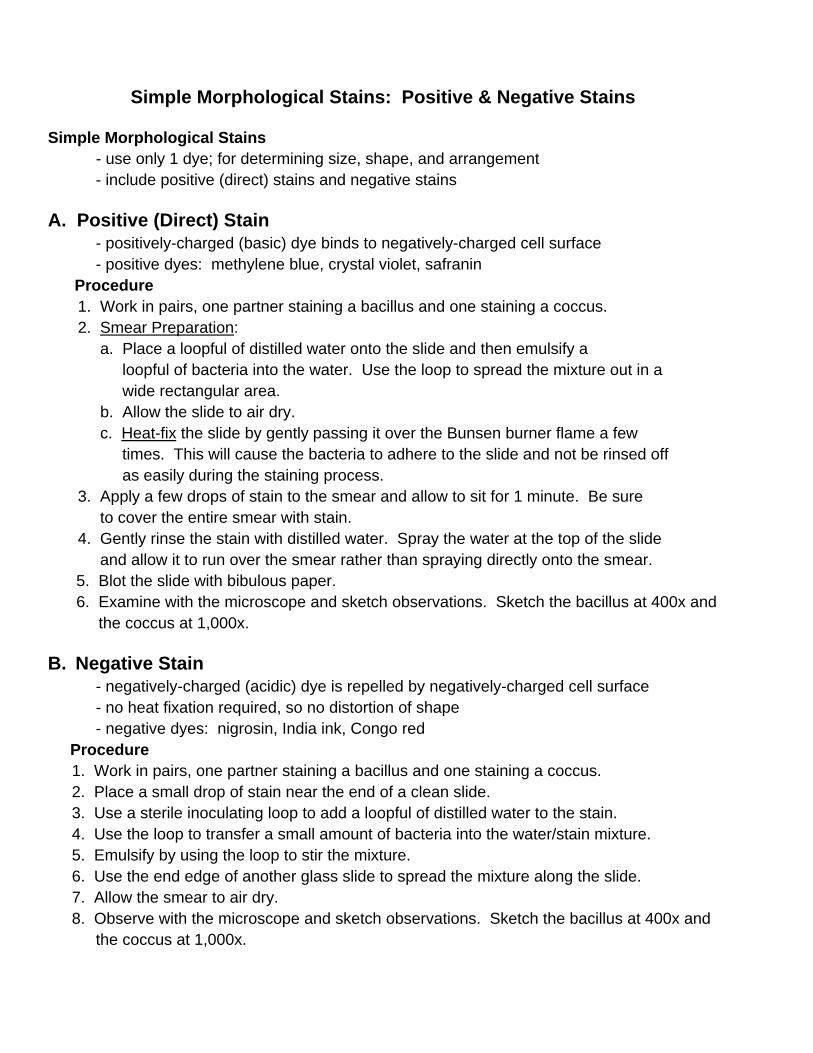
Simple Morphological Stains: Positive & Negative Stains
Simple Morphological Stains - use only 1 dye; for determining size, shape, and arrangement - include positive (direct) stains and negative stains
A. Positive (Direct) Stain - positively-charged (basic) dye binds to negatively-charged cell surface - positive dyes: methylene blue, crystal violet, safranin Procedure
1. Work in pairs, one partner staining a bacillus and one staining a coccus. 2. Smear Preparation: a. Place a loopful of distilled water onto the slide and then emulsify a loopful of bacteria into the water. Use the loop to spread the mixture out in a wide rectangular area. b. Allow the slide to air dry. c. Heat-fix the slide by gently passing it over the Bunsen burner flame a few times. This will cause the bacteria to adhere to the slide and not be rinsed off as easily during the staining process. 3. Apply a few drops of stain to the smear and allow to sit for 1 minute. Be sure to cover the entire smear with stain. 4. Gently rinse the stain with distilled water. Spray the water at the top of the slide and allow it to run over the smear rather than spraying directly onto the smear.
5. Blot the slide with bibulous paper. 6. Examine with the microscope and sketch observations. Sketch the bacillus at 400x and the coccus at 1,000x.
B. Negative Stain - negatively-charged (acidic) dye is repelled by negatively-charged cell surface - no heat fixation required, so no distortion of shape - negative dyes: nigrosin, India ink, Congo red Procedure
1. Work in pairs, one partner staining a bacillus and one staining a coccus. 2. Place a small drop of stain near the end of a clean slide. 3. Use a sterile inoculating loop to add a loopful of distilled water to the stain. 4. Use the loop to transfer a small amount of bacteria into the water/stain mixture. 5. Emulsify by using the loop to stir the mixture. 6. Use the end edge of another glass slide to spread the mixture along the slide. 7. Allow the smear to air dry. 8. Observe with the microscope and sketch observations. Sketch the bacillus at 400x and
the coccus at 1,000x.
Motility
A. Bacterial Motility - true motility is achieved by the rotation of flagella - motion due to collision with molecules of surrounding medium is Brownian movement and not true motility - flagella are too thin to be seen with the compound light microscope 1. Flagella Stain
- special staining process leaves a precipitate around flagella so that they appear larger
a. Observe and sketch prepared slides of flagella stains: 1) Proteus vulgaris 2) Spirillum volutans b. Label the flagellar arrangement of each specimen as amphitrichous or peritrichous.
2. Hanging Drop Procedure
a. Place a small dab of petroleum jelly at each corner of a cover slip. b. Place a loopful of E. coli culture broth onto center of cover slip. c. Add 1 drop of pre-diluted methylene blue stain to the bacteria. d. Place depression slide on top of cover slip so that concavity covers drop. e. Invert slide so that cover slip is on top and the drop is hanging into the concavity before placing slide on microscope. f. Allow instructor to view on low or scanning before proceeding to high power. Observe movement at 400x on several different slides throughout the class.
3. Semi-solid Media a. Inoculate motility medium by performing a stab. b. Incubate until the following week. c. Observe growth pattern: 1) growth only along stab line non-motile 2) growth spreading through medium motile
Culture Characteristics of Bacteria
A. Culture Characteristics - unique growth pattern of a particular bacterial species exhibited on different forms of media such as broth, deep, plate - used to help distinguish between types of bacteria and to identify species - must be combined with other characteristics (staining, biochemical) to completely Identify bacterial species
1. Inoculation
a. Work in groups of three to five people. b. You will receive 5 broth cultures of bacteria: Bacillus, Micrococcus, Pseudomonas, Staphylococcus, and an Unknown. c. Pre-label 1 sterile broth, 1 deep, 1 motility tube, and 1 plate for each of the bacterial broth cultures. d. Use aseptic technique to properly inoculate each of the pre-labeled forms of media. e. Incubate until next week.
2. Inspection & Identification - inspect each form of media of each bacterial culture and record observations in the Culture Characterization Table
a. Broth (a species may have multiple broth characteristics) - turbid: cloudy - sediment: collection of cells at bottom of tube - pellicle: thin film across surface - ring: residue around perimeter of surface - flocculent: containing small masses or flakes
b. Deep – shows O2 requirements - obligate aerobe: growth only on surface - facultative anaerobe: growth throughout with more at surface
c. Motility Tube - motile: growth spreading through semi-solid agar - non-motile: growth only along stab line; no spreading
d. Plate - shows colony morphology - pigmentation: color - appearance: shiny or dull - texture: smooth or rough - size: pinpoint, small, medium, large - shape: circular, irregular, filamentous
- use your findings to determine the species of your Unknown
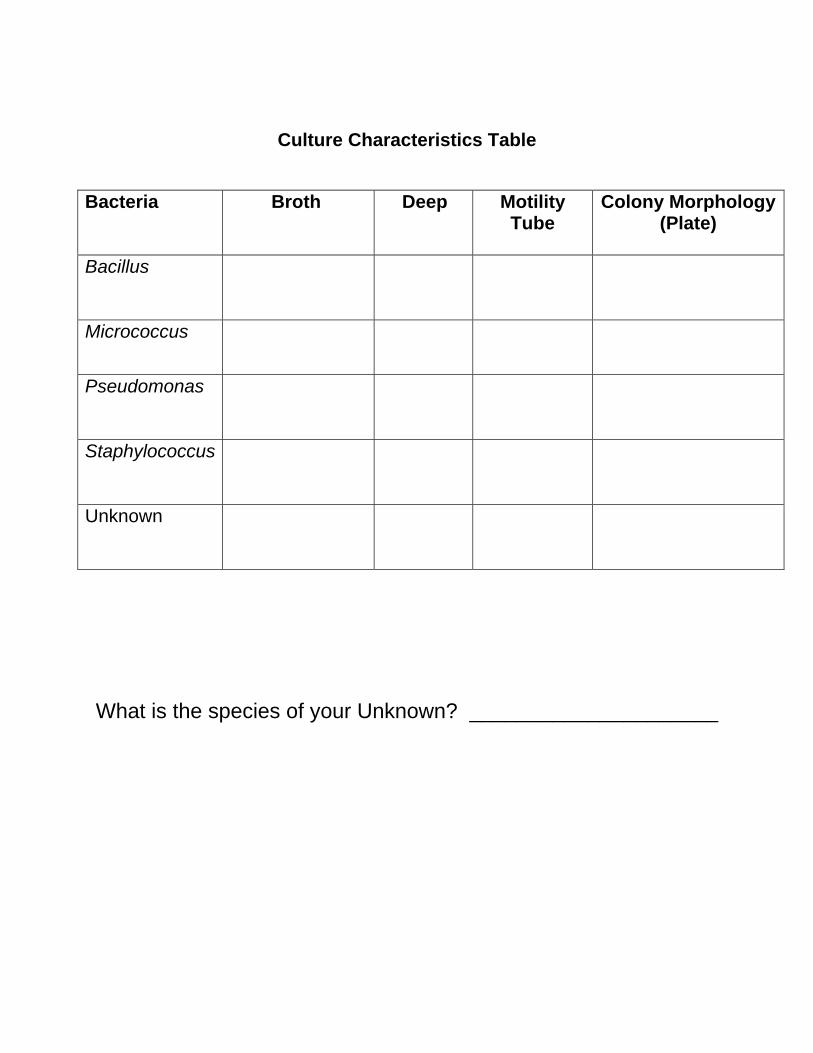
Culture Characteristics Table
Bacteria
Broth Deep Motility Tube
Colony Morphology(Plate)
Bacillus
Micrococcus
Pseudomonas
Staphylococcus
Unknown
What is the species of your Unknown? _____________________
Fungi: Yeasts & Molds
A. Kingdom Fungi - includes both macroscopic and microscopic members - microscopic members include yeasts and molds
Yeasts vs. Molds
- single-celled - multicellular - oval shape - consist of filamentous hyphae - reproduce by budding - reproduce by spore formation
B. Observations
- observe and sketch prepared slides of:
1. Penicillium mold - produces penicillin - sketch on high power and label conidia – identify as naked or covered, sexual or asexual
2. Rhizopus mold - black bread mold - sketch on low power - label sporangiospores enclosed w/in sporangia - label zygospores (on different area of slide) - identify structures as sexual or asexual
3. Candida albicans yeast - cause of yeast infections - note dimorphism - sketch on high power; label yeast form and hyphae
4. Saccharomyces yeast - used in production of bread and beer (baker’s yeast) - sketch on high power and label buds – identify as sexual or asexual - if time allows, prepare a wet mount of budding yeast cells:
a. use a pipette to put a small drop of yeast culture on slide b. cover with cover slip c. adjust diaphragm to reduce light for improved contrast
Parasites: Protozoa & Helminths A. Protozoa - single-celled, heterotrophic protists 1. Amoeba
- agent of amebic dysentery - observe and sketch prepared slide on low power
- label nucleus and pseudopodia 2. Trypanosoma
- blood parasite (Chaga’s disease; African sleeping sickness) - observe and sketch prepared slide on high power - label erythrocytes and flagella
3. Paramecium - free-living - observe and sketch prepared slide high power - label cilia
4. Plasmodium - non-motile agent of malaria; vector is a mosquito - observe and sketch prepared slide at high power - label erythrocytes and ring stage
B. Helminths - multicellular worms: roundworms vs. flatworms
1. Ascaris - intestinal roundworm parasite - observe and sketch adult specimens in jars and mounts - distinguish between male and female; label spicule of male
2. Enterobius - pinworm; intestinal roundworm parasite - observe and sketch prepared slide of adult female on low power - note pointed female tail for depositing eggs
3. Trichinella - roundworm parasite of final host; larvae encyst in muscle - observe and sketch prepared slide of larvae on low power - label larvae and muscle tissue
4. Fasciola - fluke: observe adult specimen in jar, noting flat body
5. Taenia - tapeworm; intestinal parasite of carnivores - observe prepared slide of adult on low power - note: slide has 4 sections – start with scolex and progress to more
mature proglottids as you move toward opposite side - sketch scolex and label hooks and suckers - observe immature proglottids (not filled with eggs) - observe gravid / mature proglottids (filled with eggs)
Differential Stains: Gram Stain, Endospore, & Capsule
Differential Stains - use 2 different dyes - differentiate between cell types or cell structures
A. Gram Stain - differentiates chemical composition of cell wall: Gram-positive vs. Gram-negative - thick peptidoglycan - thin peptidoglycan - no outer membrane - outer membrane (highly negative) - stain purple - stain pink
Components of Gram Stain Primary stain: crystal violet – stains all cells purple Mordant: Gram’s iodine – fixes crystal violet into cell wall of G+ cells Decolorizer: ethyl alcohol – removes crystal violet from G- cells Counterstain: safranin – stains G- cells pink
Gram Stain Procedure Work in groups of 3-4: 1will stain a Gram-positive control, 1 will stain a Gram-negative control, and the other(s) will stain a mixed culture of both. 1. Prepare a smear of the bacteria. 2. Apply crystal violet to the smear. Allow to sit for 1 minute and then rinse with distilled water. 3. Apply Gram’s iodine and allow to sit for one minute. Rinse with distilled water. 4. Rinse gently with ethyl alcohol. Do not over-rinse - stop rinsing after a few seconds. Rinse with distilled water. 5. Apply safranin and allow to sit for 1 minute. Rinse with distilled water. 6. Blot dry with bibulous paper. 7. Observe on high power. Continue on to oil immersion as necessary. 8. Sketch and label the Gram-positive control, the Gram-negative control, and a mixed sample. Purple indicates Gram-positive while pink indicates Gram-negative. Remember that the Gram-positive/Gram-negative designation is important for describing cell wall structure and thus appropriate treatment measures.

B. Endospore Stain - differentiates between spores and vegetative cells
1. Observe prepared slides of spore stains. 2. Sketch on high power, noting whether the endospore has a central or terminal location within the vegetative cell. Also note any free spores.
C. Capsule Stain
- differentiates between capsule, cell, and background 1. Observe a prepared slide of a capsule stain. 2. Sketch on high power, noting the capsule.
Biochemical Tests
A. Biochemical Tests - used to evaluate metabolic properties of specific bacteria - used in conjunction with staining and culture characterization to definitively identify bacteria
1. Catalase Test
The catalase enzyme catalyzes the breakdown of H2O2 (hydrogen peroxide) into H2O and O2. If bacteria have the catalase enzyme, bubbling will occur from the breakdown of H2O2.
Negative result: no bubbling Positive result: bubbling H2O2 H2O + O2 (bubbles)
2. Denitrification Test
In denitrification, the substance potassium nitrate is converted to nitrogen gas. If bacteria have the nitrate reductase enzyme to break down the nitrate (NO3) in nitrate broth, there will be nitrogen gas (N2) bubbles produced. Note the small inverted tube in the bottom of the nitrate broth medium. This is called a durham tube and collects gases generated by the culture.
Negative result: no bubbles in durham tube Positive result: bubbles in durham tube NO3 N2 (bubbles)
3. Hydrogen Sulfide (H2S) Production Sulfide Indole Motility (SIM) media contains the amino acid cysteine as well as iron. If bacteria have the cysteine desulfurase enzyme to catalyze the breakdown of cysteine to produce H2S, the H2S will combine with the iron to produce iron sulfate which blackens the medium. Negative result: no color change Positive result: blackening of the medium cysteine H2S H2S + Fe blackening
4. Indole Production SIM media also contains the amino acid tryptophan. If bacteria have the tryptophanase enzyme that catalyzes the breakdown of tryptophan to indole, the indole will react with Kovac’s reagent to form a red color. Negative result: no color change Positive result: red color tryptophan indole indole + Kovac’s red
5. Methyl Red Test
Methyl red pH indicator is a yellow to orange color at slightly acidic levels (5-6), but will turn red at more acidic levels (below 4.4). If bacteria have multiple enzymes that break down sugars and produce enough acid to drop the pH to about 4, the pH indicator will turn red. If bacteria do not have multiple enzymes for the breakdown of sugar, fewer acids will be produced and the pH indicator will remain yellow.
Negative result: yellow glucose pyruvic acid only Positive result: persistent red color glucose pyruvic, acetic, formic
6. Oxidation-Fermentation Test
The Oxidation-Fermentation test determines oxygen requirements for the breakdown of sugar. O-F media contains sugar as well as a color indicator that is green at neutral pH and turns yellow when the pH drops below 6. If bacteria have the enzyme to catalyze the breakdown of sugar, acid will be produced and the medium will turn yellow. The addition of oil to a tube creates an anaerobic environment; the absence of oil renders the environment aerobic. Inert to the medium (O2 is irrelevant): both tubes stay green Obligate aerobe: tube w/ oil remains green; tube w/out oil turns yellow Facultative anaerobe: both tubes turn yellow
B. Session 1 – Inoculation Work in groups of 3-5. Label all biochemical media tubes with the genus with which it is to be inoculated as indicated below.
1. Catalase Test
Inoculate 1 plate with Staphylococcus.
2. Denitrification Test Inoculate 1 nitrate broth tube with Alcaligenes and 1 with Pseudomonas.
3. H2S Production Inoculate 1 SIM tube with E. coli and 1 SIM tube with Proteus.
4. Indole Production Inoculate the remaining SIM tube with Enterobacter.
5. Methyl Red Test Inoculate 1 MR-VP tube with Enterobacter and the other with E. coli.
6. Oxidation-Fermentation Test Inoculate 2 O-F tubes with E. coli and 2 with Pseudomonas. Place a dropper of mineral oil in 1 of the E. coli and also in 1 of the Pseudomonas.
C. Session 2 – Results
1. Catalase Test Place 2 drops of hydrogen peroxide on a clean slide. Emulsify a loopful of Staphylococcus into the peroxide. Expected results: Staphylococcus – catalase-positive
2. Denitrification Test Examine the durham tubes in the nitrate broth for bubbles.
Expected results: Pseudomonas – denitrification-positive Alcaligenes – denitrification-negative
3. H2S (hydrogen sulfide) Production Examine the SIM tubes inoculated with Proteus and E. coli for color change.
Expected results: Proteus – H2S-positive E. coli - H2S-negative
4. Indole Production Place 5 drops of Kovac’s reagent into the SIM tubes that were inoculated with E. coli (also used previously in test 3) and Enterobacter.
Expected results: E. coli – indole-positive Enterobacter – indole-negative
5. Methyl Red Test Place 5 drops of methyl red pH indicator in each MR-VP tube. Gently swirl the tube and examine for color change. Expected results: E. coli – methyl-red-positive Enterobacter – methyl-red-negative
6. Oxidation-Fermentation Test Examine the O-F tubes for color changes. Be sure to note whether or not oil is in each tube. Expected results: Pseudomonas – obligate aerobe E. coli – facultative anaerobe
Identification of Unknown
Week 1 1. Record broth characteristics. 2. Inoculate plate using quadrant streak technique. 3. Use broth culture sample to perform a Gram stain and record cell
shape, cell arrangement, and Gram result. 4. Use the dichotomous key to determine which biochemical test should
be run and set it up before leaving. Week 2
1. Record colony characteristics from streak plate. 2. Record biochemical test results from previous week. 3. Use the dichotomous key to determine which biochemical test(s)
should be run next and set it up before leaving. Week 3
1. Record biochemical test results from previous week. 2. Use the dichotomous key to identify unknown by genus name. 3. Turn in Laboratory Report and Dichotomous Key (traced out).
- be sure your name and student ID on each paper

Laboratory Report Identification of a Nonclinical Bacterial Unknown
Unknown: __________
Name _____________________ Student ID # ________________ Date __________
Culture Characteristics
Observations
Broth Characteristics
Colony Characteristics
Staining Characteristics
Observations Results Interpretation
Cell Shape xxxxxxxxxx xxxxxxxxxxxxxxxxxxxxxxxxxxxxxxxxxxxxxxx
Cell Arrangement xxxxxxxxxx xxxxxxxxxxxxxxxxxxxxxxxxxxxxxxxxxxxxxxx
Gram Stain
Biochemical Characteristics
Reagents Added
Observations Results Interpretation
Catalase Test
Denitrification Test
H2S Production
Indole Production
Methyl Red Test
Oxidation-Fermentation Test
Conclusion
I conclude that my unknown is ____________________________

Dichotomous Key for Identification of Unknown
Enterococcus
Pseudomonas
Alcaligenes
Mycobacterium
Enterobacter Proteus
Staphylococcus
E. coli
Bacillus
coccus bacillus
G (+) G (‐) G (+)
(+) Catalase (‐)
OF glucose
facultative anaerobe
O‐F
aerobic
denitrify (‐) denitrify(+)
facultative anaerobe
indole (‐) indole (+)
H2S (‐) H2S (+)
(‐) spores (+) Neisseria
Micrococcus
G (‐)
aerobe
Gram Stain
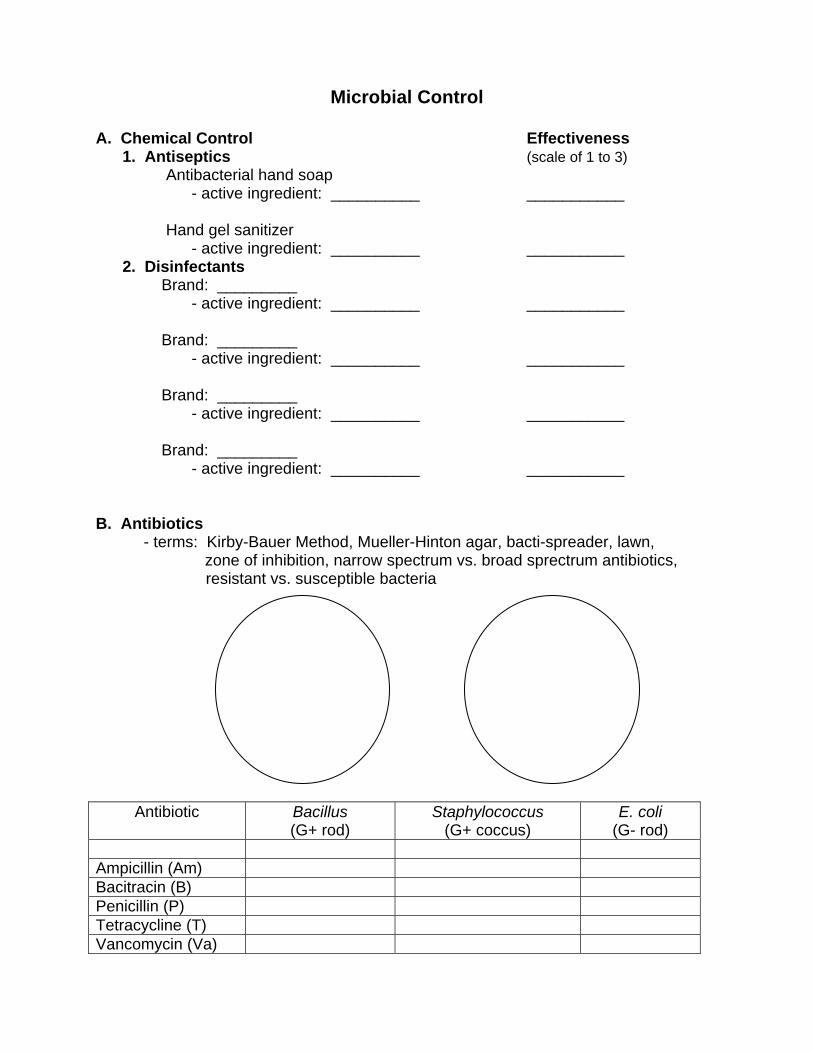
Microbial Control
A. Chemical Control Effectiveness 1. Antiseptics (scale of 1 to 3) Antibacterial hand soap - active ingredient: __________ ___________ Hand gel sanitizer - active ingredient: __________ ___________ 2. Disinfectants Brand: _________ - active ingredient: __________ ___________ Brand: _________ - active ingredient: __________ ___________ Brand: _________ - active ingredient: __________ ___________ Brand: _________ - active ingredient: __________ ___________ B. Antibiotics
- terms: Kirby-Bauer Method, Mueller-Hinton agar, bacti-spreader, lawn, zone of inhibition, narrow spectrum vs. broad sprectrum antibiotics, resistant vs. susceptible bacteria
Antibiotic Bacillus (G+ rod)
Staphylococcus (G+ coccus)
E. coli (G- rod)
Ampicillin (Am) Bacitracin (B) Penicillin (P) Tetracycline (T) Vancomycin (Va)
Food Microbiology
A. Yogurt - prepared by the action of fermentative bacteria (i.e., Streptococcus thermophilus, Lactobacillus acidophilus) on milk
- the lactic acid produces a tart taste and causes the milk protein (casein) to precipitate, thickening the product
B. Procedure 1. Pipet 1 mL of distilled water into test tube. 2. Add a small sample (1 loop) of yogurt to the tube and mix. 3. Replace cap and gently shake for 5 to 10 seconds. 4. Transfer 2 loopfuls of tube mixture to slide and prepare a smear (including air drying and heat fixing). 5. Proceed with Gram stain procedure. 6. Observe on high power. Check with instructor before proceeding to oil. C. Results
1. Sketch the 2 types of bacteria observed in the yogurt. 2. Label cell shape and cell arrangement. 3. What is the Gram reaction of these bacteria? Describe their cell wall.