lab how to use wanem last update 2011.08.01 1.1.0 copyright 2011 kenneth m. chipps ph.d. 1
TRANSCRIPT

LabHow to Use WANem
Last Update 2011.08.01
1.1.0
Copyright 2011 Kenneth M. Chipps Ph.D. www.chipps.com
1
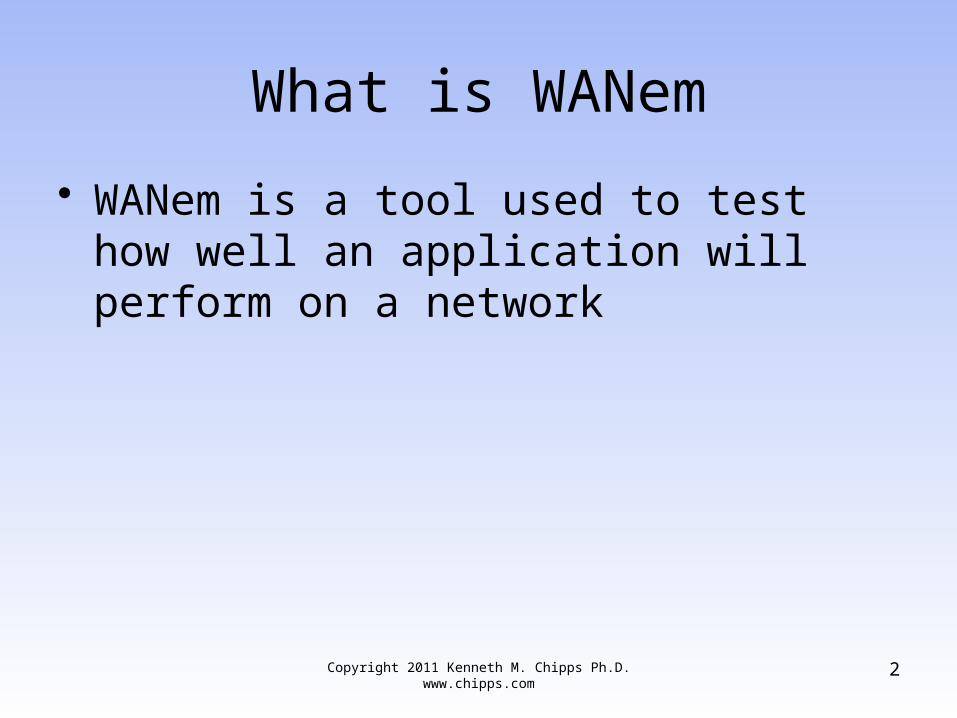
What is WANem
• WANem is a tool used to test how well an application will perform on a network
Copyright 2011 Kenneth M. Chipps Ph.D. www.chipps.com 2

WANem Installation
• There is no WANem installation as it runs from a Live CD
• Just download the ios file and burn it to a disc
• Then boot the computer that will run the WANem program
Copyright 2011 Kenneth M. Chipps Ph.D. www.chipps.com 3

WANem Setup
• Here are the steps to setup WANem as described in the manual– Boot the CD– A Knoppix screen with a prompt in the bottom
left called boot appears• Press Enter
– After Knoppix boots up it asks if you want to configure all the network interfaces of the PC using DHCP
Copyright 2011 Kenneth M. Chipps Ph.D. www.chipps.com 4

WANem Setup
– If there is a DHCP server on the network• Enter y
– If not, you will be automatically taken to a network setup screen
– Set up the IP address for the Ethernet interface, which is usually eth0
– Call this wanemip– Select this interface and set up the IP
address, network mask, and default gateway
Copyright 2011 Kenneth M. Chipps Ph.D. www.chipps.com 5

WANem Setup
– WANem will prompt you to enter the password for user perc
– It will also prompt you to re-enter the password
– Using this userid and password will allow you to remote login to the WANem PC with programs like putty or ssh
Copyright 2011 Kenneth M. Chipps Ph.D. www.chipps.com 6

WANem Setup
– Next setup the routes between the two end hosts so that their packets are routed via the WANem PC when the two communicate with each other
– From another PC on the network open a web browser
– Enter this URL• http://wanemip/WANem
– Now, WANem is ready for use
Copyright 2011 Kenneth M. Chipps Ph.D. www.chipps.com 7

Network Setup
• WANem runs on the middle of three workstations as seen in this diagram
Copyright 2011 Kenneth M. Chipps Ph.D. www.chipps.com 8

Network Setup
Copyright 2011 Kenneth M. Chipps Ph.D. www.chipps.com 9

Network Setup Tool
• Once the network is created as shown above one or more problems are introduced into the network while the application is being accessed by the end user
• The impact of this can then be seen at both the end user and server ends
Copyright 2011 Kenneth M. Chipps Ph.D. www.chipps.com 10

WANem Operation
• There are two modes in WANem that can be used to introduce the problems– Basic– Advanced
Copyright 2011 Kenneth M. Chipps Ph.D. www.chipps.com 11

Basic Mode
• In basic mode only one set of network characteristics can be applied for each network interface
• Each such set is called a rule set• In the basic mode each rule set will allow
the user to specify only the following network characteristics– Bandwidth– Latency
Copyright 2011 Kenneth M. Chipps Ph.D. www.chipps.com 12

Basic Mode
Copyright 2011 Kenneth M. Chipps Ph.D. www.chipps.com 13

Advanced Mode
• To use the advanced mode select the correct network interface in advanced mode and click the Start button
Copyright 2011 Kenneth M. Chipps Ph.D. www.chipps.com 14

Advanced Mode
Copyright 2011 Kenneth M. Chipps Ph.D. www.chipps.com 15

Advanced Mode
• The above screen shows the form for one rule set
• All fields barring the ones in the last row represent various network characteristics
• So a rule set identifies a set of network characteristics
• Fill in the relevant network characteristics
Copyright 2011 Kenneth M. Chipps Ph.D. www.chipps.com 16

Advanced Mode
• The last row in the form starting with IP source add determines the packets to which the rules apply
• There are three possibilities
Copyright 2011 Kenneth M. Chipps Ph.D. www.chipps.com 17

Advanced Mode
– You want the same rule set to apply to any packet that passes via WANem• In this case you can leave this row as it is
Copyright 2011 Kenneth M. Chipps Ph.D. www.chipps.com 18

Advanced Mode
– You want the rule set to apply to all traffic between the two end hosts regardless of whether they are client or server• Fill in the specific IP addresses of the two hosts• Set the subnets to 32• Leave the Application port to any
Copyright 2011 Kenneth M. Chipps Ph.D. www.chipps.com 19

Advanced Mode
– You want the rule set to apply to all traffic between two end hosts which are client and server for a given application• Fill in the specific IP addresses of the client in IP
source addr and the address of the server in IP destination addr
• Set the subnets to 32• Set the Application port to the server port
Copyright 2011 Kenneth M. Chipps Ph.D. www.chipps.com 20

Advanced Mode
• Click Apply Settings to start WANem• Click Refresh Settings immediately to
ensure that the settings have taken effect
Copyright 2011 Kenneth M. Chipps Ph.D. www.chipps.com 21

WANem Example
• Let’s look at a basic example of how to use WANem
Copyright 2011 Kenneth M. Chipps Ph.D. www.chipps.com 22

Setup the Hardware
• Connect three workstations to a single switch
• Configure the IP addresses on the client and server workstations as called for by the operating system they are using with these addresses– Client 192.168.140.12– Server 192.168.140.14
• Be sure all three can ping each otherCopyright 2011 Kenneth M. Chipps Ph.D. www.chipps.com 23

WANem Installation
• Boot the computer that will run the WANem program– A Knoppix screen with a prompt in the bottom
left called boot appears• Press Enter
– After Knoppix boots up it asks if you want to configure all the network interfaces of the PC using DHCP
Copyright 2011 Kenneth M. Chipps Ph.D. www.chipps.com 24

WANem Setup
– Say no– You will be automatically taken to a network
setup screen– Set up the IP address for the Ethernet
interface, which is usually eth0 using• 192.168.140.20• 255.255.255.0
Copyright 2011 Kenneth M. Chipps Ph.D. www.chipps.com 25

WANem Setup
– From another PC on the network open a web browser
– Enter this URL• http://192.168.140.20/WANem
– The WANem GUI screen will appear
Copyright 2011 Kenneth M. Chipps Ph.D. www.chipps.com 26
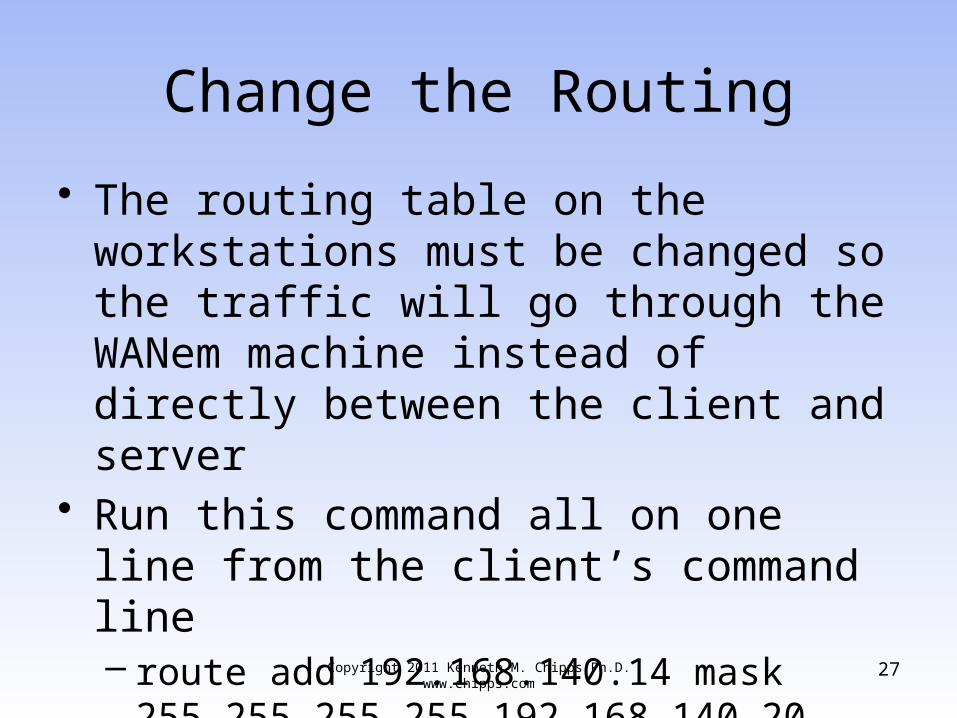
Change the Routing
• The routing table on the workstations must be changed so the traffic will go through the WANem machine instead of directly between the client and server
• Run this command all on one line from the client’s command line– route add 192.168.140.14 mask
255.255.255.255 192.168.140.20
Copyright 2011 Kenneth M. Chipps Ph.D. www.chipps.com 27

Change the Routing
• Run this command all on one line from the server’s command line– route add 192.168.140.12 mask
255.255.255.255 192.168.140.20
Copyright 2011 Kenneth M. Chipps Ph.D. www.chipps.com 28

Check the Route
• To check the route run trace route• Check the response time using ping
– Record this time• Now introduce problems into the network
and record their impact as directed on the next two slides
• Turn these two pages in
Copyright 2011 Kenneth M. Chipps Ph.D. www.chipps.com 29

Lab Answer Sheet
• Name __________________• When a Delay of 500ms is introduced,
what did this do to the ping times?• __________________________________• When the Delay was changed to 100ms,
what did this do to the ping times?• __________________________________
Copyright 2011 Kenneth M. Chipps Ph.D. www.chipps.com 30

Lab Answer Sheet
• When the Delay was removed, what did this do to the ping times?
• __________________________________• Now reduce the bandwidth to say a
64kbps DS0, what did this do to the ping times?
• __________________________________
Copyright 2011 Kenneth M. Chipps Ph.D. www.chipps.com 31

Source
• This is adapted from the WANem manual
Copyright 2011 Kenneth M. Chipps Ph.D. www.chipps.com 32