introduction to android developmentlank/cs349/w13/lectures/android...introduction to android...
TRANSCRIPT

Introduction to Android Development
Jeff AveryCS349, Mar 2013

Overview
• What is Android?• Android Architecture
– Overview– Application Components– Activity Lifecycle
• Android Developer Tools– Installing Android SDK– Creating an Android Project in Eclipse– Activities, Views, Intents– Walkthrough “Hello World”

What is Android?• Google’s mobile platform
– Runs on hundreds of millions of mobile phones, tablets– Most popular & installed mobile OS– Open Source
• Development platform– Multiplatform– Based on Java– Plugins for Eclipse– Third‐party support
• See http://developer.android.com/tools/index.html
Platform Characteristics
• This is a mobile OS with limited resources– Limited memory, processing power– Battery life is critical!
• This results in specific architectural decisions– The OS aggressively flushes memory when not in use (i.e. it will page apps in and out of memory)
– Background computation is extremely limited• Unusual device characteristics
– Small screen, typically focused on a single app– Gestural input

Architectural Overview
• Layered environment– Linux 2.6 kernel– Core Android libraries/services built on top– Top‐most layer runs in a VM
• Application management– Applications are built in Java, running in a Dalvik VM– Each application is a separate user/process/VM!– Applications can share services and capabilities (see later)

Architecture
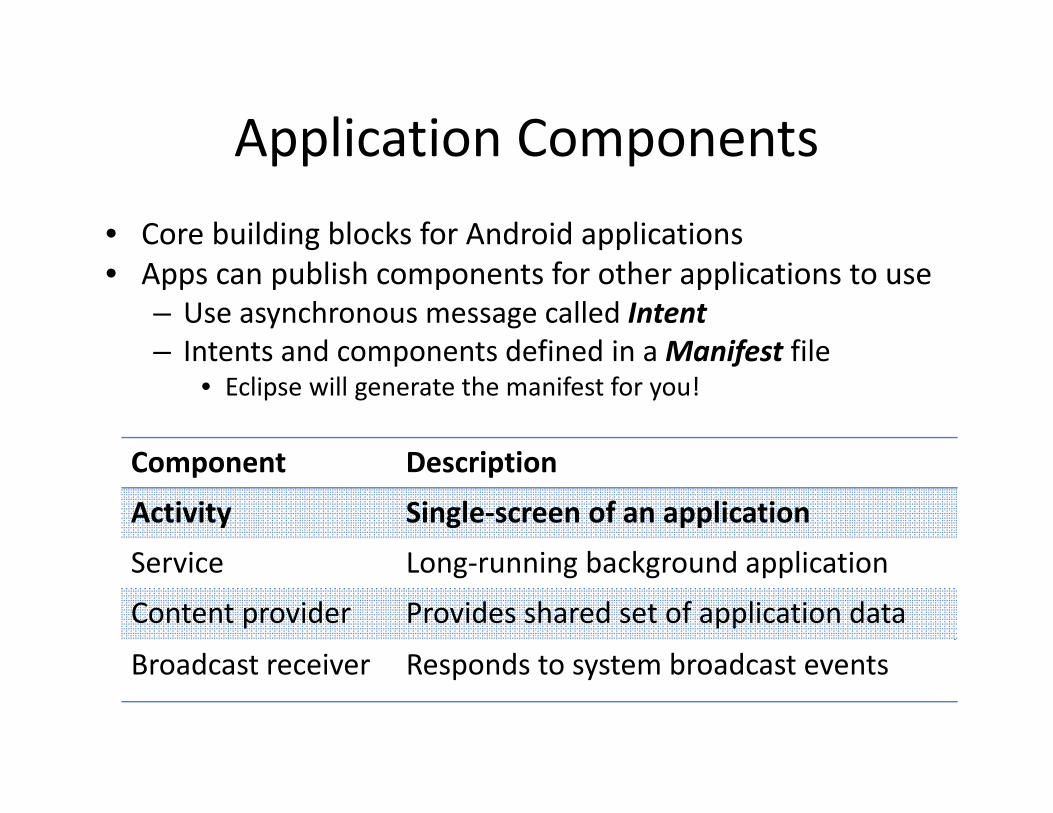
Application Components• Core building blocks for Android applications• Apps can publish components for other applications to use
– Use asynchronous message called Intent– Intents and components defined in a Manifest file
• Eclipse will generate the manifest for you!
Component Description
Activity Single‐screen of an application
Service Long‐running background application
Content provider Provides shared set of application data
Broadcast receiver Responds to system broadcast events
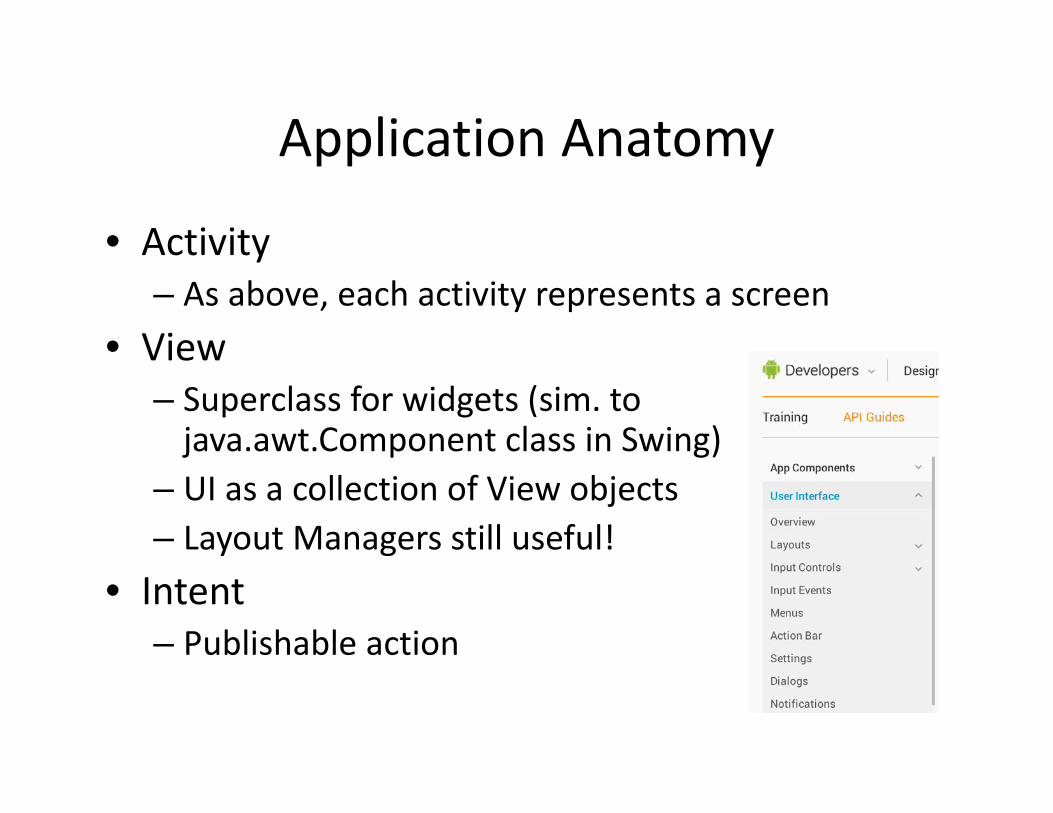
Application Anatomy
• Activity– As above, each activity represents a screen
• View– Superclass for widgets (sim. to java.awt.Component class in Swing)
– UI as a collection of View objects– Layout Managers still useful!
• Intent– Publishable action

Activity Lifecycle
• We focus on activities (i.e. typical UI screens)– Apps can contain multiple activities (one “main”)– Activities can create other activities (“Back stack”)– Navigation forward/back triggered by user actions

What does this mean?• Your application probably consists of one or two main activities, each containing a set of views (i.e. Java views and components)
Running Paused/ Stopped
Android Developer Tools
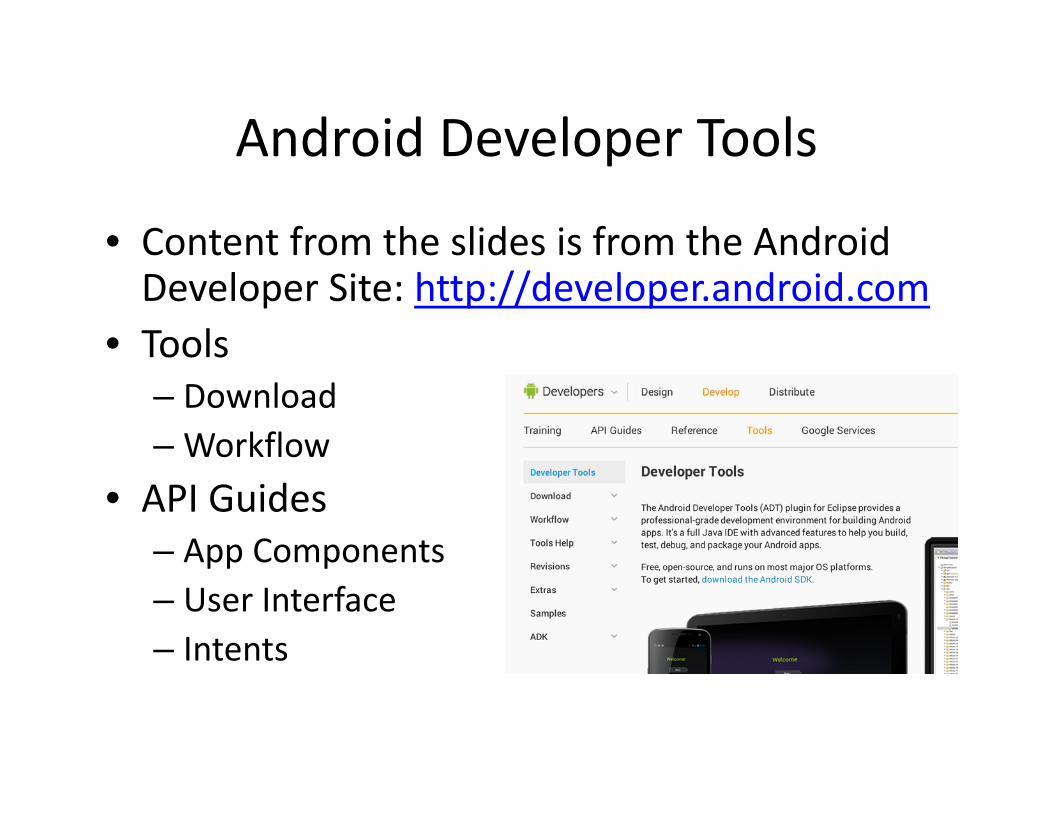
• Content from the slides is from the Android Developer Site: http://developer.android.com
• Tools– Download– Workflow
• API Guides– App Components– User Interface– Intents

Installing the Android SDK
• Install tools from developer.android.com– Eclipse plugin or ADT bundle (recommended!)
• ADT Bundle installs Eclipse & SDK Tools

Using the SDK Manager• To install or update, run Window ‐> Android SDK Manager• The ADT install includes Android 4.2.2. That’s fine for A5!

Creating a Project
Three main steps1. Create the project, using the New Project
wizard in Eclipse.2. Setup the Android Virtual Device, which
you’ll use to emulate a physical Android tablet or phone.
3. Setup the Run Configuration so that the project knows what starting activity to load, what Virtual Device to use (and so on).

Step 1: Creating a Project in ADT
1. File‐New Android Application Project
2. Project Settings– Unique name– Pick Android 4.2
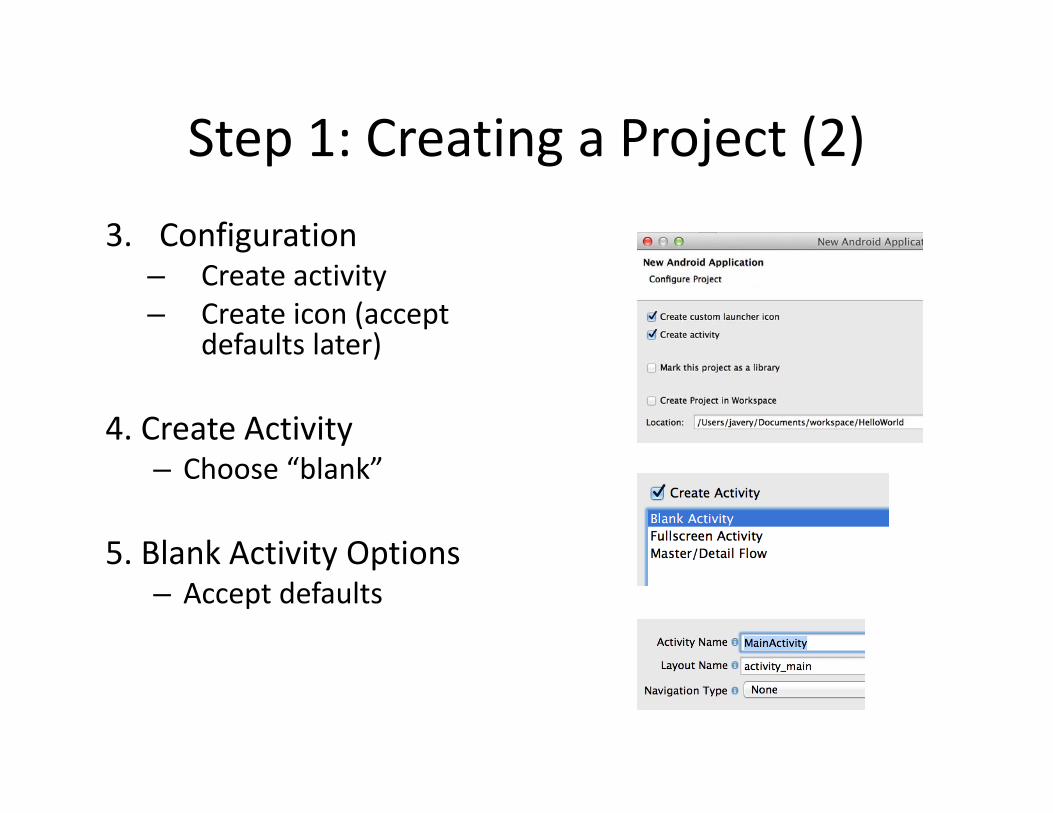
Step 1: Creating a Project (2)3. Configuration
– Create activity– Create icon (accept
defaults later)
4. Create Activity– Choose “blank”
5. Blank Activity Options– Accept defaults

Step 2: Creating a Virtual Device
• We don’t have a physical device, so we use an emulator for testing and debugging
• Emulators are called “Virtual Devices”
• Steps to setup1. Window ‐> Android Virtual Device Manager– Create a new virtual device w. parameters2. Edit ‐> Run Configurations– Change target to point to virtual device
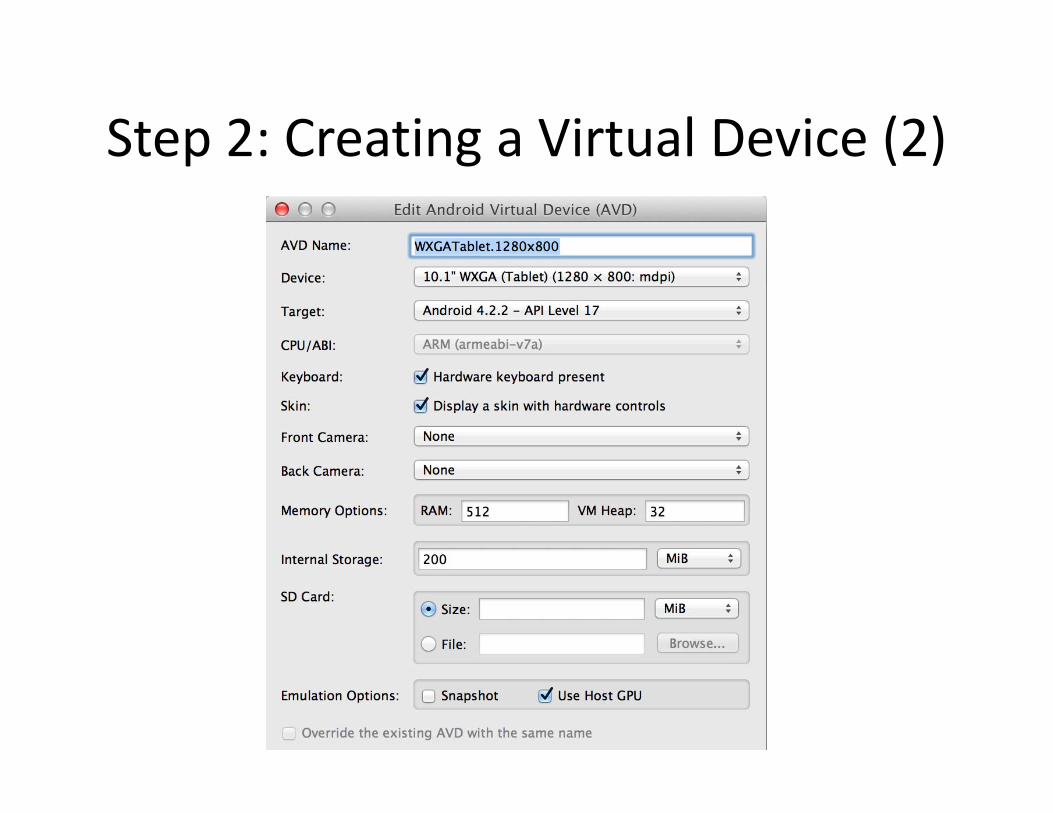
Step 2: Creating a Virtual Device (2)

Step 3: Run Configuration
• Run ‐> Run Configurations– Check that Activity points to your starting activity– Check that VD points to the appropriate device

Step 4: Run your project
This is the simple part:• Run ‐> Run should
– Compile your program– Launch the Emulator and load your VD– Execute your code in the Emulator
• If this fails, check your Run configuration first! That’s usually where the problem lies.

Can we see some code?• The Eclipse New‐Project wizard just generated some code.• Before looking at it, recall the application lifecycle. This
maps to code!
Running Paused/ Stopped

“Hello World” (1)

“Hello World” (2)• Eclipse has created a default view for us – stored as an XML file in the project

“Hello World” (3)
• Note that the “Hello World” view was inserted by the platform – no code required. Google has a sense of humor.
Emulator Output

Development Tips & Tricks (2)
• Use Logcat– Logger that dumps all Android debug output to Eclipse, in the debug pane
– You can filter it based on App, Tag, Message text– DIFFICULT to debug raw messages to rely on printing debug output and looking at Logcat

Development Tips & Tricks
• Tweak your emulator– It’s slow to launch, so don’t shut it down!– Give it lots of memory so apps aren’t flushed
• Use MVC! It works well here– Your model from A3 should port over cleanly– Keep views separate, it will keep your code clean (i.e. separation of concerns applies)
• Look at the <sdk>/samples– HUGE amount of code, it’s the fastest way to learn patterns and best‐practices
Resources
• Android Developer Site– http://developer.android.com/
• Android Training “Getting Started”– http://developer.android.com/training/index.html
• Android Developer Channel @YouTube– http://www.youtube.com/user/androiddevelopers
• StackOverflow– http://stackoverflow.com/