how to use a heart rate monitor. equipment needed heart rate monitor watch transmitter (a) &...
TRANSCRIPT

How to use a Heart Rate Monitor

Equipment needed
• Heart Rate Monitor Watch
• Transmitter (A) & Strap (B)

STEP 1
• Step 1: Put on all equipment in the locker room– Be sure to grab a strap, a transmitter, and a watch– Remember to wipe a small amount of water on
the strap before you put it on. (DO NOT PUT THE TRANSMITTER UNDER WATER!!!)

STEP 2: How to wear the transmitter/strap
• 1. Wet the electrode areas of the strap well under running water.
• 2. Attach the connector to the strap. Adjust the strap length to fit it tightly but comfortably.
• 3. Tie the strap around your chest, just below the chest muscles, and attach the hook to the other end of the strap.
• 4. Check that the wet electrode areas are firmly against your skin and that the Polar logo of the connector is in a central and upright position.
STEP 2
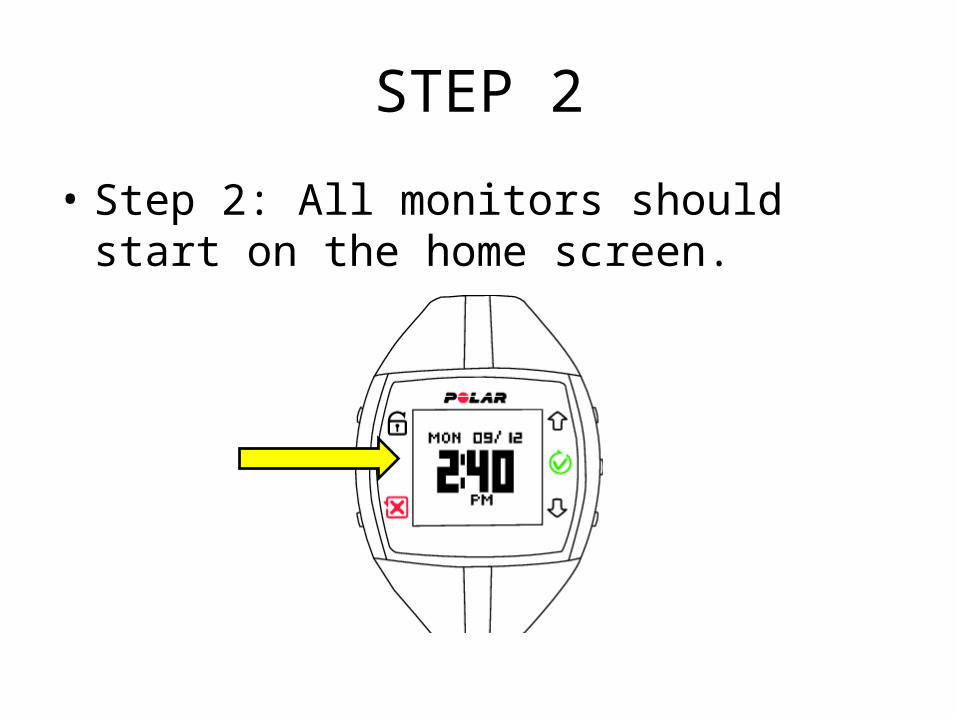
• Step 2: All monitors should start on the home screen.
STEP 3
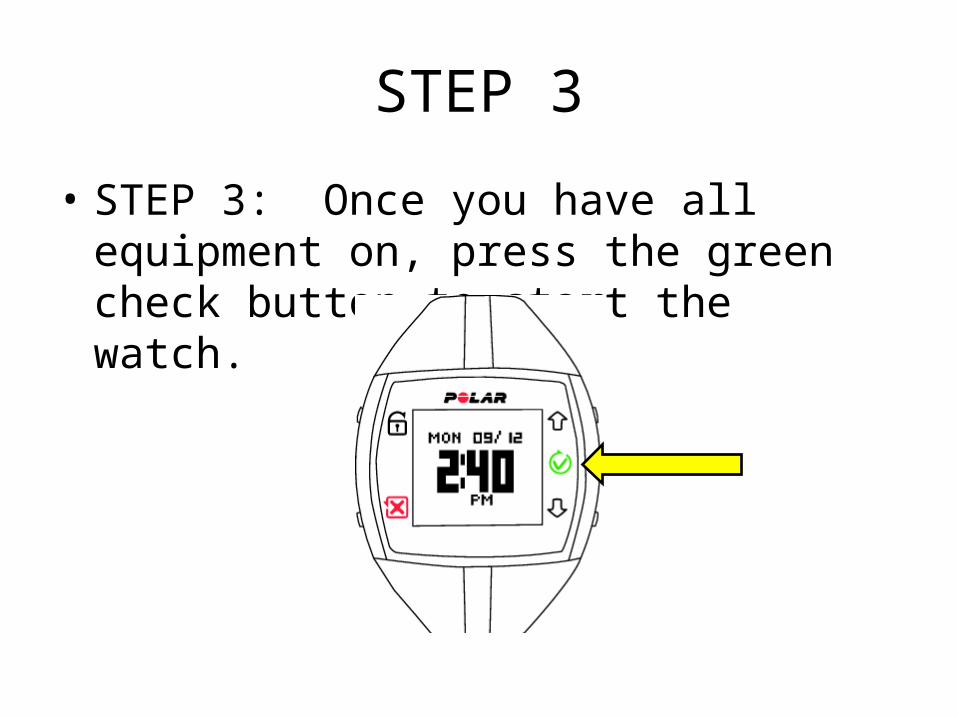
• STEP 3: Once you have all equipment on, press the green check button to start the watch.
STEP 3 continued
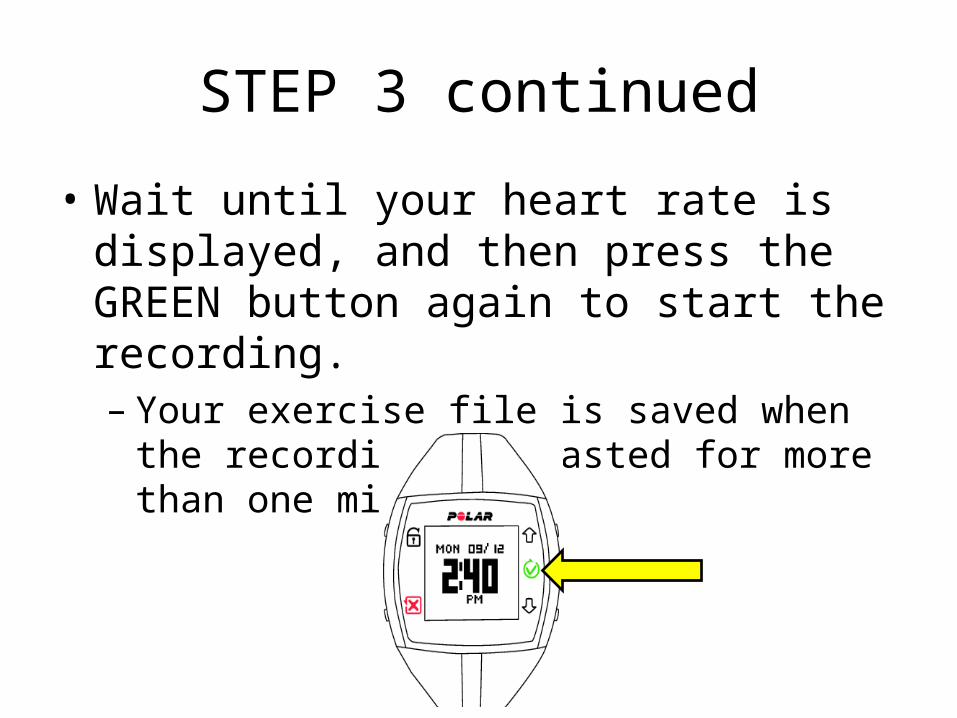
• Wait until your heart rate is displayed, and then press the GREEN button again to start the recording.– Your exercise file is saved when the recording has
lasted for more than one minute.
Reasons why the monitors may not work?
1. If the transmitter is not placed in the right spot (right below your chest).
-How to fix: Adjust until you get a reading
2. If the strap is not tight enough-How to fix: Get a different size strap
***THESE ARE THE ONLY REASONS WHY A MONITOR MAY NOT WORK. YOU NEED TO SOLVE THIS ISSUE ON YOUR OWN.***
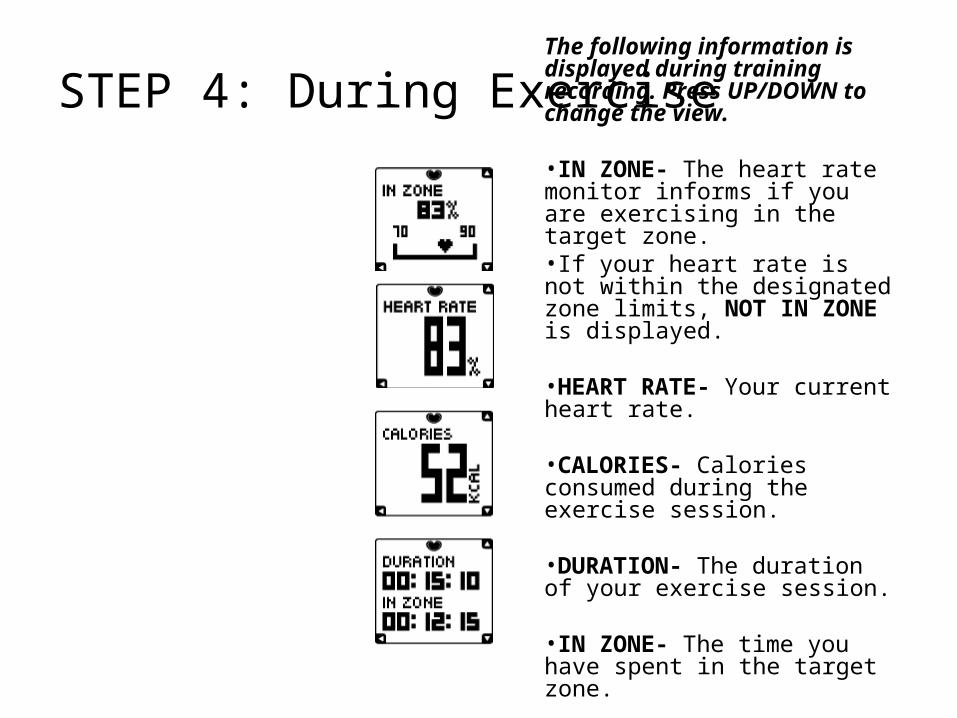
STEP 4: During ExerciseThe following information is displayed during training recording. Press UP/DOWN to change the view.
•IN ZONE- The heart rate monitor informs if you are exercising in the target zone.•If your heart rate is not within the designated zone limits, NOT IN ZONE is displayed.
•HEART RATE- Your current heart rate.
•CALORIES- Calories consumed during the exercise session.
•DURATION- The duration of your exercise session.
•IN ZONE- The time you have spent in the target zone.

STEP 5
• To stop the recording, press the RED button twice. Stopped is displayed. A summary of your exercise session appears.

STEP 6: Training Summary• DURATION- The duration of
your exercise session.
• IN ZONE- The time you have spent in the target zone during your exercise session.
• AVERAGE- Your average heart rate during the exercise session.
• MAXIMUM- Your maximum heart rate during the exercise session.
• CALORIES- Calories you consumed during the exercise session.
STEP 7: Review & Delete• Exercise Files- To review your past exercise data,
select Menu > Data > Training files. Then select the date and time you want to view.
• Delete en exercise file– 1. To delete an exercise file, select Data > Delete files
> Training file.– 2. Select the file you want to delete, and press the
GREEN button.– 3. Delete file? is displayed. Select Yes.– 4. Remove from total? is displayed. To remove the
file from totals, select Yes.– ***To cancel file deletion, press the RED button until
Time of day is displayed.

Goal for PE…
• Your goal is to remain in you target heart rate zone (THRz) for 15 minutes. Our target heart rate zone is 135-180(beats per minute (bpm)). **Remember if you are above or below your THR, the timer will stop.**
• Students will receive their daily PE points if they are in their THRz for 15 minutes. If they are not in their zone for 15 minutes, they will not receive any points for that day.