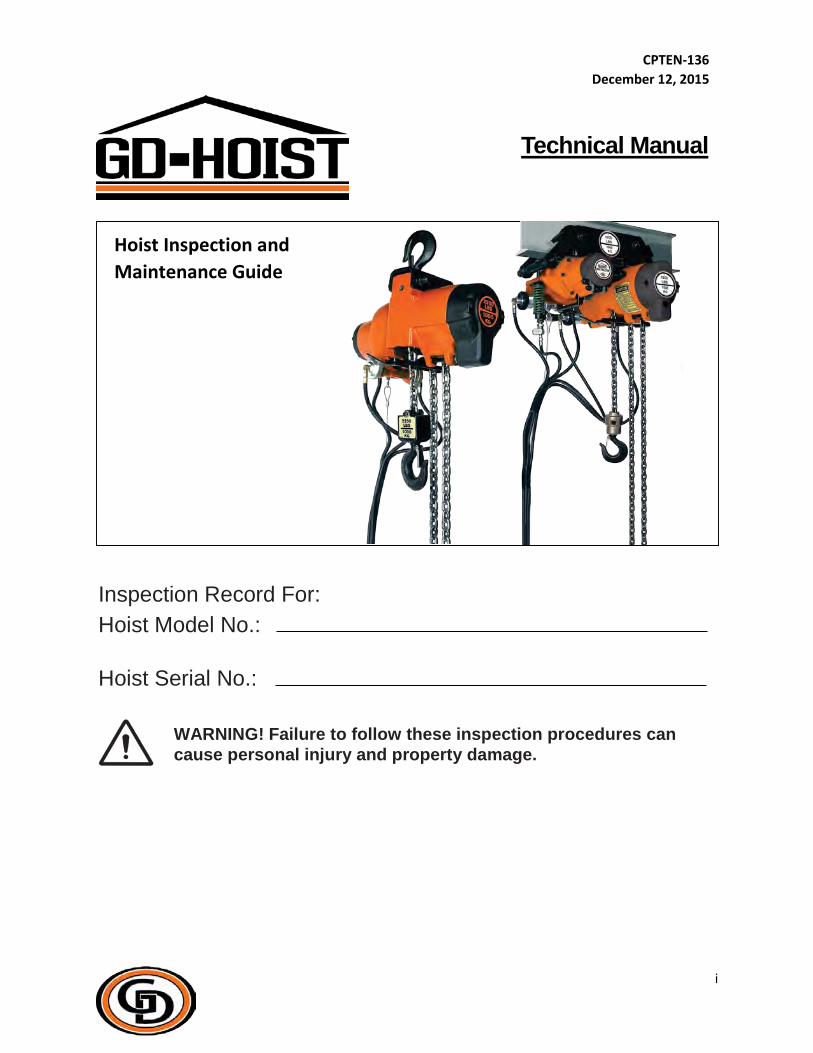
hoist inspection and maintenance guide
TRANSCRIPT
i
CPTEN-136 December 12, 2015
Inspection Record For: Hoist Model No.:
Hoist Serial No.:
Technical Manual
Hoist Inspection and Maintenance Guide
WARNING! Failure to follow these inspection procedures can cause personal injury and property damage.

ii
PL86-P3CA December 12, 2015
Table of Contents
Inspection Record For: ............................................................................................................................... i
Roller and Link Chain Air Hoist Preventive Maintenance Schedule .............................................................. 1
Daily Inspection ......................................................................................................................................... 1
Monthly Inspection ................................................................................................................................... 1
Annual Inspection ..................................................................................................................................... 1
Inspection Record Logs ............................................................................................................................. 1
Function Testing ........................................................................................................................................ 2
Inspection Records .................................................................................................................................... 2
Deformation Indicators ............................................................................................................................. 2
Angle Indicators ........................................................................................................................................ 2
Table “A” ................................................................................................................................................... 2
Link Chain Inspection & Maintenance Guide: Includes Severely Worn Links In A Localized Zone ............... 3
Inspection .................................................................................................................................................. 3
Table “B” ................................................................................................................................................... 3
Table “C” ................................................................................................................................................... 4
Table “D” ................................................................................................................................................... 5
Replacement: ............................................................................................................................................ 5
Figure 1 – Chain Link Gages ...................................................................................................................... 6
Figure 2 – Single Link Measurement ......................................................................................................... 7
Figure 3 – Double Reeved Chain Assembly ............................................................................................... 8
Inspection Record: ........................................................................................................................................ 9
Inspection Check List:.................................................................................................................................. 10

iii
PL86-P3CA December 12, 2015
.................................................................................................................................................................... 10

1
PL86-P3CA December 12, 2015
Roller and Link Chain Air Hoist Preventive Maintenance Schedule The periods between inspections will vary due to a wide range of duty cycles and operating conditions encountered with this type of equipment. The following inspection periods are based on average duty with single shift operation (40 hours per week) under normal environmental conditions. If the hoist is used in heavier applications, or under adverse environmental conditions, it should be inspected more frequently.
Daily Inspection Check for the following items before operating the hoist:
1. Air Connections: Worn hoses & loose connections. 2. Hooks: Cracks, deformation, or damage from chemicals. The bottom hook must swivel freely. Check safety latches;
replace bent or broken parts. NOTE: A latch will not work properly on a hook with a bent or worn tip. Replace hooks when the hook’s maximum deformation indicator measures dimension shown in the chart below or whose tip has been bent more than 10 degrees out of plane from hook body or is in any other way distorted or bent. Also see ANSI B30.10 for additional information.
3. Controls: Check all controls and operating mechanism for proper operation. 4. Limit Stops: Upper and lower limit stops for proper operation. The limit stop operation check shall be determined by
tests under no-load conditions and under slowest speeds obtainable, both directions; also test at maximum speeds. 5. Chain: Nicks, gouges, corrosion, twists and distorted links. 6. Suspension Members: Hook assemblies for rotation; trolley wheels and load bars for improper spacing or loose
fasteners. 7. Brakes: With a rated load on the hook, check for excessive hook drift when control is released. Check the brake for
proper adjustment. 8. Hardware: Check for damaged or missing parts. NOTE: Bent or twisted hooks indicate overloading or abuse of the
unit. Other load bearing components of the hoist or trolley should be inspected if overloading is apparent.
CAUTION: Do not operate the hoist if it is functioning improperly or if damage is noted.
Monthly Inspection 1. Check all items listed under Daily Inspection. 2. Chain: If chain binds, jumps, or is noisy, check for cleanliness and proper lubrication. If problem persists, inspect
chain for wear and stretch, worn sprocket or chain guide. 3. Load and Idler Sprockets: Worn sprockets should be replaced. Worn sprockets can greatly reduce the life of the
hoisting chain. 4. Hardware: Check for loose bolts, nuts and rivets. 5. Motor Brake: The motor brake should be checked for excessive wear or uneven lining wear. Replace the brake lining
if worn to 3/32”. If the drum is scored, it should be replaced. Replace disc brake pads if glazed from excessive heat or if run out of adjustment. If disc or disc driver is scored or grooves are worn in them, they must be replaced.
Annual Inspection 1. All Daily Inspection and Monthly Inspection items.
2. Hooks: At least once per year, a dye penetrate, magnetic particle, or other suitable crack-detecting inspection should be performed.
3. Load Bearing Parts: Check for worn, cracked or distorted parts; hook blocks, suspension housing, yokes, suspension bolts, shafts and bearings on the hoist and trolley (if equipped).
4. Supporting Structure or Trolley: If used, should be checked for continued ability to support imposed loads.
Inspection Record Logs 9 and 10 of this document are inspection record logs and are to be filled out and signed by the person making the inspection.

2
PL86-P3CA December 12, 2015
Function Testing After repair of the hoist, test with a light load for proper function. Load test the unit with 125% of the rated capacity by lifting and lowering through a short distance.
Inspection Records In addition to compliance with OSHA standard 1910.179, Tool House recommends written, dated and signed inspection records be made monthly on hooks, chains and brakes. Records should be readily available.
Tool House incorporates markings forged into the hook which addresses two Crosby “Quic-Check” features, deformation indicators and angle indicators.
Deformation Indicators Two strategically placed marks, one just below the shank or eye and the other on the hook tip, which allows for a Quic-Check measurement to determine if the throat opening has changed, indicating abuse or overloading.
Use a measuring device (i.e. tape measure) to measure the distance between these marks. The marks should align to either an inch or half-inch increments on the measuring device. If the measurement does not meet these criteria, the hook should be inspected further for possible damage.
Angle Indicators Indicates the maximum included angle allowed between two (2) sling legs in the hook. These indicators also provide the opportunity to approximate other angles between two sling legs.
Table “A” lists the Deformation Indicator dimensions for determining hook replacement.
Table “A”
Hoist Series
Hoist Capacity
(lbs) Crosby Hook Code
Normal Deformation
Indicator (in.)
Maximum Deformation
Indicator (in.)
Upper Hook Replacement
Latch Lower Hook Replacement
Latch
Upper Bullard
Replacement Latch Kit
Lower Bullard
Replacement Latch Kit
7 275 DC 1.5 1.725 540832 542390 --- --- K5 550/1100 FC/FA/FB 1.5 1.725 A27352 540832 526567 526566 K5 2200 HC 2.0 2.300 542388 542388 526567 526567 K1 2200 IC/IA 2.5 2.875 542386 542386 528618 528618 K1 3300 IC/IA 2.5 2.875 542386 542386 528618 528618 K1 4400 IC/IA 2.5 2.875 542386 542386 528618 528618 K1 6600 CM#7/D 2.5 2.875 542389 542389 528618 528618 K1 8800 CM#7/D 2.5 2.875 542389 542389 528618 528618
P1 * 300/500/1000 FC/FA/FB 1.5 1.725 --- 542390 --- 526566 P1 300/500/1000 FC/FA/FB 1.5 1.725 540832 540832 526566 526566
P1 (SR) 500 1.5 1.725 A27305 A27305 --- --- P1 (SR) 1000 1.5 1.725 542406 542406 --- ---
P1 2000 1.5 1.725 542388 542388 526567 526567 P2 1100/2200 HC 2.0 2.300 542388 542388 526567 526567
P2 (SR) 1500 HB 2.0 2.300 542406 542406 526567 526567 P2 (SR) 3000 IB 2.5 2.875 542407 542407 528618 528618
P2 4400 Valcan #7 NA NA 542386 542386 528618 528618 P3 2200 HA 2.0 2.300 542386 542386 528618 528618 P3 4300 HA 2.0 2.300 542386 542386 528618 528618 P3 8000 JC 3.0 3.450 542389 542389 528618 528618
*Note: Trolley mounted models SR = Spark Resistant

3
PL86-P3CA December 12, 2015
Link Chain Inspection & Maintenance Guide: Includes Severely Worn Links In A Localized Zone
Inspection:
Clean the chain with solvent to allow a visual inspection for defects. Chain will wear more in the area that travels over the sprocket wheel when the chain is loaded and areas that rub on other surfaces. Very short lifts will produce inner link wear in a small number of links that cannot be detected using the standard 19-25 link chain gages.
With the chain slack, perform a link by link inspection making sure to expose and examine all surfaces of the chain. It is especially important to look at the bearing areas of the chain (inside surface of the link ends), as these are the areas that experience the greatest wear and are normally hidden by the adjacent links. The chain should be examined for:
Nicks Gouges Twists Cracks Stretch Excessive Wear
If any of these conditions are present, the chain should be immediately removed from service.
There are three ways to check for excessive wear. Wear is most prevalent in the section of chain that is going over the sprocket wheel of the hoist. Always check the area of the chain that is going over the sprocket wheel for wear.
1) Normal Service: The overall length of chain shown in Table “B” should be measured in chain that travels over the sprocket wheel in normal use. This measures the outside to outside length of chain when approximately a 50-lb. Load is applied to the chain, see Figure 1. Tool House does offer gages to make this measurement easy. The gage part numbers are shown in Table “B”.
Table “B”
Hoist Series
Gage Number Diameter of Chain Stock
Number of Links in Gage
Maximum Length Allowable
Bulk Chain Replacement Number
K7 536167 0.197 25 15.386 532394 Standard P1 536168 0.218 25 16.313 20676 Standard
31445 Zinc Plated K5 536169 0.250 25 19.363 522893 Standard
536462 Zinc Plated P2 536170 0.281 25 20.602 20592 Standard
29962 Zinc Plated P2 * None 0.281 25 21.005 * 541397 Spark Resistant P3N 536171 0.312 21 18.875 507245 Zinc Plated
K1 / P3 536172 0.375 19 20.203 542040 Standard 513131 Zinc Plated

4
PL86-P3CA December 12, 2015
2) Short Lift: If the duty application is a short travel distance, the chain may wear in a localized area. In this case, or if severe localized wear is observed for any other reason, the maximum allowable length over the number of links shown in Table “C” should be used as out of service criteria. These measurements can typically be made with dial calipers. The measurement method is the same as shown in Figure 1.
Table “C”
Hoist Series Diameter of
Chain Stock Number of Links To Be Measured
Maximum Length Allowable
Bulk Chain Replacement Number
K7 0.197 13 8.178 532394 Standard P1 0.218 13 8.675 20676 Standard
31445 Zinc Plated K5 0.250 13 10.288 522893 Standard
536462 Zinc Plated P2 0.281 13 10.967 20592 Standard
29962 Zinc Plated P2 * 0.281 13 11.177 * 541397 Spark Resistant P3N 0.312 13 11.905 507245 Zinc Plated
K1 / P3 0.375 11 11.987 542040 Standard 513131 Zinc Plated
*Note: Material is Stainless Steel and will wear faster than Case Harden Alloy Steel. This Stainless Steel chain has a working load of 1500 lbs. single reeved and 3000 lbs. double reeved. DO NOT OVERLOAD!

5
PL86-P3CA December 12, 2015
3) Single Link: No individual single link should be used if worn so that the inner link length is greater than the dimension shown in Table “D”. This measurement is taken as shown in Figure 2, and is not done under any load. This measurement is typically made with dial calipers.
Table “D”
Hoist Series Diameter of
Chain Stock Number of Links To Be Measured
Inner Link Maximum Length Allowable
Bulk Chain Replacement Number
K7 0.197 1 0.604 532394 Standard P1 0.218 1 0.639 20676 Standard
31445 Zinc Plated K5 0.250 1 0.760 522893 Standard
536462 Zinc Plated P2 0.281 1 0.807 20592 Standard
29962 Zinc Plated P2 * 0.281 1 0.825 * 541397 Spark Resistant P3N 0.312 1 0.875 507245 Zinc Plated
K1 / P3 0.375 1 1.034 542040 Standard 513131 Zinc Plated
*Note: Material is Stainless Steel and will wear faster than Case Harden Alloy Steel. This Stainless Steel chain has a working load of 1500 lbs. single reeved and 3000 lbs. double reeved. DO NOT OVERLOAD!
Replace if chain is worn beyond any of the maximum length allowable limits as shown in Tables “A”, “B”, or “C”. Before returning the chain to service, apply penetrating oil and graphite (per instructions on Tool House’ # 535577 8-oz. Tube). Excess oil from the chain can be removed to minimize dripping.
CAUTION: DO NOT assume that the load chain is safe solely because it measures below the dimension shown in the table. Nicked, gouged or twisted chain must also be replaced. High cycles, fast starts and quick stops can cause shock loading in excess of the standard working load which can cause stress cracks in the chain. In these types of applications, also check the chain by use of NDT (nondestructive tests) – MT (magnetic
particle inspection) or PT (liquid penetrant inspection). When in doubt, replace the chain with only Tool House (GD Hoist) chain. DO NOT ATTEMPT TO REPAIR CHAIN!
DO NOT use a new chain on a worn sprocket. Replace worn chain and worn sprocket as a pair. On hoists with spark resistant (stainless steel) chain you will replace the chain many times before you will see wear on the sprocket because the chain is much softer than the hardness on the sprocket wheel.
Replacement: To insert a new chain, remove the hook assembly from the chain. Attach a link, with one side cut out, to the end of the old chain. Attach the new chain to the other end of the open link, making sure the link welds on the new chain are in the same position as the link welds on the old chain. Operate the hoist slowly, drawing the new chain into the sprocket. The link weld must be in the upstanding position (link weld away from the sprocket wheel inner groove), see Figure 3. After the new chain has been run over the sprocket, remove the old chain and open link. Attach the hook assembly to the new chain.
On double reeved models, be sure there is no twist in the chain. Run the hoist “UP” until only about three feet of chain remains on the load end side. This will minimize the chance of introducing a twist between the hook block and the hoist. Allow the chain to hang free to remove twists. Insert the chain into the lower block (upstanding link first). Upstanding links will have the weld toward the lower sprocket inner groove. Insert the last link into the slot in the upper hook or trolley assembly adapter, making sure there is no twist. The last link of the chain may have to be cut if a twist is apparent. Fasten to the hook or trolley assembly adapter securely with the chain adapter bolt and nut.

6
PL86-P3CA December 12, 2015
Figure 1 – Chain Link Gages
Note: P1 series hoist link chain and hook assembly shown, other hoist series are similar.

7
PL86-P3CA December 12, 2015
Figure 2 – Single Link Measurement

8
PL86-P3CA December 12, 2015
Figure 3 – Double Reeved Chain Assembly Note: P2 series hoist sprocket wheel and link chain shown, other hoist series are similar.

9
PL86-P3CA December 12, 2015
Inspection Record:

10
PL86-P3CA December 12, 2015
Inspection Check List:

11
PL86-P3CA December 12, 2015
FOR QUESTIONS, TECHNICAL AND WARRANTY SUPPORT:
GD-HOIST 5215 S. Emmer Dr.
New Berlin, WI 53151 Phone: 262-710-4185
Fax: 262-796-1194 www.gdhoist.com