have upload steps slides
TRANSCRIPT
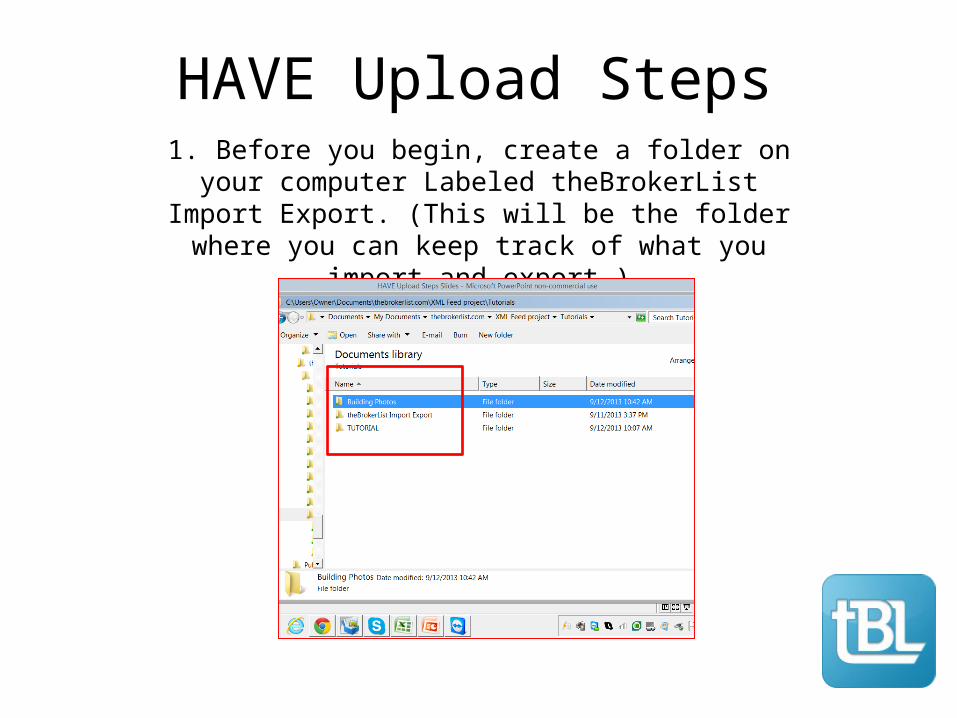
HAVE Upload Steps1. Before you begin, create a folder on your computer
Labeled theBrokerList Import Export. (This will be the folder where you can keep track of what you import and export.)

HAVE Upload Steps2. Locate the folder(s) on your system where all property
photographs are stored. (You will need them to add images to the posts after you upload.)

HAVE Upload Steps3. Open the attached blank CSV file and the Sample CSV
files attached so you are totally familiar with the fields we need to populate on each row, for each property you plan
to manage using this spreadsheet.
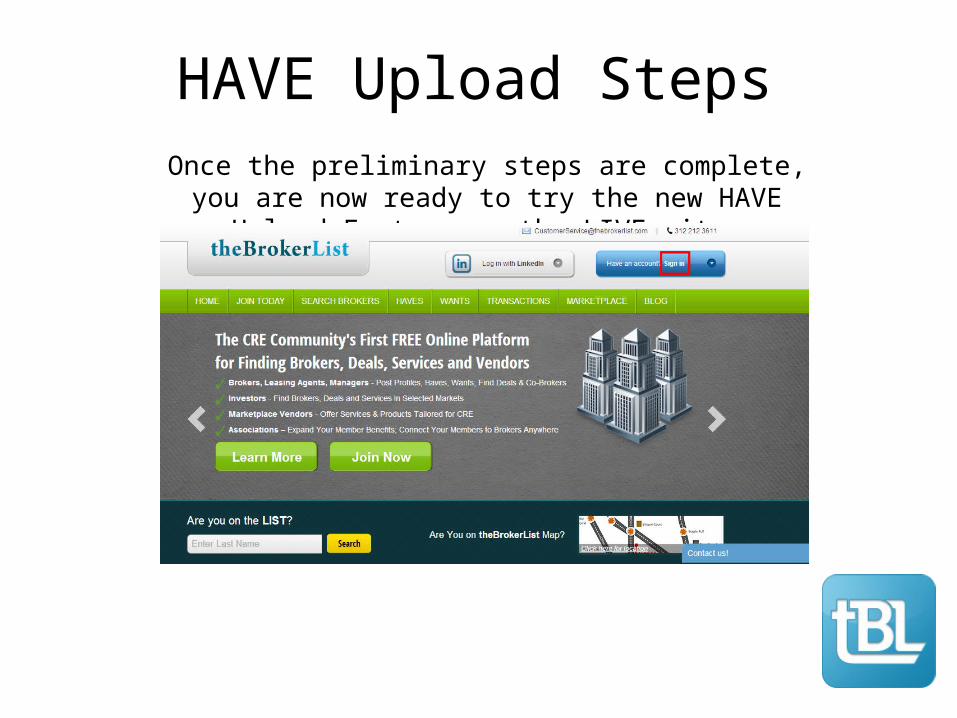
HAVE Upload StepsOnce the preliminary steps are complete, you are now
ready to try the new HAVE Upload Feature on the LIVE site.
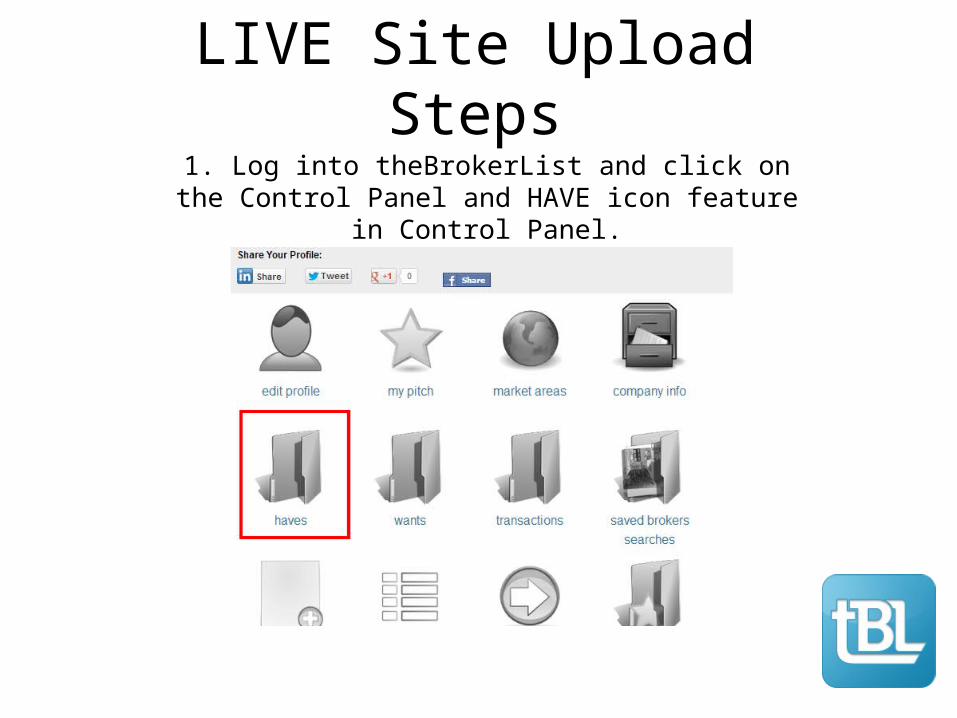
LIVE Site Upload Steps1. Log into theBrokerList and click on the Control Panel and
HAVE icon feature in Control Panel.

LIVE Site Upload Steps2. Make sure you have manually added at least 1 or 2 HAVE posts
initially to see how the system works and become familiar with the fields and the final output of what a post looks like.
(Skip to step 4 if you have already added HAVE posts to tBL.)
Add a Have allows manual entry of a single post.

LIVE Site Upload Steps3. Once you have manually entered 1 or 2 posts and are
familiar with how the content will be presented, go to the HAVE menu inside Control Panel and click the top hyperlink
labeled Export CSV File format.

LIVE Site Upload Steps4. Click the Export CSV File Format and save that file to your folder labeled theBrokerList Import Export. As you can see it
is named and dated.

LIVE Site Upload Steps5. Open that file and review the contents. It is exactly what
you have already manually entered into theBrokerList.

LIVE Site Upload Steps6. Using the Mapped Values as the Property Type column
and your View List of Employees for User ID#, complete the spreadsheet with all of the information about each property
you wish to post.

LIVE Site Upload Steps8. Save the file when complete and name it date + Import or a
system that will help you keep track of what you have done and save it in the folder you created called theBrokerList Import
Export.

LIVE Site Upload Steps7. Be sure to note some key points:a. do not use dollar signs or decimals, just raw numbers for the amount column.

LIVE Site Upload Steps7. Be sure to note some key points:b. the amount column is For Sale listings only.

LIVE Site Upload Steps7. Be sure to note some key points:c. if you wish to put lease rates in, use the Description column only.
For instance Rate: $12 psf gross would be part of the Description field.

LIVE Site Upload Steps7. Be sure to note some key points:d. state = Mapped Values or 2 letter abbreviation only.

LIVE Site Upload Steps7. Be sure to note some key points:e. country = Mapped Values or appropriate abbreviation only.

LIVE Site Upload Steps7. Be sure to note some key points:f. postal code = 5 digits only.

LIVE Site Upload Steps7. Be sure to note some key points:g. url1 to url5 = full path of URL (loopnet, website, showcase, buildout, dropbox, etc.)
Put full path of URL in URL1 to URL5. Example:http://www.loopnet.com/myproperty orhttp://www.company.com/myproperty

LIVE Site Upload Steps7. Be sure to note some key points:h. status = Active or Inactive. All uploads are pending until you approve and post

LIVE Site Upload Steps9. Click on the Add Bulk Haves button on the menu, select Choose File and find the file on your computer and once
selected, click Upload!1
2

LIVE Site Upload Steps10. Once the upload is done processing, the list will show you errors and also provide the Edit function so you may edit, view
and upload the images

LIVE Site Upload Steps11. IMPORTANT: Once you completed the upload of your
images, verification of address and content is complete, you must make the post ACTIVE! If you do not make the post Active, it will not be publicly posted. ALL UPLOADS ARE PENDING UNTIL
MADE ACTIVE.
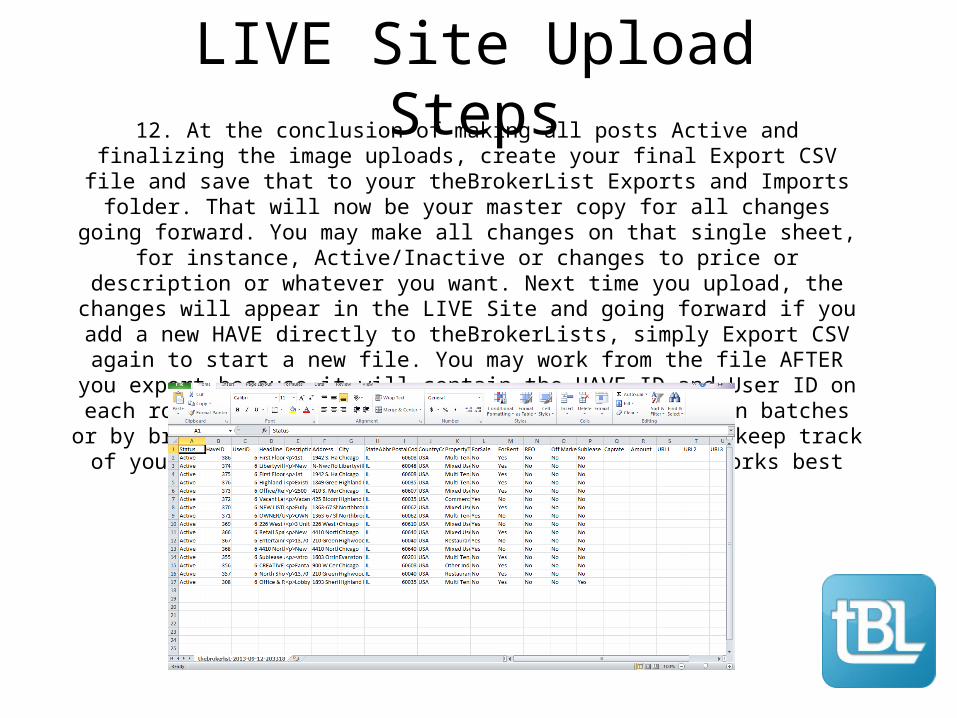
LIVE Site Upload Steps12. At the conclusion of making all posts Active and finalizing the image uploads, create your final Export CSV file and save that to your theBrokerList Exports and Imports folder. That will now be your master copy for all changes going forward. You may make all changes on that
single sheet, for instance, Active/Inactive or changes to price or description or whatever you want. Next time you upload, the changes will appear in the LIVE Site and going forward if you
add a new HAVE directly to theBrokerLists, simply Export CSV again to start a new file. You may work from the file AFTER you export because it will contain the HAVE ID and User ID on each row from the system. Or you can upload HAVES in batches or by broker or simply use
the system to export and keep track of your HAVES and enter manually. It is whatever works best for you.

LIVE Site Upload Steps13. If you wish to use html to create paragraphs and line breaks and bold formatting, it is all permissible inside the Description
column of each row.

LIVE Site Upload Steps14. The spreadsheet is an excellent way to manage all of your
listings, however, the file must be saved as CSV for it to upload. You cannot upload an Excel Workbook or other format, it must
be a CSV.

Thank You!
As always we are here to help!Questions or comments?Tweet us @theBrokerList
Email us at [email protected]
OrCall at 312.212.3611
http://thebrokerlist.com