gilles querret riverside software - progress.com€¢define a job for every product and every...
TRANSCRIPT

Gilles QUERRET
Riverside Software
Beginners guide to
continuous integration
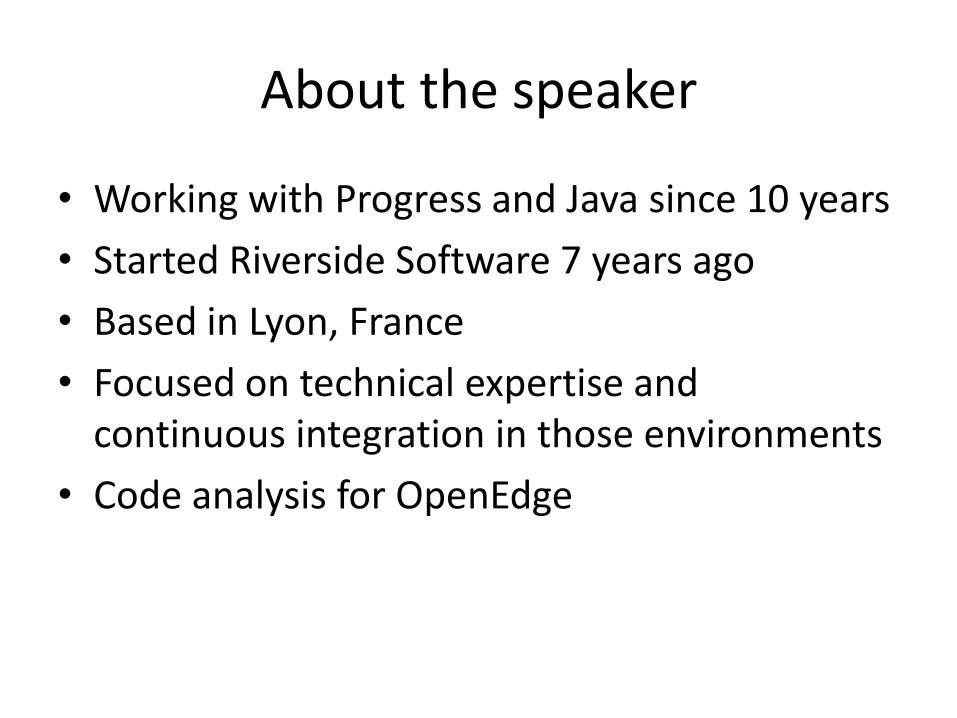
About the speaker
• Working with Progress and Java since 10 years
• Started Riverside Software 7 years ago
• Based in Lyon, France
• Focused on technical expertise and continuous integration in those environments
• Code analysis for OpenEdge

http://geekandpoke.typepad.com

define:continuous integration
Continuous Integration is a software development practice of performing software integration frequently…several times a day, in fact. Ideally, your software application or system should be built automatically after each commit into a shared version control repository. Upon each successful build, the system integrity should be verified using automated tests that cover if not all, then at least most of the functionality. If some tests fail, the developer responsible is notified instantly and the problem can be identified and solved quickly. Using this approach, you can deliver working and reliable code to the customer much faster, while also mitigating the risk of releasing unstable, buggy software to your users.

define:continuous integration

5 steps to continuous integration
1 •Source code repository
2 •Build automation
3 •CI server setup
4 •Automated deployment
5 •Automated tests

Use the right tools

Step 1 : Source code repository
• Keeps track of every change in your codebase
• Using homegrown solution can be challenging in a continuous integration environment
• Lots of tools on the market : CVS, Subversion, Mercurial, Perforce, BitKeeper, Roundtable…
• Side note : in case you don’t know about distributed code repositories, have a look at http://www.hginit.com for a good introduction

Step 1 : Source code repository
• If you can generate something, don’t store it in your SCM – It will be part of your build script
• Separate requirements and dependencies – OpenEdge is a requirement, pdf_include is a
dependency
• Don’t forget database versioning • Commit as much as possible, using branches if
necessary • Associate a bugtracker to your SCM

Step 2 : Build automation
• Architect / Developer Studio / AppBuilder ARE NOT build tools
• Just after checking out source code, a single command line should be enough to generate a standalone binary
• Common build tools are : Makefiles, shell scripts, Ant, Maven, Gradle…

Step 2 : Build automation
• Looking for something stable, flexible and portable across platforms? Use Ant !
• Ant is an open-source product to deal with software builds
• XML based syntax, and provides lots of standard tasks
• PCT (Progress Compilation Toolkit) is an open-source extension to deal with the OpenEdge environment

Step 2 : Build automation
<PCTCreateBase dbName="ged" destDir="${db}" codepage="utf" schemaFile="db/schema1.df,db/schema2.df" structFile="db/struct.st" blockSize="4" dlcHome="${DLC}" />
<PCTRun procedure="src/initDb.p" paramFile="conf/param.pf" dlcHome="${DLC}" cpstream="utf-8"> <DBConnection dbName="ged" dbDir="${db}" singleUser="yes" /> <DBConnection dbName="cust" dbDir="${db}" singleUser="yes" /> </PCTRun>

Step 2 : Build automation
<PCTCompile destDir="${build}" graphicalMode="true" dlcHome="${DLC}" md5="false" minSize="false" cpstream="iso8859-15" inputChars="16384" debugListing="true"> <fileset dir="src/core" includes="**/*.p,**/*.w" /> <fileset dir="src/module1" includes="**/*.p,**/*.w" /> <fileset dir="src/oo" includes="**/*.cls" /> <PCTConnection dbName="ged" dbDir="${db}" /> <PCTConnection dbName="cust" dbDir="${db}" /> <propath> <pathelement location="src/core" /> <pathelement location="src/oo" /> </propath> </PCTCompile>

Step 3 : CI server setup
• Many products, but same functionalities – Define and trigger jobs
– Store deliverables (and keep history)
– Make them easily accessible
– Keep users informed of build result
• Choosing a CI server : – Free or not
– Integration with your tools
– Plugins
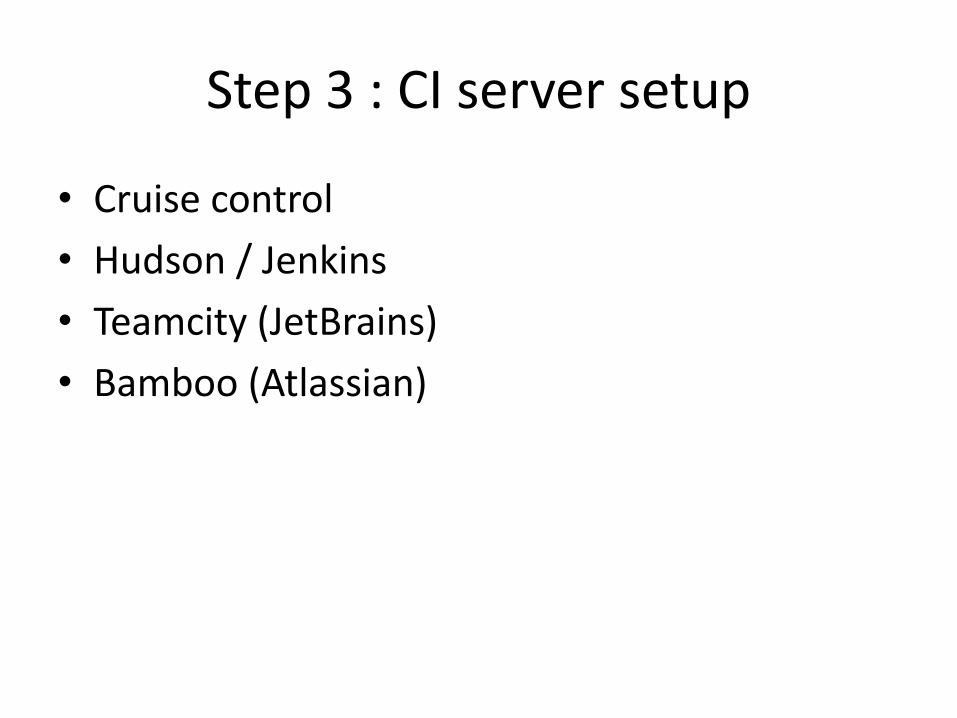
Step 3 : CI server setup
• Cruise control
• Hudson / Jenkins
• Teamcity (JetBrains)
• Bamboo (Atlassian)

Step 3 : CI server setup
• Always use a clean server
• Use distributed jobs
• Define a job for every product and every environment (branches / clones)
• Keep deliverables only for production jobs. Keep only a dozen for integration
• Only send alerts for failures !

Step 4 : Automate deployment
• Use only what has been generated during the build process
• Always deploy to a clean server
• Every deliverable generated by the CI server should be deployed

Step 4 : Automate deployment
• Available in VMWare ESX
• Clones, snapshots and remote execution are your friends !
• Define clean VM for every target OS
• Define snapshots to be able to improve configuration
• New clone for a new job
• Remote execution to execute deployment

Step 5 : tests
• Unit testing
• User interface testing
• API testing
• Regression testing
• Load testing
• Security testing

Demo

Questions ?
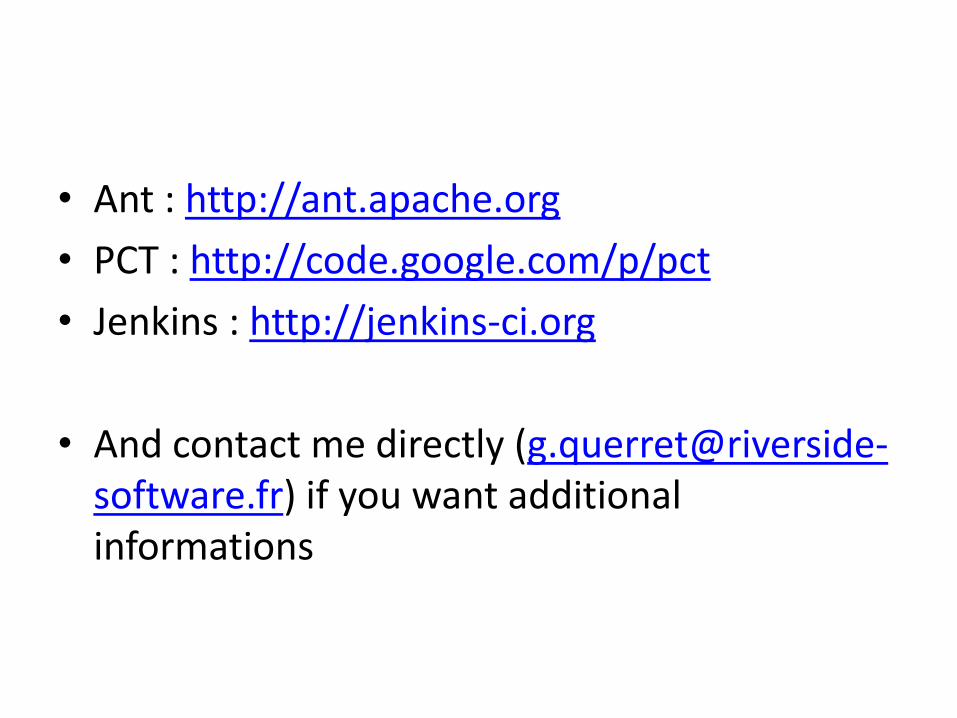
• Ant : http://ant.apache.org
• PCT : http://code.google.com/p/pct
• Jenkins : http://jenkins-ci.org
• And contact me directly ([email protected]) if you want additional informations