fluorescence vanderbilt student volunteers for science spring 2007
TRANSCRIPT
Fluorescence
Vanderbilt Student Volunteers for Science
Spring 2007
Important!
• Please use this resource to reinforce your understanding of the lesson! Make sure you have read and understand the entire lesson prior to picking up the kit!
• We recommend that you work through the kit with your team prior to going into the classroom.
• This presentation does not contain the entire lesson—only selected experiments that may be difficult to visualize and/or understand.
I. Electromagnetic Radiation (pg. 2)
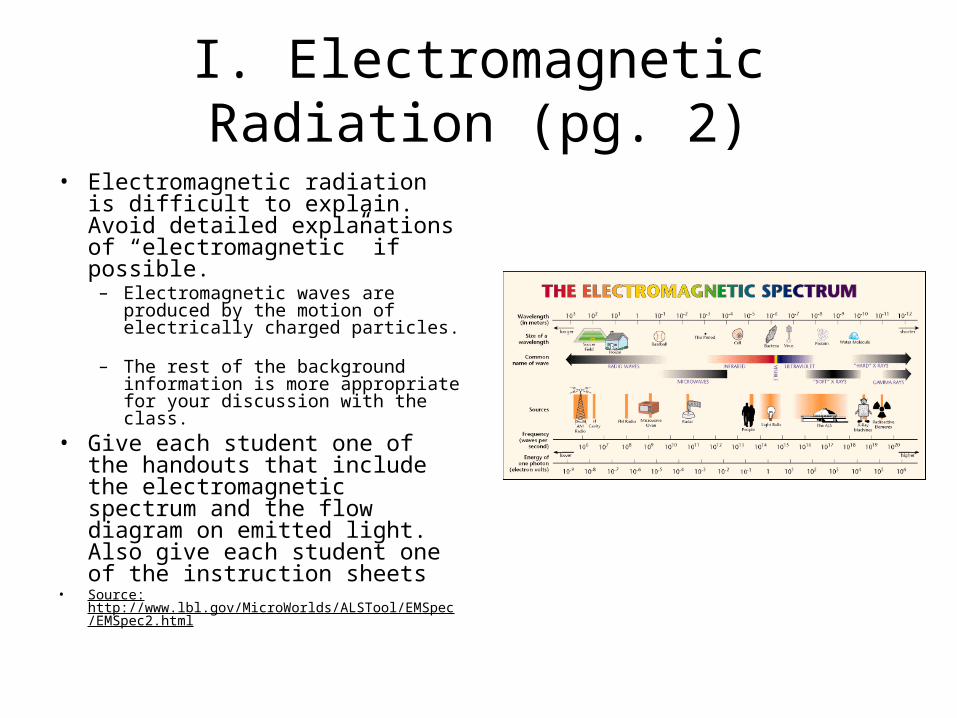
• Electromagnetic radiation is difficult to explain. Avoid detailed explanations of “electromagnetic” if possible.
– Electromagnetic waves are produced by the motion of electrically charged particles.
– The rest of the background information is more appropriate for your discussion with the class.
• Give each student one of the handouts that include the electromagnetic spectrum and the flow diagram on emitted light. Also give each student one of the instruction sheets
• Source: http://www.lbl.gov/MicroWorlds/ALSTool/EMSpec/EMSpec2.html

I. Electromagnetic Radiation• Ask students to look at the visible
light spectrum and identify colors that make up visible light.
• Visible light is made up of all the colors that the eye can detect. The range of colors, when mixed, looks white to the eye.
– The three primary colors of light (additive primary colors) are red, green, and blue.
– When white light passes from one medium (like air) to another (like water), it is refracted.
– Actually, each color is refracted at a different rate - red is bent the least, while violet is bent the most.
– When the colors are bent and spread out they form the color spectrum.
– You can remember the order of the colors by naming the spectrum Roy G. Biv for red, orange, yellow, green, blue, indigo, and violet. (Some students will already know this.)
R O Y G B I V
II. Visible Light Can Be Separated into Different Colors (pg. 4)
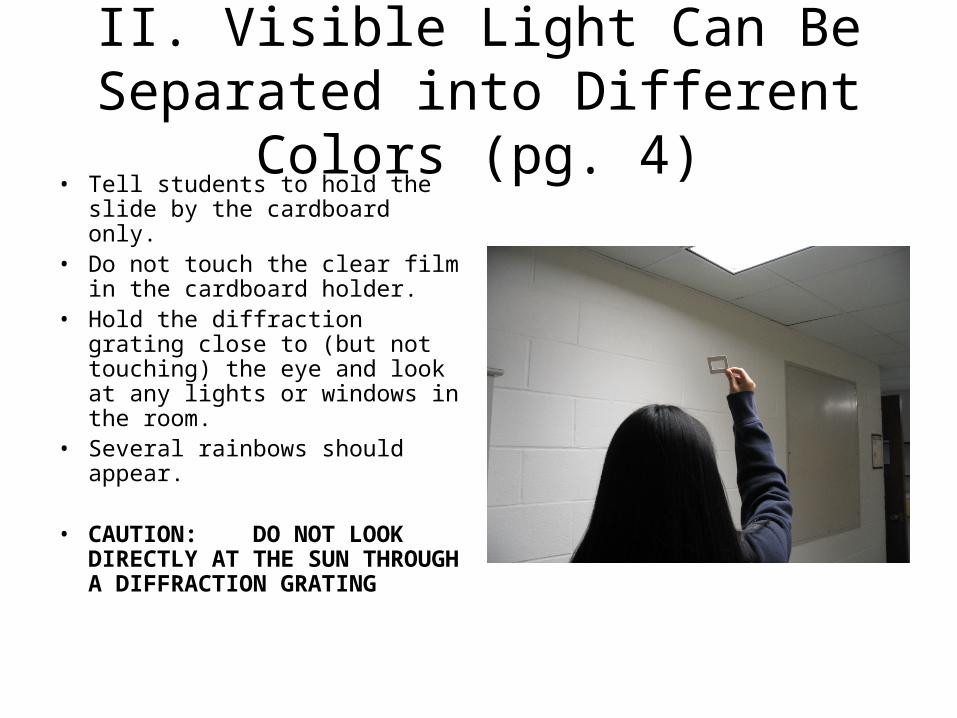
• Tell students to hold the slide by the cardboard only.
• Do not touch the clear film in the cardboard holder.
• Hold the diffraction grating close to (but not touching) the eye and look at any lights or windows in the room.
• Several rainbows should appear.
• CAUTION: DO NOT LOOK DIRECTLY AT THE SUN THROUGH A DIFFRACTION GRATING
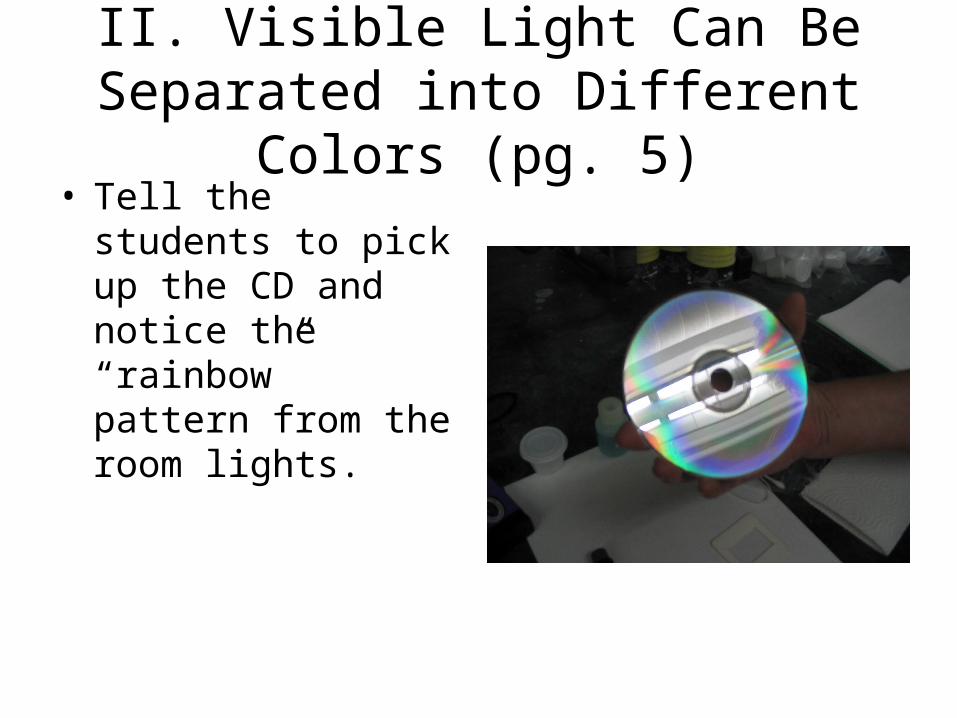
II. Visible Light Can Be Separated into Different Colors (pg. 5)
• Tell the students to pick up the CD and notice the “rainbow” pattern from the room lights.
III. Laser Light is One Wavelength of Color (pg. 5)
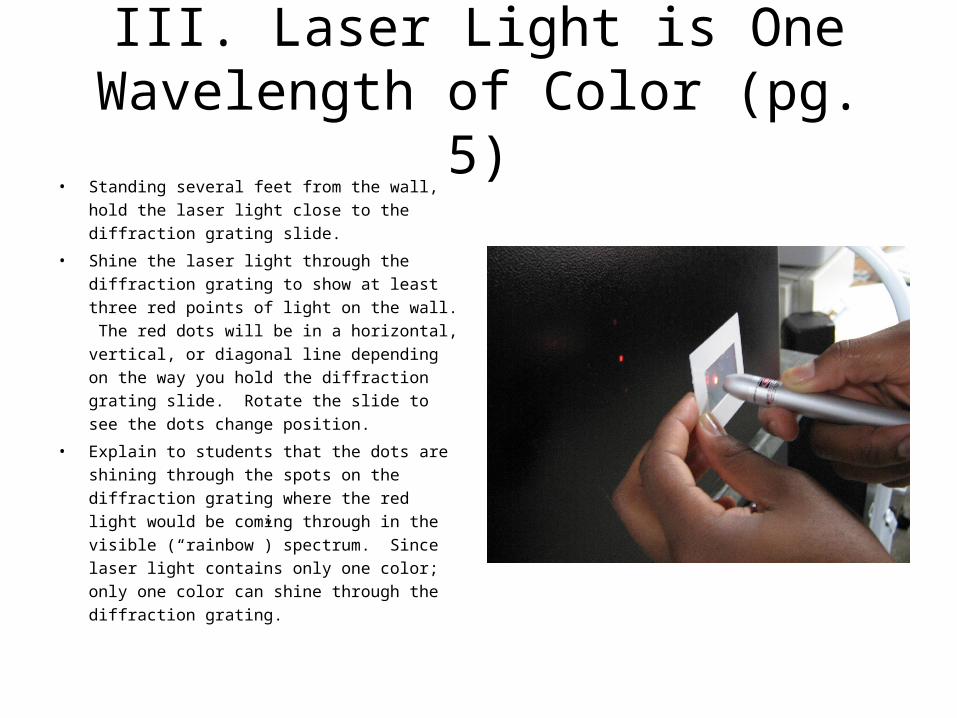
• Standing several feet from the wall, hold the
laser light close to the diffraction grating
slide.
• Shine the laser light through the diffraction
grating to show at least three red points of
light on the wall. The red dots will be in a
horizontal, vertical, or diagonal line
depending on the way you hold the
diffraction grating slide. Rotate the slide to
see the dots change position.
• Explain to students that the dots are shining
through the spots on the diffraction grating
where the red light would be coming through
in the visible (“rainbow”) spectrum. Since
laser light contains only one color; only one
color can shine through the diffraction
grating.

IV. Different Types of Emitted Visible Light (pg. 6)
• Have students look at the flow diagram in sheet protector.
• Refer to manual for detailed explanations and instructions.
• Light stick demonstration of chemiluminescence

Va. Activities: Tonic Water—An Example of Fluorescence (pg. 7)
• Shine the black light on the bottle of tonic water. Turn off the lights to see the fluorescent blue color.
• Point out that the tonic water does not glow after the black light is turned off.

Vb. Narra Wood Water Extract Fluorescence p.7
• Shine a black light on the jar labeled “narra wood extract” and show the fluorescence that results.
• Show the students a small piece of narra wood and explain what narra wood is and its historical significance.
• Source – narra (species name: Pterocarpus indicus) is a tropical hardwood found in Southeast Asia, the Philippines, and Malaysia, which is used for furniture, carpentry, and carving.
• Historical Significance - The fluorescence of narra wood was the first recorded example of fluorescence over 400 years ago.

Vc. Bluing Agent (pg. 8)
• Give each student a piece of
paper towel and a Q-tip. Place
the 16 bottles of bluing around
the room so that 2 students
have access to a bottle.
• Tell them to dip the Q-tip in the
bluing agent and write their
first name on the paper towel.
• Hold the black light over their
paper towel and their name will
be fluorescent blue.
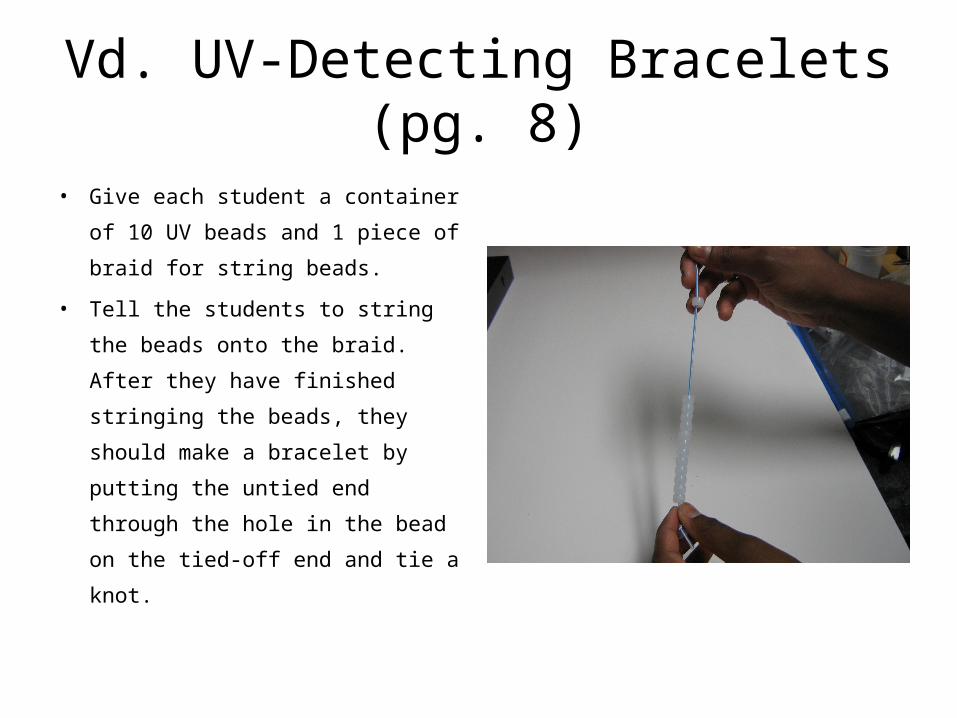
Vd. UV-Detecting Bracelets (pg. 8)
• Give each student a container of
10 UV beads and 1 piece of braid
for string beads.
• Tell the students to string the
beads onto the braid. After they
have finished stringing the beads,
they should make a bracelet by
putting the untied end through the
hole in the bead on the tied-off
end and tie a knot.
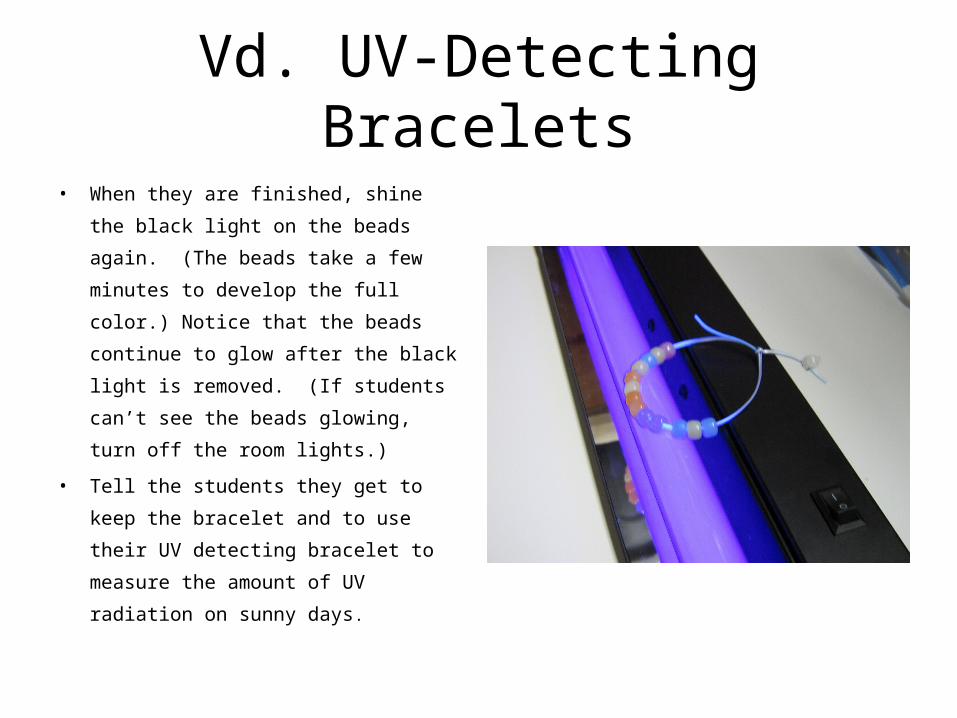
Vd. UV-Detecting Bracelets
• When they are finished, shine the
black light on the beads again. (The
beads take a few minutes to develop
the full color.) Notice that the beads
continue to glow after the black light is
removed. (If students can’t see the
beads glowing, turn off the room
lights.)
• Tell the students they get to keep the
bracelet and to use their UV detecting
bracelet to measure the amount of UV
radiation on sunny days.
Clean-Up
• Throw away the used paper towels and Q-tips, or put them in the trash bag to return to the lab.