
5.1 Define terminology5.2 Discuss safety practices in tool fitting5.3 Identify tools that may need fitting5.4 Perform needed reconditioning of tools

1. Bench stone – a sharpening stone designed to rest on a bench
2. Concave – curved inward3. Convex – curved outward4. Hollow ground – a blade with teeth wider
at the points than at the base

5. Mushroomed – a pushed-over or enlarged condition caused by being struck repeatedly over time
6. Recondition – restore a tool, piece of equipment, engine, or motor to good working condition


Metal debris Binding of grinding wheel Sparks

1. Adjust dust hood and coolant nozzle (for wet grinding). Keep work rest adjusted within 1/8inch of wheel face (periphery).
2. Stand aside and allow wheel to run idle a full minute before starting to grind.
3. Dress wheel if out of true.

4. Make grinding contact without bumping or impact.
5. Grind only on face of straight wheel. Use disc wheels for side-grinding. Light side-grinding permissible on cup or saucer wheel.

6. Never force grinding so that motor slows noticeably or work gets hot.
7. Protect wheel when not in use. Store safely if removed from grinding machine.


In order for tools to do quality work in a safe manner they need to be kept sharp and in good condition
Equipment needed includes:◦ Grinder, dressing tool, honing stone, honing oil,
files.

Bench grinder: Used for rough sharpening and to give cutting edges the proper bevel◦ Equip the tool grinder with a medium and fine grinding
wheel◦ Before grinding, adjust the tool rest to within 1 /8 or ¼
inch of the wheel◦ Wear goggles or safety glasses with side shields when
using a grinder.

Held on the tool rest and pressed solidly against the wheel to:◦ clean out the pores of
the wheel, ◦ straighten the face of
the wheel, and ◦ true the wheel
make it perfectly round

When the grinding wheel turns toward the cutting edge being sharpened:◦ There is less tendency to form a wire edge on a
tool◦ More uniform job of grinding is possible

Honing or whet stone: Generally has a coarse and a fine side used to put a fine, keen edge on a tool after grinding
Honing oil: Light weight oil used to make the tool easier to hone.
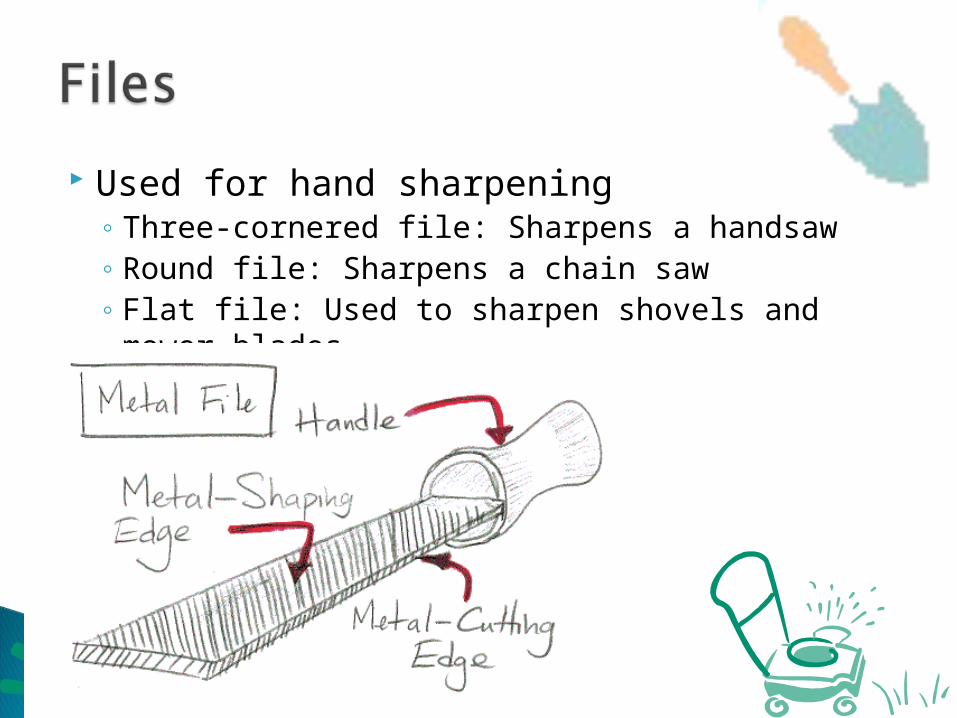
Used for hand sharpening◦ Three-cornered file: Sharpens a handsaw◦ Round file: Sharpens a chain saw◦ Flat file: Used to sharpen shovels and mower
blades


Three step process: ◦ Jointing◦ Grinding, and ◦ Honing

Jointing: Holding a tool perpendicular to the grinding wheel to remove nicks in the cutting edge.
If nicks do not exist, skip this step

To grind, adjust the tool rest to the desired grinding angle for the tool keeping the tool rest within ¼ inch of the wheel.
Position the cutting edge so the wheel turns down into the cutting edge

To avoid grooving the grinding wheel, move the tool being ground back-and-forth against the wheel

Temper: Degree of hardness and strength of metal◦ Most tools are tempered during manufacture by
quenching◦ Quenching Process in manufacturing of quickly
cooling metal to improve its useful qualities

During grinding, if the tool is overheated, it will turn blue and lose its temper or hardness. ◦ Keep a container of water handy to cool the tool
as you grind
Finish the sharpening by moving the tool back-and-forth, in a circle, or figure eight motion on the honing stone with a light coating of honing oil
Start on the coarse side of the stone and then finish the job on the fine side

Too much oil will cause the edge of the blade being sharpened to glide over the stone without contacting the abrasive material
After use, clean the stone under running water or with kerosene and dry off with a clean cloth or paper towel

If the honing stone is not cleaned after use, the oil and small metal particles will dry on the surface and clog the pores of the whet stone
Tools that are sharpened by filing must first be clamped or secured.
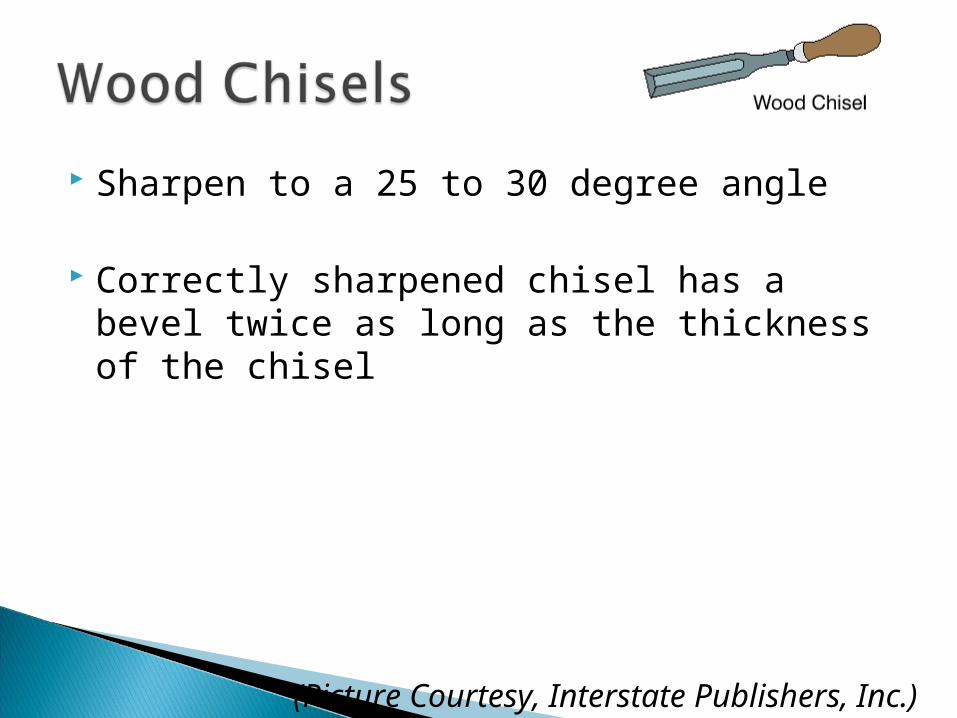
Sharpen to a 25 to 30 degree angle
Correctly sharpened chisel has a bevel twice as long as the thickness of the chisel
(Picture Courtesy, Interstate Publishers, Inc.)
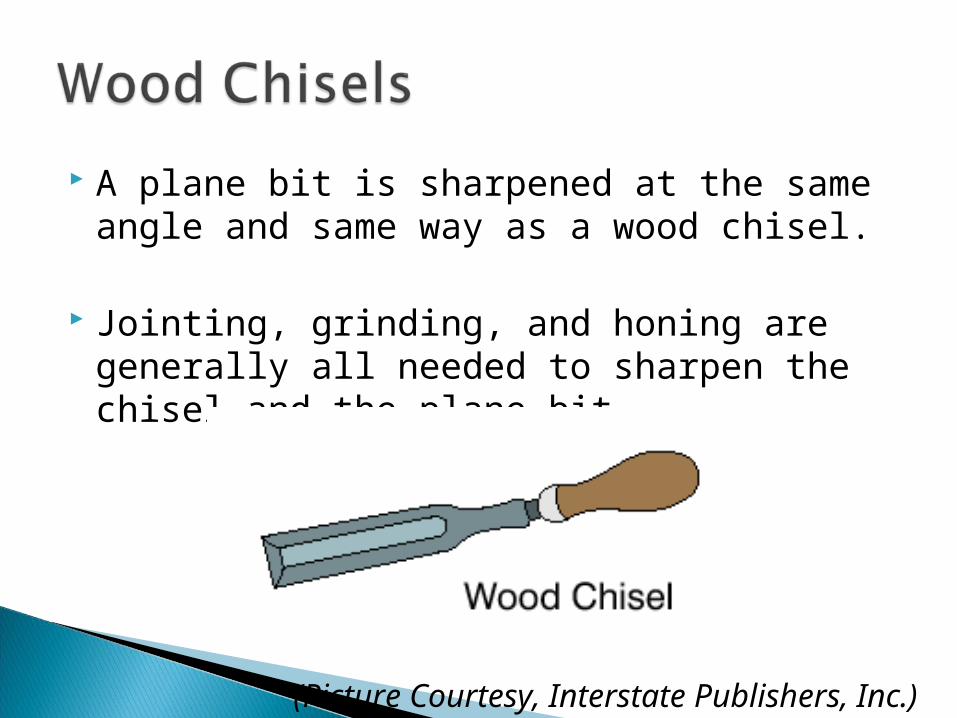
A plane bit is sharpened at the same angle and same way as a wood chisel.
Jointing, grinding, and honing are generally all needed to sharpen the chisel and the plane bit.
(Picture Courtesy, Interstate Publishers, Inc.)
Sharpening a knife with nicks in the blade:◦ Joint, grind, and then hone
Knives in good condition may only need to be honed

For a keen edge, finish the knife using a butcher’s steel
Some knives come with special sharpening stones that make sharpening easy

Sharpened to a 60 degree angle Honing is not necessary. Head of the cold chisels and center punch is
often mushroomed and should be ground so that the head is slightly smaller in diameter than the chisel or punch
Need to be jointed and ground but honing is not necessary
Jointing: Best done with a stationary grinder Grinding may be done with the stationary
grinder or with a portable grinder after clamping the ax or hatchet in a vise

If grinder is not available use a flat file.
Be sure the file has a handle and that leather gloves are worn.
Hardest tool to sharpen.
Cutting point is a 59 to 60 degree angle with a 12 degree clearance angle

Tool sharpening gauge will help grind the correct angle and keep the point of the bit precisely in the center of the bit
Twist drill sharpeners may be purchased.

Best left to a professional sharpener who has equipment that will insure that all teeth are the same size and perfectly sharpened.
If you want to try sharpening, clamp the saw in a vise and sharpen every other tooth from the left side of the saw
Then move to the other side of the saw to sharpen the other half of the teeth

Done using a round file Sharpen every other tooth from the left side
and then move to the right to sharpen the other teeth
Special holders can be purchased that will hold the file at the correct angle for sharpening
(Picture Courtesy, Interstate Publishers, Inc.)
Usually done with a flat file Clamp the tool in the vise Push the file across the sharp edge of the
tool, being careful to maintain the original bevel.
Remember that the file cuts only on the forward stroke.
A handle on the file and gloves on the hands help prevent injuries.

5.1 Define terminology5.2 Discuss safety practices in tool fitting5.3 Identify tools that may need fitting5.4 Perform needed reconditioning of tools


