can sculpture basic techniques with recycled materials
TRANSCRIPT

Can SculptureBasic Techniques
with Recycled Materials

• Equipment– Only simple equipment is required– Aluminium Cans– Copper wire– Soft Iron Wire– Scrap washers etc– Scissors– Wire cutters– Pliers– Masking tape
- Small hammer– Hole punch or nail– Wood block– Sandpaper

• Techniques– Wire armature, clad or woven with sheet
metal from canse.g. Fish, Animals, Figure
– Build from a pattern (net or development) joining elements with wire (Use a card model template or work out your own using paper)
e.g. Stag Beetle

Cutting a can
– Make holes near ends with punch, nail or screw-driver.
– Cut ends off with small scissors.

– Cut down length – easier to go half way from each end
– Trim off any rough edges and flatten

-Mark out shape.
-Cut out with scissors.
-Mark position of foldcuts and holes but do not cut them until texture is applied – prevents metal from splitting.
-A small hole can also be punched at the end of fold cuts to prevent splitting.

Applying Texture
Rest metal sheet on firm textured surface, or wire pattern and burnish with wooden or metal object. Bottom right was burnished on a wooden fabric printing block.
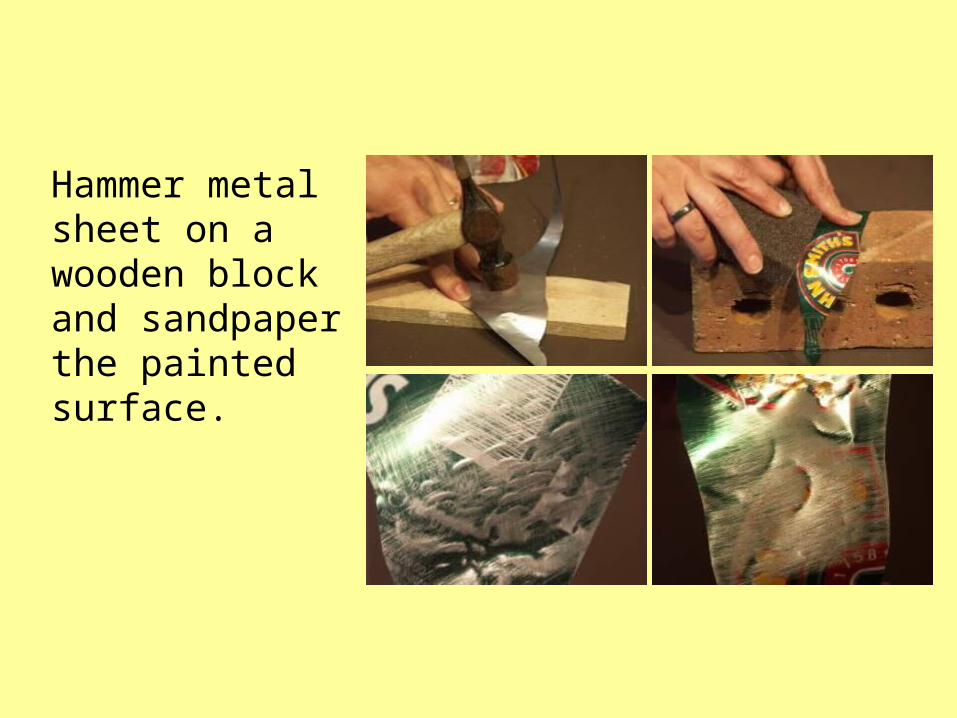
Hammer metal sheet on a wooden block and sandpaper the painted surface.

Building Sculpture on Armature
• Build armature with wire or chicken-wire
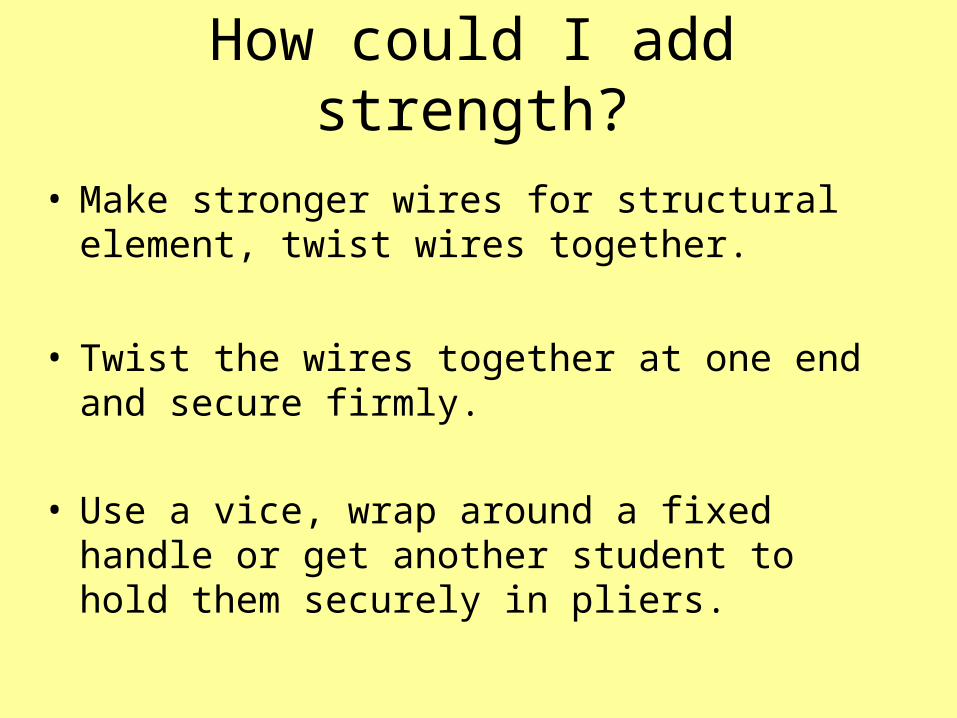
How could I add strength?
• Make stronger wires for structural element, twist wires together.
• Twist the wires together at one end and secure firmly.
• Use a vice, wrap around a fixed handle or get another student to hold them securely in pliers.

Building from Pattern• Make your own
from paper/card– Imagine the finished
object (looking at a real object as the starting point will help a lot).
– You may find that drawing the object helps you to visualise the surface planes that form it.
– Simplify the shapes.

• Stiffen edges of wings etc. with wire by ‘stitching’.
– See Dragonfly wing below

Make your templates
– Imagine the surfaces made of paper.
– Look at a section and imagine what it would look like if you made cuts where needed, unfolded and flattened it.
Trim as required

Some finished examples…
Look closely, can you see evidence of the techniques used?

Some finished examples…
Look closely, can you see evidence of the techniques used?