calico in networking mode
TRANSCRIPT
Anirban Sen Chowdhary
In my last , we had a demonstration of Project Calico (https://www.projectcalico.org/) in Policy-only mode.
In this post, we will see Project Calico(https://www.projectcalico.org/) in Calico networking mode.
So as we know, we first require kubectl and minikube as we seen in that last post.
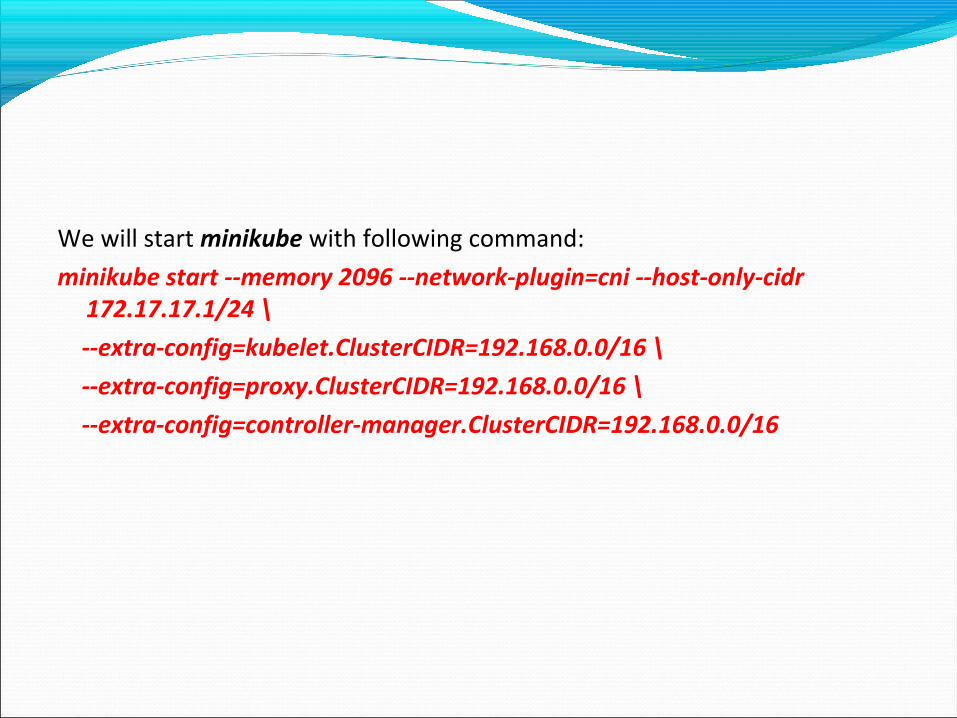
We will start minikube with following command:
minikube start --memory 2096 --network-plugin=cni --host-only-cidr 172.17.17.1/24 \
--extra-config=kubelet.ClusterCIDR=192.168.0.0/16 \
--extra-config=proxy.ClusterCIDR=192.168.0.0/16 \
--extra-config=controller-manager.ClusterCIDR=192.168.0.0/16
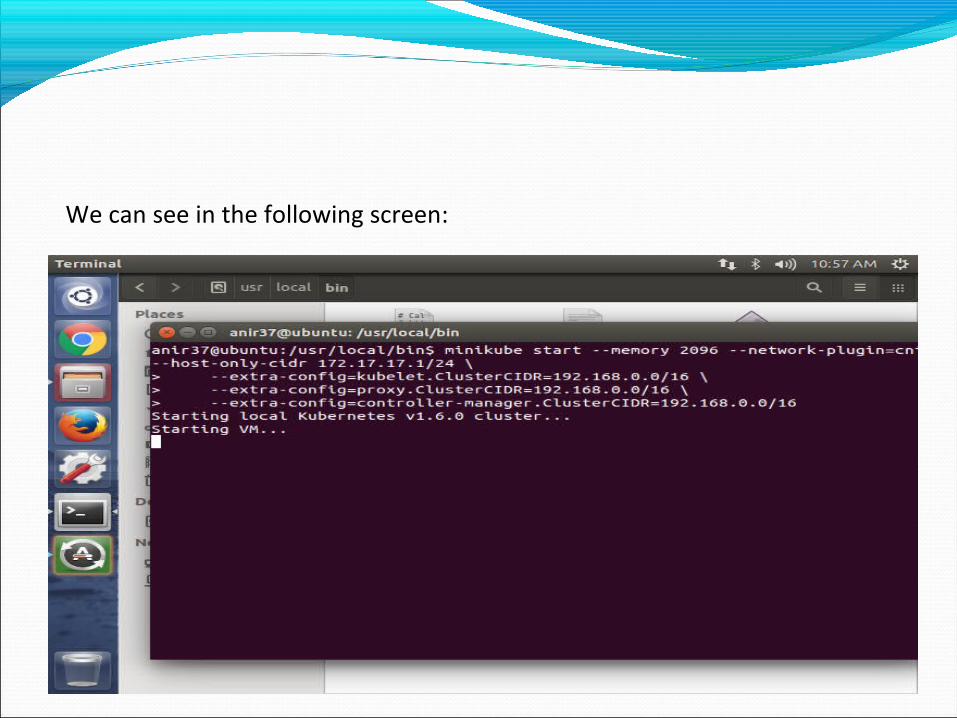
We can see in the following screen:
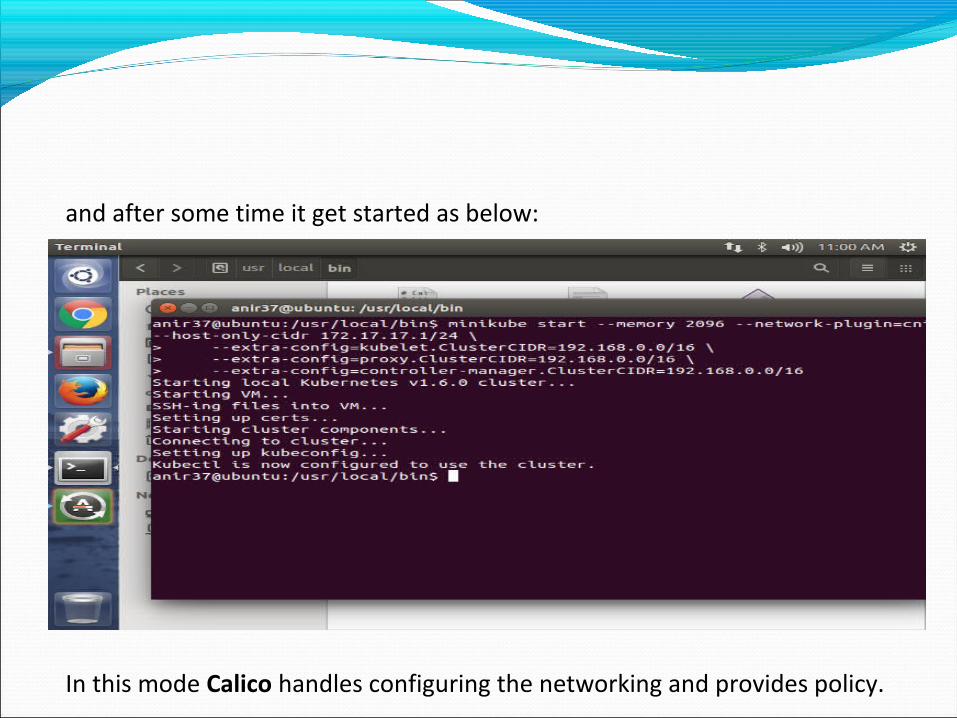
and after some time it get started as below:
In this mode Calico handles configuring the networking and provides policy.
After kubernetes is started with the above command then it is possible to install Calico though some slight modifications will need to be made to the manifests.
The following commands can be used to pull down a manifest, update it, and then apply the manifest:
sudo curl -O -L https://docs.projectcalico.org/v2.4/getting-started/kubernetes/installation/hosted/kubeadm/1.6/calico.yaml
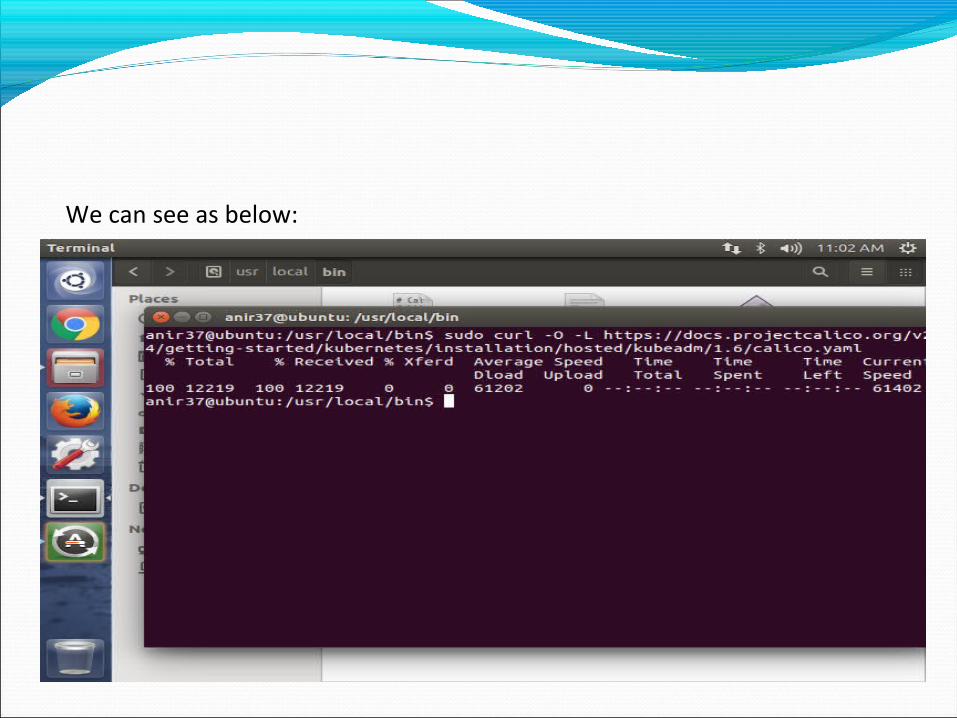
We can see as below:
Then update it as follow:
sudo sed -i -e '/nodeSelector/d' calico.yaml
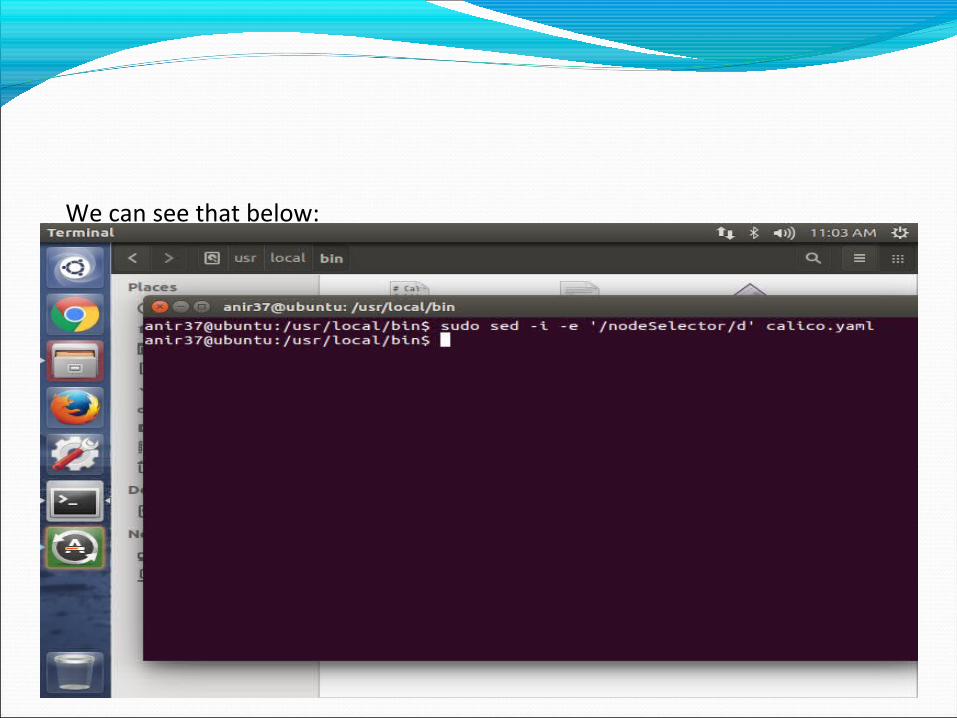
We can see that below:
Followed by following command:
sudo sed -i -e '/node-role.kubernetes.io\/master: ""/d' calico.yaml
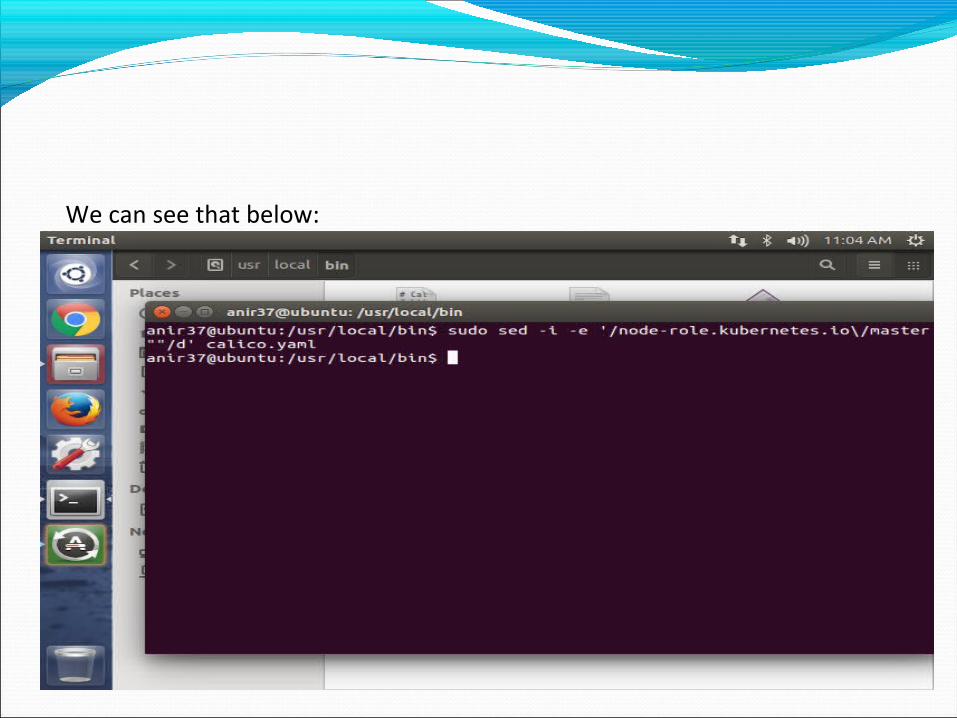
We can see that below:
And then the following:
sudo sed -i -e 's/10\.96\.232/10.0.0/' calico.yaml

We can see that below:
And we can use following commands to install Calico:
kubectl apply -f calico.yaml
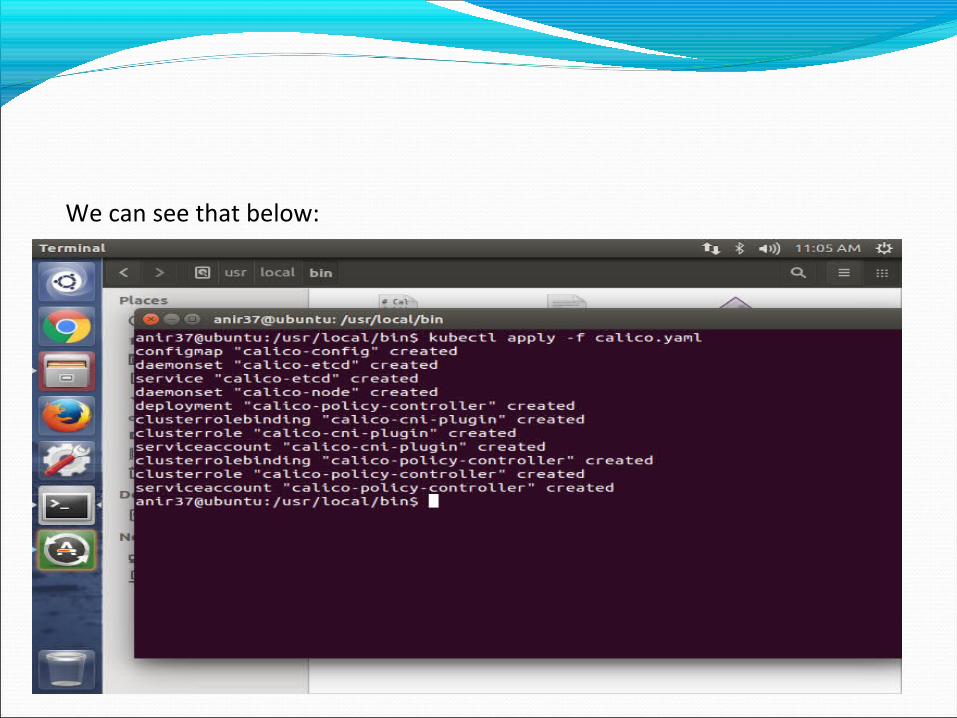
We can see that below:
To confirm that all of the pods are running with the following command:
kubectl get pods --all-namespaces
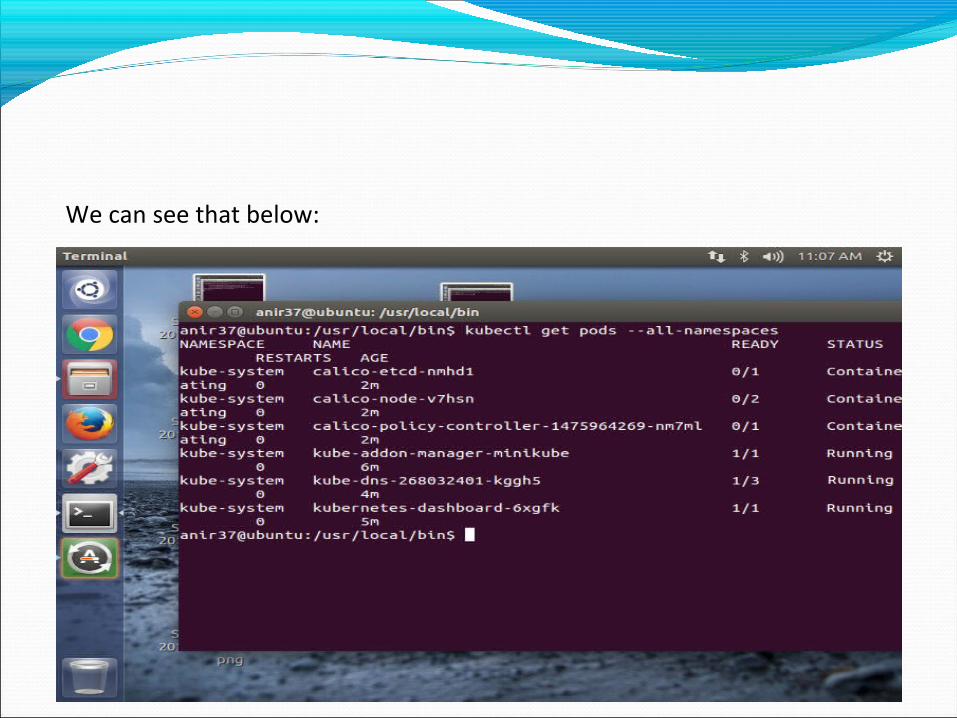
We can see that below:
So, we can see easily how Calico handles configuring the networking and provides policy.
This is Calico in networking mode.