78 minglun road, gushan district, kaohsiung, taiwan tel ... · 78 minglun road, gushan district,...
TRANSCRIPT
VTOL
pioneer
78 Minglun Road, Gushan District, Kaohsiung, Taiwan TEL: +886-7-5597056 FAX: +886-7-5597057
E-MAIL: [email protected] www.uavsgroup.com

1.X8 Skywalker VTOL Wing Modification Process 1. Cut the edge of the pattern paper
2. Align the original cover them paste the pattern paper.
3. Pattern shit paste is completed 4. Drill holes according to the pattern shape Pay attention to the “verticality” of the hole
5. Drill vertically through the airfoil for those pipe clamp kit holes.
6. Remove position for the installation space for pipe clamp kit set

7. Trim the red area to the same depth as the yellow area 8. Hole position / tube position is completed
Note: The first two holes (red color) must cross the
carbon fiber sheets which buried in the wing.
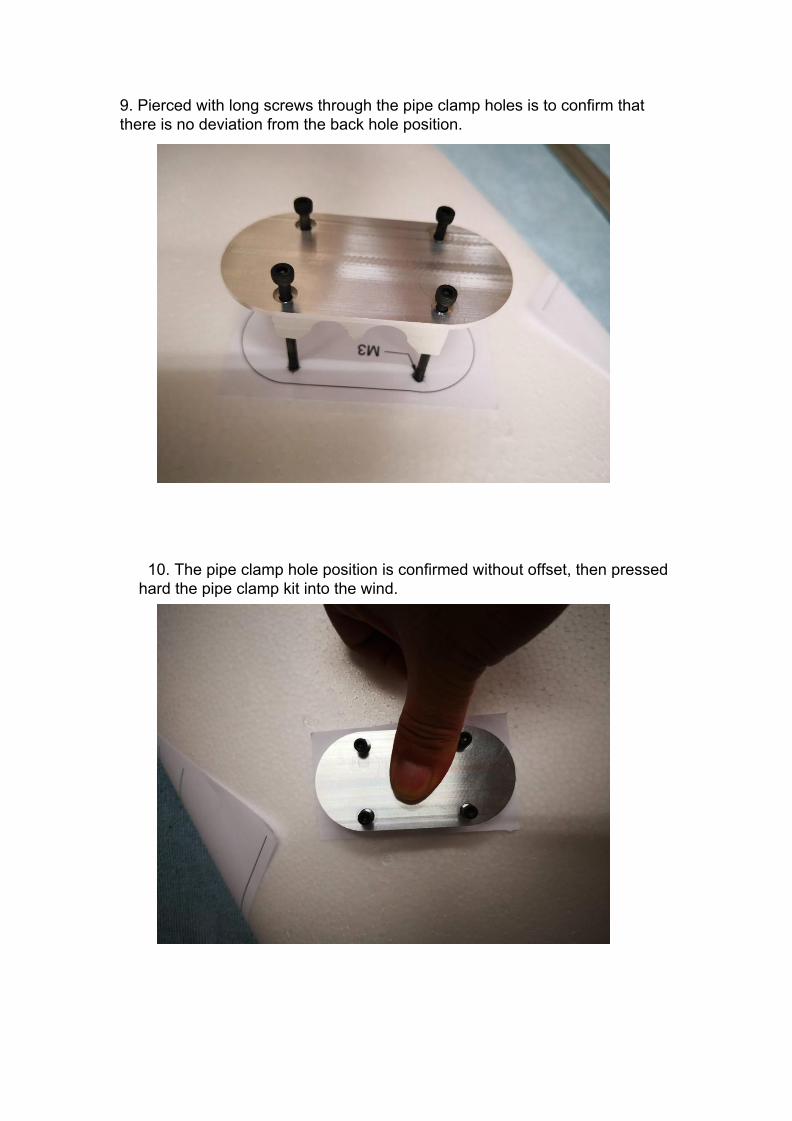
9. Pierced with long screws through the pipe clamp holes is to confirm that there is no deviation from the back hole position.
10. The pipe clamp hole position is confirmed without offset, then pressed
hard the pipe clamp kit into the wind.

11. Remove the pipe clamp kit and indent the mounting hole according to
the indentation. 12.According to the indentation indent 5mm depth for the pipe clamp clip.

13. According to the indentation indent 5mm depth for the pipe clamp clip. 14. According to the indentation indent 5mm depth for the pipe clamp clip.

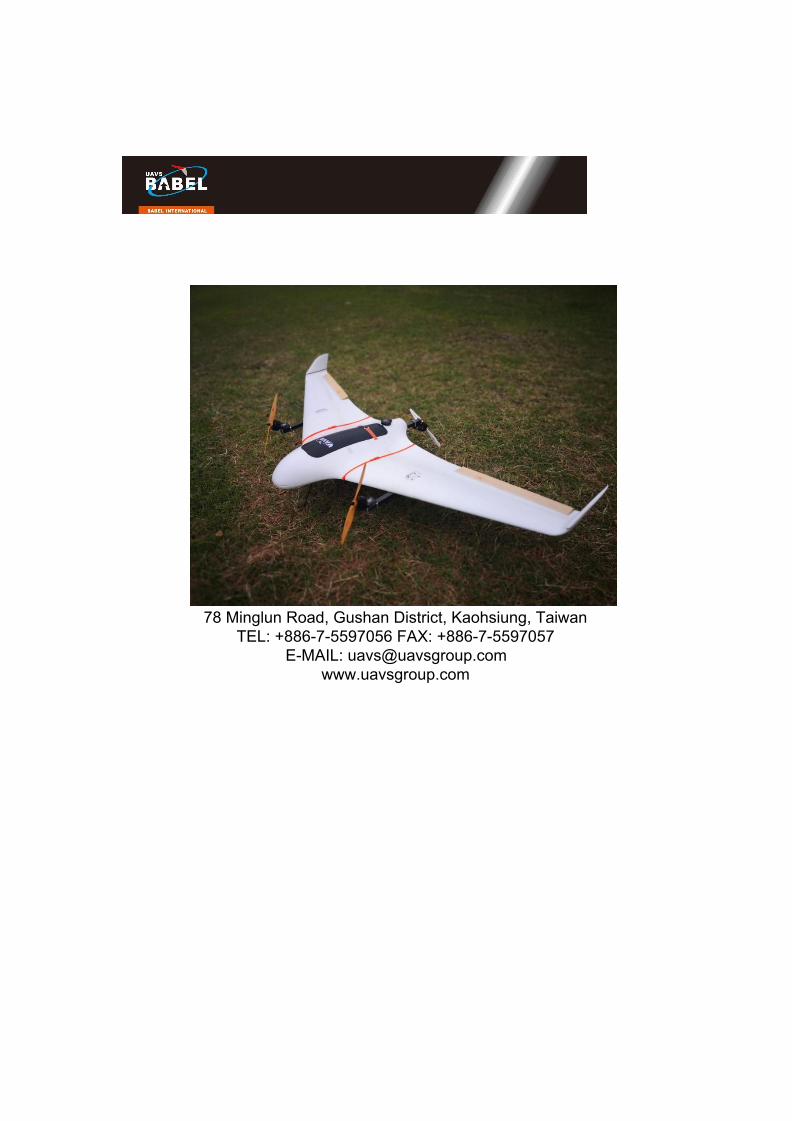
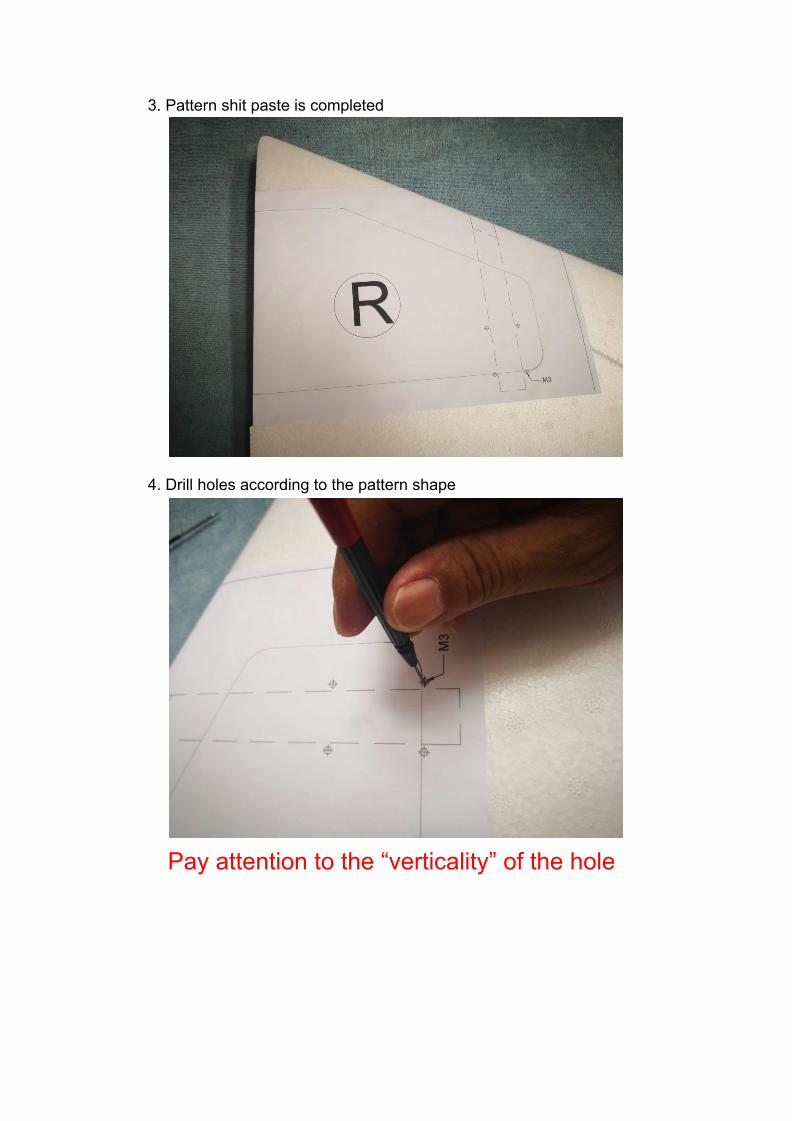
15. Insert the 10mm carbon tube and cut the servo line slot
16. Temporarily assemble the square tube with the pipe clamp clip set
then remove it. For pressing hard the EPO first then glueing process.

17. As the EPO is pressed hard then remove the clip. Fill in the AB glue
then assemble the clip with square fiber pipe and lock again. Remove and fill in the Epoxy ab glue and then lock it.
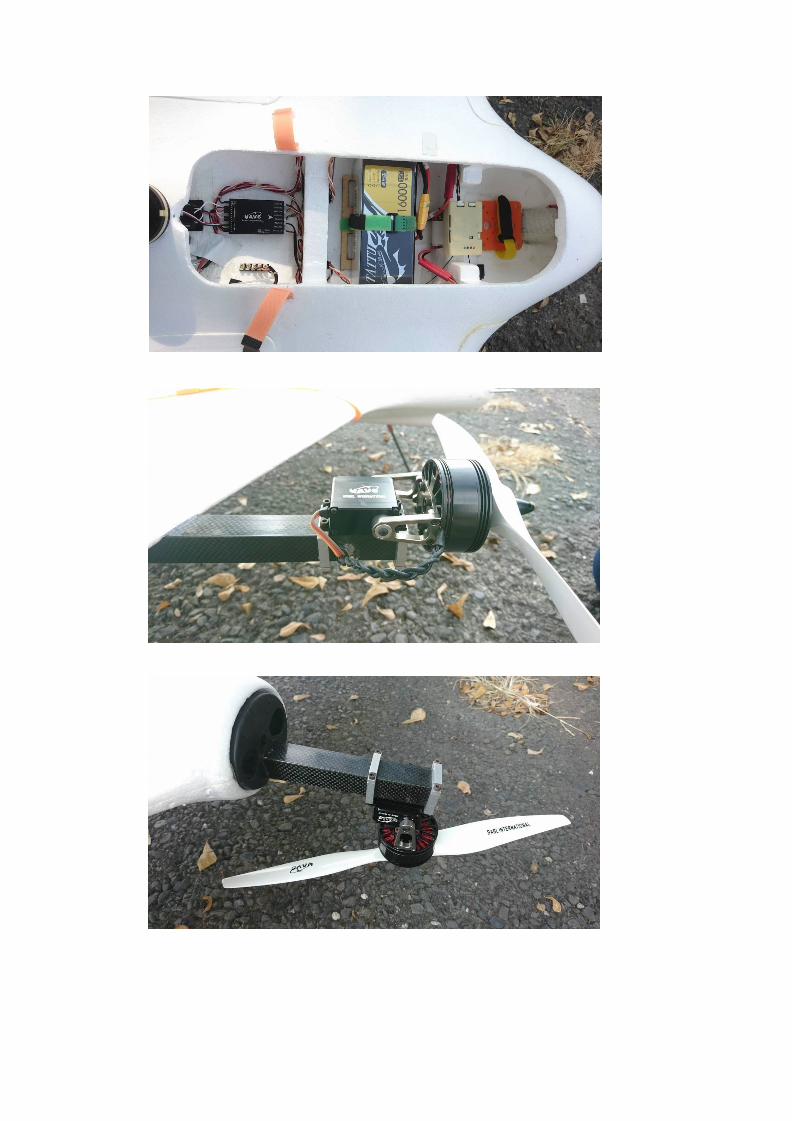
18. The cover cuts the ESC/UBEC mounting hole.
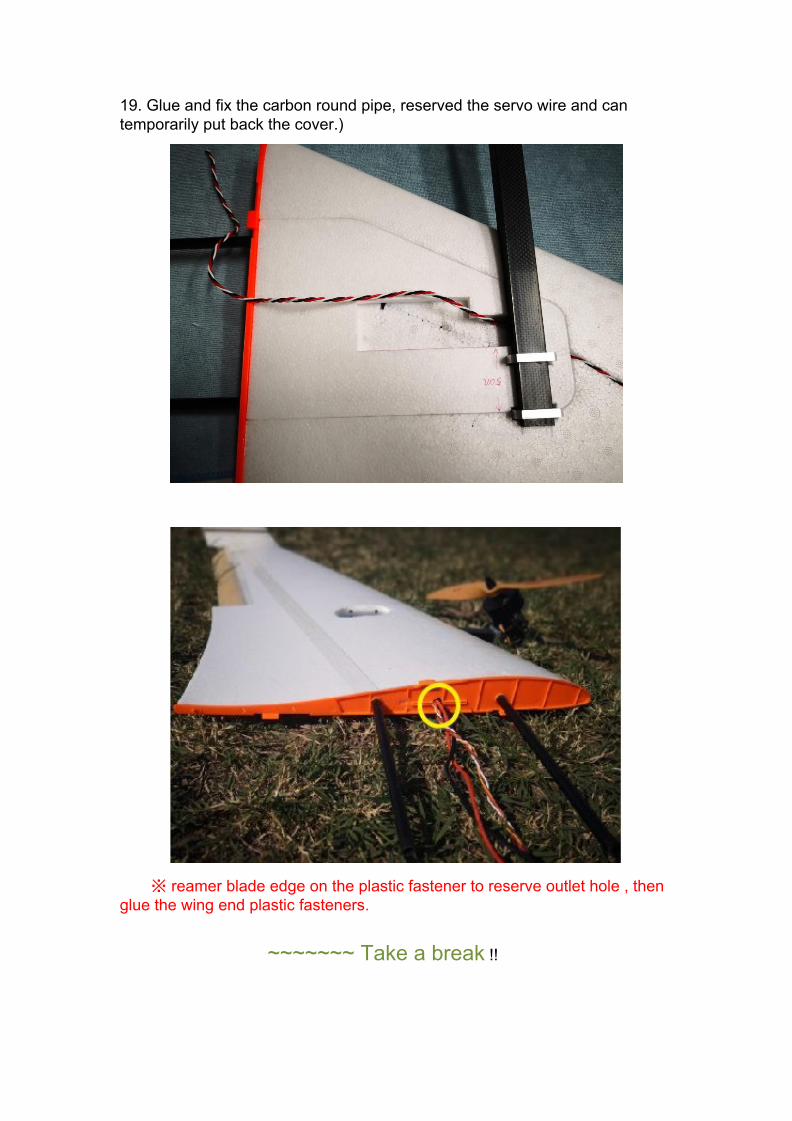
19. Glue and fix the carbon round pipe, reserved the servo wire and can temporarily put back the cover.)
※ reamer blade edge on the plastic fastener to reserve outlet hole , then glue the wing end plastic fasteners.
~~~~~~~ Take a break !!
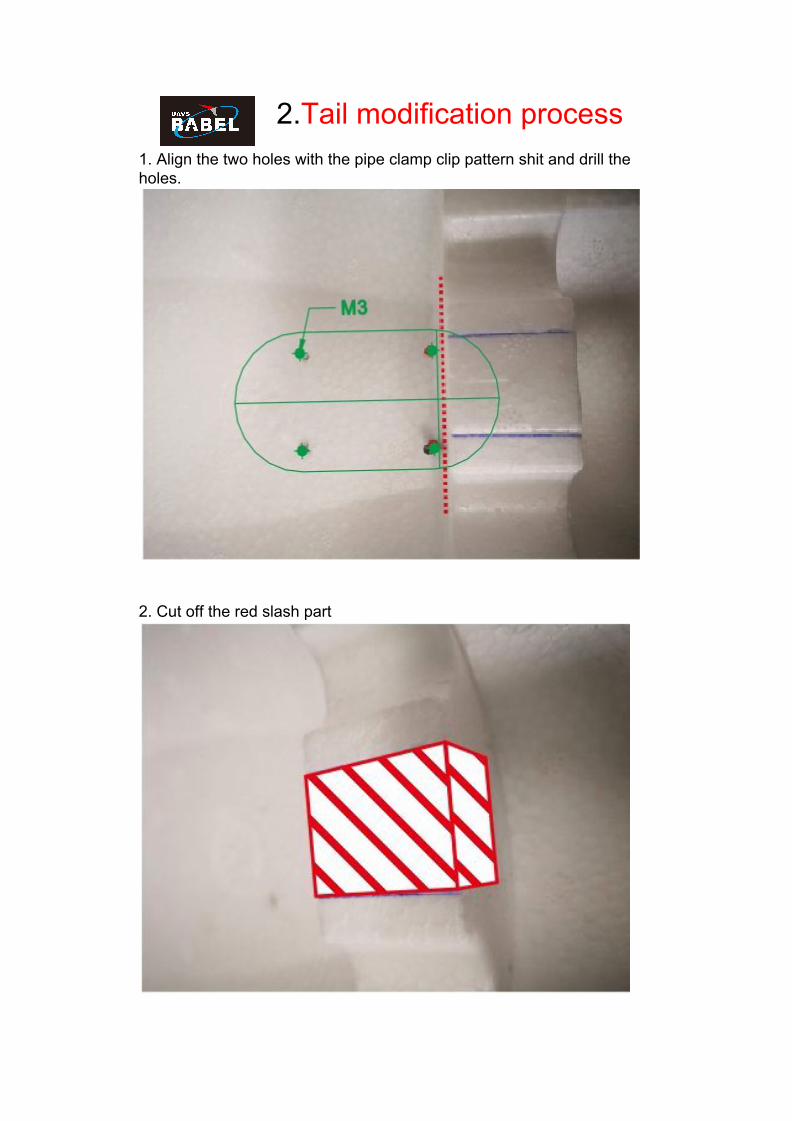
2.Tail modification process 1. Align the two holes with the pipe clamp clip pattern shit and drill the holes.
2. Cut off the red slash part
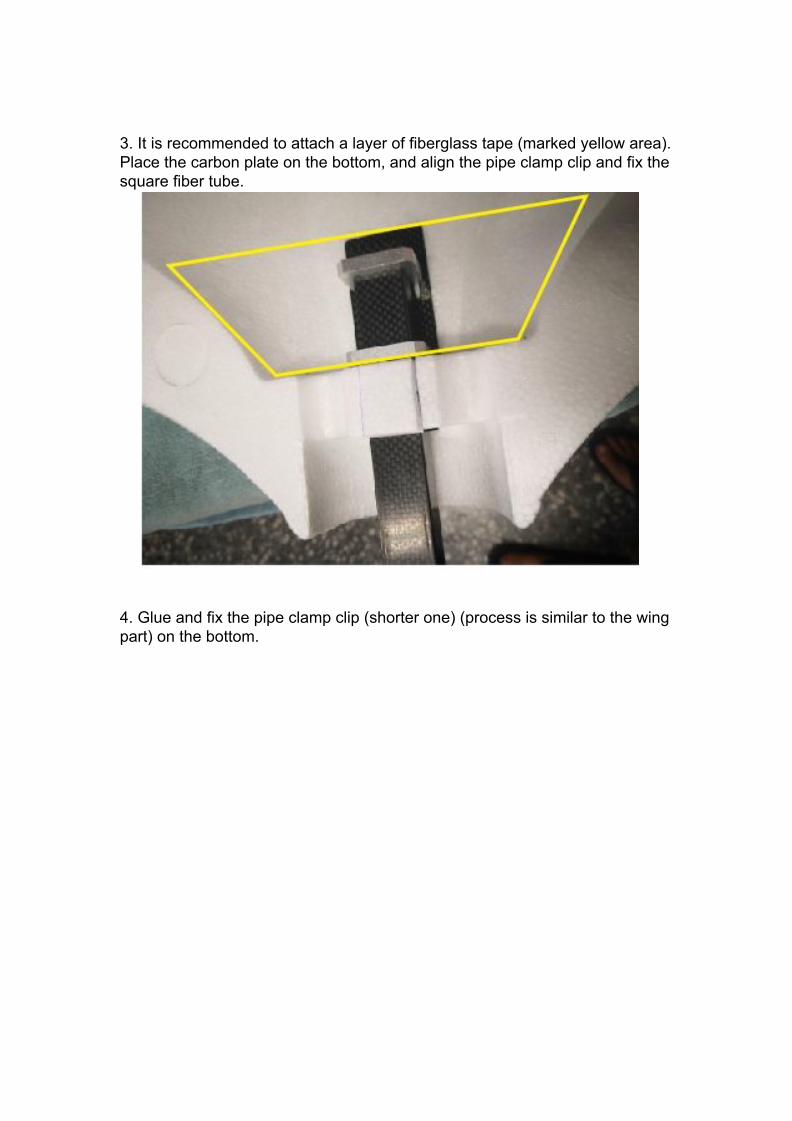
3. It is recommended to attach a layer of fiberglass tape (marked yellow area). Place the carbon plate on the bottom, and align the pipe clamp clip and fix the square fiber tube.
4. Glue and fix the pipe clamp clip (shorter one) (process is similar to the wing part) on the bottom.

5. After the tube is fixed, then glue the foam all the way that tube and EPO
is contact with instant adhesive. 6. Open a 22mm*22mm square hole to the base. This part should be settle

after all body is bounded and glued.
7. Bond the body and paste the fiber tape in the inner wall.

recommended to install the rear servo ESC under the drone for external heat dissipation.
3.Body modification process 1. Expand the original pipe groove to 12mm, and then bury in the 12mm carbon pipe.
2. Extend the original hole to 12mm.
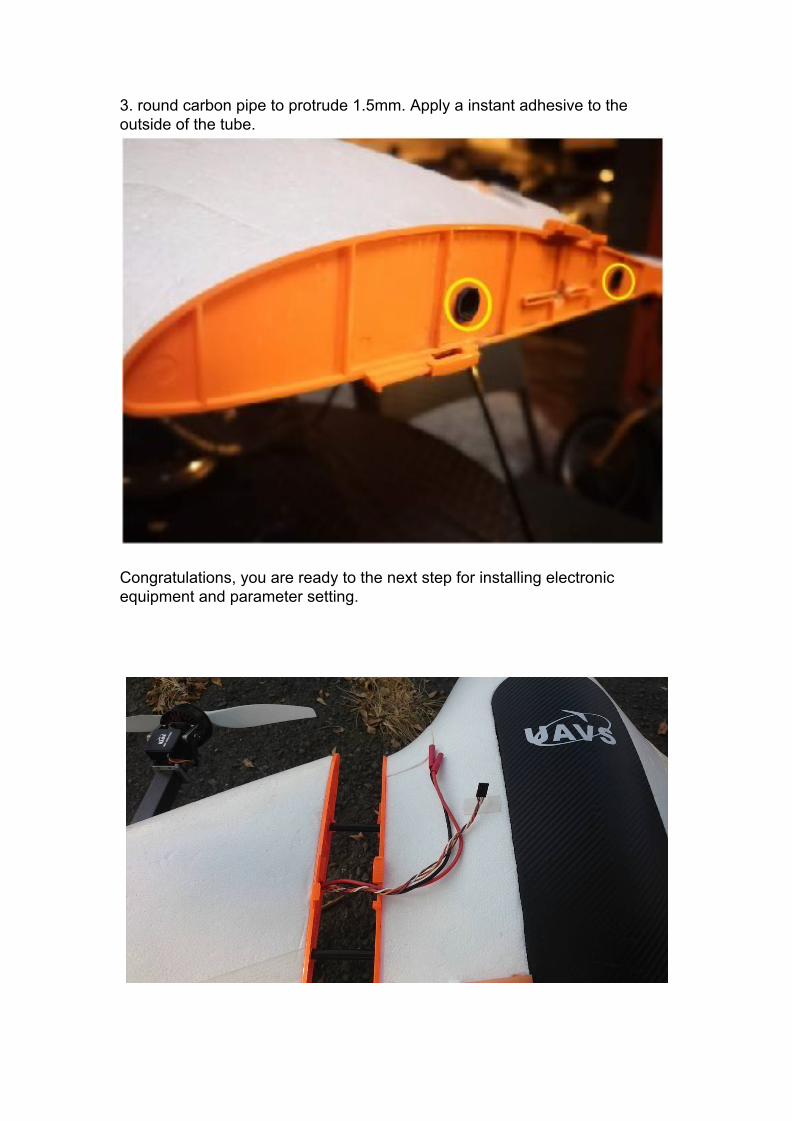
3. round carbon pipe to protrude 1.5mm. Apply a instant adhesive to the outside of the tube.
Congratulations, you are ready to the next step for installing electronic equipment and parameter setting.