xenclient enterprise 5.1 - citrix.com · 2 about this release citrix has officially released...
TRANSCRIPT

1
XenClient Enterprise 5.1.1
Version 5.1.1 Release Notes
Updated April 1, 2014

2
About this Release Citrix has officially released XenClient Enterprise Version 5.1.1. This document provides information about new components and features supported in this release, and information about fixed and known issues; it also includes guidelines for upgrading to this release. XenClient Enterprise 5.1.1 is available to all XenClient, DesktopPlayer, XenDesktop Enterprise and XenClient Platinum customers with Subscription Advantage current as of August 12, 2013. Install this feature pack into an existing XenDesktop deployment. Review the new features, upgrade considerations, and the list of fixed and known issues in this document carefully before deploying this version of XenClient Enterprise.
What’s new in XenClient Enterprise 5.1.0 The 5.1.0 release provided the following new features and enhancements:
XenClient Engine HCL Expansion: Expanded support for the latest new devices with 4th generation Intel® Core™
processors. For more information, please check the XenClient HCL listing to search for supported devices.
Citrix Receiver Improvements: XenClient Enterprise virtual machine guests have improved interoperability with USB redirection and USB pass-through via Citrix Receiver into XenDesktop and XenApp.
USB Ethernet/WiFi Dongles: The XenClient Engine supports 'Hot-Pluggable' USB Ethernet/WiFi dongles at the platform.
XenClient Synchronizer Synchronizer Roaming: Enables XenClient devices to communicate with any Synchronizer for
central management, enabling greater scalability, seamless deployments and faster updates for
users. For more information on this new feature, refer to the appendix at the end of this
document.
Microsoft Server 2012R2: Synchronizer now supports Microsoft Server 2012R2.
SQL Windows Authentication Support: XenClient Synchronizer installation now supports SQL
Windows Authentication. This authentication method requires users to provide a valid Windows
username and password to access the database server; within an Enterprise environment, these
credentials are typically Active Directory (AD) domain credentials.
Engine Restart Policy Updates: A number of policies (Maintenance Restarts, New Engine Update
Restart, and New Virtual Machine Version Restart) were updated to include the ability to reboot
the platform only if all virtual machine guests are powered off; these policies have a new
feature, the ‘Force Shutdown’ option, where if enabled, the platform will shut down any
powered-on virtual machines. If disabled, the platform will not reboot if any virtual machine is

3
powered-on. In the case of a single virtual machine (where a maintenance restart is pending), if
that virtual machine is restarted then the whole platform will reboot.
Deprecated Features Some features will not undergo further development and will be removed in a subsequent release of XenClient Enterprise. These deprecated features function ‘as is’ in XenClient Enterprise 5.1.0 and will remain supported, providing a period of overlap while third-party products or alternative solutions are established. Features which fall into this category include:
Microsoft Windows Vista
Upgrading to XenClient Enterprise Version 5.x The following sequence is recommended when upgrading existing installations to this release.
This release has specific upgrade considerations for systems running previous XenClient versions. Before upgrading to this release, review the procedures outlined in the following pages.
Compatibility Considerations Before upgrading, consider the following:
A Version 5.x Engine can run VMs published by 5.x Synchronizer
A Version 5.x Engine can run VMs published by 4.x Synchronizer.
A Version 4.x Engine cannot run VMs published by 5.x Synchronizer.
The table below illustrates compatibility between the Engine and Synchronizer in this release:
Upgrading from XenClient Enterprise Technical Preview 5.x to a GA Version 5.x is not supported.
Download the Latest Version The latest version of XenClient Enterprise is available on the My Citrix Website. This site provides access
to the Engine, the Synchronizer, and the latest PV drivers in various bundled installation packages.
Synchronizer Synchronizer Synchronizer Synchronizer
4.1.x 4.5.x 5.0.x 5.1.x
Engine 4.1.x
X X
4.5.x X X
5.x
4
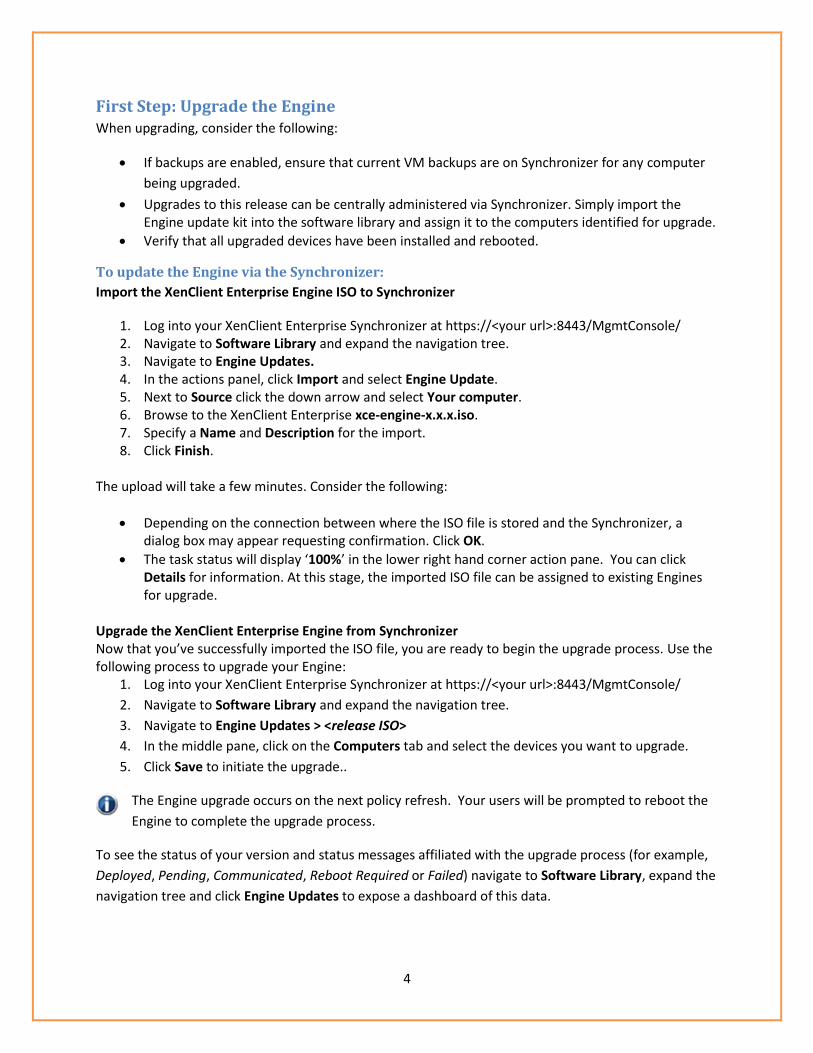
First Step: Upgrade the Engine When upgrading, consider the following:
If backups are enabled, ensure that current VM backups are on Synchronizer for any computer
being upgraded.
Upgrades to this release can be centrally administered via Synchronizer. Simply import the Engine update kit into the software library and assign it to the computers identified for upgrade.
Verify that all upgraded devices have been installed and rebooted.
To update the Engine via the Synchronizer:
Import the XenClient Enterprise Engine ISO to Synchronizer
1. Log into your XenClient Enterprise Synchronizer at https://<your url>:8443/MgmtConsole/ 2. Navigate to Software Library and expand the navigation tree. 3. Navigate to Engine Updates. 4. In the actions panel, click Import and select Engine Update. 5. Next to Source click the down arrow and select Your computer. 6. Browse to the XenClient Enterprise xce-engine-x.x.x.iso. 7. Specify a Name and Description for the import. 8. Click Finish.
The upload will take a few minutes. Consider the following:
Depending on the connection between where the ISO file is stored and the Synchronizer, a dialog box may appear requesting confirmation. Click OK.
The task status will display ‘100%’ in the lower right hand corner action pane. You can click Details for information. At this stage, the imported ISO file can be assigned to existing Engines for upgrade.
Upgrade the XenClient Enterprise Engine from Synchronizer Now that you’ve successfully imported the ISO file, you are ready to begin the upgrade process. Use the following process to upgrade your Engine:
1. Log into your XenClient Enterprise Synchronizer at https://<your url>:8443/MgmtConsole/
2. Navigate to Software Library and expand the navigation tree.
3. Navigate to Engine Updates > <release ISO>
4. In the middle pane, click on the Computers tab and select the devices you want to upgrade.
5. Click Save to initiate the upgrade..
The Engine upgrade occurs on the next policy refresh. Your users will be prompted to reboot the
Engine to complete the upgrade process.
To see the status of your version and status messages affiliated with the upgrade process (for example,
Deployed, Pending, Communicated, Reboot Required or Failed) navigate to Software Library, expand the
navigation tree and click Engine Updates to expose a dashboard of this data.
5
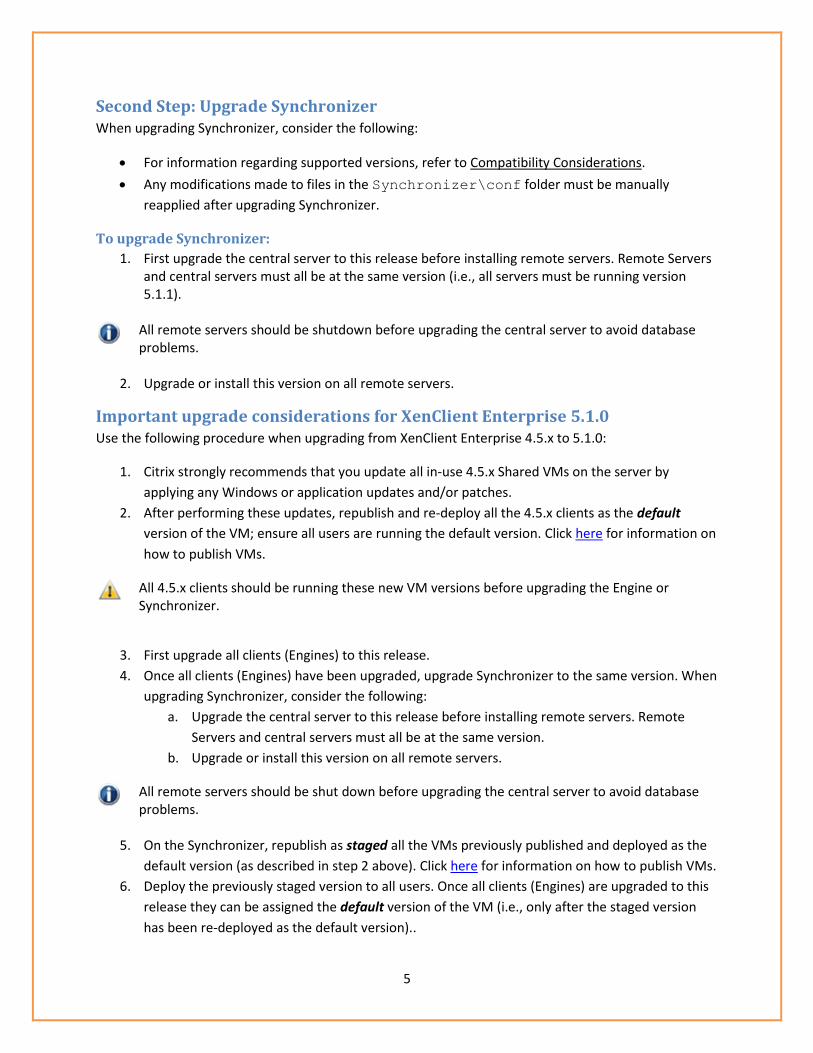
Second Step: Upgrade Synchronizer When upgrading Synchronizer, consider the following:
For information regarding supported versions, refer to Compatibility Considerations.
Any modifications made to files in the Synchronizer\conf folder must be manually
reapplied after upgrading Synchronizer.
To upgrade Synchronizer:
1. First upgrade the central server to this release before installing remote servers. Remote Servers and central servers must all be at the same version (i.e., all servers must be running version 5.1.1).
All remote servers should be shutdown before upgrading the central server to avoid database problems.
2. Upgrade or install this version on all remote servers.
Important upgrade considerations for XenClient Enterprise 5.1.0 Use the following procedure when upgrading from XenClient Enterprise 4.5.x to 5.1.0:
1. Citrix strongly recommends that you update all in-use 4.5.x Shared VMs on the server by
applying any Windows or application updates and/or patches.
2. After performing these updates, republish and re-deploy all the 4.5.x clients as the default
version of the VM; ensure all users are running the default version. Click here for information on
how to publish VMs.
All 4.5.x clients should be running these new VM versions before upgrading the Engine or Synchronizer.
3. First upgrade all clients (Engines) to this release.
4. Once all clients (Engines) have been upgraded, upgrade Synchronizer to the same version. When
upgrading Synchronizer, consider the following:
a. Upgrade the central server to this release before installing remote servers. Remote
Servers and central servers must all be at the same version.
b. Upgrade or install this version on all remote servers.
All remote servers should be shut down before upgrading the central server to avoid database problems.
5. On the Synchronizer, republish as staged all the VMs previously published and deployed as the
default version (as described in step 2 above). Click here for information on how to publish VMs.
6. Deploy the previously staged version to all users. Once all clients (Engines) are upgraded to this
release they can be assigned the default version of the VM (i.e., only after the staged version
has been re-deployed as the default version)..

6
Issues Fixed in 5.1.1
Resolved Synchronizer Issues in Version 5.1.1 The following issues were resolved in the 5.1.1 XenClient Synchronizer release:
Synchronizer installation improvements
This release provides a number of installation improvements. Synchronizer now supports installations on Windows Server 2012 R2; this functionality provides for communication with Hyper-V running on Windows Server 2012 R2.
Password truncated when attempting to display localized characters
Entering Chinese characters in a password field, and then clicking the eye icon to reveal them, results in the password being truncated; as a result, users cannot view the entire password.
This issue only occurs when accessing Synchronizer using Internet Explorer Version 10 or later; no other browsers support password reveal as a built-in feature.
Windows 8 KMS activation not functioning
When deploying either a shared or custom Windows 8 VM, including the “KMS Activation” definition in the VM's OS Profile policy would cause the Windows Software Protection Service to fail to start and activate Windows. Without the "KMS Activation" definition, Windows would require access to the KMS server at each reboot in order to activate the VM.
Resolved Engine Issues in Version 5.1.1 The following issues were resolved in the 5.1.1 XenClient Engine release:
No HDMI audio for Lenovo M93p (Haswell)
Some Haswell systems have problems outputting sound via the HDMI connection. If you experience problems when setting the sound to use HDMI, go into the BIOS setup and disable VT-d (I/O virtualization).
USB devices seem to be spontaneously disconnected
When plugging in USB devices to the Engine, sometimes the device would spontaneously disconnect and no longer function. The only workaround for that particular device was to reboot the Engine.
Problems upgrading PV drivers on custom and local 64-bit VMs
In some cases, upgrading PV drivers on custom and local 64-bit VMs would cause the VM to become unresponsive.
Backlight controls not functioning properly on some platforms
Some platforms could not control the screen backlight using keyboard controls.
Cannot mount PV driver ISO
During an upgrade, a VM failed to mount PV drivers. The upgrade operation would apparently succeed, and provided no indication that the PV drivers were not mounted by the VM.

7
McAfee service blocks some VM functions
In a previous release, the McAfee anti-virus service could block the Engine from performing some required functions.
Removing a USB device may cause instability in Windows 8 VM
In some cases, gracefully removing a USB device from a Windows 8 VM failed, and prevented further USB device interaction.
Wireless adapter fails
The wireless watchdog service erroneously reported a failure of the wireless driver, effectively shutting down the service.
Improved support for newer Broadcom network adapters
In previous releases, a Broadcom NIC failed to connect to a Cisco WEP access point. This release provides additional support for newer Broadcom network adapters.
Known Issues in 5.1.1
Synchronizer Issues in Version 5.1.1 This Synchronizer release has undergone significant testing. The following issues have been identified and will be addressed in a subsequent release. Synchronizer installation fails with Windows Server 2008 R2. Windows Server 2008 R2 is not supported if the local database option “SQL Server Express 2012” was selected as an initial installation option. Windows 2008 R2 SP1 or later is required.
Domain user logons fail for some period after first-ever provision of Win 8 VM and Win 8.1 VM
If you are deploying domain-joined Windows 8 VMs, you should configure Synchronizer to use SSL connections for communication with the Active Directory Domain Controller. If not, you may encounter problems with the user’s ability to initially logon to their VMs.
Virtual machine publish may fail if anti-virus software present in base virtual machine
In some cases, during a Virtual Machine Publish, the process may fail due to anti-virus software being
present in the base virtual machine. The anti-virus software prevents an ISO image from being
mounted.
Engine Issues in Version 5.1.1 The following issues have been identified in this release and will be addressed in a subsequent release.
Upgrading a PvD VM may lead to an unresponsive platform
Upgrading a PvD VM may prevent the Windows service (and/or Microsoft Office activation) to fail.
VM preparation may fail on some Windows 8 platforms
In some cases, the VM preparation process (referred to as NxPrep), may fail when installing PV drivers in a Windows 8 and Windows 8.1 32 bit VM.
At this release, Windows 8 and Windows 8.1 VMs are only supported for 64 bit systems.

8
USB and Built-in Webcams causes USB Stack to Freeze
On systems with Haswell CPUs (Intel 4th generation core processors), using a webcam in a Windows VM may cause the USB stack to crash. If you are currently using XenClient Engine on Haswell-based systems, Citrix recommends that you do not upgrade to this release.
Platforms with Intel CPU:i3-4130T are not supported
After installing XenClient Enterprise on these platforms and rebooting, there will be no display.
USB headsets not functioning properly in Windows 8 VMs
Audio problems may occur on some USB headsets, Logitech in particular (and possibly other USB audio devices). This issue is limited to Windows 8 VMs.
If you are running Windows 8 VMs and need to use USB headsets, Citrix recommends that you carefully test these devices to ensure operability prior to upgrading to this release.
External USB devices not hidden in the UI
The Engine automatically hides external USB drives when they are connected; to display these devices, select the Show Hidden Devices option in the Device Manager Control Panel. At this release, the Engine may fail to recognize USB CD ROM devices. USB CD ROM devices should be plugged in for the first time with the Launcher screen displayed; or, alternately use the Device Manager Control Panel to explicitly assign the USB device to the Engine.
Windows 8 loses ‘Metro’ applications and updates upon snapback and update
When snapping back or updating an image, a Windows 8 PvD VM will lose user-installed ‘Metro’
applications and updates.
Mirror mode problems on platforms with ATI graphics adapters
On some systems with ATI graphics adapters, if two monitors of different sizes are attached then the
display will not fill the entire screen of the larger display when running in mirror mode.
Wireless network may be inaccessible after suspend and resume
On some Lenovo platforms, suspending and then resuming may result in loss of wireless connectivity;
use the approach suggested by the vendor to upgrade the BIOS.
Custom Windows 8 VM prompts user to change password
On some custom Windows 8 VMs, the user may be prompted to change the login password; this occurs
after the VM is assigned by Synchronizer and the VM is booted.
Windows virtual machines have extra COM port
On Windows VMs (Windows 7/Windows XP) an extra COM port may appear in the Device Manager; this
COM port is not usable.

9
Issues Addressed in Past 5.0.x Releases
Resolved Engine Issues in Version 5.0.4 The following issues were resolved in the 5.0.4 release:
Mouse cursor disappears in XenDesktop 7
In an Engine, connect to a XenDesktop 7 hosted VM using Citrix Receiver by moving the mouse from the desktop into the application text-input area. Normally the mouse cursor should change from an arrow to an I-bar. But instead of the I-bar, no cursor is displayed at all. To the user it appears as if the cursor disappears.
Time incorrect after VM reboot
When rebooting an Engine which is set to Pacific time zone, but connected to an Eastern time zone Synchronizer, the local time is incorrect, usually 3 hours earlier than the set local time (for example, the time resets to 6am EDT, rather than 9am PDT after any reboot).
Domain trust broken after PvD VM update
After updating a PvD VM, domain trust breaks.
Support for Windows 8.1 PvD Images
A Windows 8.1 PvD VM fails to start, displaying the message "Your PC ran into problems" and enters a infinite restart loop.
Xen Security Advisory: XSA-63
Insufficient or missing error handling in certain routines dealing with guest memory reads can lead to uninitialized data on the hypervisor stack (potentially containing sensitive data from prior work the hypervisor performed) being copied to guest visible storage. This allows a malicious HVM guest to craft certain operations (namely, but not limited to, port or memory mapped I/O writes) involving physical or virtual addresses that have no actual memory associated with them, so that hypervisor stack contents are copied into the destination of the operation, thus becoming visible to the guest.
Xen Security Advisory: XSA-66
The emulation of the fbld instruction (which is used during I/O emulation) uses the wrong variable for the source effective address. As a result, the actual address used is an uninitialized bit pattern from the stack. A malicious guest might be able to find out information about the contents of the hypervisor stack, by observing which values are actually being used by fbld and inferring what the address must have been. Depending on the actual values on the stack this attack might be very difficult to carry out.
Engine will not coalesce user backups after uploading them
The Engine will not coalesce user disk backups after they have been uploaded. Eventually the backups build up to the point where the Engine is out of disk space. Once the Engine is out of disk space, the only solution is to redeploy the VM, which will reset it back to the latest backup on the Server.
Virtual machine fails to start with pending download of new VM
In some cases, a VM may fail to start while an updated version of the VM is being downloaded.

10
Resolved Synchronizer Issues in Version 5.0.4 The following issues were resolved in the 5.0.4 release:
IE11 cannot view the Synchronizer VM console
When using Internet Explorer 11 users see the following message when trying to view the VM Console: “The Virtual Machine Console is only viewable in Internet Explorer. Please use Internet Explorer.”
Publish failing with McAfee installed
When publishing a virtual machine in Synchronizer, the process fails when McAfee is installed.
License summary doesn't auto-refresh after importing license
Importing a license into the Synchronizer console does not automatically update the license summary. To resolve this issue, refresh the browser.
Publish fails when in-guest tools are installed
After importing a virtual machine template to Synchronizer, attempting to publish the VM with in-guest tools installed results in the publish process failing.
Resolved Engine Issues in Version 5.0.3 The following issues were resolved in the 5.0.3 release:
PVD enhancements
This release resolved a number of PVD-related issues, including:
Improved boot times for PVD VMs
User-installed applications would fail to appear after snapback
VM preparation continues despite failed PVD VM installation
Snapback failed to discard user made changes, resulting in some files being written to the DIFF
disk.
Fast lockups and reboot loops after installing or upgrading
In some cases, some older Dell platforms would experience lockups or reboot loops after installing or
upgrading to XenClient 5.0.x.
WiFi hotspot fails to authenticate
iPhone hotspot WLAN connections would fail after upgrading to XenClient 5.0.x. This issue has been
resolved.
Wireless connectivity improvements
This release provides wireless connectivity improvements by implementing a band selector, which
effectively allows dual band clients to automatically connect to 5 GHz networks when 2.4 GHz networks
are congested.

11
Resolved Synchronizer Issues in Version 5.0.2 The following issues were resolved in the 5.0.2 release:
Upgrading prevents a user from logging in
In some cases, upgrading to XenClient Enterprise 5.0 could result in the inability to log in to the
Synchronizer management console. An error message stating “The response could not be de-serialized”
would be displayed.
Unable to submit problem report
In the previous release, submitting a problem report could generate an error.
Downgrading to a previous release fails
Downgrading Synchronizer to a previous release causes installation errors. Downgrading to a previous
release is not supported.
Resolved Engine Issues in Version 5.0.2 The following issues were resolved in the 5.0.2 release:
Upgrading from previous version loses custom drive letter configuration
Upgrading from a previous release (for example, XenClient Enterprise 4.5) to Version 5.0/5.0.1 changes
pre-defined drive letter designations. For example, if a VM image is configured so that the user drive
letter is Z:, upgrading changes the drive letter to the default (U:).
Unable to assign a serial port to a virtual machine
Previously, the Device Manager prevented you from changing serial port assignments a COM port after
upgrading.
Unable to authenticate to wireless networks
Some Intel-based wireless network drivers could not authenticate properly, resulting in the inability to
connect to a wireless network (WPA and WPA2).
Drive letters are not created on PVD virtual machines
During the PVD virtual machine preparation process, drive letters were not automatically created. This
issue has been resolved. U: and L: drive letters are now mapped appropriately when a PVD VM is
initialized.
Virtual machine loses CD ROM assignment during installation
When installing a personal VM using a CD-ROM, the VM could lose its CD-ROM assignment. Upon
rebooting, the CD-ROM was unusable until it was either ejected, or manually reassigned using the
Device Manager Control Panel.
System is not automatically locked after being idle for a period of time
In some cases, a condition existed where a system would not automatically lock the platform after a
period of inactivity.

12
Appendix: Synchronizer Roaming
Synchronizer Roaming enables XenClient devices to communicate with any Synchronizer for central
management, enabling greater scalability, seamless deployments and faster updates for users. This
functionality allows you to create a list of universally resolvable hostnames used to identify Synchronizer
servers. This list comprises universally known DNS names or IP addresses that resolve to the
Synchronizer server residing on the LAN, or even local subnet.
Note: Network administration support is required when modifying the server roaming aspects of
Synchronizer; DNS information must be modified to accommodate this feature.
General Use Case Use the information in this section to understand the DNS-related functionality associated with
Synchronizer Roaming. In this general use case, there are two servers at two different sites:
one central server (sync.massachusetts.example.com), and
one remote server (sync.california.example.com)
On each site’s DNS server, add an alias; for example, sync.example.com. This alias must point to the
local server. This means that sync.example.com points to:
sync. massachusetts.example.com at the massachusetts.example.com site
and points to sync. california.example.com at the california.example.com site
In the Synchronizer management console, enable roaming and add the alias sync.example.com in the
Roaming tab of the user interface:
1. In the navigation panel, expand the Servers tree. The workspace changes to display
configuration options for the selected server.

13
2. Select the Roaming tab in the workspace.
3. In the Roaming screen, select the check box to enable Synchronizer roaming.
4. To add to the list of universally resolvable hostnames used to identify Synchronizer servers, click
the + icon. For example, add sync.example.com.
What happens next? XenClient Enterprise Engines first attempt to connect to sync.example.com which will resolve to the
local server; updates and downloads will be received from the local server in question.
Backups are now uploaded to whichever server the Engine is registered to. Users can register to either
of the local servers (sync.massachusetts.example.com or sync.california.example.com) in which case
backups will be stored on that explicit server. Alternatively, users can register to the alias
(sync.example.com), in which case backups will be routed to the server corresponding to the resolution
of the first DNS lookup for that alias.
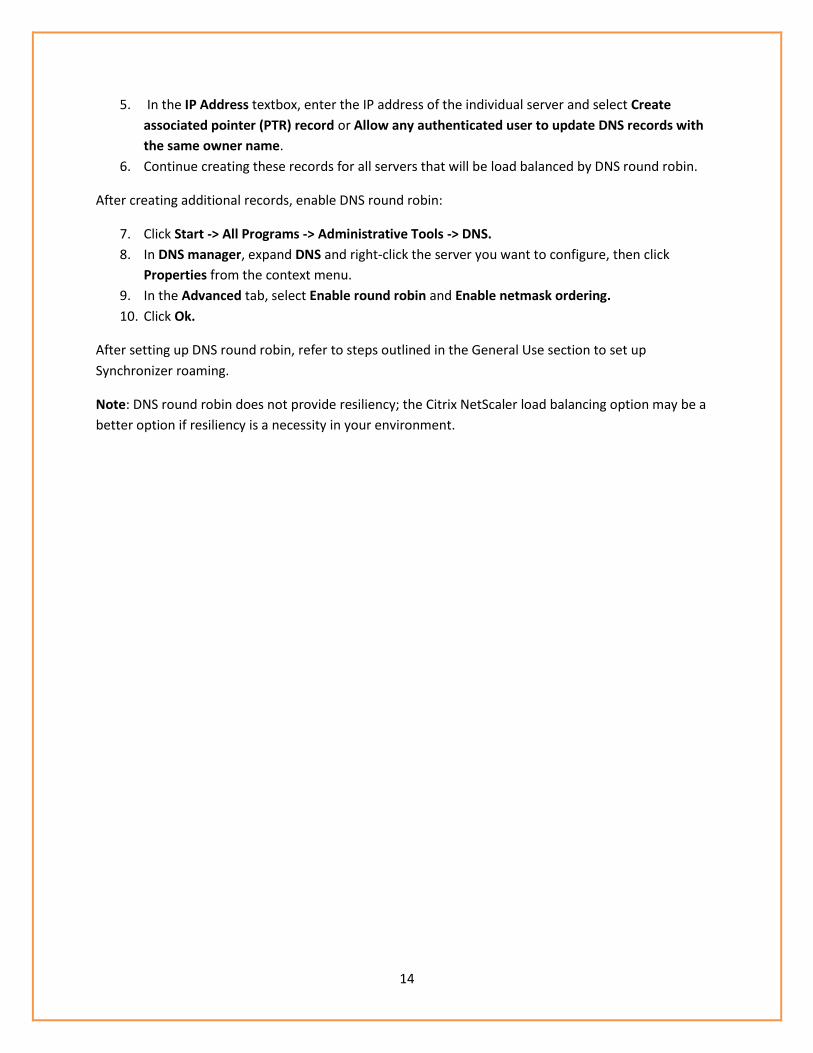
Configuring DNS Round Robin To configure DNS round robin, you must create DNS host records for all servers (central and remote).
On the Windows Server:
1. Click Start -> All Programs -> Administrative Tools -> DNS.
2. In DNS manager, select the DNS server that manages records.
3. Expand Forward Lookup Zones and right click the DNS domain to which you are adding records.
In the context menu, select New Host.
4. In the Name textbox, enter the name of the host record.
Note: The domain name is added automatically.
14
5. In the IP Address textbox, enter the IP address of the individual server and select Create
associated pointer (PTR) record or Allow any authenticated user to update DNS records with
the same owner name.
6. Continue creating these records for all servers that will be load balanced by DNS round robin.
After creating additional records, enable DNS round robin:
7. Click Start -> All Programs -> Administrative Tools -> DNS.
8. In DNS manager, expand DNS and right-click the server you want to configure, then click
Properties from the context menu.
9. In the Advanced tab, select Enable round robin and Enable netmask ordering.
10. Click Ok.
After setting up DNS round robin, refer to steps outlined in the General Use section to set up
Synchronizer roaming.
Note: DNS round robin does not provide resiliency; the Citrix NetScaler load balancing option may be a
better option if resiliency is a necessity in your environment.