x-ray anatomy - pccspot.pcc.edu/~lkidoguc/nia/embodyandshare/10... · principle 10 x-ray anatomy...
TRANSCRIPT

10Principle
X-Ray AnatomyDynamic Postural Alignment
“…If we see our so-called limitations with clarity, precision, gentleness, good-heartedness and kindness and, having seen them fully, then let go, open further, we begin to find that our world is more vast and more refreshing and fascinating than we had realized before. In other words, the key to feeling more whole and less shut off and shut down is to be able to see clearly who we are and what we are doing.”
Pema Chodron

Principle 10 - X-Ray Anatomy | 2© 2010 Nia Technique, Inc. | NiaNow.com
IntroductionNia and X-Ray Anatomy
X-Ray Anatomy is a practice that uses your eyes,
imagination and intuition to “see through” to the
structure and alignment of a person’s bones, muscles
and ligaments. Your ability to perceive what is happening
beneath the skin provides a glimpse inside your body and
the bodies of everyone you see. This allows you to make
conscious movement choices for realignment and self-
healing, integrating your body’s way with The Body’s Way.
If you know how to look and listen, your body is always
talking to you, always giving you information about
what is happening inside. The sum of your physical,
mental, emotional and spiritual makeup—including your
attitudes, beliefs and past experiences—are all part of
the way your body moves and functions in the “now.”
Every moment of life has imprinted you with information,
which is revealed in the way you move. With X-Ray
Anatomy, we look at this information objectively,
without judgement or projection, and use it to lovingly
realign and heal our bodies. We also study the design
of the body itself, including the names, actions and
arrangement of all its parts, so we can make informed
movement choices, based on our current and ideal
alignment.
Create a relationship with your body. Touch your body
to learn from it. Where are the muscles that move each
bone? How are they shaped? Where do they begin
and end? Study a variety of anatomical references to
become more familiar with the body and with your body.
Eventually you will be able to see, sense and perceive the
details of everything happening inside you as naturally as
you perceive the outside world.
Principle 10 - X-Ray Anatomy | 3© 2010 Nia Technique, Inc. | NiaNow.com
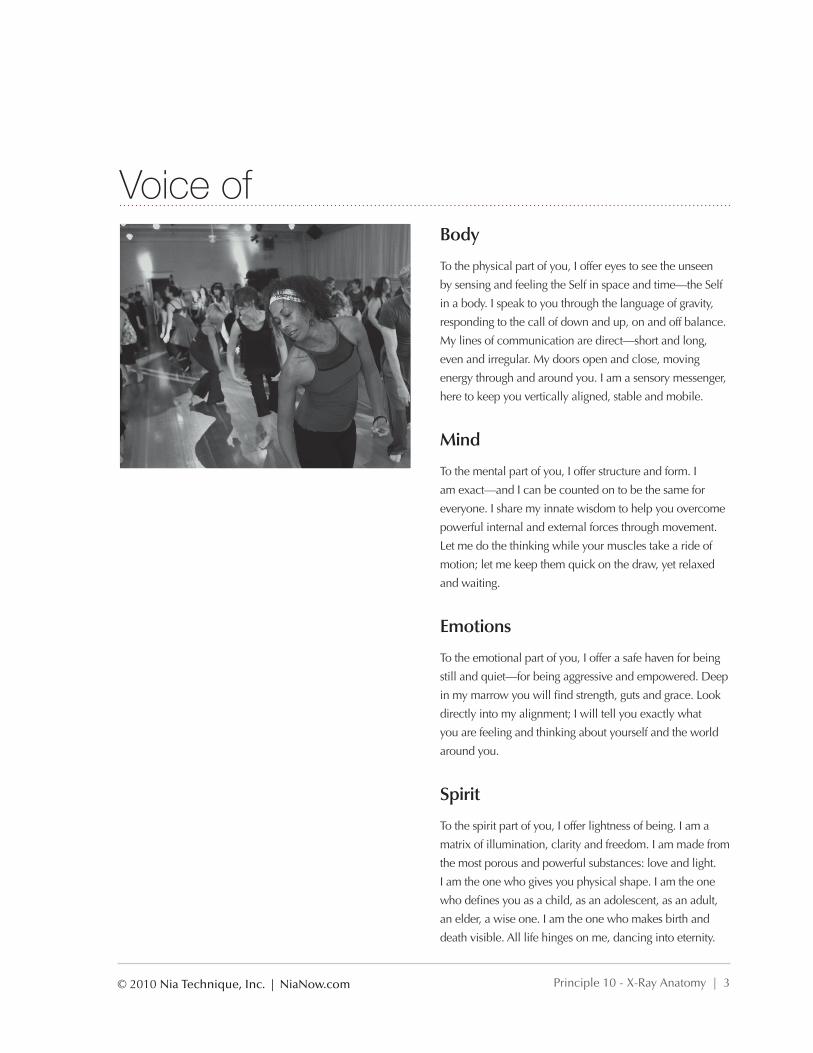
Voice ofBody
To the physical part of you, I offer eyes to see the unseen
by sensing and feeling the Self in space and time—the Self
in a body. I speak to you through the language of gravity,
responding to the call of down and up, on and off balance.
My lines of communication are direct—short and long,
even and irregular. My doors open and close, moving
energy through and around you. I am a sensory messenger,
here to keep you vertically aligned, stable and mobile.
Mind
To the mental part of you, I offer structure and form. I
am exact—and I can be counted on to be the same for
everyone. I share my innate wisdom to help you overcome
powerful internal and external forces through movement.
Let me do the thinking while your muscles take a ride of
motion; let me keep them quick on the draw, yet relaxed
and waiting.
Emotions
To the emotional part of you, I offer a safe haven for being
still and quiet—for being aggressive and empowered. Deep
in my marrow you will find strength, guts and grace. Look
directly into my alignment; I will tell you exactly what
you are feeling and thinking about yourself and the world
around you.
Spirit
To the spirit part of you, I offer lightness of being. I am a
matrix of illumination, clarity and freedom. I am made from
the most porous and powerful substances: love and light.
I am the one who gives you physical shape. I am the one
who defines you as a child, as an adolescent, as an adult,
an elder, a wise one. I am the one who makes birth and
death visible. All life hinges on me, dancing into eternity.

Principle 10 - X-Ray Anatomy | 4© 2010 Nia Technique, Inc. | NiaNow.com
ScienceBones
Bones are the support structure for your body—
together, they create your amazing, movable frame.
Like conductors, your bones direct energy along
specific lines, in specific directions. The size and
placement of each bone reveals its function. Look
at the bones in your body objectively. Examine the
shape of each bone to understand how it is designed
to function. By exploring your amazing skeleton
with your eyes and hands, you can better sense the
support it provides as you move.
Ligaments
Ligaments connect bones at joints, the places where
two bones meet. Like long, sturdy rubberbands, your
ligaments keep your structure stable, while allowing
for a broad range of movement. By examining the
design of each joint, it is easy to see what kind of
movement the joint is designed for. For example,
the hip joint is made of a “ball” (at the top of the
thighbone), which sits comfortably in a “socket”
(a rounded, hollow area of the pelvis). This “ball
and socket” design allows your thighbone to move
forward, backward and to the side in many angles.
It also allows your leg to rotate inward and outward.
All of this movement relies on the pliability of the
ligaments that connect your thighbone to your pelvis,
which are kept healthy through movement. Become
familiar with your ligaments to explore your joints
and your body’s endless movement possibilities.
Muscles
Muscles are incredible fibers; they pump fluid,
squeeze out toxins and create movement in your
whole body by relaxing and contracting. When
your muscles contract, they pull on your bones
to draw them in specific directions. This is why
when your muscles are too loose or too tight, they
can cause misalignment in your skeletal structure.
Muscles function best when they are in an optimal
balance of dynamic tension—relaxed but ready.
Explore your muscles with your eyes, your hands,
and through sensation. Sense for tightness or
looseness. Sense areas where you could use more
strength (more contraction) or more flexibility (more
looseness). The information you gather allows you
to initiate conscious movements that facilitate better
functioning and alignment.

Principle 10 - X-Ray Anatomy | 5© 2010 Nia Technique, Inc. | NiaNow.com
200/700 One of the Nia tools we use to support X-Ray Anatomy
is the concept of “200/700,” which refers to the 200+
bones and 700+ muscles in the body. Exploring our
bodies with the awareness of 200/700 reveals an endless
world of movement possibilities, and gives Nia teachers
a larger lens through which to observe their students and
themselves. Witnessing with “200/700” helps teachers
understand of the mechanics of each person’s movement,
so they can best direct choreography to support healing
and conditioning for everybody.
Recall1. What is the triad for Principle 10?
2. What is the catch phrase for Principle 10?
3. What does 200/700 refer to in Principle 10?

Principle 10 - X-Ray Anatomy | 6© 2010 Nia Technique, Inc. | NiaNow.com
CraftThis principle introduces you to the practice of observing and sensing for body alignment. Begin by witnessing what
is happening beneath your skin, first paying attention to your bones. Do not judge, manipulate or interfere. Simply
observe, and sense for the vertical, horizontal and rotational lines in the bone alignment you see. Next, look and sense
for ligaments. Remember: ligaments connect bone to bone. When observing ligaments, sense for the range of motion
available within your joints. Health and alignment in your ligaments is sensed as stability. Finally, look and sense for your
muscles, which attach to your bones and create movement by contracting and releasing. Sense muscular alignment as
dynamic tension, the perfect balance between loose and tight.
After gathering information through X-Ray Anatomy, consciously direct your movements to loosen or tighten areas of
your body in ways that create optimal dynamic alignment. Keep in mind: With over 200 bones and more than 700
muscles in your body, you have access to an unlimited range movement possibilities! Play with movement variety to keep
your bones, ligaments and muscles healthy, stimulated and aligned.
X-Ray Anatomy Dynamic Postural Alignment
Sense alignment as dynamic tensionIntrinsic, Extrinsic
Sense alignment as stabilityRange of Motion
Sense alignment as directionsVertical, Horizontal, Rotational

Principle 10 - X-Ray Anatomy | 7© 2010 Nia Technique, Inc. | NiaNow.com
EmbodimentFor these exercises, refer to the book: The Nia Technique: The High-Powered Energizing Workout
that Gives You a New Body and a New Life.**
Exercise 1: Practice the 52 Moves while focusing on X-Ray Anatomy
Using your Nia Technique book and Nia 52 Moves
DVDs, practice all 52 moves while focusing on X-Ray
Anatomy. Witness your bone alignment as it compares
to the models in the book or DVD. Do not judge
or interfere—just observe. After you have gathered
information about your body, you may choose to
make changes to improve your technique, alignment
and overall comfort. Repeat this exercise regularly to
continually refine your posture and movement skills.
Exercise 2: Practice a Nia routine while focusing on X-Ray Anatomy
Practice X-Ray Anatomy as you watch any Nia routine
DVD, and focus on observing your bone alignment as it
compares to the alignment of Debbie or Carlos. Without
judging or interfering with your movement, witness
what is happening beneath your skin. Simply observe.
After you have gathered information about your body,
you may choose to make changes to improve your
technique, alignment and overall comfort. Repeat this
exercise regularly to continually refine your posture and
movement skills.
Exercise 3: Zorro
Zorro is a Nia technique that trains your eye to quickly
analyze a person’s bones in relationship to vertical,
horizontal and rotational lines. To “Zorro” is to draw
quick (“Zorro-like”) stick figures as you observe
bodies in motion, which represent the bones you are
“X-Raying.” The idea is to create fast, simple lines
which help you track a person’s alignment and flow
of movement. To refine your Zorro skills, practice in
a public place and/or while watching TV. As a person
walks by or changes shape, quickly draw lines to
represent the bones of his or her base, core and upper
extremities. Once you have finished “Zorro-ing” one
person, move onto another.
Exercise 4: Review the bones and muscles of the body
Using the anatomy images from the Base, Core and
Upper Extremities chapters of your White Belt
Embody and Share book (Principles 6, 8, 9), examine
the shape of each bone and muscle in the body.
Review their names, locations and functions within
the body’s whole dynamic structure.

Principle 10 - X-Ray Anatomy | 8© 2010 Nia Technique, Inc. | NiaNow.com
Exercise 5: Examine your bone alignment
With an anatomy book on hand for reference, examine
your body in a mirror and pay attention to your bone
alignment. Look at your body from all directions—from
the front, back and side. Next:
•Select one body part to focus on.
•Locate that body part in your anatomy book and
compare your bone alignment with the ideal
alignment shown in the book.
• If your bone alignment differs from the image in the
book, explore possible reasons for this. Are some
of your muscles too tight or too loose to allow for
optimal alignment? What previous injuries may
have affected your alignment? What movement
or lifestyle habits might be contributing to your
current alignment?
•Where needed, focus on consciously loosening
and tightening specific muscles, with the intent to
improve your bone alignment. Listen and respond
to the sensations of comfort and pleasure, the
voices that tell you, “This is good—this supports
healthy alignment and functioning.”

Principle 10 - X-Ray Anatomy | 9© 2010 Nia Technique, Inc. | NiaNow.com
RecapitulateRecapitulate, and then in your Nia journal,
describe what you experienced while
practicing Principle 10, X-Ray Anatomy.
ArtDancing Through Life With X-Ray Anatomy
To embody Principle 10, X-Ray Anatomy, pay attention
to the alignment of your bones, ligaments and muscles
throughout the day. Here are some examples to get started:
•As you walk, “X-Ray” the bones of your base. What
direction is each foot pointing in? Keep walking and
sense your ankle, knee and hip joints. Next, sense
the muscles of your legs. Do any muscles feel too
tight? Too loose? Keep “X-Raying” and observing
your base every time you walk, run and dance.
•As you stand while waiting in line or having a
conversation, “X-Ray” the bones of your base. Does
one leg typically stay straight while the other bends?
Is your weight evenly distributed on both feet? Do
you shift to one side more than the other? Sense your
knee joints—are they locked or spring-loaded with
dynamic tension?
•As you sit, “X-Ray” the bones of your pelvis, chest,
head and spine. Does the way you are sitting create
any discomfort in your body? What can you change
to make “sitting” feel better?
•As you read a book, watch TV or work on the
computer, “X-Ray” the placement of your head. Is
it aligned on top of your pelvis and chest? Does it
rest in a way that causes strain on your neck or back
muscles? Do your shoulder muscles have tension
that may be affecting the placement of your head?
Play with different head placements (i.e.: further
forward or backward, etc.), and notice if any of them
are more comfortable.
Principle 10 - X-Ray Anatomy | 10© 2010 Nia Technique, Inc. | NiaNow.com
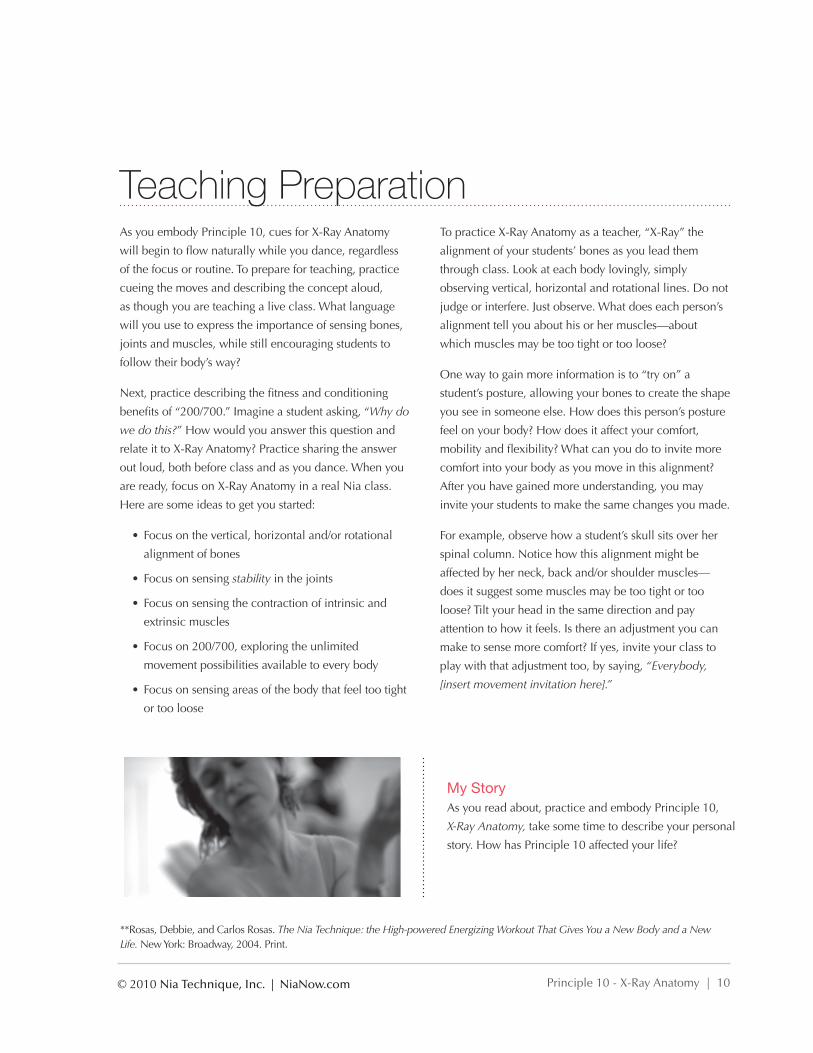
Teaching Preparation
My StoryAs you read about, practice and embody Principle 10,
X-Ray Anatomy, take some time to describe your personal
story. How has Principle 10 affected your life?
As you embody Principle 10, cues for X-Ray Anatomy
will begin to flow naturally while you dance, regardless
of the focus or routine. To prepare for teaching, practice
cueing the moves and describing the concept aloud,
as though you are teaching a live class. What language
will you use to express the importance of sensing bones,
joints and muscles, while still encouraging students to
follow their body’s way?
Next, practice describing the fitness and conditioning
benefits of “200/700.” Imagine a student asking, “Why do
we do this?” How would you answer this question and
relate it to X-Ray Anatomy? Practice sharing the answer
out loud, both before class and as you dance. When you
are ready, focus on X-Ray Anatomy in a real Nia class.
Here are some ideas to get you started:
•Focus on the vertical, horizontal and/or rotational
alignment of bones
•Focus on sensing stability in the joints
•Focus on sensing the contraction of intrinsic and
extrinsic muscles
•Focus on 200/700, exploring the unlimited
movement possibilities available to every body
•Focus on sensing areas of the body that feel too tight
or too loose
To practice X-Ray Anatomy as a teacher, “X-Ray” the
alignment of your students’ bones as you lead them
through class. Look at each body lovingly, simply
observing vertical, horizontal and rotational lines. Do not
judge or interfere. Just observe. What does each person’s
alignment tell you about his or her muscles—about
which muscles may be too tight or too loose?
One way to gain more information is to “try on” a
student’s posture, allowing your bones to create the shape
you see in someone else. How does this person’s posture
feel on your body? How does it affect your comfort,
mobility and flexibility? What can you do to invite more
comfort into your body as you move in this alignment?
After you have gained more understanding, you may
invite your students to make the same changes you made.
For example, observe how a student’s skull sits over her
spinal column. Notice how this alignment might be
affected by her neck, back and/or shoulder muscles—
does it suggest some muscles may be too tight or too
loose? Tilt your head in the same direction and pay
attention to how it feels. Is there an adjustment you can
make to sense more comfort? If yes, invite your class to
play with that adjustment too, by saying, “Everybody,
[insert movement invitation here].”
**Rosas, Debbie, and Carlos Rosas. The Nia Technique: the High-powered Energizing Workout That Gives You a New Body and a New Life. New York: Broadway, 2004. Print.