· web viewcheck and ensure that every module is fastened to the structure at every bolt hole in...
TRANSCRIPT
1- PHYSICAL INSTALLATION and MAINTENANCE CHECKLISTs.
In order to get a good quality solar pumping installation, monitoring the field work carried out by the private contractor selected is of paramount importance. It is therefore strongly recommended to WASH officers to follow up as much as possible the below list of actions.
Introduction: 4 steps
1) Check the references of all components of the system to ensure that the installed components are those provided in the design.
2) Check orientation and the inclination of the panels, and shadow on the Solar PV generator. The orientation and inclination values must be close enough to those that were determined during calculations sizing. The acceptable variations will be less than 5 ° for the inclination and 15 ° with respect to the geographic North-South orientation
3) Check the cleanliness and protection of the wiring, and its compliance with the standards.4) Finally inspect civil works (castle, basin, trough, fixing the solar supports ...), piping, valves and all other
important elements that can compromise the sound operation of the system
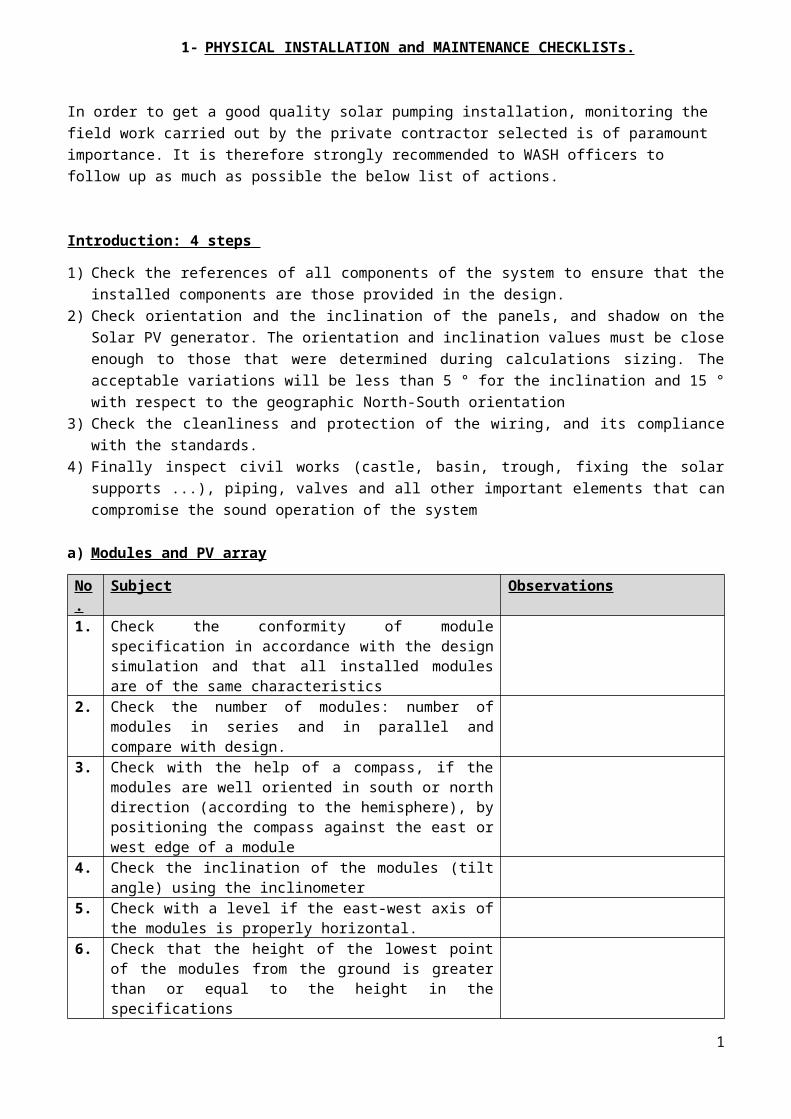
a) Modules and PV array
No. Subject Observations1. Check the conformity of module specification in accordance
with the design simulation and that all installed modules are of the same characteristics
2. Check the number of modules: number of modules in series and in parallel and compare with design.
3. Check with the help of a compass, if the modules are well oriented in south or north direction (according to the hemisphere), by positioning the compass against the east or west edge of a module
4. Check the inclination of the modules (tilt angle) using the inclinometer
5. Check with a level if the east-west axis of the modules is properly horizontal.
6. Check that the height of the lowest point of the modules from the ground is greater than or equal to the height in the specifications
7. Check the cleanness of the solar array (each cell)
8. Ensure that no module is damaged: broken glass, frame, twisted, scratched ...
9. With the installer, measure the voltage output from each string and ensure it’s consistent with the design and that it’s uniform across all the strings
10. Check and ensure that every module is fastened to the structure at every bolt hole in an manner that is robust, acceptable and that will deter vandalism
b) Electrical wiring
No. Subject Observations
1

1. Ensure cable conformity : Compare cable specifications and sections with those provided by the manufacturer for the power and the distances measured on site
2. Check that all cable connections are inside the junction boxes provided for this purpose; no connection between two cables should be visible
3. Ensure all cable glands and conduits match the cable size and are properly sealed. All cable entries into the terminal box should be through cable glands
4. Check that all housings connections are at a minimum height of 50 cm from the ground level
5. Choose a sample of the cable and test it by pulling on a cable out of a gland to ensure that it is sufficiently tight to hold the cable.
6. Check that all cable terminals are properly fastened and sufficiently tight
7. Check the cable interconnection between the modules is fastened to the structure at regular intervals by use of suitable clips or cable ties
8. Check that all surface cabling is of armoured type and if not armoured should be placed in electrical conduits and protected using protective tiles to prevent damage from passing vehicles.
9. Check that there are no overhead cables. All interconnecting cables (e.g. connecting two support structures) should be guided to the ground and conform to point 7 above.
10. Verify the existence and proper connection of grounding rods for both earthing and lightning surge protection
c) Solar Support Structure
No. Subject Observations1. Check if all the members of the supporting structure are of the
material provided. Ensure that no parts are susceptible to corrosion. Check for proper and uniform painting of the structure
2. Check the proper eye alignment of the support posts.
3. Check with a spirit level the verticality and horizontality of poles and modules (this allows to check the general quality of the completed work)
4. Check the bolting has been done at every hole
5. Check if the foundations are of sufficient size
6. Check for obvious weaknesses such as structures that are grossly swaying
d) Inverter or other AC interface
Note: The pumps are equipped with an "inverter box" also serving as a control box. For those who work in DC, the control cabinet is often called "interface" or power conditioner.
No. Subject Observations1. Check the conformity of inverter specifications (or interface)
2
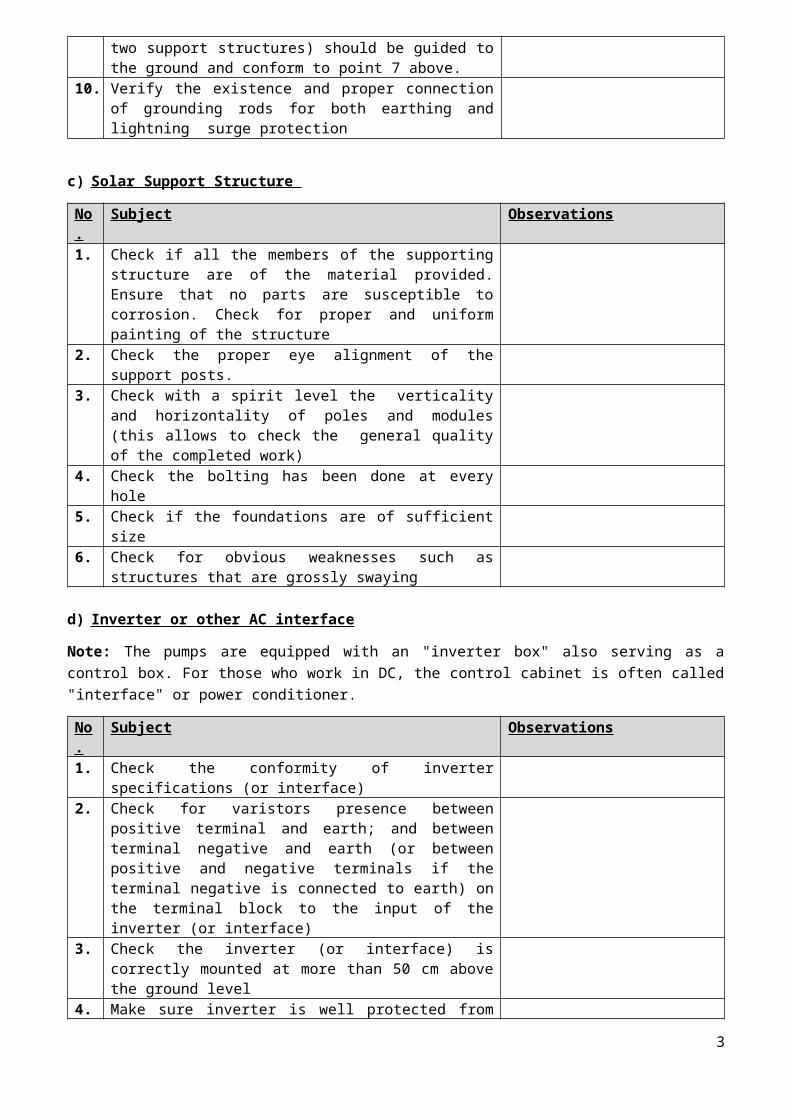
2. Check for varistors presence between positive terminal and earth; and between terminal negative and earth (or between positive and negative terminals if the terminal negative is connected to earth) on the terminal block to the input of the inverter (or interface)
3. Check the inverter (or interface) is correctly mounted at more than 50 cm above the ground level
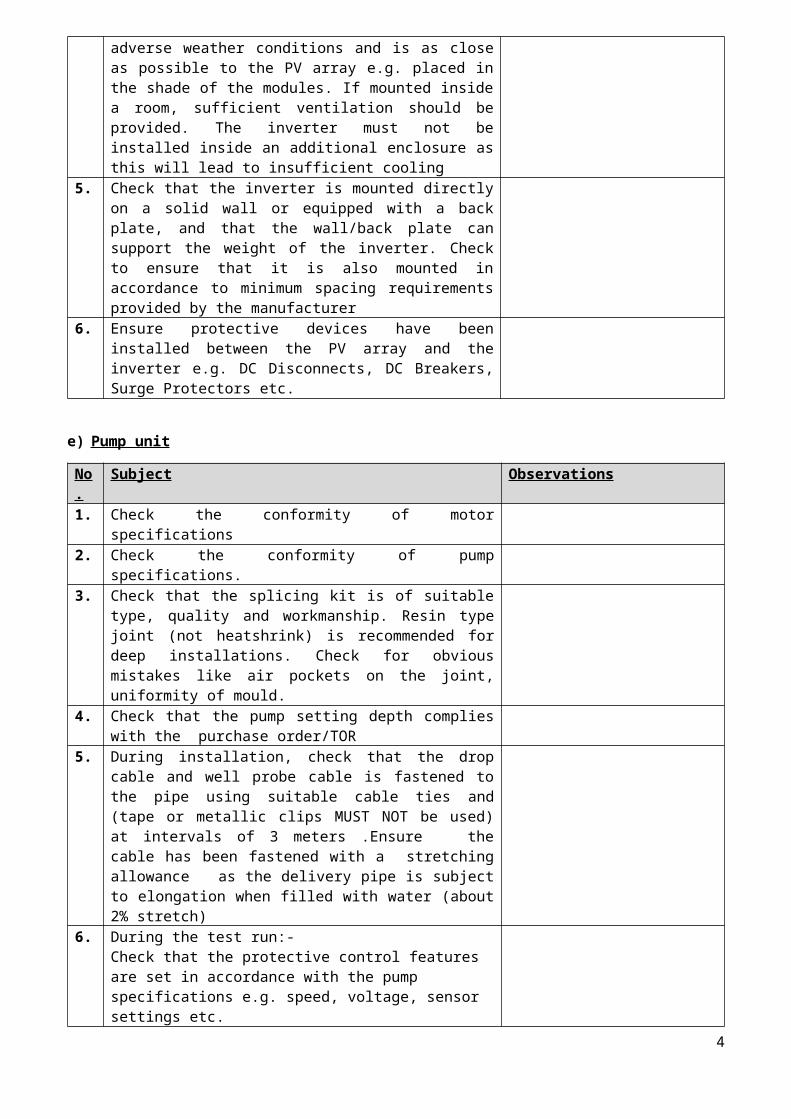
4. Make sure inverter is well protected from adverse weather conditions and is as close as possible to the PV array e.g. placed in the shade of the modules. If mounted inside a room, sufficient ventilation should be provided. The inverter must not be installed inside an additional enclosure as this will lead to insufficient cooling
5. Check that the inverter is mounted directly on a solid wall or equipped with a back plate, and that the wall/back plate can support the weight of the inverter. Check to ensure that it is also mounted in accordance to minimum spacing requirements provided by the manufacturer
6. Ensure protective devices have been installed between the PV array and the inverter e.g. DC Disconnects, DC Breakers, Surge Protectors etc.
e) Pump unit
No. Subject Observations1. Check the conformity of motor specifications
2. Check the conformity of pump specifications.
3. Check that the splicing kit is of suitable type, quality and workmanship. Resin type joint (not heatshrink) is recommended for deep installations. Check for obvious mistakes like air pockets on the joint, uniformity of mould.
4. Check that the pump setting depth complies with the purchase order/TOR
5. During installation, check that the drop cable and well probe cable is fastened to the pipe using suitable cable ties and (tape or metallic clips MUST NOT be used) at intervals of 3 meters .Ensure the cable has been fastened with a stretching allowance as the delivery pipe is subject to elongation when filled with water (about 2% stretch)
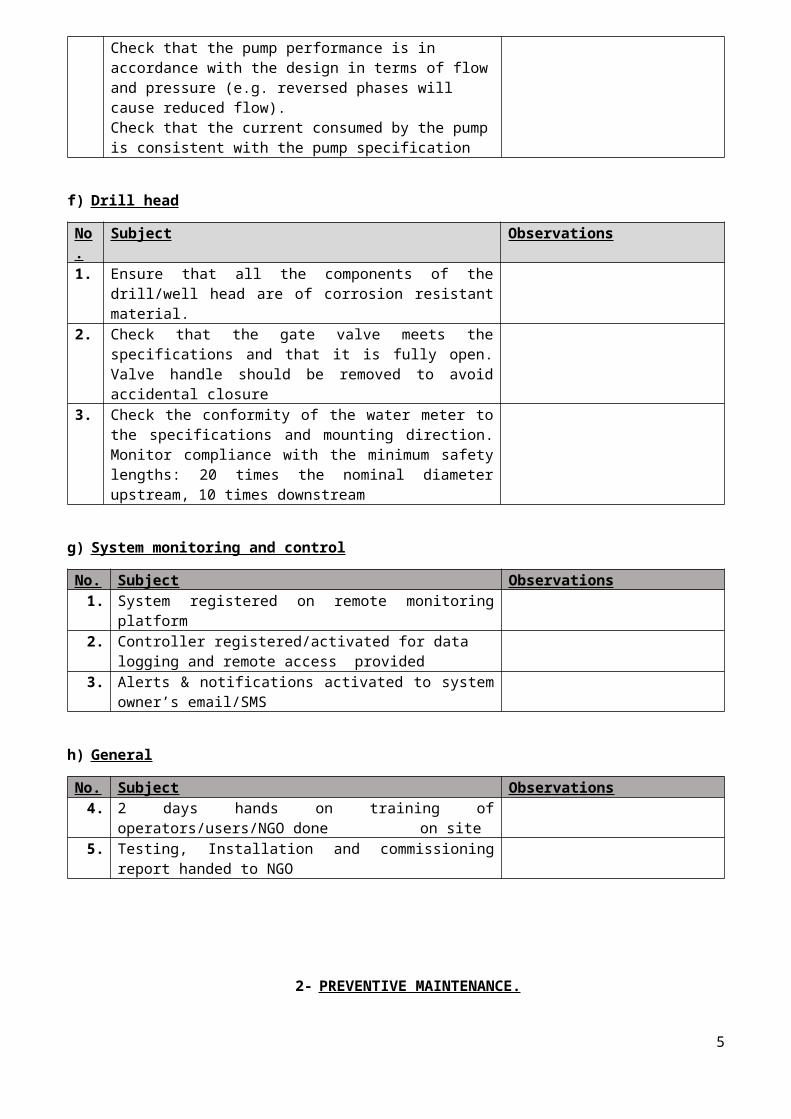
6. During the test run:-Check that the protective control features are set in accordance with the pump specifications e.g. speed, voltage, sensor settings etc.Check that the pump performance is in accordance with the design in terms of flow and pressure (e.g. reversed phases will cause reduced flow). Check that the current consumed by the pump is consistent with the pump specification
f) Drill head
No. Subject Observations
3
1. Ensure that all the components of the drill/well head are of corrosion resistant material.
2. Check that the gate valve meets the specifications and that it is fully open. Valve handle should be removed to avoid accidental closure
3. Check the conformity of the water meter to the specifications and mounting direction. Monitor compliance with the minimum safety lengths: 20 times the nominal diameter upstream, 10 times downstream
g) System monitoring and control
No. Subject Observations1. System registered on remote monitoring platform2. Controller registered/activated for data logging and remote
access provided3. Alerts & notifications activated to system owner’s email/SMS
h) General
No. Subject Observations4. 2 days hands on training of operators/users/NGO done on site5. Testing, Installation and commissioning report handed to NGO
2- PREVENTIVE MAINTENANCE.
Once the solar installation has been installed and commissioned, a number of simple actions is to be followed by the owners of the system in order to maximize water production and minimize the likeliness of system breakdowns in the long term.
Minimum requirement: Checks and What to do
1. Weekly or daily cleaning (according to level of dust…) Use a clean cloth and water only (no soap or detergent), and clean at early hours when panels are still not
hot. Also clean any small modules that are installed
2. Prevention of shading Remove shrubs around the solar panels Ensure that nothing in the vicinity can hide panels Do not allow the construction of structures that might overshadow the panels
3. Inspection of the constituents Check the cleanliness, blocking of cables and connections of all visible equipment (pump, panels,
inverter...) Once a week, check the cables whenever possible and seek possible damage (cuts, worn or eaten by
rodent’s insulation ...). Ensure there are mo exposed cables. Daily control of the state equipment and layout
4
Ensure there is no dew condensation, no peculiar smell, stable vibration, normal temperature of the body, no abnormal noise etc
Ensure connections are firm( tighten loose terminals, nuts, cable glands etc). In case of a problem, consult an expert. Do not tamper with it
Frequently monitor the flow output from the pump and the current consumed by the pump Avoid short circuiting your cables as this can lead to system damage
4. Safety
Your solar module consists of glass which can easily break.
Do not:
Throw objects at the solar module. Stand or step on the module. Try to repair your solar module if it breaks because once the module is broken, it cannot be repaired. Carry out modifications on your system without technical guidance from your system supplier or a
qualified technician.
5. If a solar battery is installed:
Do:
Keep the solar battery in a clean environment. Place the solar battery on a stable surface to prevent it from falling or tilting. Keep the solar battery safely inside a well-ventilated wooden box. Always check the level of electrolyte in every cell of your battery. If the level has gone down, add some
distilled (or de-ionized) water (for open batteries) Top the solar battery with distilled water from a good source, never use tap or rain water since they have
impurities, which may damage your battery. Apply Vaseline, not grease or oil, on both battery terminals to prevent acid mist (a white substance)
forming on them. Clean the terminals and battery's top surface regularly with hot water to prevent accumulation of acid
mist which causes batteries to self discharge.
Do not:
Short -circuit the terminals of your solar battery. Your solar battery stores huge amounts of energy. If you connect the terminals directly, the stored energy will be released at one go causing the wires to melt or fire to occur. All power must be consumed through the installed regulator. This will protect your solar battery for a long time.
Pour out the acid and fill with fresh acid as it damages the battery. Add acid to your solar battery at any time. Accept advice on battery repairs from unauthorized persons. Rather, contact battery suppliers directly. Keep the solar battery near open flames as there is danger of explosion. Take your old batteries for repair.
5
6