video production manual - - sawubona bhuti! (hello brother!) vusi - - yebo, uyapi namuhla? (hi,...
TRANSCRIPT

Video Production Manual
Table of Contents Planning................................................................................................................................................................................... 2
(W)hat ................................................................................................................................................................................. 2
(W)ho .................................................................................................................................................................................. 2
(W)here ............................................................................................................................................................................... 3
(W)hen ................................................................................................................................................................................ 3
Story .................................................................................................................................................................................... 3
Glossary of Video Techniques ................................................................................................................................................. 4
Types of Shots ..................................................................................................................................................................... 4
Camera Movement ............................................................................................................................................................. 6
Framing Techniques ............................................................................................................................................................ 6
Editing and Sharing ................................................................................................................................................................. 9
Editing Software .................................................................................................................................................................. 9
Glossary of Editing Techniques ........................................................................................................................................... 9
The Peace Corps prohibits the use of any copyrighted material. ..................................................................................... 10
Objectives This training manual is designed to help volunteers plan and film a short video. Videos are a great way to capture daily life and to tell compelling stories. At the end of manual, readers should be able to: -Create comprehensive plans for videos and write scripts. -Know about different types of camera shots and techniques commonly used in video production. -Undestand what methods are available to edit and share videos.
Planning To simplify the planning process, we will focus on the four “Ws”: What, Who, Where and When.
(W)hat The first step in film making is deciding how you are going translate your idea to film. This will dictate how you prepare for the video. Different types of video storytelling include interviews, demonstrations and staged performances. Interview -- “Tell Me” This documentary-style video focuses on speaking with a person of interest while a camera captures the conversation. Here are some tips:
The interviewee sits facing the interviewer.
The camera is situated behind the interviewer on a tripod.
Prepare interview questions beforehand.
Ask the interviewee to rephrase each question in their answer.
The interviewer should not look at the camera, it is awkward.
Before filming, make the interviewee as comfortable as possible, many people are afraid of speaking in front of a camera.
Film a variety of people using the same questions. Choose the best shots in post-production.
Consider interviewing several people at once.
Stop the interviewees from rambling. Establish a “stop” signal. Demonstration -- “Show Me” This video technique follows a person as they discuss a certain topic. This is the technique used in many travel shows and on reality television.
The camera follows the subject, filming while they speak.
The camera is handheld.
The subject must feel comfortable speaking for a long period of time; discuss the topic beforehand to plan talking points and movement.
The best lines happen naturally.
This method requires a lot of b-roll (see definition below) for visual appeal.
Be aware of microphone distance. If the only microphone you have is on your camera, it will have difficulty picking up sound if the subject is facing away from the camera.
Staged -- “Act It” Film subjects as they perform a prewritten dialogue or scene. This would be a typical movie you see in theaters.
Prepare the script beforehand.
Make sure the actors are comfortable and know their lines.
Film from a variety of angles for visual appeal. Combine when editing.
Camera can be handheld or on a tripod.
Don't be afraid to do many takes.
Chose an interesting setting.
Watch for continuity: details like clothing, positions, and lighting need to match up or change as a scene dictates.
(W)ho Decide who will be involved in your project.
Make sure all participants consent to being on film. You will need them to sign letters of consent for distribution purposes.
Discuss your concept thoroughly with your participants so they are comfortable.
Some people are not very good on camera; have back up options.
Make sure participants know where/when the shoot will take place to avoid delay.
You may need to feed the participants and reimburse them for travel.

(W)here Decide where to shoot your movie.
Pick a location (or locations) that follow the concept of your film.
Choose a setting that has interesting visual components. For example: beautiful scenery, good lighting.
Make sure you have permission to shoot at the chosen location. You may need to get permission from local authorities.
Curious people may show up and watch you as you film. Control the crowd.
Make sure bystanders do not walk into the scene accidentally.
Be aware of ambient noise: i.e. wind, people talking, and cars. To gauge the noise level, try closing your eyes and listening- this will give you a good sense of what sound the camera will pick up.
When composing the shot, be aware of lighting. You want the sun to be behind the camera that is facing the subject.
(W)hen Video projects often take much longer than expected, so allot plenty of time.
Decide on a date that works for all participants.
Finish planning everything prior to the decided date. Making decisions the day of the shoot will cause complications in post-production.
You may run in to issues during the shoot. Be flexible.
You may need to push the shoot back because of bad weather.
Aim to stay on schedule!
Story When making a video, you are telling a story. Before you get out the video camera, you need to write a plan detailing what will happen on screen. The cinematographic formatting that you will see below, will detail exactly what shots you will use throughout the movie, the movement of the characters on screen and also the dialogue. It is very important to plan out your movie before you begin production. Poorly planned videos will make editing more difficult.
Script -- A script is the written translation of exactly what will be on film. It includes descriptions, transitions between clips, environment, movement of actors, and dialogue.
Here’s an excerpt from a script: FADE IN: EXTERIOR: HOMESTEAD – CLEAR DAY Family members dressed in traditional clothing are performing their morning routines. Njabulo (25) with dark hair dressed for work walks out of his hut carrying a bundle of books. Njabulo notices his host brother Vusi.
Njabulo - - Sawubona bhuti! (Hello brother!) Vusi - - Yebo, uyapi namuhla? (Hi, where are you going today?)
Shot List (see below) -- is a list of all of the shots that will be used in the movie. Planning this out is a good way to design a schedule for the day of the shoot. Include: scheduled time, type of shot, participants involved, description, location and potential B-roll.
Time Participants Camera Description Location *B-roll
Monday@ 11:00am
Njabulo, Vusi
Wide shot zoom to a medium bust shot.
The two discuss their day, in SiSwati.
kaGinindza homestead.
Scenery, cattle kraal, chickens.
*See the editing section below for the definition of b-roll.
Glossary of Video Techniques The following sections will provide you with some of the techniques that videographer use to compose a film. You will learn the different types of shots that are regularly used in cinematography and various types of camera movement. The final section will focus on framing; as a videographer you will need to situate the subjects and the environment you are capturing in interesting ways.
Types of Shots
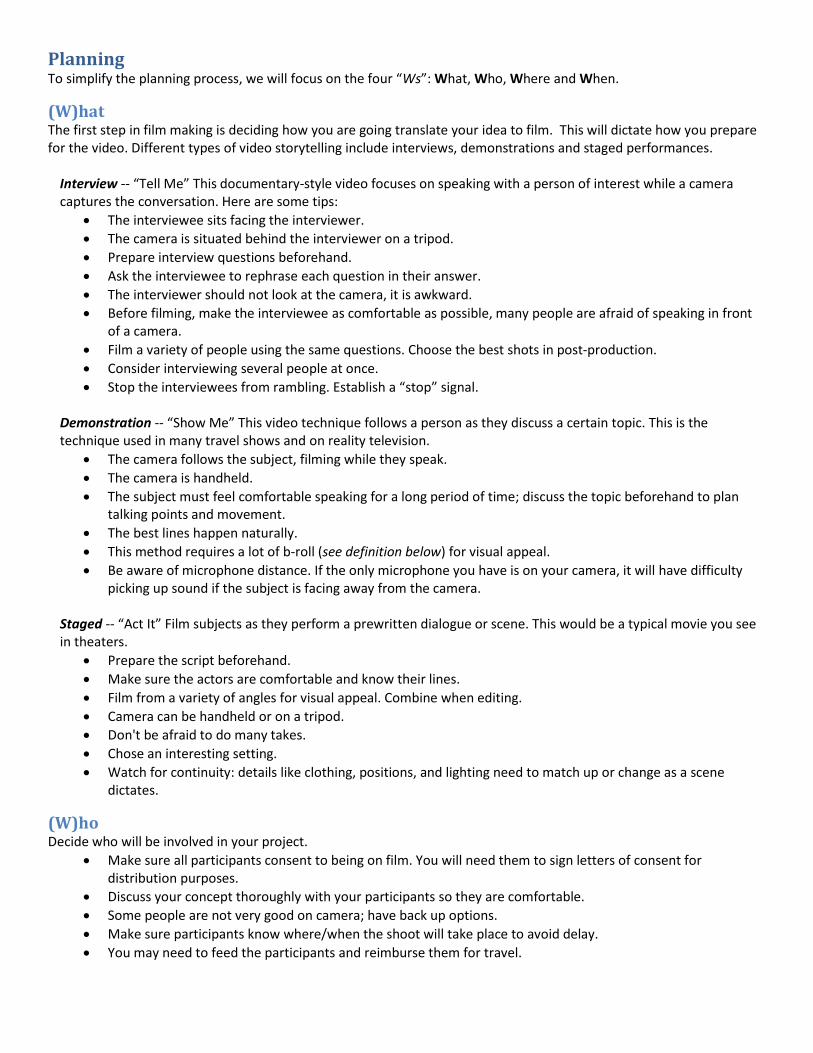
You can choose from a variety of shots to enhance the visual appeal of your movie. Wide shot (long shot) -- frames the entire body of the subject and often includes background scenery of the environment. ‘Long shot’ refers to the fact that the camera shoots the subject from a far distance. You may use this as an “establishing shot” to set up a location and to give the viewer perspective.
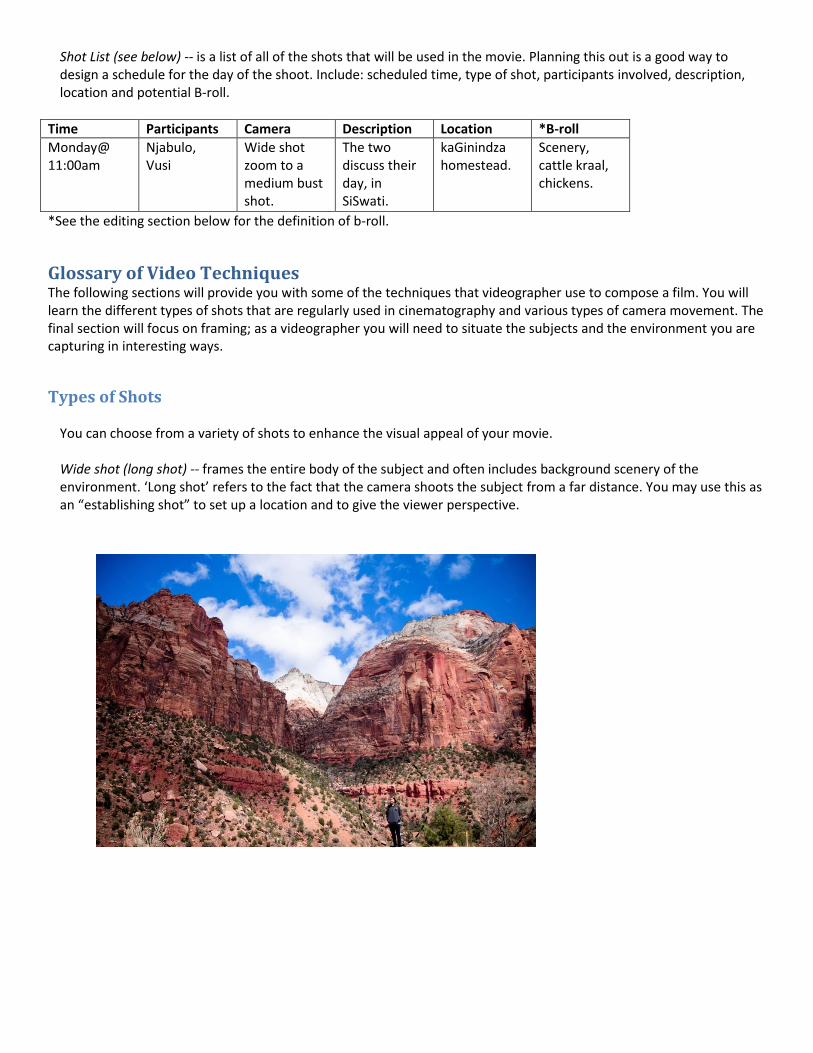
Medium shot -- frames only a portion of the subject, usually from the waist up. This shot is often used for interviews because you capture the body language of the person you are interviewing as well as some background.
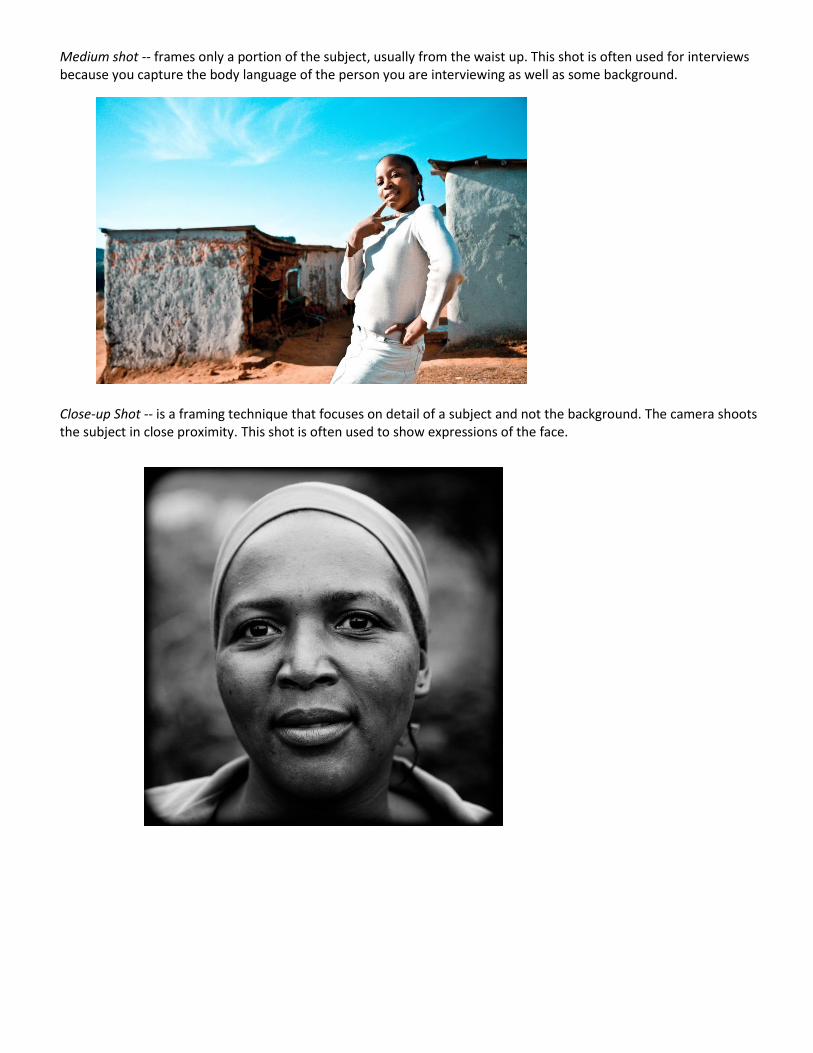
Close-up Shot -- is a framing technique that focuses on detail of a subject and not the background. The camera shoots the subject in close proximity. This shot is often used to show expressions of the face.

Over the Shoulder Shot -- is a camera angle that frames the shot over a person’s shoulder or head. This is considered a third person perspective. It is commonly used when filming a conversation between two people. This shot is also very useful during “demonstration” videos, because the viewer feels like they are included in the scene as the camera follows the subject.
Camera Movement Zoom/Zoom-Back -- when the focal length of the lens is adjusted. Zoom brings the background to the foreground and isolates an object or person. Zoom-back pushes away from the background framing the object or person in a wider context.
Pan (Panorama) -- a movement of the camera from left to right or right to left. This can be used as an establishing shot to set up a scene or location.
Framing Techniques Now that you have idea of the types of shots that are available, you need to know how to orient people or objects within the confines of the viewfinder. The techniques discussed below are simply suggestions for how to think about composition. Interesting or unique cinematography can really improve the quality of a video.
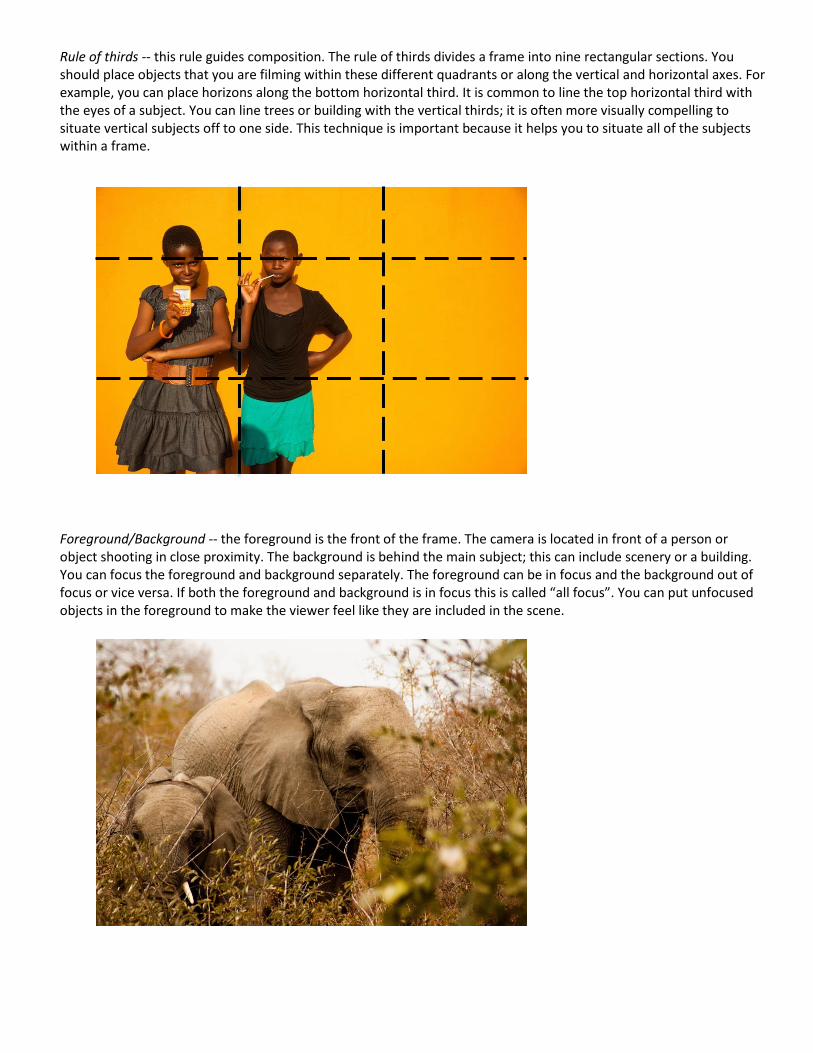
Rule of thirds -- this rule guides composition. The rule of thirds divides a frame into nine rectangular sections. You should place objects that you are filming within these different quadrants or along the vertical and horizontal axes. For example, you can place horizons along the bottom horizontal third. It is common to line the top horizontal third with the eyes of a subject. You can line trees or building with the vertical thirds; it is often more visually compelling to situate vertical subjects off to one side. This technique is important because it helps you to situate all of the subjects within a frame.
Foreground/Background -- the foreground is the front of the frame. The camera is located in front of a person or object shooting in close proximity. The background is behind the main subject; this can include scenery or a building. You can focus the foreground and background separately. The foreground can be in focus and the background out of focus or vice versa. If both the foreground and background is in focus this is called “all focus”. You can put unfocused objects in the foreground to make the viewer feel like they are included in the scene.

Forced Perspective -- the illusion where objects in the distance are made to look smaller than objects in the foreground. People often use this technique comically, making people look bigger than things in the background. You also see this when looking at a road that goes off into the distance; it looks as if the road becomes smaller as you look father away.
Empty Space -- is the part of the frame that you leave empty. Empty Space can have a very powerful effect to the composition of your shot.
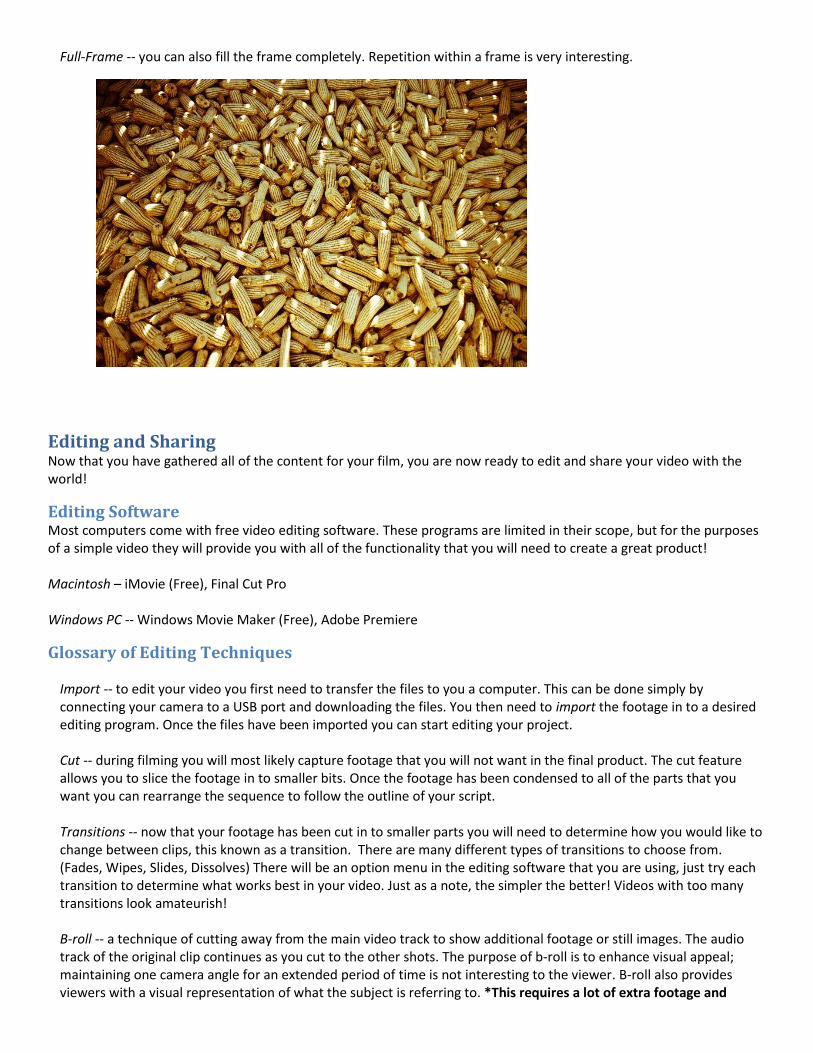
Full-Frame -- you can also fill the frame completely. Repetition within a frame is very interesting.
Editing and Sharing Now that you have gathered all of the content for your film, you are now ready to edit and share your video with the world!
Editing Software Most computers come with free video editing software. These programs are limited in their scope, but for the purposes of a simple video they will provide you with all of the functionality that you will need to create a great product!
Macintosh – iMovie (Free), Final Cut Pro Windows PC -- Windows Movie Maker (Free), Adobe Premiere
Glossary of Editing Techniques
Import -- to edit your video you first need to transfer the files to you a computer. This can be done simply by connecting your camera to a USB port and downloading the files. You then need to import the footage in to a desired editing program. Once the files have been imported you can start editing your project. Cut -- during filming you will most likely capture footage that you will not want in the final product. The cut feature allows you to slice the footage in to smaller bits. Once the footage has been condensed to all of the parts that you want you can rearrange the sequence to follow the outline of your script. Transitions -- now that your footage has been cut in to smaller parts you will need to determine how you would like to change between clips, this known as a transition. There are many different types of transitions to choose from. (Fades, Wipes, Slides, Dissolves) There will be an option menu in the editing software that you are using, just try each transition to determine what works best in your video. Just as a note, the simpler the better! Videos with too many transitions look amateurish! B-roll -- a technique of cutting away from the main video track to show additional footage or still images. The audio track of the original clip continues as you cut to the other shots. The purpose of b-roll is to enhance visual appeal; maintaining one camera angle for an extended period of time is not interesting to the viewer. B-roll also provides viewers with a visual representation of what the subject is referring to. *This requires a lot of extra footage and

pictures to be taken. As you’re planning your video, think of what potential b-roll images would be appropriate for each particular scene. STILLS
Titles -- are introductory slides of text that appear in the beginning of the movie and at the start of each chapter. The slide displays the name of the movie in the opening sequence and then provides informational text throughout.
Audio Track -- to make you video more dynamic, you should consider adding music on top of the footage. Music creates a mood that will enhance a scene.
The Peace Corps prohibits the use of any copyrighted material.
Using music in videos is a great way to make them compelling, but it’s important to avoid improper use of copyrighted music. You should assume all material created by others is copyrighted and that you need permission to use it. Videos, blog posts, and music are all examples of works automatically protected by copyright. They don’t need to say “copyright” or have a “©” mark next to it, either–once it’s created, it’s copyrighted. If you do want to use music in your videos we would encourage you to find work labeled public domain or covered under a Creative Commons or another attribution license indicating the item is free to use. Here are some resources for finding copyright free music for use in videos: • Creative Commons—A list of free music sites • YouTube’s Audio Library—Free music for videos • Wikimedia Commons—Images, sounds, videos • Free Music Archive —Music by genre • Incompetech—More music by genre • Opsound—Sounds and music under "Creative Commons ShareAlike license"
Export-- once you have finished editing your video, you need to convert it to a format that can be shared. Editing program will provide different export format options. Most online streaming website will work best with either .mp4 or .mov formats. Share--now get out there and promote your video on social media channels, with your friends and family. The more people who see you video the more awareness you will be spreading about your country and your experiences!
Now you’re ready to share your video with the world! Happy Third Goaling!