using microsoft deployment toolkit in the real world (notes from the field) rhonda j. layfield sr....
TRANSCRIPT

USING MICROSOFT DEPLOYMENT TOOLKIT IN THE REAL WORLD (NOTES FROM THE FIELD)
Rhonda J. LayfieldSr. Deployment ArchitectDeployment Done Right
SESSION CODE: #SVR310
(c) 2011 Microsoft. All rights reserved.

► I’ve been in the IT industry since 1982► US Navy for 7 years► Setup and Deployment MVP► Desktop Deployment Product Specialist
(DDPS)
Rhonda Layfield

Overview
► MDT Basics► Master Image► Working Image► Update the images► Branch office deployments► Deploying from a UFD
(c) 2011 Microsoft. All rights reserved.

MDT 2012 Deployment Server
Setting Up MDT 2012:as easy as 1-2-3
Install WAIK11
Create a Deployment Share
33
Install MDT22
Operating Systems:Server 2008 R2Server 2003 R2VistaWindows 7
CREATE A DEPLOYMENT SHAREOPEN DEPLOYMENT SHARE
DEMO
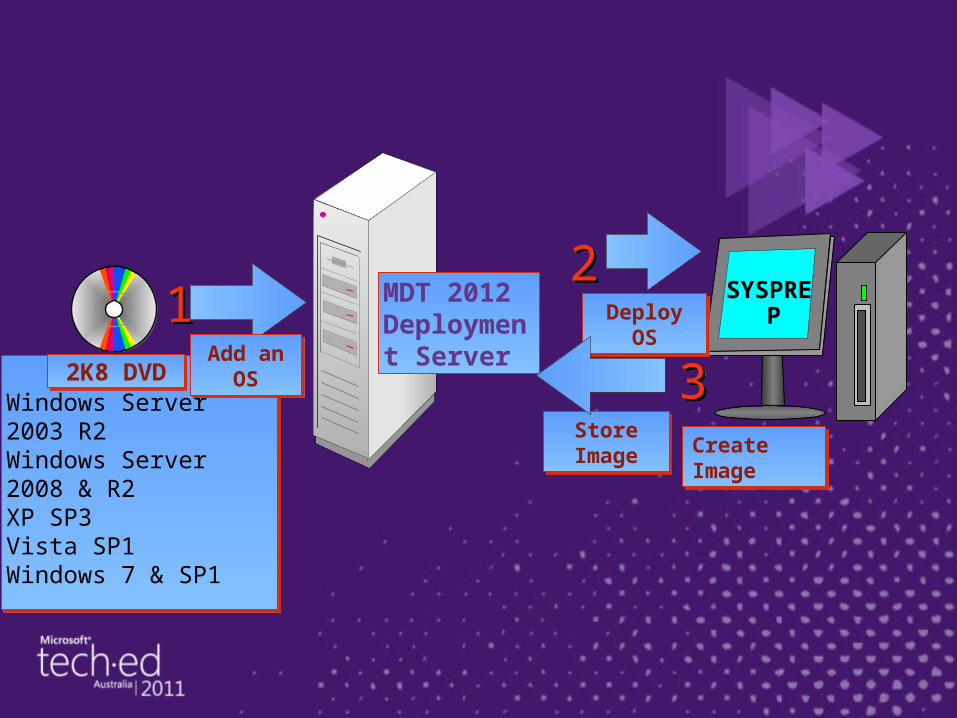
W7 DVDWindows Server 2003 R2Windows Server 2008 & R2XP SP3Vista SP1Windows 7 & SP1
W7 DVDWindows Server 2003 R2Windows Server 2008 & R2XP SP3Vista SP1Windows 7 & SP1
MDT 2012 Deployment Server
2K8 DVD2K8 DVD
11Add an OSAdd an OS
Create ImageCreate Image
22Deploy OSDeploy OS
Store ImageStore Image
33
SYSPREP

Add Components
► Applications– Hardware utilities– Adobe Reader
► Drivers– 3rd party
► Packages– OS patches– Language packs

Over Time You Will Have Multiple Images To Deploy:► Multiple OSs
– Windows Server 2008 R2– Windows 7 SP1 base DVD– Windows 7 custom Hybrid .wim image
► Drivers for different models of machines► Applications for different groups of users► So you will need a way to group components
together for a specific deployment► This is called a Task Sequence

Then You Need To Update The Deployment Share► Updating the deployment share creates a custom
MDT Windows Pre Installation Environment (WinPE)
► This WinPE is very intelligent– Pre-configured to know who the MDT server is and the
name of the Deployment Share

LOOK AT A REAL DEPLOYMENT SHARE
DEMO
Automate the Master Build
► When you run the Deployment Wizard► Choose which screens are displayed during
the deployment► Suppress the ones you don’t want anyone
to see or change like:• Product Key• Administrator’s password

Automate The Client Deployment
► BootStrap.ini► CustomSettings.ini► If you make changes to the Boostrap.ini you will
need to update the deployment share again to reflect those changes
► For Help on variables to add to these files:– Help– Microsoft Deployment Toolkit Reference
• Properties– Property Definitions

Then, Get MDT Ready To Deploy The Custom .wim Image► Import the Custom .wim► Create a task sequence► Deploy
Update Master and Deployment Image► Why– New versions of applications
• Flash• Adobe reader
– Updated drivers– Patches
► How often– 3 or 4 times a year– When needed
(c) 2011 Microsoft. All rights reserved.

Notes From The Field
► Why not deploy the master image to your clients► Time► 3 hours to deploy the master and create a working
image► 20 – 25 minutes to deploy the working image
(c) 2011 Microsoft. All rights reserved.

Selection Profiles

MDT Components
► The MDT components are:– Operating Systems– Applications– Drivers– Packages– Task Sequences
► To use some of the Advanced Features of MDT you will need to group MDT components together
► The way you group MDT components is by creating a “Selection Profile”
MDT’s Selection Profiles
► The MDT components you group will determine what you can do with the selection profile:– Group drivers and packages to inject into the MDT
generated Windows Pre Installation Environments (WinPEs)
– Group drivers to inject into an OS task sequence– Control which MDT components are included in “Media”– Group MDT components to replicate (and keep in sync)
linked deployment shares

Linked Deployment Shares (LDS)

Branch Offices
MDT DS
Auckland
Wellington Christchurch
OSApplication Drivers Task Sequences
Good WAN Links

Linked Deployment Shares (LDS)
► LDS allows you to copy a subset (or all if you choose) of components to another machine
► Even Windows 7 can host a LDS► But, if you host the LDS on a server you
can integrate WDS with it► To create a LDS► Begin on the target computer

On The Target Computer
► This is the computer you want to copy the LDS to…
► Create a folder– Ensure there is enough hard drive space– MDT will not check this for you
► Share the folder
► Now you are ready to create the LDS on the MDT server
Create A LDS
► Create a selection profile containing all the MDT components you would like copied (replicated) to the target computer
► Create a new LDS– Type in the UNC path to where you want the
new LDS• Example \\server\share• \\2K8\Christchurch\DS
► Choose your selection profile

Create A LDS - Continued
► Select one of the options:– Merge the selected contents into the target
deployment share– OR– Replace the contents of the target deployment share
folders with those selected
► Rename the LDS► R-click the LDS and choose Replicate Content► The contents you selected in your selection
profile will be copied to the new LDS via ROBOCopy

CREATE A LDSDEMO
When You Make Changes► The changes need to be replicated to the target computer► You can either right-click the LDS and choose “Replicate”
– This will replicate EVERYTHING again even things that have not changed
► OR► Change the replication technology to use Distributed File
System-Replication (DFS-R)► Create a scheduled task that will replicate changes
whenever you want them replicated► Only what has changed will be replicated

Notes From The Field
► LDS set up to use DFS-R– Replicate the LDS locally on the MDT server and
then create DFS-R• This sets the default path of the deployment share
back to the local MDT server– NOT the LDS
– Scheduled task to run the powershell command will always use the default path of the LDS

REPLICATE LDSDEMO
Deploy OSs From a UFD

Branch Offices
MDT Deployment Server
Sydney
Brisbane NewCastle
Good WAN Link
Unreliable WAN Link

Media Deployment
Bare MetalBare Metal
MDT Deployment Image
Pro No Network Connectivity
Con No Version Control
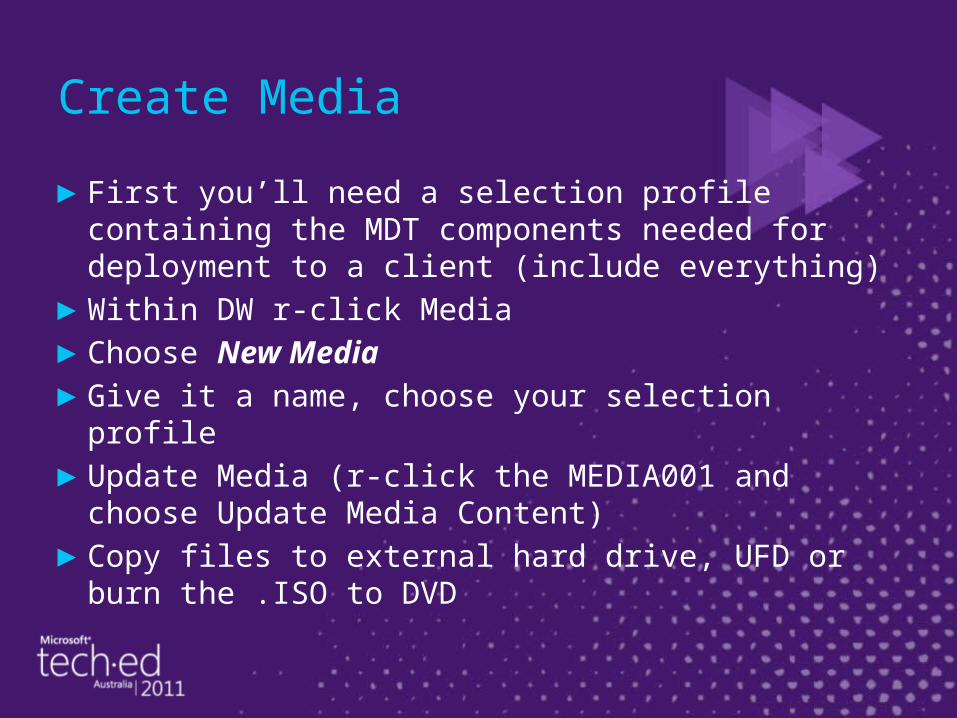
Create Media
► First you’ll need a selection profile containing the MDT components needed for deployment to a client (include everything)
► Within DW r-click Media► Choose New Media► Give it a name, choose your selection profile► Update Media (r-click the MEDIA001 and
choose Update Media Content)► Copy files to external hard drive, UFD or
burn the .ISO to DVD

CREATE MEDIADEMO

Prepare Media
► Open an elevated command prompt– DISKPART
• List disk (record the number of the external device)• Select disk N (N is the disk number• Select disk 2• Clean• create partition primary• select partition 1• Active• format fs=ntfs• Assign• exit • Close the command prompt
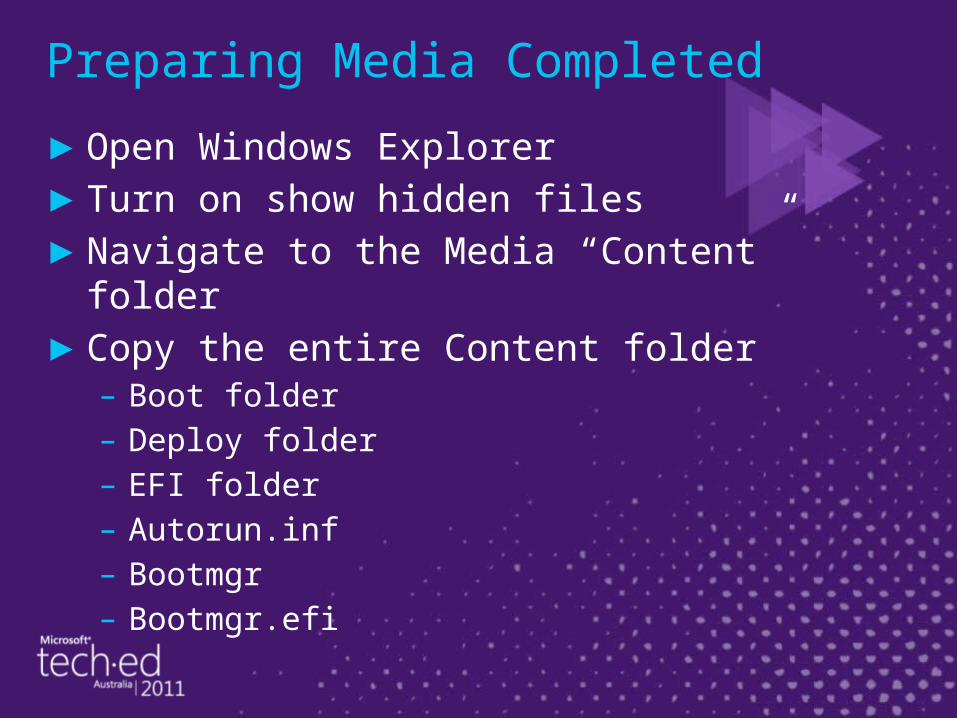
Preparing Media Completed
► Open Windows Explorer► Turn on show hidden files► Navigate to the Media “Content” folder► Copy the entire Content folder– Boot folder– Deploy folder– EFI folder– Autorun.inf– Bootmgr– Bootmgr.efi

What We Covered…
► MDT Basics► Master Image► Working Image► Update the images► Branch office deployments► Deploying from a UFD
(c) 2011 Microsoft. All rights reserved.

Get In Touch With Me…► Let me know how your deployments are
going:– [email protected]
► Follow me on Twitter– [email protected]
► Bring me into your organization to hear more about deployment– For short term consulting and in-house training

Enrol in Microsoft Virtual Academy TodayWhy Enroll, other than it being free?The MVA helps improve your IT skill set and advance your career with a free, easy to access training portal that allows you to learn at your own pace, focusing on Microsoft technologies.
What Do I get for enrolment?► Free training to make you become the Cloud-Hero in my Organization► Help mastering your Training Path and get the recognition► Connect with other IT Pros and discuss The Cloud
Where do I Enrol?
www.microsoftvirtualacademy.com
Then tell us what you think. [email protected]

© 2010 Microsoft Corporation. All rights reserved. Microsoft, Windows, Windows Vista and other product names are or may be registered trademarks and/or trademarks in the U.S. and/or other countries.
The information herein is for informational purposes only and represents the current view of Microsoft Corporation as of the date of this presentation. Because Microsoft must respond to changing market conditions, it should not be interpreted to be a commitment on the part of Microsoft, and Microsoft cannot guarantee the accuracy of any information provided after the date of this
presentation. MICROSOFT MAKES NO WARRANTIES, EXPRESS, IMPLIED OR STATUTORY, AS TO THE INFORMATION IN THIS PRESENTATION.
(c) 2011 Microsoft. All rights reserved.