unity3d car tutorial - andrew gotow · pdf fileunity3d car tutorial by andrew gotow table of...
TRANSCRIPT
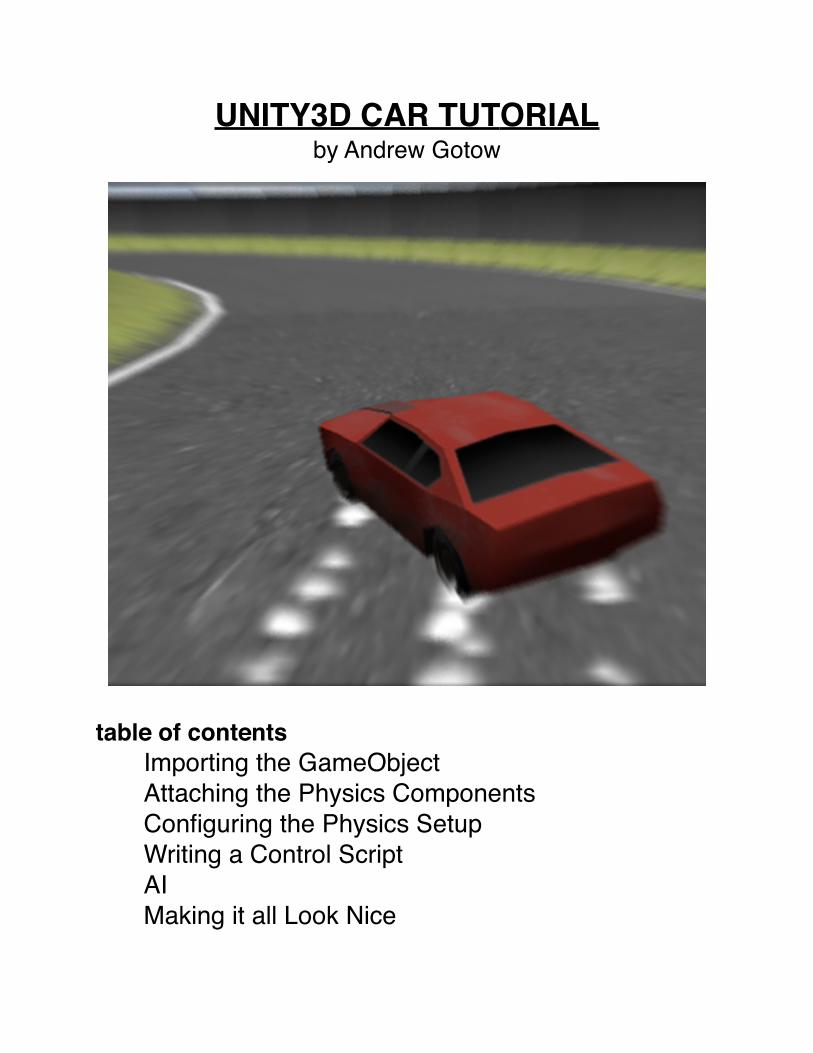
UNITY3D CAR TUTORIALby Andrew Gotow
table of contentsImporting the GameObjectAttaching the Physics ComponentsConfiguring the Physics SetupWriting a Control ScriptAIMaking it all Look Nice

Step 1 : Importing the Game Object.
The first step in creating a car setup is to set up the model in the editor so that it contains all of the necessary components. When you create a car model in your 3D modeling program (I'm using Maya), you want to make sure that you have the body, and all four wheels of the car modeled and loaded into Unity. You can have extra components, but it becomes increasingly confusing the more objects you're dealing with. I would only recommend having more if you were building a game that required the car to have break away panels or some sort of damage system.
Here you can see the basic setup I'm using. I grouped all of the wheels inside of one object so that I can easily hide them in the hierarchy.

Step 2 : Attaching the Physics Components
First, attach a rigidbody to your car object. click on Component/Physics/Rigidbody in the menu. This will make the car model a rigidbody, making it a part of the Unity physics environment. In order to have it properly react to collisions and behave like a car, we need to attach the colliders.
I generally create an empty game object, and make sure that the position and rotation are set to (0,0,0). Rename this "Colliders", this will serve as a container for all of the colliders that will be applied to the car. Then, create a few game objects and position them inside of this object. Then select them and click Component/Physics/BoxCollider in the menu. This will allow you to approximate the general shape of the car, while still keeping it simple.
NOTE: I generally create colliders as separate child objects of the main body, this way I can have multiple colliders in the general shape of the car. You could use a mesh collider for this, but mesh colliders do not work well for objects moving at high speeds.

In order to make the car behave properly, you can use the Unity3d built in Wheel Collider components. These are essentially extensions of the physics engine that use a raycast to determine the distance to the ground, then they apply a force on the rigidbody based on the compression of the "spring".
Create another empty game object, just like you did for the colliders, and name this "WheelColliders". You could put this in the "Colliders" object, but I find it easier to organize them separately. Next, place four empty objects in this container and select Component/Physics/WheelCollider in the menu. This will attach wheel colliders that can be configured to behave like real wheels. Position these colliders so that they are about where they should be on your car. They are invisible, so you can put them in slightly different places, but try to get them as accurate as possible.
NOTE : Wheel Colliders have a property called "Radius" as well as one called "Suspension Distance", this determines the radius and spring length of the virtual wheel in the physics engine. You will need to adjust these property so that it closely matches the actual radius and suspension distance of the wheel in your model.
Step 3 : Configuring the Physics Setup
Now that you have all of the parts set up, you need to tweak them so they work together properly. I generally model my vehicles off of existing real world cars. This is a safe way to ensure that your car behaves relatively well.
There are three key factors you will need to set.
* the vehicle mass * the suspension spring and damping * the tire friction
Starting with the simplest of the three, vehicle mass. I generally set the mass of my vehicles to a value around 1000-2000 kilograms. Depending on how you want your car to behave. You can use any value you like, but if you're going for a realistic setup, I would recommend staying within these values. To set the mass, select your base car object, and look in the inspector. There should be a tab for "Rigidbody", inside of this tab, there is a property called mass. Enter the chosen value, and press enter. Remember, all units in the physics engine are in Metric, so this value will be in kilograms.
NOTE : if you would like to convert English units to Metric, simply type it into Google and Google Calculator will automatically convert it for you.
Now to configure the wheel colliders. You will need to do this to all of the colliders, so select them one at a time and enter the values you like.
The suspension spring tab will let you set the spring values. These are important for making your car suspension behave in a realistic manner, and not just throwing your car across the map. Depending on the mass of your car, you will need to adjust the spring. Generally a value between 2000-5000 will do for a medium-weight vehicle as long as you set the damping value properly. Suspension damping slows the rate of spring extension. It prevents the springs from oscillating back and forth. I used a value of 50 in this example, but you may need more if the length of the
suspension is set longer.
Then you need to tweak the forward and sideways friction of the wheel. Forward friction determines the amount of friction on the wheel when rolling in the direction it's facing, Sideways friction determines the amount of friction that prevents the wheel from sliding sideways. If you would like to know more about how these values work, look them up in the Unity Reference Manual here
http://unity3d.com/support/documentation/Components/class-WheelCollider.html
I would not recommend changing the asymptote values until you know exactly how they work, it's much easier to change the "Stiffness" value. This is essentially a multiplier for the curve, when set lower, it decreases both values linearly. You will want this value set fairly low, generally less than 0.1 if you want your car to slide nicely. If the sideways friction stiffness is set too high, you may have some stability issues, the car will stick to the road so much, that when you try to turn at high speeds, your car will quite literally roll off into space.

Step 4 : Writing a Control Script
Now that we have the car set up in the editor, we can proceed to write the script to control it. Because I want this car to behave like a real race car, the script uses a system to simulate different gears, Each with a different gear ratio.
Unity wheel colliders are simple to use, and allow the user to easily set an engine torque value to power the wheels, but how do we know what to set this value to?
What I do, is specify a maximum engine Torque, maximum and minimum engine RPM, and an array of gear ratios. A gear ratio specifies how many rotations the engine makes, per rotation of the wheel. Simply put, it allows the wheels to spin at higher and higher speeds while still maintaining a constant engine RPM. The car must switch to a higher gear ( a gear with a lower ratio ) to maintain speed without the engine reaching it's maximum possible speed.
So, because we have the wheel RPM ( it's given by the wheel collider objects ), we can determine the engine RPM by multiplying the wheel speed by the ratio of the current gear. Using this we can determine what gear the engine should be in.
* If the calculated engine speed is greater than the maximum engine RPM, loop through all of the gears, checking to see whether the engine RPM multiplied by that gear ratio is less than the maximum engine RPM, if it is, then switch to that gear. This is essentially saying, if the engine is going too fast, make it so it isn't. * The same goes for downshifting, if the engine is going too slow, loop through all of the gears from highest to lowest, checking if it's within the acceptable engine range.
Let's review. Now we have a value for the engine RPM, and our script will automatically switch gears if it is higher or lower than it should be. Now we just need to apply a torque to the wheels depending on the gear.
The torque applied to the wheels should be the maximum engine torque divided by the gear ratio of the current gear. This will make it so that the torque applied by the engine increases as you shift up, and decreases as you shift down.
In order to make the car controlled by the player, just multiply the torque on the wheels by the input value, if you use "Input.GetAxis()", it will work perfectly. To make the car steer, you can just set the steer angle of the wheels to a base value multiplied by the input value.

Step 5 : AI
For most racing applications, a simple waypoint AI system works wonderfully. The user initially sets up a series of points, in key locations around the track. The car will then cycle through these points, steering itself towards the next point in the list, once it gets there, the process simply repeats. This method is effective and easy to use because it eliminates all potential path finding problems and allows the user to define exactly how they want the car to move.
The way this will be done is with a simple series of Game Objects, each in key locations around the track, the car will then have a variable for the root transform, which it will search through when the game first runs. From this hirarchy the AI will simply create an array of vectors. Using transforms in this way allows the user to reposition waypoints during runtime for all AI controlled vehicles, allowing them to easily tweak the way the AI controls the car.
First, set up an empty game object by selecting the Create Empty option in the Game Object menu. Then, using the inspector window, rename this object "Waypoints". This will be used as a container for all of the other waypoints, just to make it easier to manage.
NOTE : Ensure that your "Waypoints" container object is at a position and rotation of (0,0,0)
Next, create another empty game object, name it "Waypoint_0", and drag-and-drop it inside the "Waypoints" container. ( These game objects don't need to have any components attached because we are only using their positions so they only need to have the default "Transform" component.)
Position this waypoint a little ways ahead of the starting line for your course, and duplicate it, renaming the copy "Waypoint_1" and position the copy along the path of the course, continue this process placing the points at regular intervals, making sure to give them numerically increasing names until you reach the finish line or come back to the start
line. (Because these points are automatically read into the AI script, you want to keep the same naming convention).
OPTIONAL SECTION
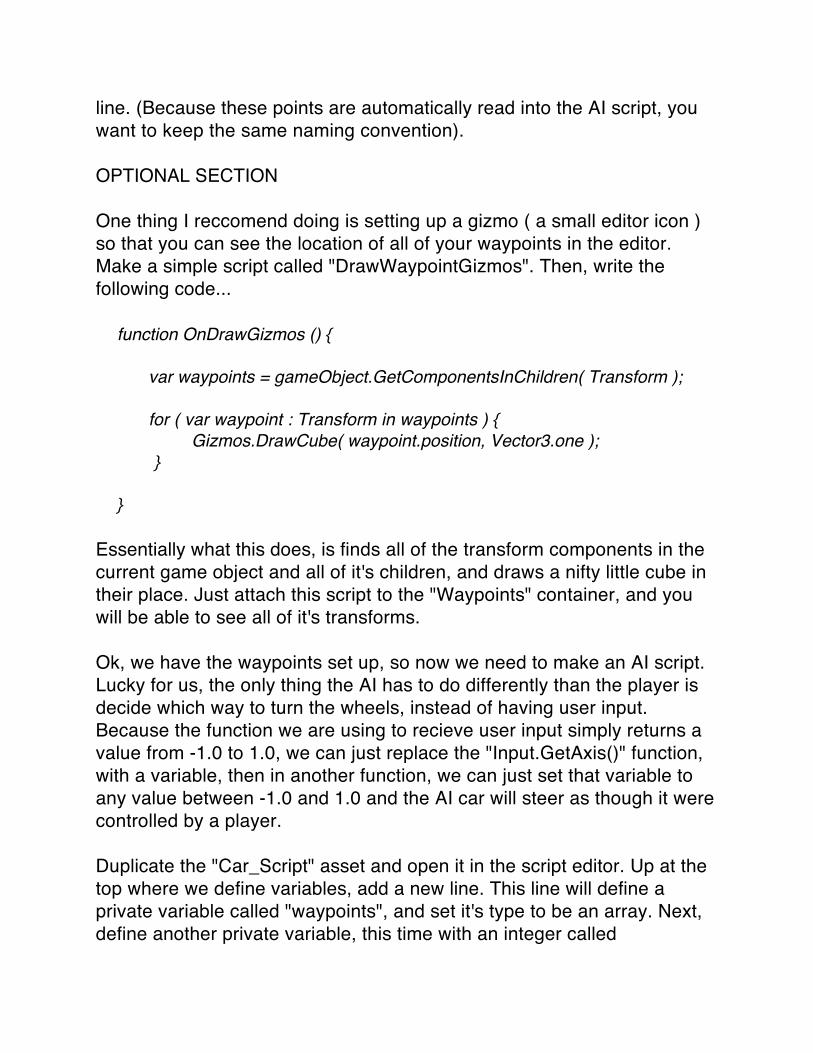
One thing I reccomend doing is setting up a gizmo ( a small editor icon ) so that you can see the location of all of your waypoints in the editor. Make a simple script called "DrawWaypointGizmos". Then, write the following code...
function OnDrawGizmos () {
var waypoints = gameObject.GetComponentsInChildren( Transform );
for ( var waypoint : Transform in waypoints ) { Gizmos.DrawCube( waypoint.position, Vector3.one ); }
}
Essentially what this does, is finds all of the transform components in the current game object and all of it's children, and draws a nifty little cube in their place. Just attach this script to the "Waypoints" container, and you will be able to see all of it's transforms.
Ok, we have the waypoints set up, so now we need to make an AI script. Lucky for us, the only thing the AI has to do differently than the player is decide which way to turn the wheels, instead of having user input. Because the function we are using to recieve user input simply returns a value from -1.0 to 1.0, we can just replace the "Input.GetAxis()" function, with a variable, then in another function, we can just set that variable to any value between -1.0 and 1.0 and the AI car will steer as though it were controlled by a player.
Duplicate the "Car_Script" asset and open it in the script editor. Up at the top where we define variables, add a new line. This line will define a private variable called "waypoints", and set it's type to be an array. Next, define another private variable, this time with an integer called

"currentWaypoint" with a default value of 0, then assign a variable called "waypointContainer" as a type "GameObject". The script will find the waypoint transforms by searching through the children of this gameObject. Lastly, define two new private floats called "inputSteer" and "inputTorque" These will be the variables we are substituting for player input.
The top of your script should now look something like this...
var FrontLeftWheel : WheelCollider; var FrontRightWheel : WheelCollider;
var GearRatio : float[]; var CurrentGear : int = 0;
var EngineTorque : float = 600.0; var MaxEngineRPM : float = 3000.0; var MinEngineRPM : float = 1000.0; private var EngineRPM : float = 0.0;
var waypointContainer : GameObject; private var waypoints : Array; private var currentWaypoint : int = 0;
private var inputSteer : float = 0.0; private var inputTorque : float = 0.0;
Now, create a new function called "GetWaypoints", and inside, write
var potentialWaypoints : Array = waypointContainer.GetComponentsInChildren( Transform );
waypoints = new Array();
for ( var potentialWaypoint : Transform in potentialWaypoints ) { if ( potentialWaypoint != waypointContainer.transform ) { waypoints[ waypoints.length ] = potentialWaypoint; } }

all this simple function does is take in a source container, and takes all of the transforms in it and all its children. Then, it loops through those possible waypoints, and determines whether or not they are the source container. If they're not, it adds them to the waypoint array. We need to do this because otherwise it would treat the container as another waypointa and the cars would steer off the road. Now, just call this function inside the "Start" function of your AI script. This will automatically compile a nice list of waypoints for later use.
Now, make a function called "NavigateToWaypoint". Inside this function, we will put all of the code to change the input steer and torque values. The way we will do this, is by finding the position of the waypoint relative to the car, that way we can find out how far on either side of the car the point is. You can do this using the "TransformPoint()" function, giving you the location of any point relative to the rotation and position of the current transform.
The line should look something like this...
var RelativeWaypointPosition : Vector3 = transform.InverseTransformPoint( Vector3( waypoints[ currentWaypoint ].position.x,
transform.position.y, waypoints[currentWaypoint].position.z ) );
NOTE : the reason I'm using a new Vector3 instead of the straight waypoint position is because I want the vehicle to disregard all vertical input.
Now we can simply set the steer angle to the relative position in the X axis, divided by the relative position magnitude. This will give us a value from -1 to 1, 0 being when the object is straight ahead, -1 and 1 being when the waypoint is perfectly parallel with the car.
The input torque value will be a little more complicated, we want the car to accelerate all the time except for when it's turning very sharply. Using an if statement, we check if the absolute value of the steer angle is less than
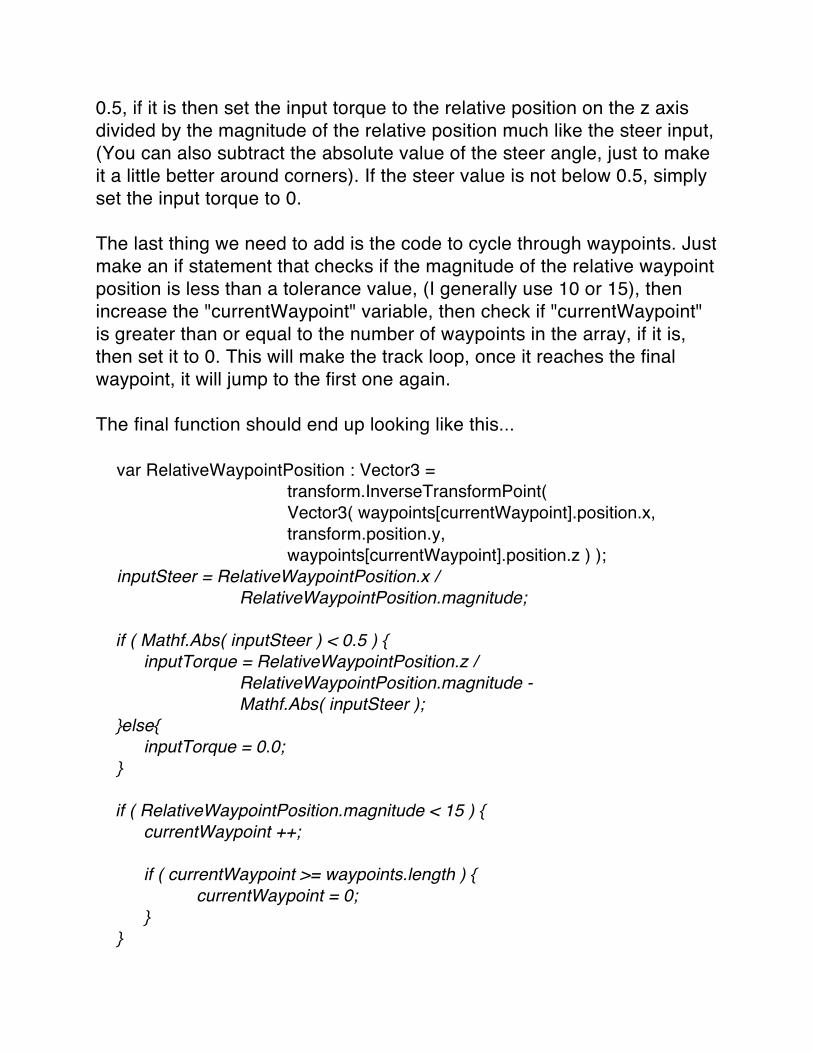
0.5, if it is then set the input torque to the relative position on the z axis divided by the magnitude of the relative position much like the steer input, (You can also subtract the absolute value of the steer angle, just to make it a little better around corners). If the steer value is not below 0.5, simply set the input torque to 0.
The last thing we need to add is the code to cycle through waypoints. Just make an if statement that checks if the magnitude of the relative waypoint position is less than a tolerance value, (I generally use 10 or 15), then increase the "currentWaypoint" variable, then check if "currentWaypoint" is greater than or equal to the number of waypoints in the array, if it is, then set it to 0. This will make the track loop, once it reaches the final waypoint, it will jump to the first one again.
The final function should end up looking like this...
var RelativeWaypointPosition : Vector3 = transform.InverseTransformPoint( Vector3( waypoints[currentWaypoint].position.x,transform.position.y,waypoints[currentWaypoint].position.z ) );
inputSteer = RelativeWaypointPosition.x /RelativeWaypointPosition.magnitude;
if ( Mathf.Abs( inputSteer ) < 0.5 ) { inputTorque = RelativeWaypointPosition.z /
RelativeWaypointPosition.magnitude - Mathf.Abs( inputSteer );
}else{ inputTorque = 0.0; }
if ( RelativeWaypointPosition.magnitude < 15 ) { currentWaypoint ++;
if ( currentWaypoint >= waypoints.length ) { currentWaypoint = 0; } }

Now all you have to do is call this function in the update loop, and replace the "Input.GetAxis()" function calls with the "inputSteer" and "inputTorque" values, and you should have an AI that drives around your track.
This code is for a basic waypoint based AI, so there might be some problems with navigating particularly tricky corners, or changing directions very quickly, but as long as your course is relatively large, and you don't expect any 270 degree hairpin turns, I think it will work very well.
Step 6 : Making it all Look Nice
Now, we have a car that drives around, the only problem is that it still isn't very cool without sound effects and spinning wheels. In order to make engine sounds, we can attach an audio source by selecting our car and going into the menu and selecting Components/Audio/AudioSource This will create a source for our sound so we can play it. Select the body of your car, and open the new Audio Source tab, inside there should be a couple of options you will need to modify. First, drag and drop the sound you would like the car to play as the engine roar into the slot. Next, make sure that you check the "Loop" and "Play on Awake" boxes, this will ensure that your sound will play constantly as soon as you start.
NOTE : For the engine sound, we will be automatically adjusting pitch, make sure your sound loops and remains at a constant pitch all the way through.
Now that we have the audio set up, we need to modify it to sound cool. Go into your car script, and add a new line. We want the engine sound to increase in pitch as the rpm of the engine increases. This way, the sound will be higher when the car is accelerating, until it switches gears when it will jump down suddenly. You have an engine RPM set up, as well as a maximum engine RPM, so why not just divide one by the other? With division, you get a value between 0 and 1, perfect for modifying pitch.
So the new line in your script should look something like this...
audio.pitch = Mathf.Abs(EngineRPM / MaxEngineRPM) + 1.0 ;
NOTE : I added 1.0 because I wanted the engine idle pitch to be the original pitch of the sound, and the highest pitch to be twice that.
Now, on to the wheels. Basically, we want the wheels to be at the orientation of the car, but rotated around the X and Y axis, so that they turn when they're in contact with the ground. The easiest way to do this, is to align the wheels with the suspension and combine the rotation of the car by the rotation of the wheel. To position the visible wheel, first create
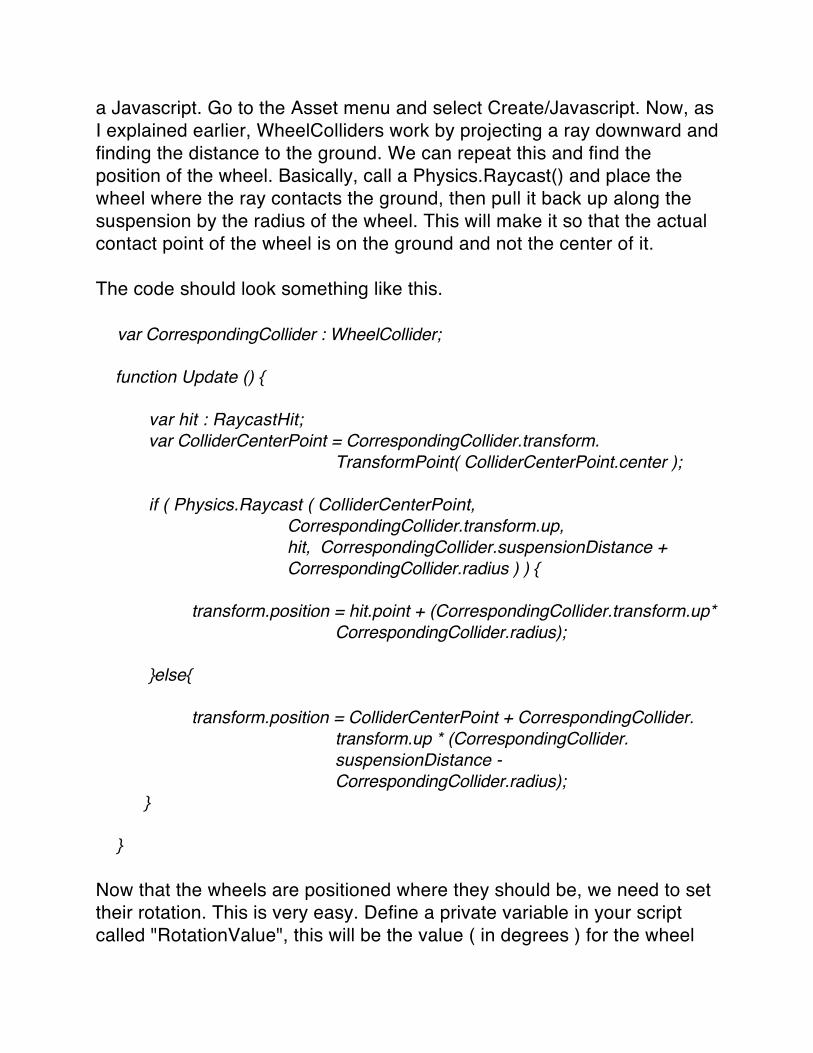
a Javascript. Go to the Asset menu and select Create/Javascript. Now, as I explained earlier, WheelColliders work by projecting a ray downward and finding the distance to the ground. We can repeat this and find the position of the wheel. Basically, call a Physics.Raycast() and place the wheel where the ray contacts the ground, then pull it back up along the suspension by the radius of the wheel. This will make it so that the actual contact point of the wheel is on the ground and not the center of it.
The code should look something like this.
var CorrespondingCollider : WheelCollider;
function Update () {
var hit : RaycastHit; var ColliderCenterPoint = CorrespondingCollider.transform.
TransformPoint( ColliderCenterPoint.center );
if ( Physics.Raycast ( ColliderCenterPoint, CorrespondingCollider.transform.up, hit, CorrespondingCollider.suspensionDistance + CorrespondingCollider.radius ) ) {
transform.position = hit.point + (CorrespondingCollider.transform.up* CorrespondingCollider.radius);
}else{
transform.position = ColliderCenterPoint + CorrespondingCollider.transform.up * (CorrespondingCollider.suspensionDistance - CorrespondingCollider.radius);
}
}
Now that the wheels are positioned where they should be, we need to set their rotation. This is very easy. Define a private variable in your script called "RotationValue", this will be the value ( in degrees ) for the wheel

rotation around the axle. Now, to combine the wheel's rotation with that of the wheel collider, you'd normally have to venture into quaternion math, but thankfully, Unity does that for us =). Just define the rotation of the wheel as a quaternion and multiply it with the rotation of the wheel collider.
The last step is to increment RotationValue, the wheel colliders conveniently have a value called rpm, so we just have to convert this to degrees per second and add it to rotation value.
The code should look something like this...
transform.rotation = CorrespondingCollider.rotation * Quaternion.Euler( RotationValue, CorrespondingCollider.steerAngle, 0 );
RotationValue += CorrespondingCollider.rpm * ( 360/60 ) * Time.deltaTime;
Now just stick this script on the visible wheels and attach the corresponding collider for each wheel, and now they should work properly.
Now, the burning question, "How do I effects when my car slides around?" Wheel colliders have a wonderful function called GetGroundHit. A ground hit contains all of the information the wheel collider has about it's speed relative to the ground, using this we can check slip values! We can assign a prefab object to be created when the wheels slip, then check the ground hit, if they are slipping, then instantiate the prefab. This is a great way to make smoke, or activate a trail renderer to make tire skid marks.
I generally make a separate game object for each wheel and attach a trail renderer from the Component/Particles/TrailRenderer menu item to each of them, then if the corresponding wheel is slipping, I just enable that renderer. This is an easy way to make short tire marks on the ground, and it looks pretty good!

The code should look like this
var CorrespondingHit : WheelHit; CorrespondingCollider.GetGroundHit( CorrespondingHit );
if ( Mathf.Abs(CorrespondingHit.sidewaysSlip) > 0.5 ) {
Instantiate( SlipPrefab, transform.position, Quaternion.identity );
TireTrailRenderer.enabled = true;
}
That pretty much sums it up. I hope this tutorial has helped, You can always contact me at [email protected] if you need any more advice. The complete project is avaliable for download at the bottom of the page, and all of the values I used for the parameters in the scripts are listed below. Happy driving!

I modeled my tutorial car after an Audi R8, the values in the example project are as follows.
RIGIDBODY VALUES
* Mass : 1600 kg
WHEEL VALUES
* Suspension Distance : 0.2 m * Wheel Radius : 0.4 m * Suspension Spring : 5500 N * Forward Friction Stiffness : 0.092 * Sideways Friction Stiffness : 0.022
SCRIPT VALUES
* Engine Torque : 600 N*M * Max Engine RPM : 3000 * Min Engine RPM : 1000
GEAR RATIOS
* 1st Gear : 4.31 : 1.0 * 2nd Gear : 2.71 : 1.0 * 3rd Gear : 1.88 : 1.0 * 4th Gear : 1.41 : 1.0 * 5th Gear : 1.13 : 1.0 * 6th Gear : 0.93 : 1.0
If you have any more questions, you can contact me at [email protected]
