unit 1 - wikispacesbrienzaaliceandjava.wikispaces.com/file/view/brienza+unit+1... · slice of ham...
TRANSCRIPT

Unit 1Programming in Alice & Java

Day 1: Introduction to Programming Logic
Objective: Understand the need for step-by-step logic;
Basic working of a computer
Essential Skill: Gather and organize information and data
Warm-up: Write the steps or directions for making a
peanut butter and jelly sandwich.

Computers just follow instructions!
Can store and manipulate data
Has basic operations
Add/subtract/multiply/divide
Move
Determine which of 2 numbers is bigger
Instructions must be put together in a program

Definitions and Helpful Tools
Algorithm: a set of well-defined, logical steps that must be
taken in order to perform a task
Pseudocode: steps written in English
Ex: the directions you wrote for the sandwich
Activity: Write pseudocode for calculating someone’s weekly
salary
Flow chart: diagram showing steps (example on next slide)
Storyboard: pictures and descriptions of actions you want to
take place
Especially useful for animation/games/simulations

Flow Chart Example:
START
Take out 2
slices of
bread
Take out 1
slice of ham
Place ham
squarely on 1
slice of bread
Enough
ham?
No Yes
Take out 1
slice of
cheese
Place cheese
squarely on
top of ham
Enough
cheese?
No Yes
Put 1 tsp of
mustard on
top of cheese
Spread with
knife to cover
cheese
Place other
piece of bread
squarely on top
Slice in half
STOP

Languages
A computer uses the language binary
On/off switch
1’s and 0’s
Programming languages:
More like English
Must have an associated compiler
Designed to be used for various tasks
Must be written exactly right or the compiler can’t change it to
machine code

Two Parts to Programming
Logic
Break tasks down into steps
Figure out the order
Syntax (rules)
What words to use
Symbols ie. {}, ; ()
Day 2: Introduction to Alice
Objective: Understand what Alice is and how it is used
Essential Skill: Gather and organize information and data
Warm-up: Write the psuedocode for cooking scrambled eggs
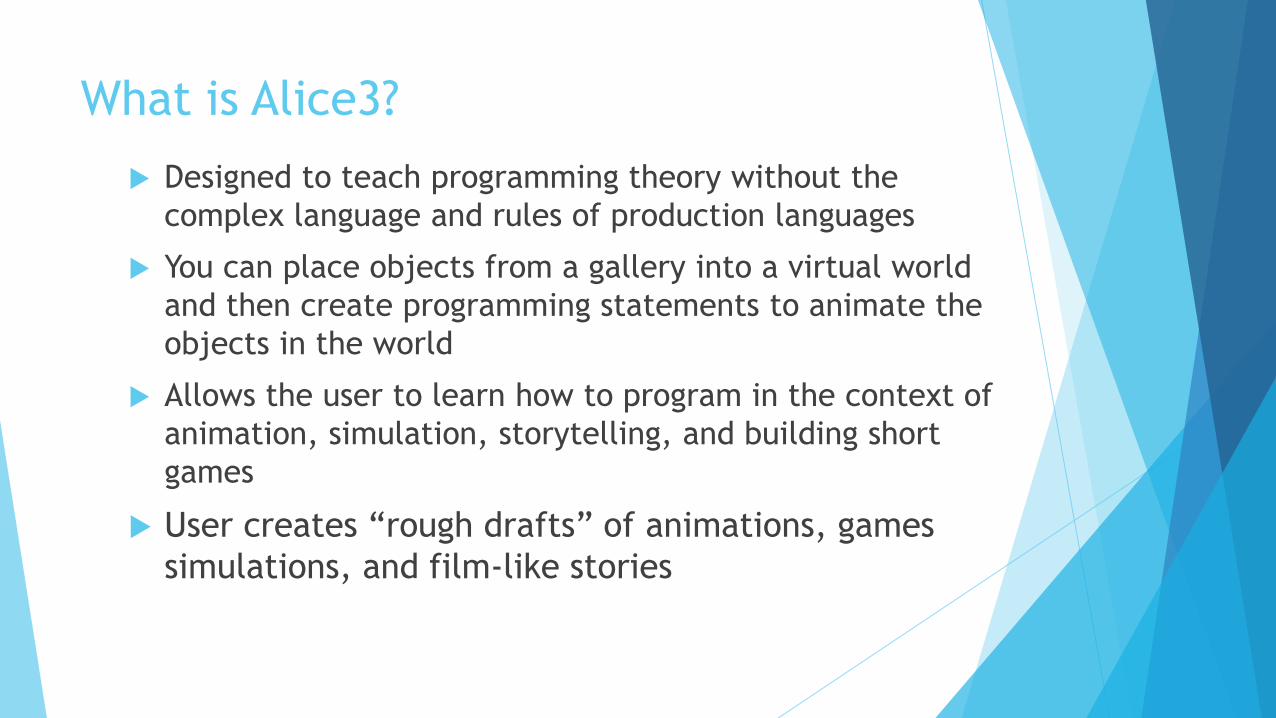
What is Alice3?
Designed to teach programming theory without the
complex language and rules of production languages
You can place objects from a gallery into a virtual world
and then create programming statements to animate the
objects in the world
Allows the user to learn how to program in the context of
animation, simulation, storytelling, and building short
games
User creates “rough drafts” of animations, games
simulations, and film-like stories

A Brief Tour: An overview of Alice3

Start Alice3 and select a template

Now this screen should start:
Code editorScene view
Methods panel
Control tiles
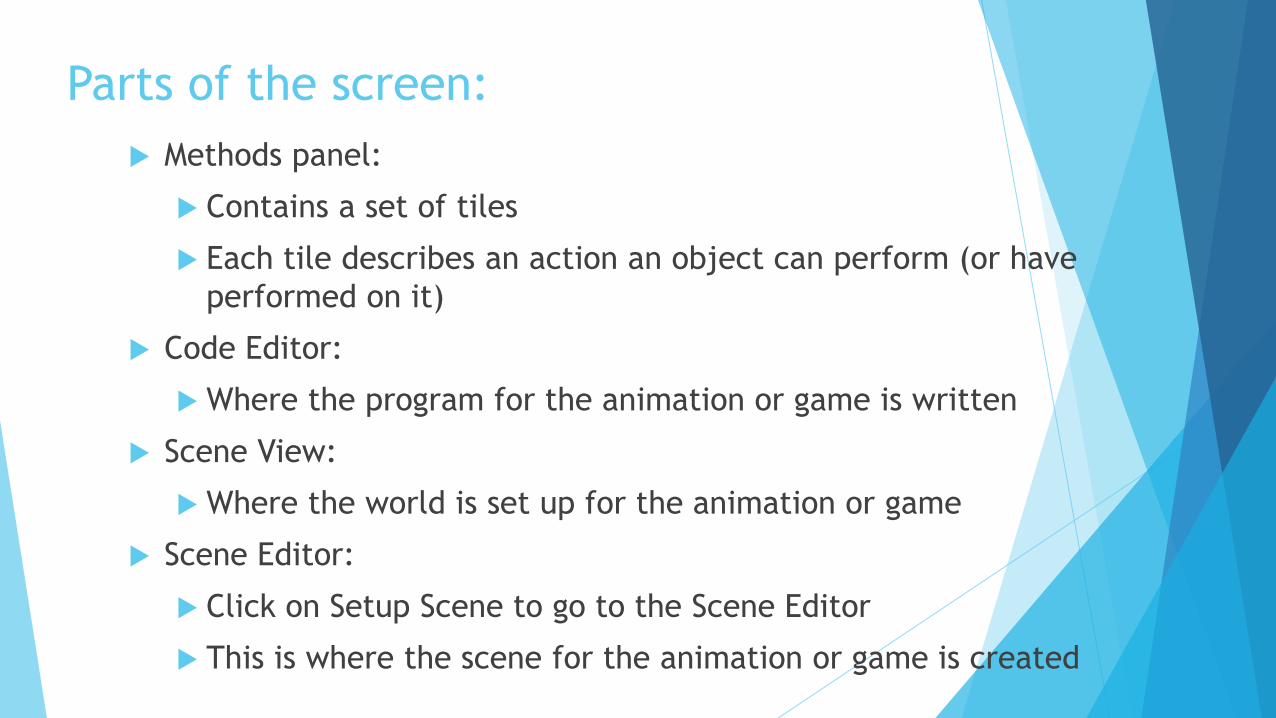
Parts of the screen:
Methods panel:
Contains a set of tiles
Each tile describes an action an object can perform (or have
performed on it)
Code Editor:
Where the program for the animation or game is written
Scene View:
Where the world is set up for the animation or game
Scene Editor:
Click on Setup Scene to go to the Scene Editor
This is where the scene for the animation or game is created

Alice World
An Alice project creates a virtual world
Primary component of a world is a scene
The current scene is known as the “this” scene
Components of a scene:
always has a camera and a ground surface (which may be
grass, sand, rocks, or even water)
Other objects may be added to a scene
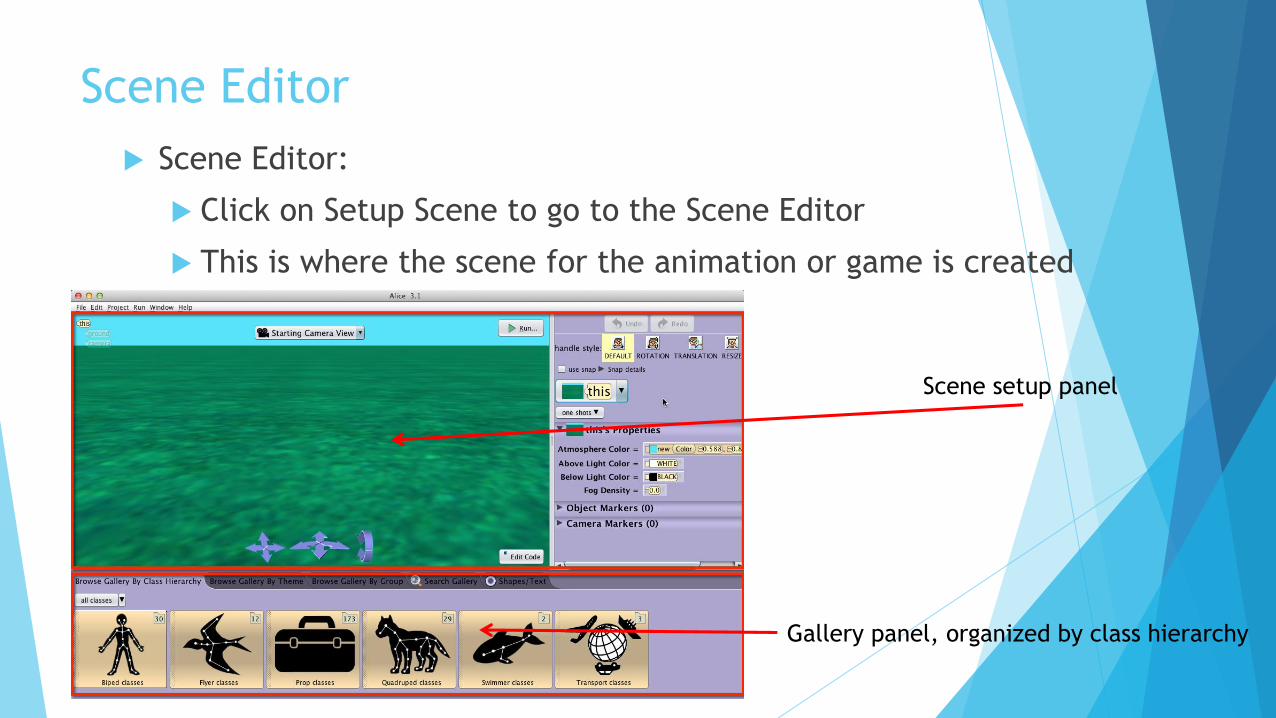
Scene Editor
Scene setup panel
Gallery panel, organized by class hierarchy
Scene Editor:
Click on Setup Scene to go to the Scene Editor
This is where the scene for the animation or game is created

Classes
Each 3D model is a pre-written class
In Alice, a class defines
A plan for constructing a new object in an Alice scene
Actions an object of that class can perform
Classes
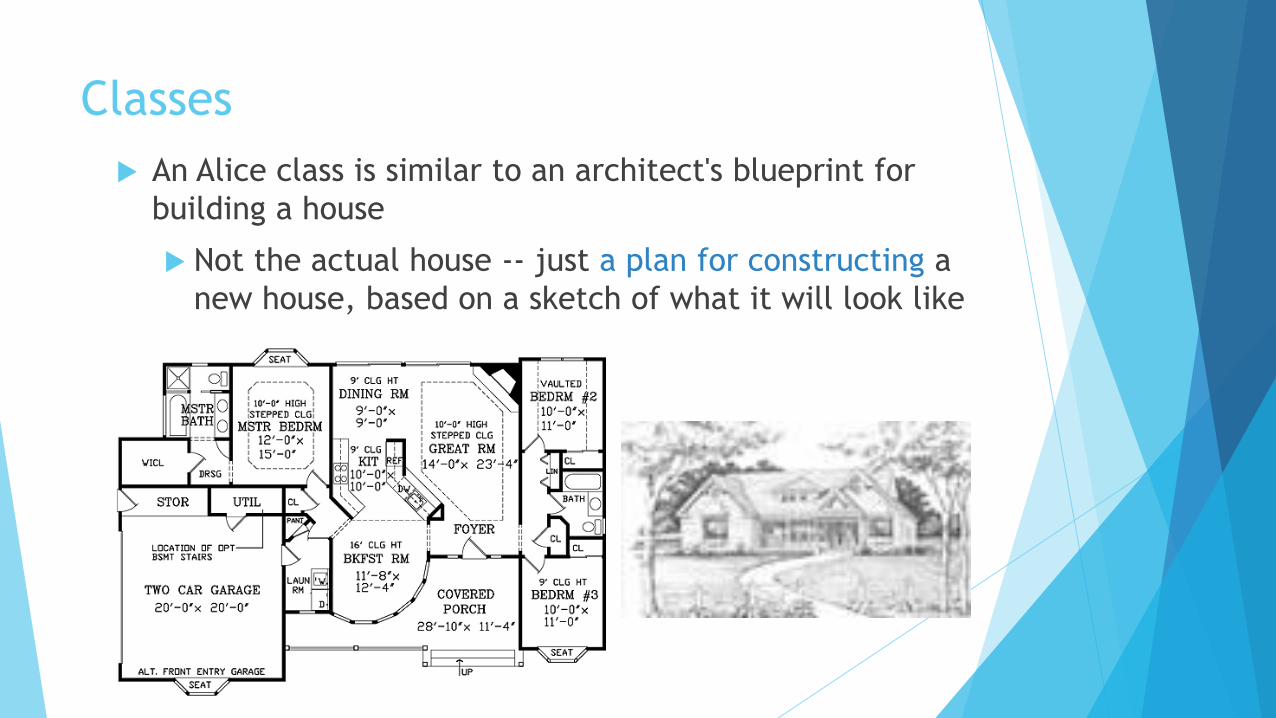
An Alice class is similar to an architect's blueprint for
building a house
Not the actual house -- just a plan for constructing a
new house, based on a sketch of what it will look like

Objects
An instance of a class is an object
The gallery tabs provide alternate organization
In these panels, classes are organized based on how objects
move around in a scene
Each class folder is like a drawer in a file cabinet, where all
classes of the same type are stored.
Flyer (has wings and can fly)
Biped (walks on 2 legs)
Quadraped (walks on 4 legs)
Swimmer (lives in water, swims)

Adding Objects
Select class folder for the type of object that you wish to
add to the scene
Lets use a Quadruped!
Within the Quadruped folder are classes of objects that
move around on 4 legs.
Each image is labeled with the name of the class and
shows a preview for a new object of that class.

Adding Objects
Click on the image to select one of 10 versions of objects that can be
created by the DragonBaby class
The DragonBaby class has 10 different paint resources
Click on one of the images to select one of the paint resources
Alice will automatically create a new DragonBaby object and paint it
with the selected paint resource
Enter a name for the new DragonBaby object
10 different versions of DragonBaby objects

Terminology: Instance/Object
We have constructed a new instance of the DragonBaby
class and identified it with the name izzy
We say an instance of a class is an object

Naming Conventions
Meaningful names
Most languages do not allow spaces so we will not use them
Pascal Case
Each word starts as upper case
Used for classes
Ex. IceSkater, DragonBaby
Camel Case
First word lower case, other words upper case
Used for objects – instances of a class, and methods
Ex. blackBeauty, izzyTheBabyDragon

Alternate Technique
A new object may be added to a scene by clicking and
dragging the image into the scene
The dialog box for naming the object will still pop up, in
the same way as before

Objects of the Same Class
A scene may have more than one object of the same class
Example:
Izzy and Josh are two different objects (instances) of
the same DragonBaby class.
Different objects have different names and may have
different colors, sizes, and other properties.
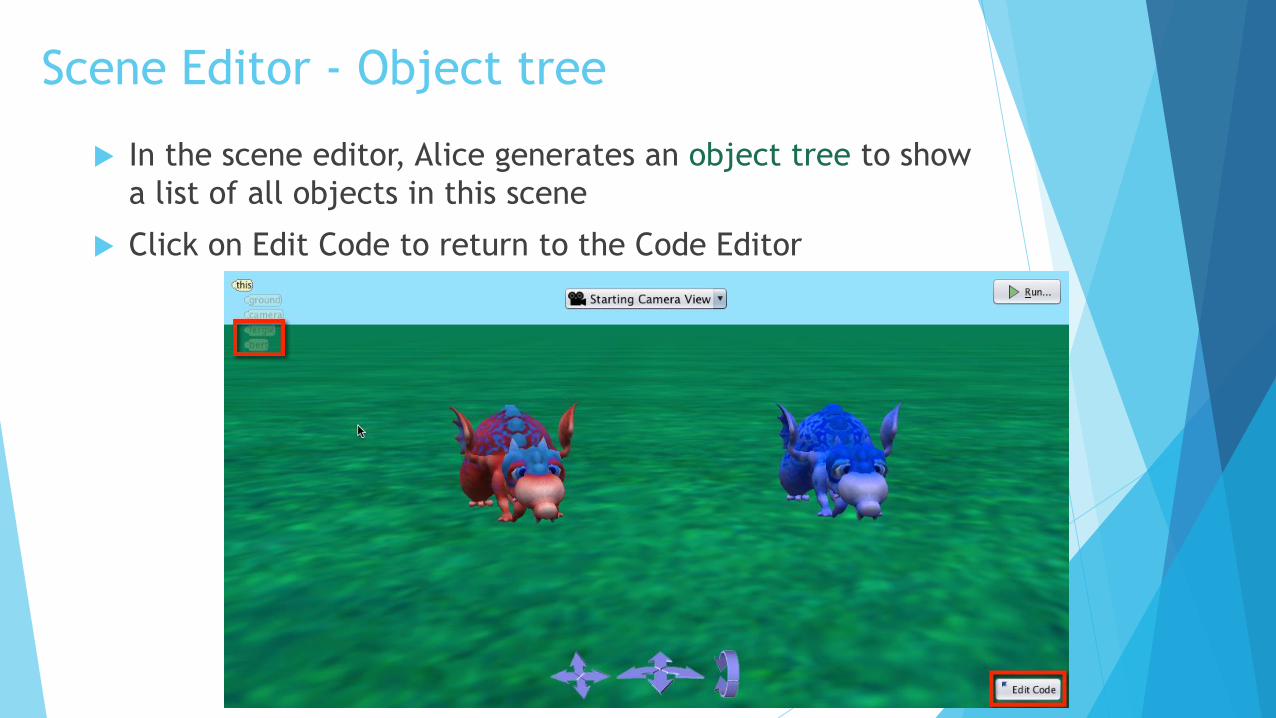
Scene Editor - Object tree
In the scene editor, Alice generates an object tree to show
a list of all objects in this scene
Click on Edit Code to return to the Code Editor

Code Editor – Object list
In the code editor, Alice generates a corresponding list of
objects in a pull-down menu
Object menu
Object tree
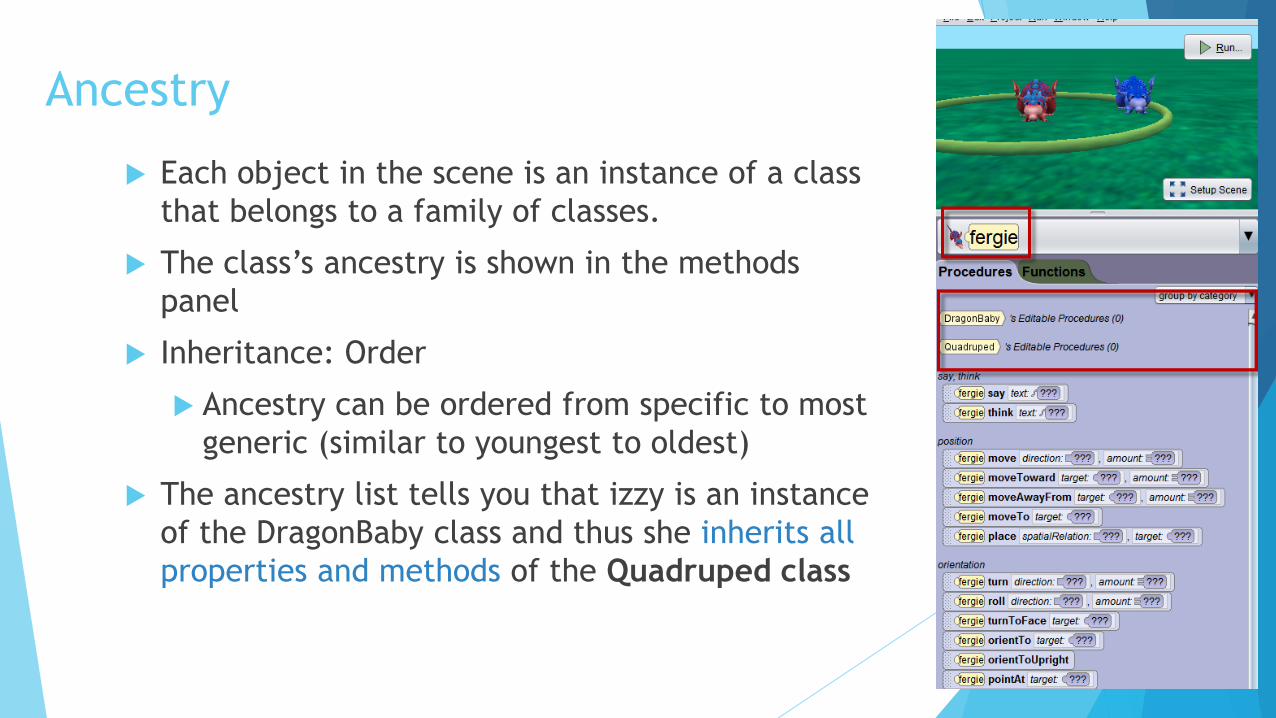
Ancestry
Each object in the scene is an instance of a class
that belongs to a family of classes.
The class’s ancestry is shown in the methods
panel
Inheritance: Order
Ancestry can be ordered from specific to most
generic (similar to youngest to oldest)
The ancestry list tells you that izzy is an instance
of the DragonBaby class and thus she inherits all
properties and methods of the Quadruped class

Class Hierarchy
In computer science, we often use a more abstract
representation of class inheritance, known as a class hierarchy
Model
|-JointedModel
├ SQuadruped
├ Quadruped
├ DragonBaby
Note that Izzy is NOT specified in the class hierarchy because
Izzy is an object, NOT a class.
Not shown in Methods Panel

Classwork:
Now you have time to play!
Create a world and add some objects
Explore the gallery to see what classes are available
Check out any other features of the scene editor

Objective: Learn how to move objects in Alice3
Essential Skill: Gather and organize information and data
Warm-up: Create a scene with the Sea Floor template and
add an instance of the DesertTortoise class (in the
quadruped folder)
Day 3: Motion and Rotation

Alice Object Properties
An Alice object:
is located in a 3D world, positioned at (x, y, z)
has 3 dimensions(height, width, depth)
can move in 6 directions
An object’s center is its pivot point (around which it moves and rotates)
The center of an object is usually where it stands on the ground
up
right
forward
down
left
back
center

Describing an Objects Location
Position: relative to the ground’s origin (x,y,z)
Orientation: an object’s sense of its own forward and up directions
(19, 15, -20)
(0, 0, 0)

Translational Motion
Translational motion changes the location of an object in the world
The direction of translational motion is stated relative to the
orientation of the object
Six possible directions: left, right, up, down, forward, backward
Example: Move forward
object’s new position is now “in front of” its previous position
(relative to the object’s own sense of forward)
object’s position (x,y,z) coordinate has changed; it’s sense of “up”
has not changed.

Rotational Motion
Changes the orientation of an object in the world
There is no change of position of the object
Object’s center acts as its pivot point for rotation
Two forms of rotational motion:
Turn: forward, backward, left, right
Roll: left, right
Example: Roll right
Object’s new position is now rotated to the right of its original
position (relative to the object’s own sense of right)
Object’s location (x,y,z)-coordinate has not changed. It’s sense of
“up” has changed but its sense of forward has stayed the same

Lets try it! Go back to your warmup
You will see you have handles to control the movement:
Default allows Left/Right and Forward/Backward movement
Rotation allows Forward/Backward and Left/Right turn and Left/Right roll
Translation allows Up/Down, Left/Right and Forward/Backward movement
Resize Allows you to increase or decrease the size of the object

Mouse and Keyboard Commands
Use mouse to drag object left ↔ right or forward ↔ backward
Hold shift key and drag for up ↔ down
Hold ctrl key (option key, Mac) for rotation

Join Motion
Objects often (not always) have internal joints that can be
animated to control subparts of the model.
A joint connects a subpart of the body to the rest of the body
A joint can be turned or rolled but cannot be moved

Biped X-Ray

Quadruped X-Ray

Subparts
A subpart may be connected to another subpart
Rotating one subpart may also rotate other subparts
Examples:
Turning the left shoulder joint will also turn the entire arm of the alien, including the forearm, wrist, hand, fingers, etc.
Turning the left elbow joint will also turn the alien’s forearm, wrist, hand, fingers, etc.

Subparts
The orientation of a subpart is not necessarily the same as the
orientation of the whole object
A subpart cannot be moved
A move would detach the joint (and its connected subpart) from rest of
the model, so a move action is NOT allowed for a subpart of an object.

Rotational Motion: Joint/Subpart
A subpart’s joint acts as its pivot point for rotation of the subpart
To access a joint, click on the arrow next to the object’s name in the object list
Red Handle: Turns joint forward and backward
Green Handle: Turns joint left and right
Blue Handle: Rolls joint left and right

Example!
Look at the DesertTortoise’s subparts
Select the FrontRightKnee
You can now move that subpart
Play around a little

One Shots

Classwork
Now you have time to play!
Create a world
Add some objects
Move them around
Resize them
Try moving subparts
Tip: Don’t forget you have an undo button!

Day 4: Classwork 1.1
We will do this together!
Write up posted on website so you can follow along

Day 5: Project 1.1
Write up posted on website

Day 6: Quiz 1.1
20 points
Multiple choice
True/False
Short Answer
Material from PowerPoint and Class Discussions