tutorial: introduction to asp.net internet technologies and web application 4 th february 2010
TRANSCRIPT

Tutorial:Introduction to ASP.NET
Tutorial:Introduction to ASP.NET
Internet Technologies and Web Application4th February 2010
Lesson 1:Starting Microsoft Visual Studio.NET
2008
Lesson 1 - Starting Microsoft Visual Studio.NET 2008
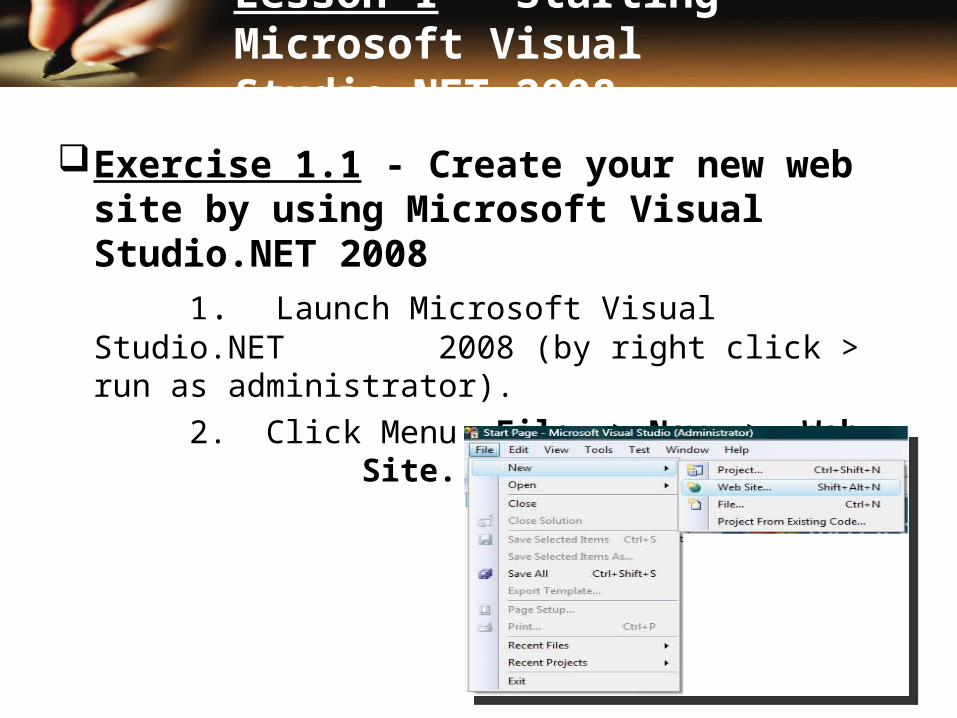
Exercise 1.1 - Create your new web site by using Microsoft Visual Studio.NET 2008
1. Launch Microsoft Visual Studio.NET 2008 (by right click > run as administrator).
2. Click Menu File -> New -> Web Site.
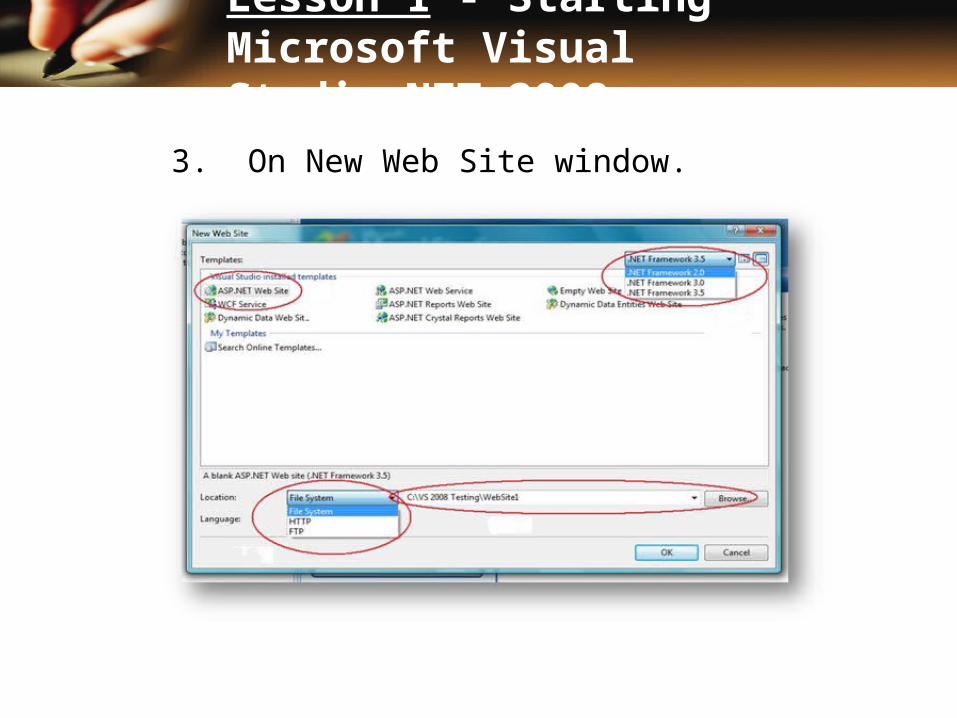
3. On New Web Site window.
Lesson 1 - Starting Microsoft Visual Studio.NET 2008
4. Choose icon ASP.NET Web Site in Templates region.
5. Select item .NET Framework Runtime Version (Default V 2.0).
6. Choose Location for File Running Web Site (Choose HTTP).
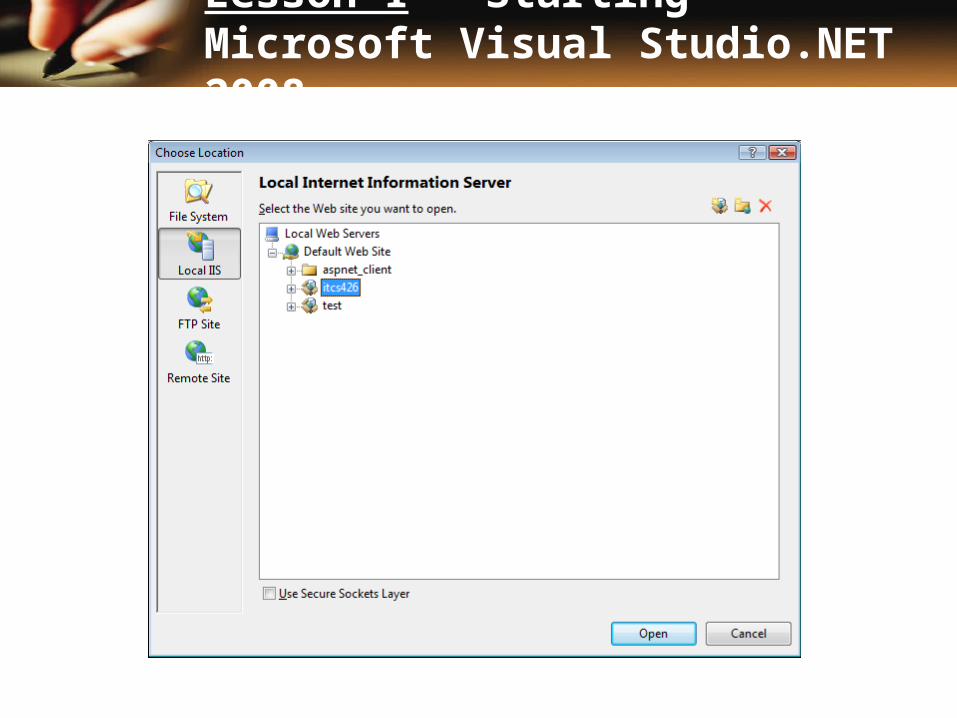
7. Browse for the location where you want to keep the web pages (browse to local IIS and choose itcs426).
8. Add site name in location after itcs426.9. Choose the programming Language
(Visual C#), then Click OK to create new web site.
Lesson 1 - Starting Microsoft Visual Studio.NET 2008
Lesson 1 - Starting Microsoft Visual Studio.NET 2008
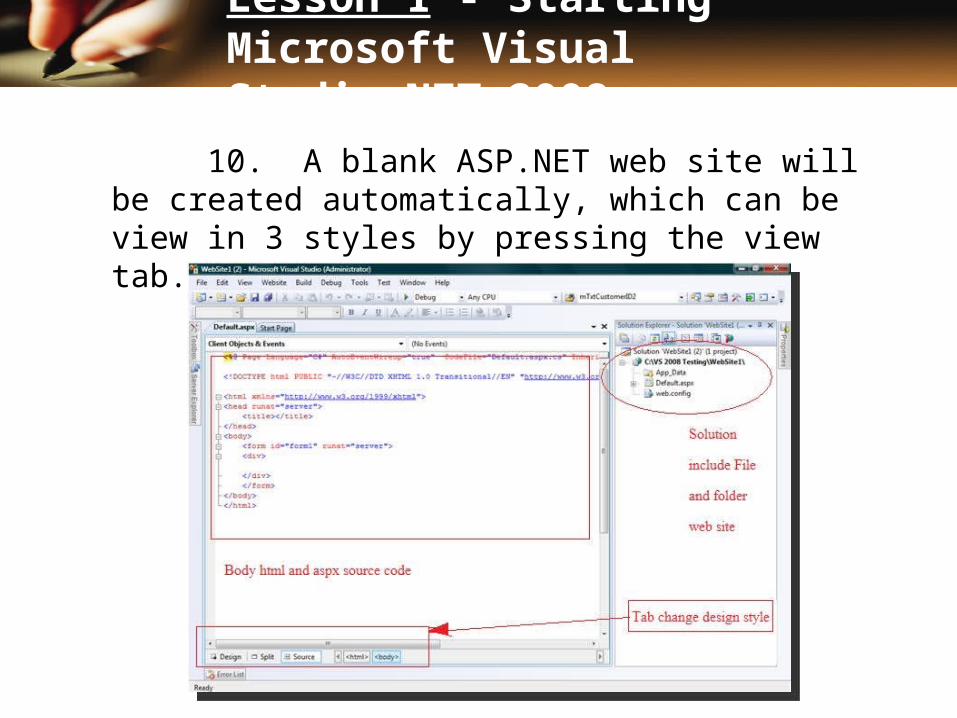
10. A blank ASP.NET web site will be created automatically, which can be view in 3 styles by pressing the view tab.
Lesson 1 - Starting Microsoft Visual Studio.NET 2008
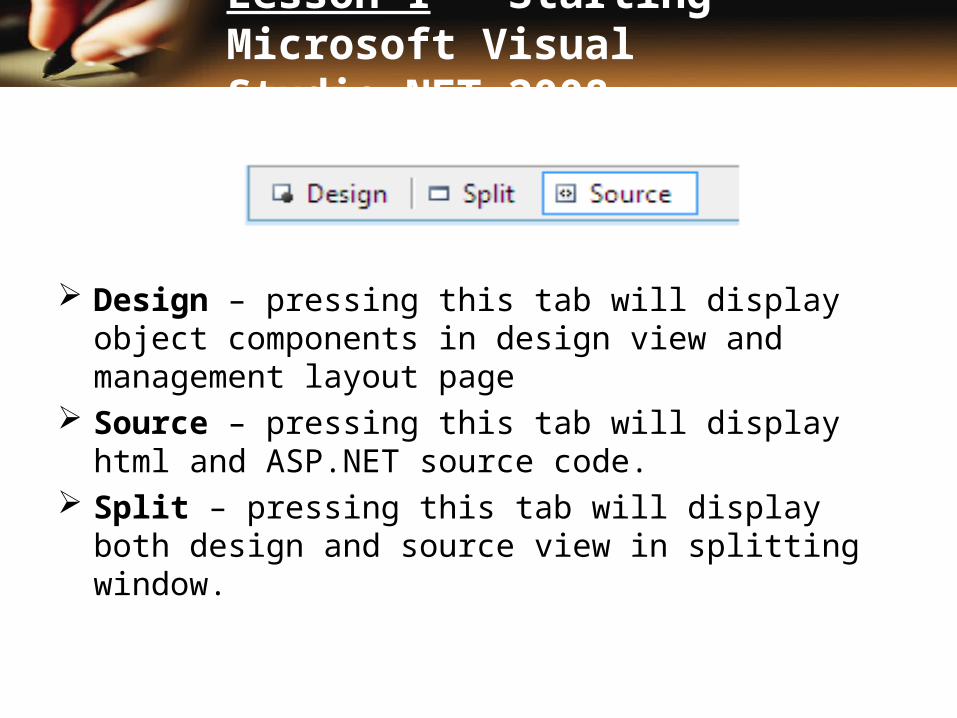
Design – pressing this tab will display object components in design view and management layout page
Source – pressing this tab will display html and ASP.NET source code.
Split – pressing this tab will display both design and source view in splitting window.
Lesson 1 - Starting Microsoft Visual Studio.NET 2008

Exercise 1.2 – Explore design view and study design area components
1122
33
44
55
66
Lesson 1 - Starting Microsoft Visual Studio.NET 2008
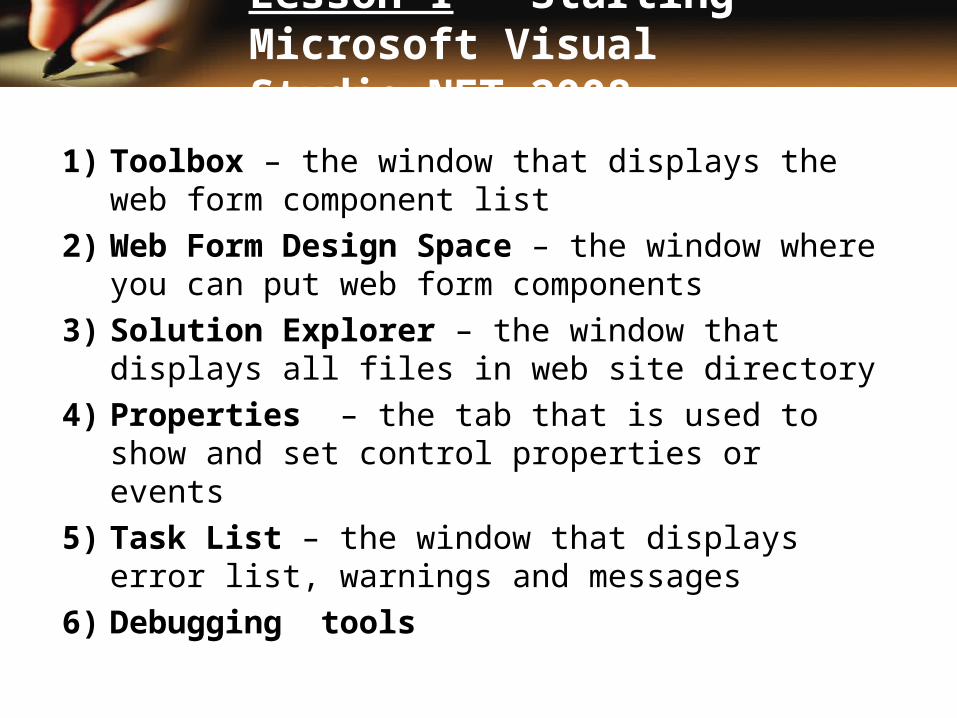
1) Toolbox – the window that displays the web form component list
2) Web Form Design Space – the window where you can put web form components
3) Solution Explorer – the window that displays all files in web site directory
4) Properties – the tab that is used to show and set control properties or events
5) Task List – the window that displays error list, warnings and messages
6) Debugging tools
Lesson 1 - Starting Microsoft Visual Studio.NET 2008
Lesson 2:Exploring Your First ASP.NET Web Page

Exercise 2.1 – Construct a very simple and classic aspx page that will display “Hello World” in an internet browser.
ASP.NET provides syntax compatibility with existing ASP page. This includes support for <% %> code render blocks that can be intermixed with HTML content within an aspx file.
Company Logo
Lesson 2 – Exploring Your First ASP.NET Web Page
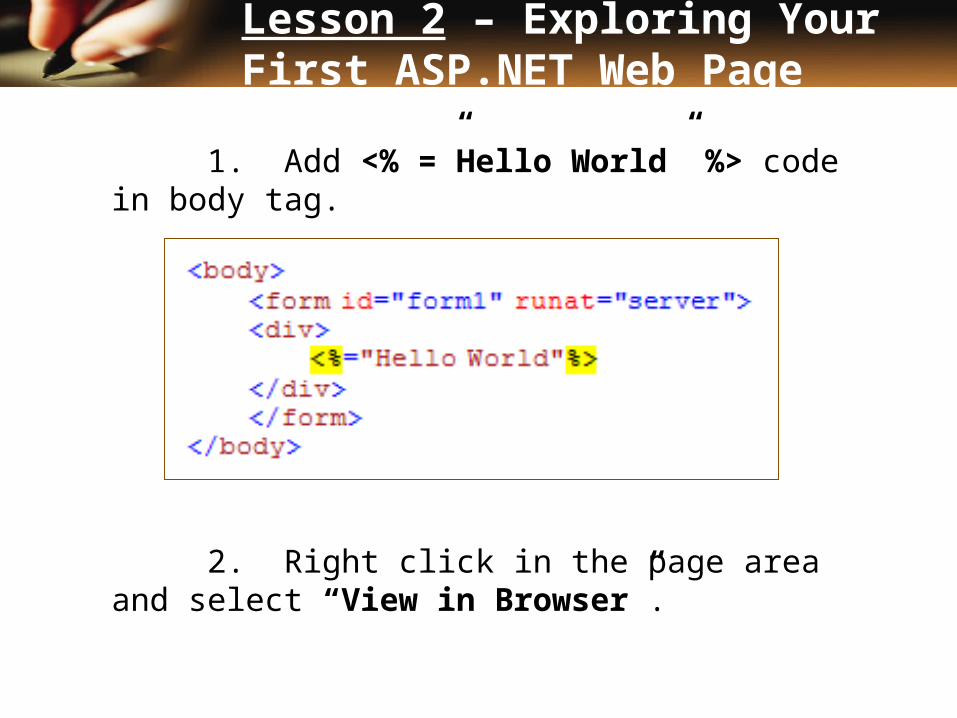
1. Add <% =”Hello World” %> code in body tag.
2. Right click in the page area and select “View in Browser”.
Lesson 2 – Exploring Your First ASP.NET Web Page
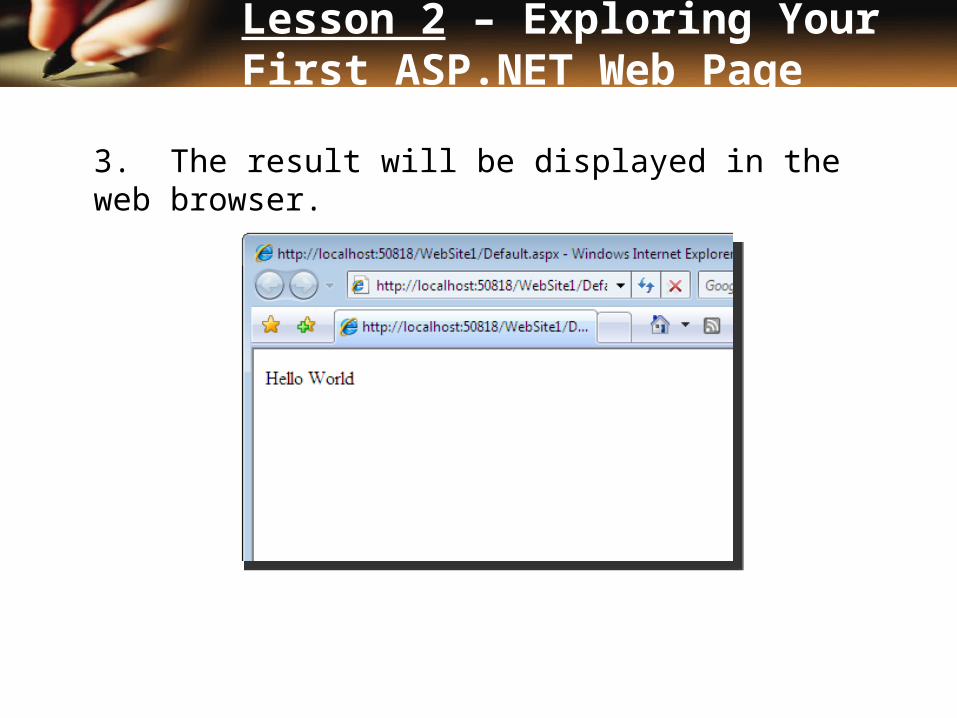
3. The result will be displayed in the web browser.
Lesson 2 – Exploring Your First ASP.NET Web Page
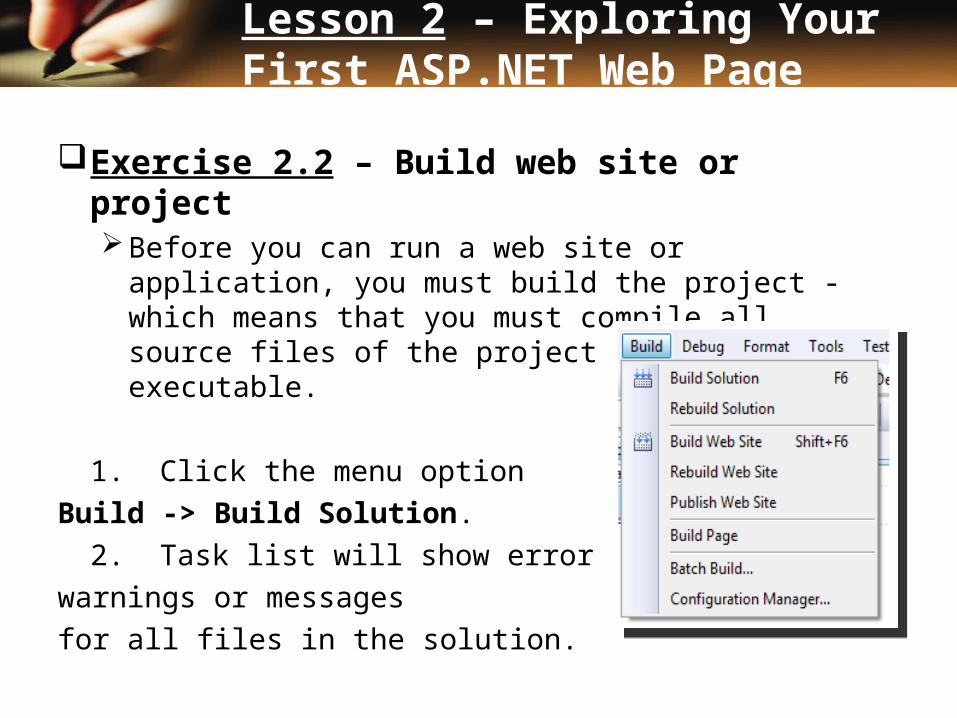
Exercise 2.2 – Build web site or projectBefore you can run a web site or application,
you must build the project - which means that you must compile all source files of the project into binary executable.
1. Click the menu option Build -> Build Solution.
2. Task list will show error list, warnings or messages for all files in the solution.
Lesson 2 – Exploring Your First ASP.NET Web Page
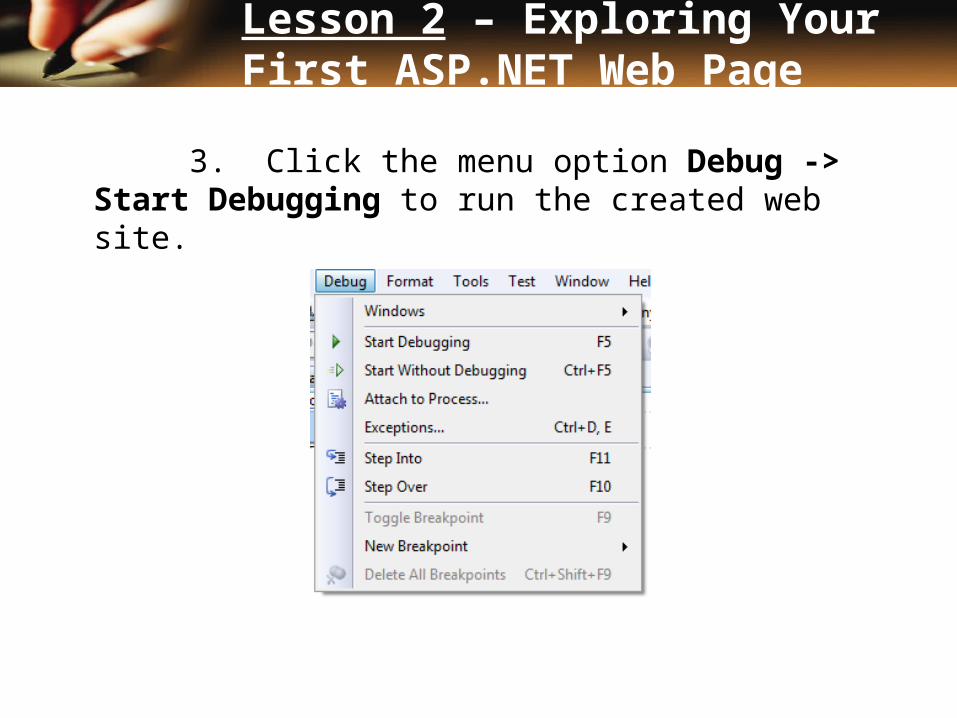
3. Click the menu option Debug -> Start Debugging to run the created web site.
Lesson 2 – Exploring Your First ASP.NET Web Page
Lesson 3:Building a Simple Web
Application with Controls
Company Logo

Exercise 3.1 – Add controls to the web page
1. Drag Textbox control, Button control, and Label control from Toolbox and drop it to the aspx page.
2. The source code for each control will then be generated.
Lesson 3 – Building A Simple Web Application With Controls
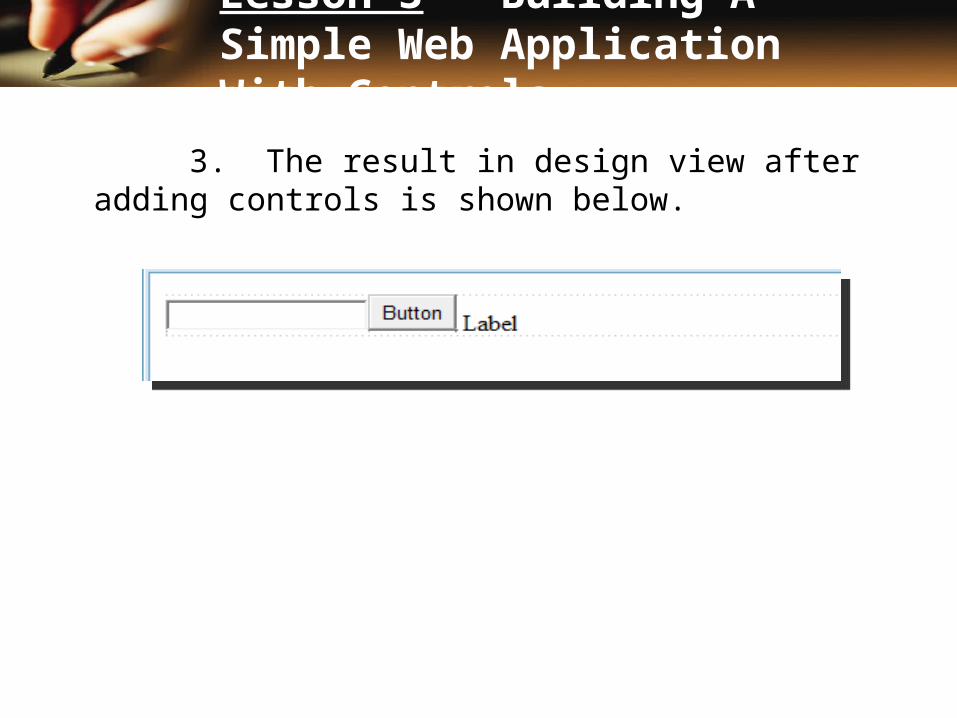
3. The result in design view after adding controls is shown below.
Lesson 3 – Building A Simple Web Application With Controls
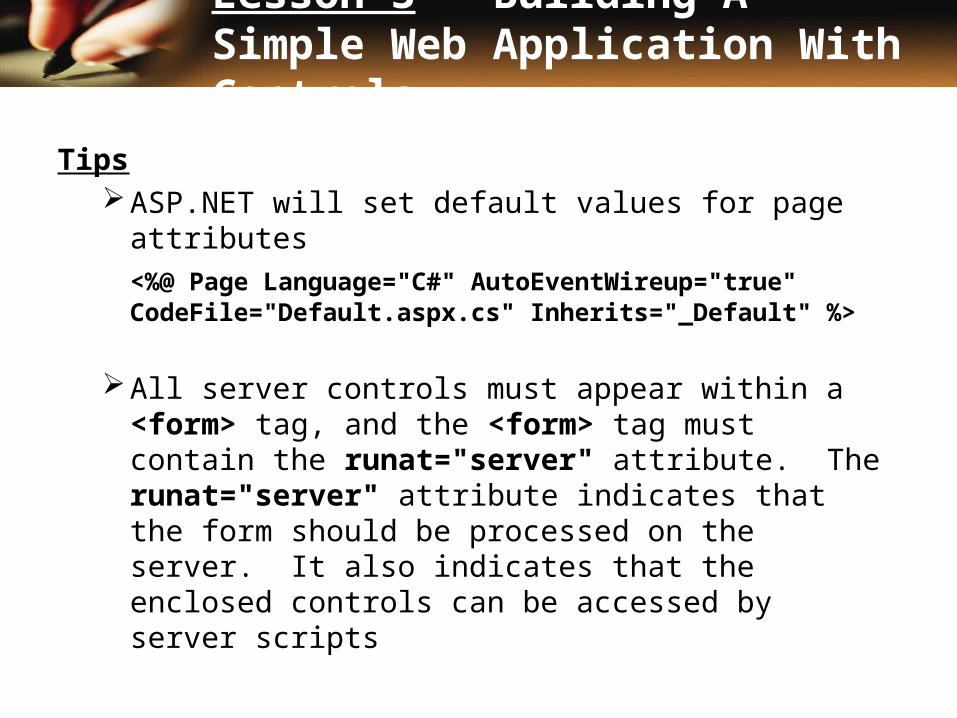
TipsASP.NET will set default values for page attributes
<%@ Page Language="C#" AutoEventWireup="true" CodeFile="Default.aspx.cs" Inherits="_Default" %>
All server controls must appear within a <form> tag, and the <form> tag must contain the runat="server" attribute. The runat="server" attribute indicates that the form should be processed on the server. It also indicates that the enclosed controls can be accessed by server scripts
Lesson 3 – Building A Simple Web Application With Controls

All ASP.NET controls require runat="server" attribute. If you don't have them, the web server will not parse the tags properly.
Lesson 3 – Building A Simple Web Application With Controls
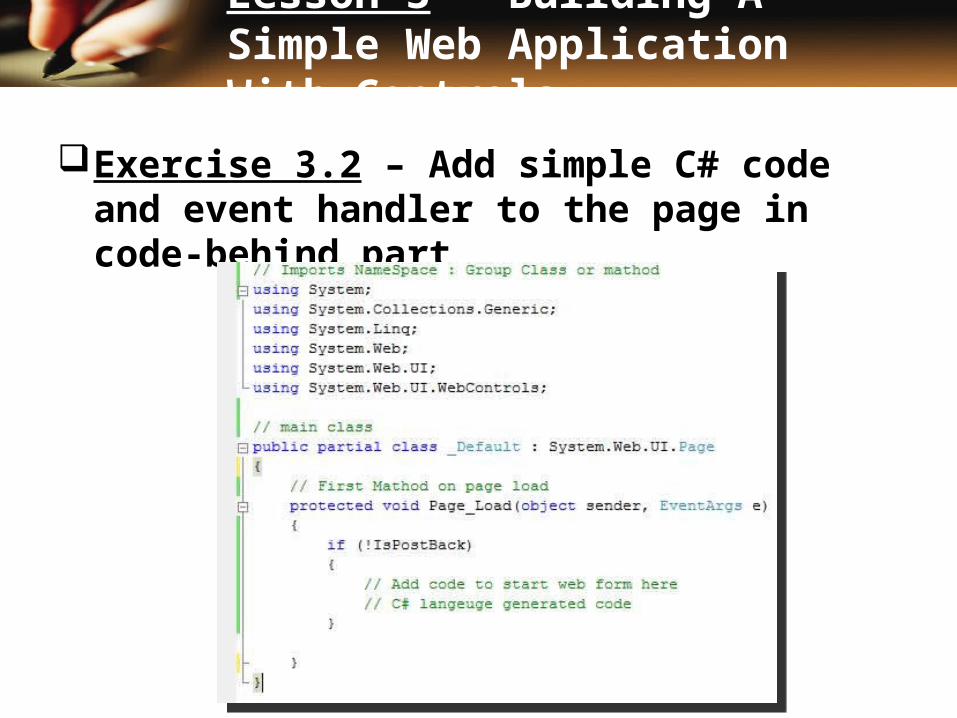
Exercise 3.2 – Add simple C# code and event handler to the page in code-behind part
Lesson 3 – Building A Simple Web Application With Controls
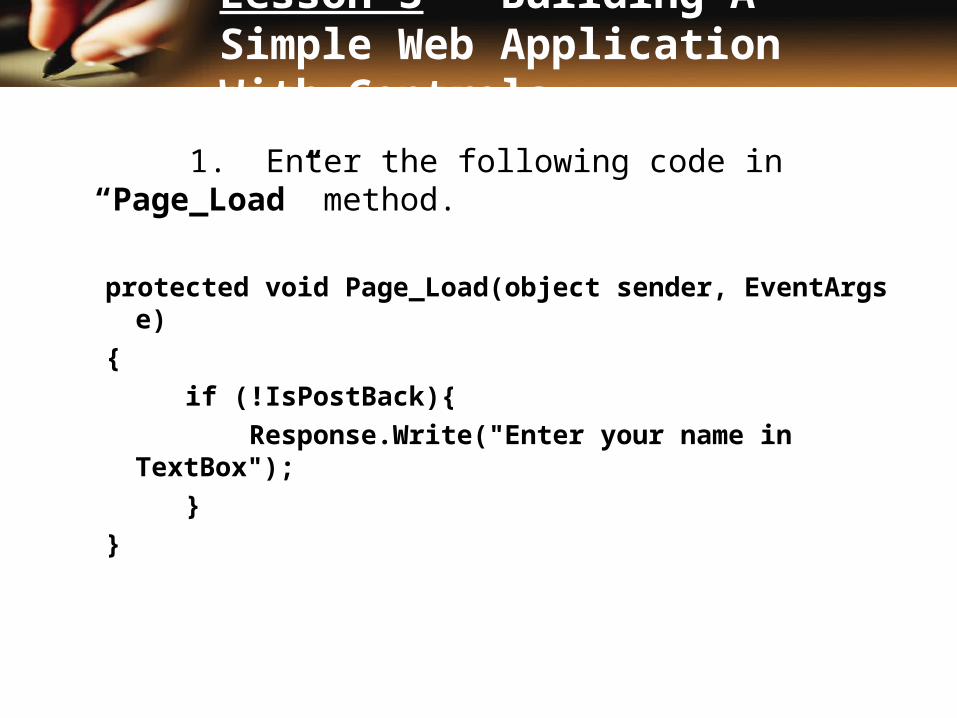
1. Enter the following code in “Page_Load” method.
protected void Page_Load(object sender, EventArgs
e){ if (!IsPostBack){ Response.Write("Enter your name in
TextBox"); }}
Lesson 3 – Building A Simple Web Application With Controls
Page_Load - The Page_Load event is triggered when a page loads, and ASP.NET will automatically call the method “Page_Load”, and execute the code inside it.
IsPostBack - If you want to execute the code in the Page_Load method only the first time the page is loaded, you can use the IsPostBack property. If the IsPostBack property is false, the page is loaded for the first time, if it is true, the page is posted back to the server.
Lesson 3 – Building A Simple Web Application With Controls

2. Set properties value by clicking on the Button control in design view, then view properties box
3. Click Setting Event Function , then enter method name as “displayText” in Click property.
Lesson 3 – Building A Simple Web Application With Controls
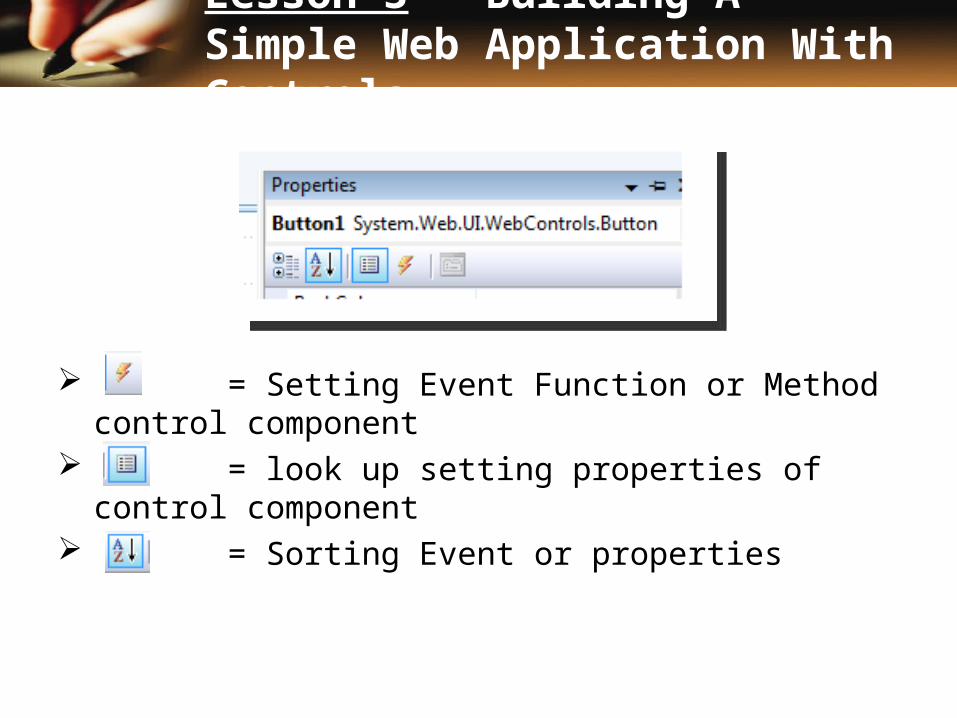
= Setting Event Function or Method control component
= look up setting properties of control component
= Sorting Event or properties
Lesson 3 – Building A Simple Web Application With Controls
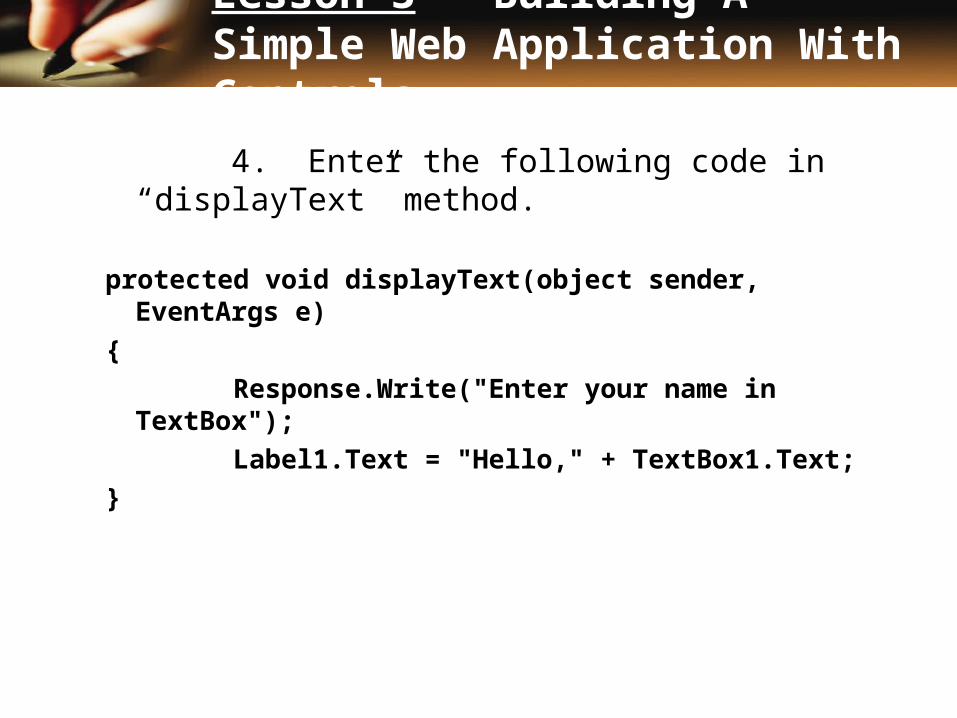
4. Enter the following code in “displayText” method.
protected void displayText(object sender, EventArgs e)
{ Response.Write("Enter your name in
TextBox"); Label1.Text = "Hello," + TextBox1.Text;}
Lesson 3 – Building A Simple Web Application With Controls
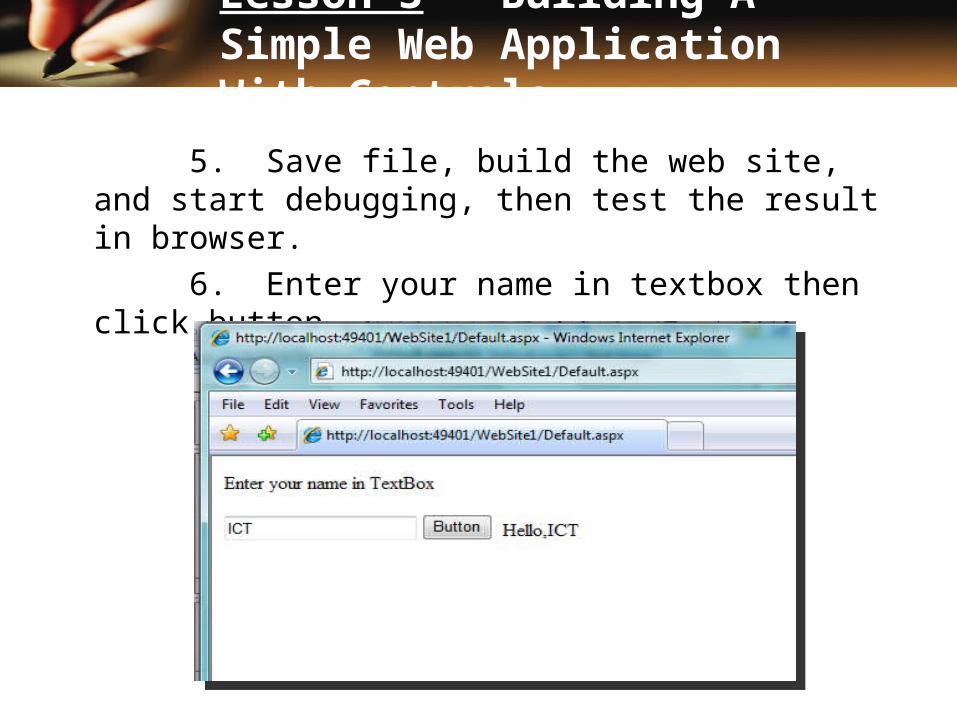
5. Save file, build the web site, and start debugging, then test the result in browser.
6. Enter your name in textbox then click button.
Lesson 3 – Building A Simple Web Application With Controls
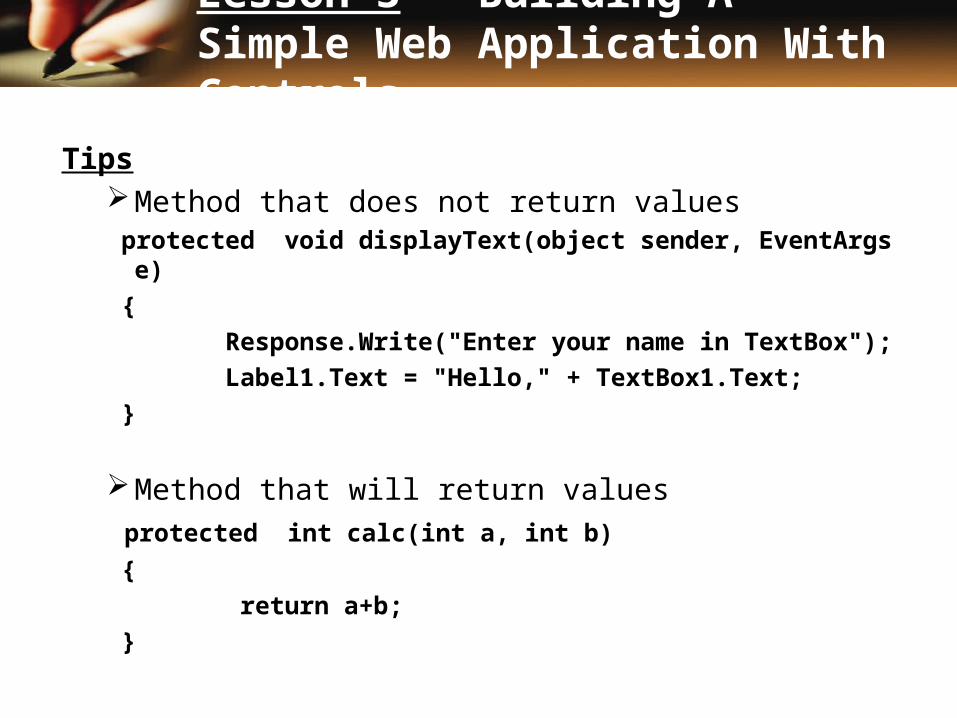
TipsMethod that does not return values protected void displayText(object sender, EventArgs
e) { Response.Write("Enter your name in TextBox"); Label1.Text = "Hello," + TextBox1.Text; }
Method that will return values protected int calc(int a, int b)
{ return a+b; }
Lesson 3 – Building A Simple Web Application With Controls
Lesson 4Adding More Complex
Event Handlers
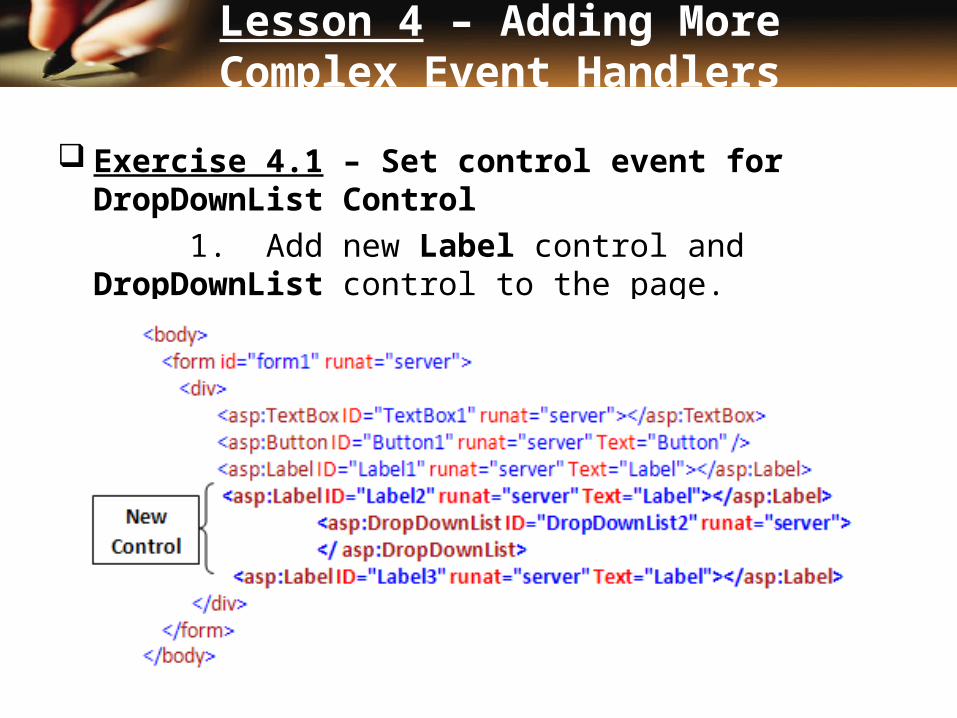
Exercise 4.1 – Set control event for DropDownList Control
1. Add new Label control and DropDownList control to the page.
Lesson 4 – Adding More Complex Event Handlers
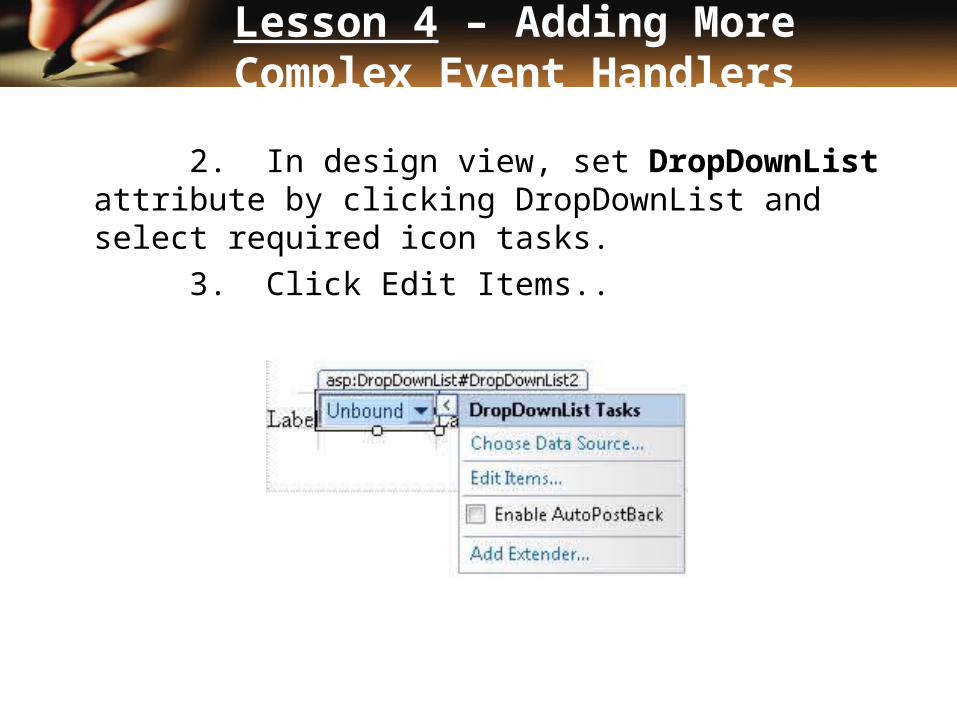
2. In design view, set DropDownList attribute by clicking DropDownList and select required icon tasks.
3. Click Edit Items..
Lesson 4 – Adding More Complex Event Handlers
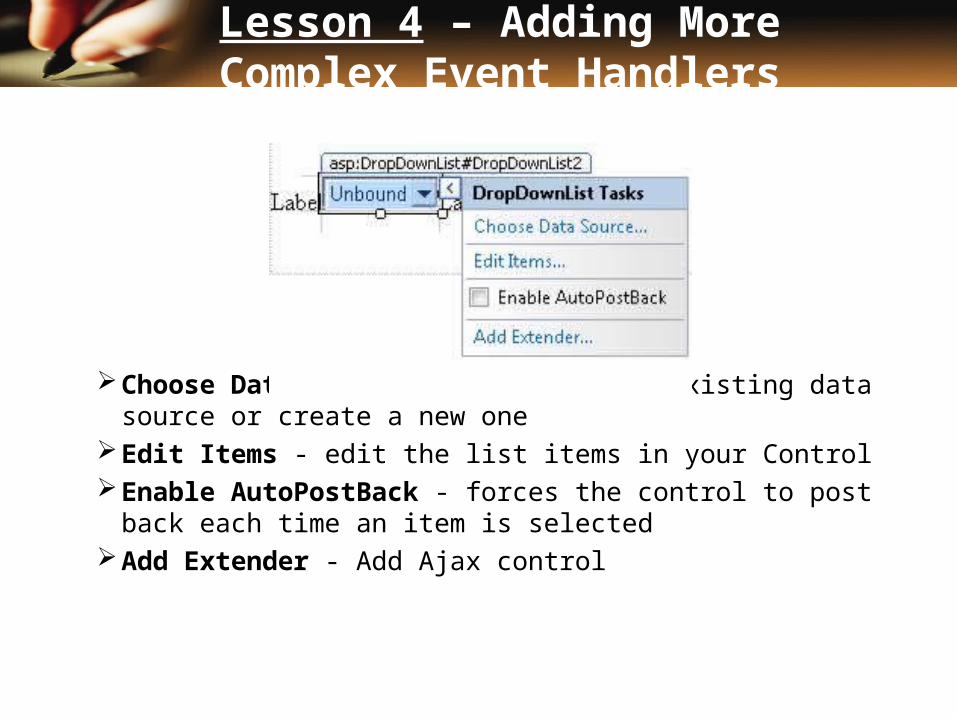
Choose Data Source - connect to an existing data source or create a new one
Edit Items - edit the list items in your ControlEnable AutoPostBack - forces the control to post
back each time an item is selectedAdd Extender - Add Ajax control
Lesson 4 – Adding More Complex Event Handlers
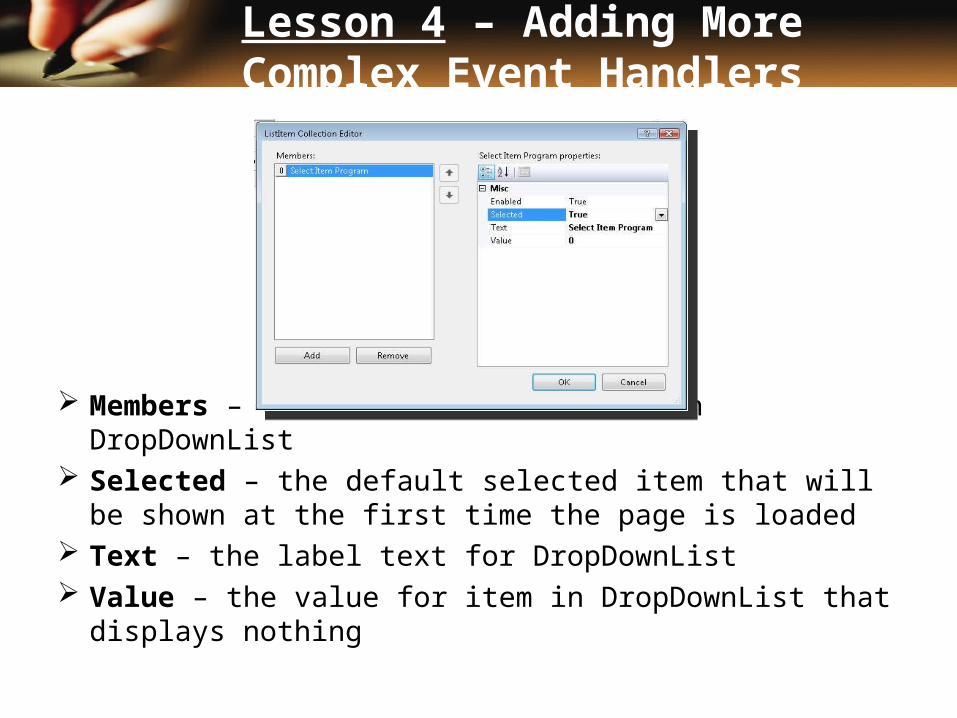
Members – the ListItem collection in DropDownList Selected – the default selected item that will be
shown at the first time the page is loaded Text – the label text for DropDownList Value – the value for item in DropDownList that
displays nothing
Lesson 4 – Adding More Complex Event Handlers
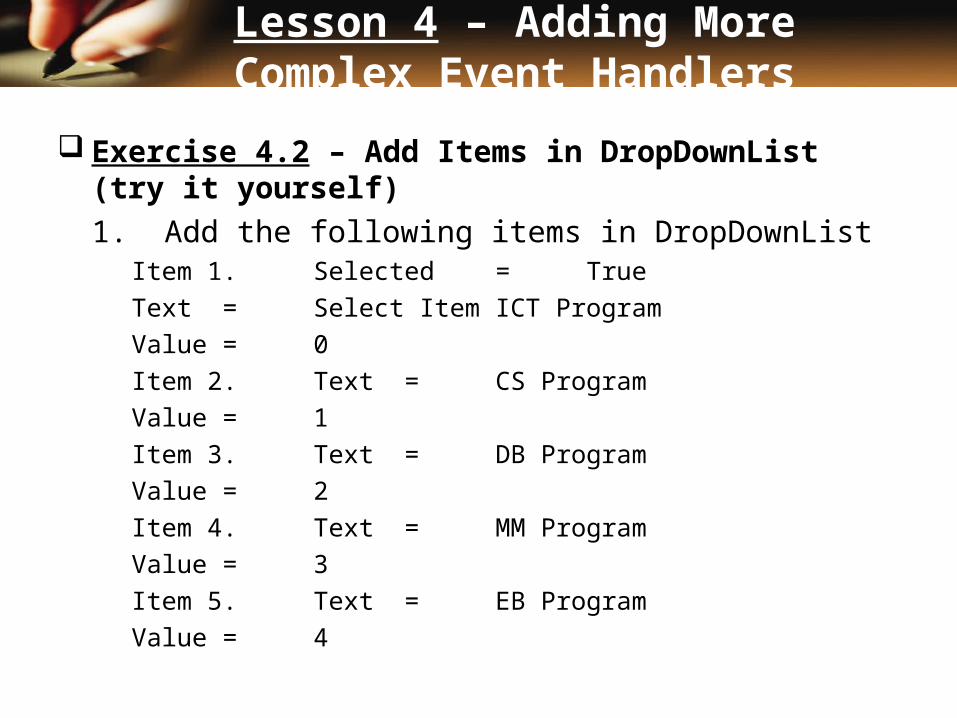
Exercise 4.2 – Add Items in DropDownList (try it yourself)
1. Add the following items in DropDownList Item 1.Selected = True Text = Select Item ICT Program
Value = 0Item 2.Text = CS Program
Value = 1Item 3.Text = DB Program
Value = 2Item 4.Text = MM Program
Value = 3Item 5.Text = EB Program
Value = 4
Lesson 4 – Adding More Complex Event Handlers
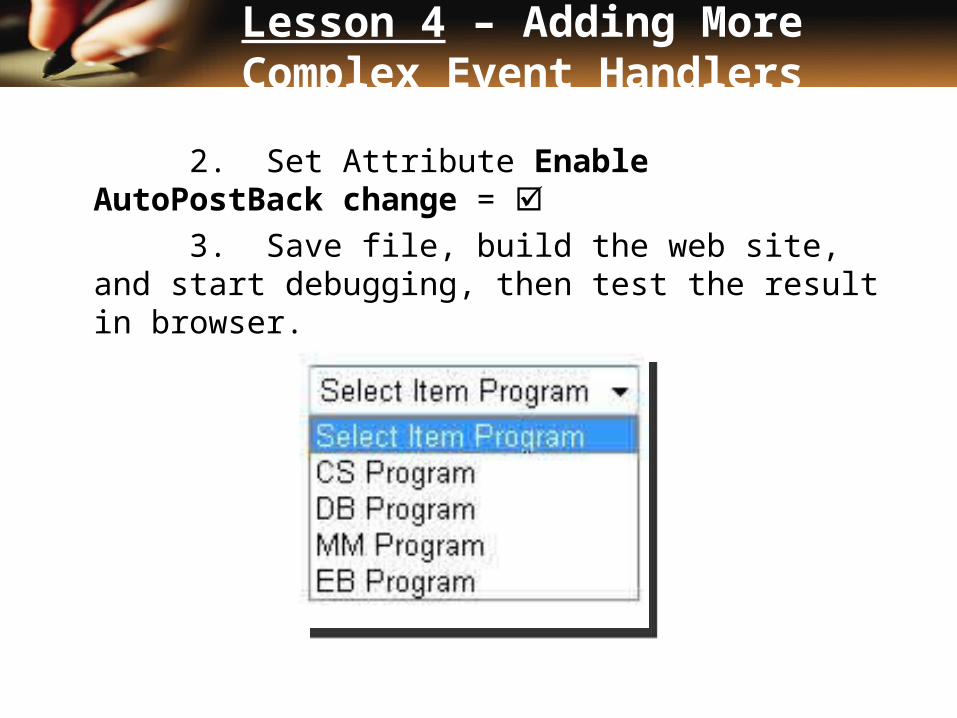
2. Set Attribute Enable AutoPostBack change =
3. Save file, build the web site, and start debugging, then test the result in browser.
Lesson 4 – Adding More Complex Event Handlers
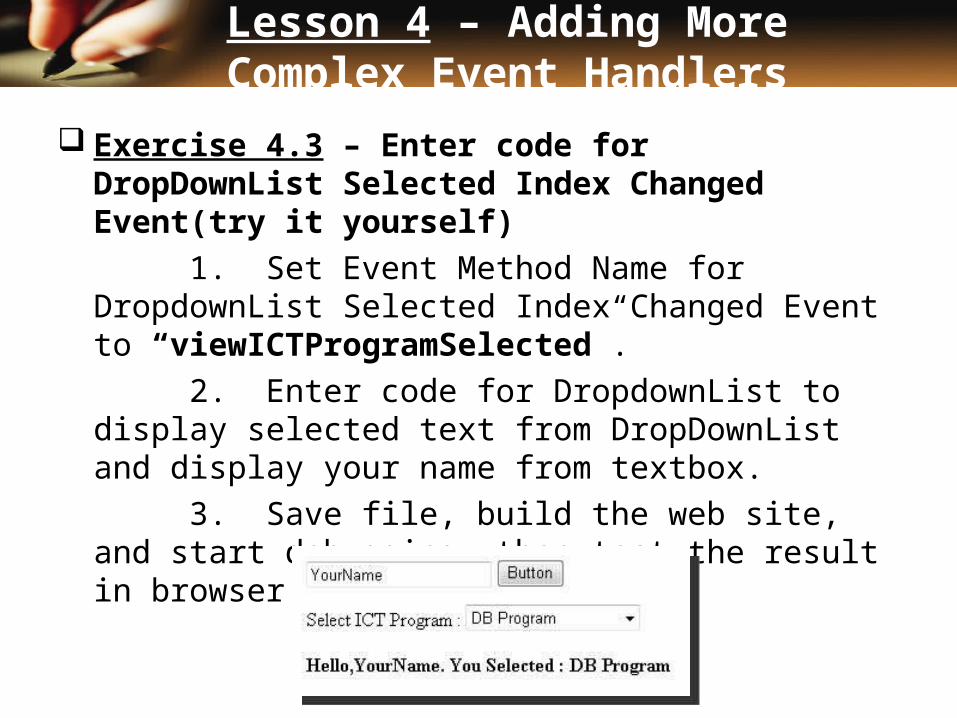
Exercise 4.3 – Enter code for DropDownList Selected Index Changed Event(try it yourself)
1. Set Event Method Name for DropdownList Selected Index Changed Event to “viewICTProgramSelected”.
2. Enter code for DropdownList to display selected text from DropDownList and display your name from textbox.
3. Save file, build the web site, and start debugging, then test the result in browser.
Lesson 4 – Adding More Complex Event Handlers
Lesson 5:Adding Page
Navigation with Parameter Passing
Page navigation is the control for navigating to another page together with passing the custom query string parameters.
Exercise 5.1 – Add Hyperlink control to the page
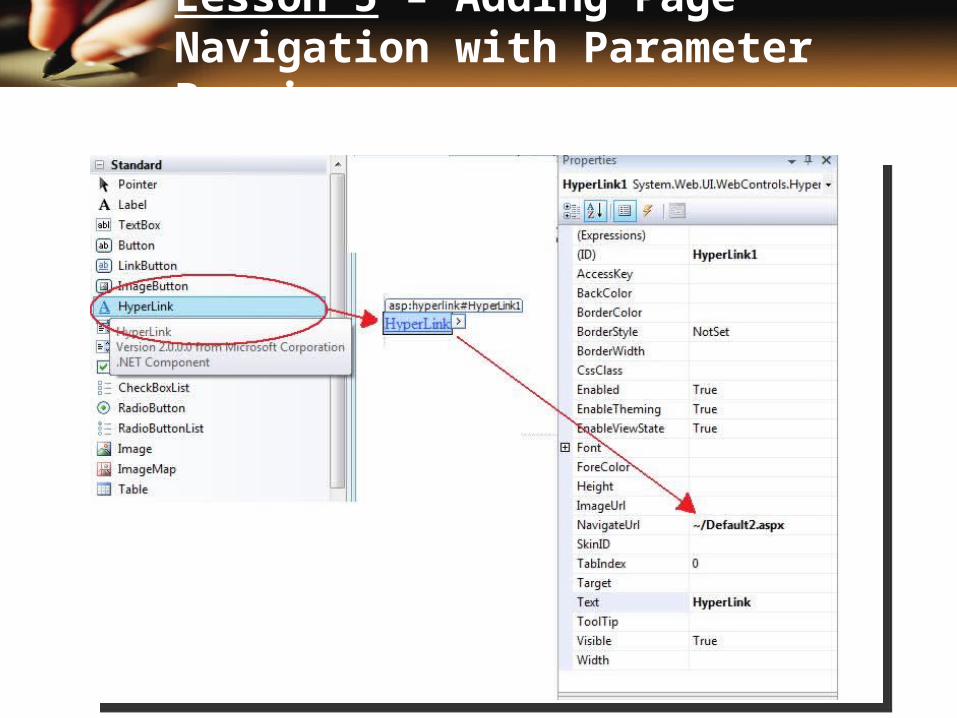
1. Drag Hyperlink control from toolbox and drop to the page.
2. In Properties pane, set NavigateUrl value to "~/Default2.aspx", which is the target page.
Lesson 5 – Adding Page Navigation with Parameter Passing
Lesson 5 – Adding Page Navigation with Parameter Passing
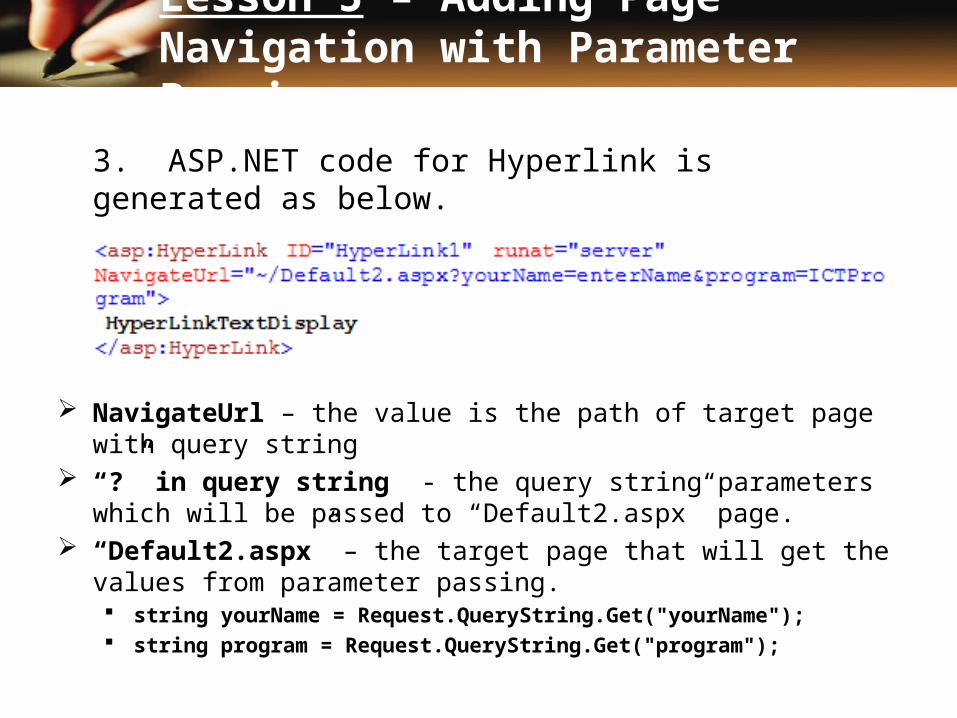
3. ASP.NET code for Hyperlink is generated as below.
NavigateUrl – the value is the path of target page with query string
“?” in query string - the query string parameters which will be passed to “Default2.aspx” page.
“Default2.aspx” – the target page that will get the values from parameter passing. string yourName = Request.QueryString.Get("yourName"); string program = Request.QueryString.Get("program");
Lesson 5 – Adding Page Navigation with Parameter Passing
Exercise 5.2 - Use Response.Redirect method in the page
ASP.NET page can redirect the page by calling the Response.Redirect(url) method.
This is typically done when server-side validation is required on some client input before the navigation actually takes place.
The following sample demonstrates how to use the Response.Redirect method to pass parameters to another target page
Page.Response.Redirect("Default2.aspx?yourName=enterName&program=ICTProgram");
Lesson 5 – Adding Page Navigation with Parameter Passing
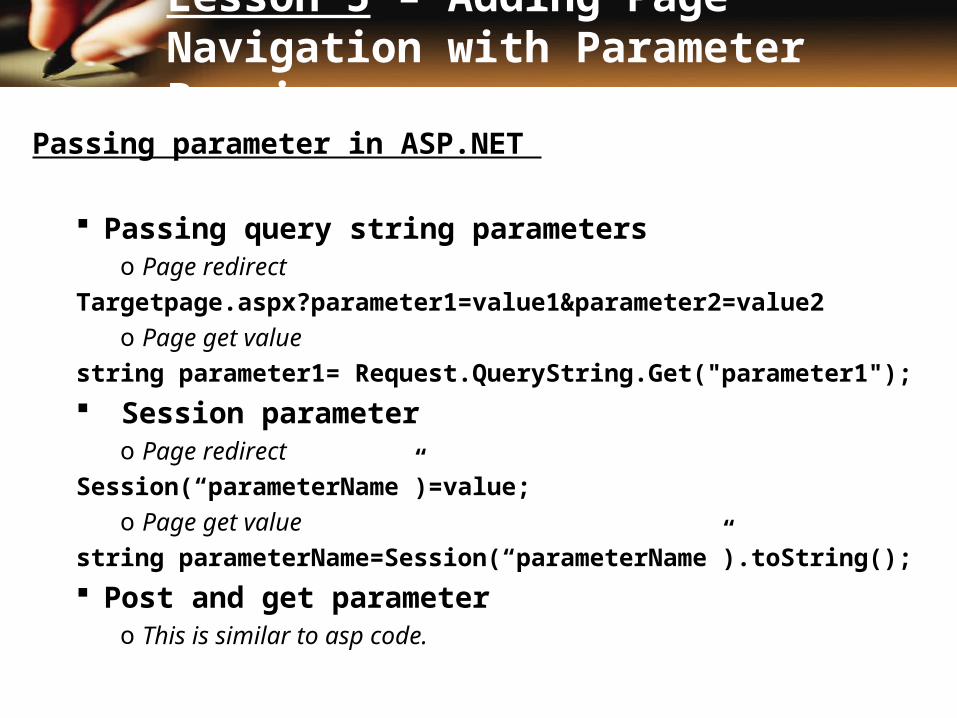
Passing parameter in ASP.NET
Passing query string parameters o Page redirect
Targetpage.aspx?parameter1=value1¶meter2=value2o Page get value
string parameter1= Request.QueryString.Get("parameter1");
Session parameter o Page redirect
Session(“parameterName”)=value;o Page get value
string parameterName=Session(“parameterName”).toString();
Post and get parameter o This is similar to asp code.
Lesson 5 – Adding Page Navigation with Parameter Passing

Lesson 6:Data Binding in
ASP.NET
Data binding in ASP.NET is the process of binding data on the server to a server-side control that will then render that data in some form to the client.
The only constraints for data binding are that the server-side control must support a property called DataSource and a method called DataBind(), and that the data source to which the control is bound implement the ArrayList and Hashtable Object interface.
Using namespaces system.Collections
Lesson 6 – Data Binding in ASP.NET
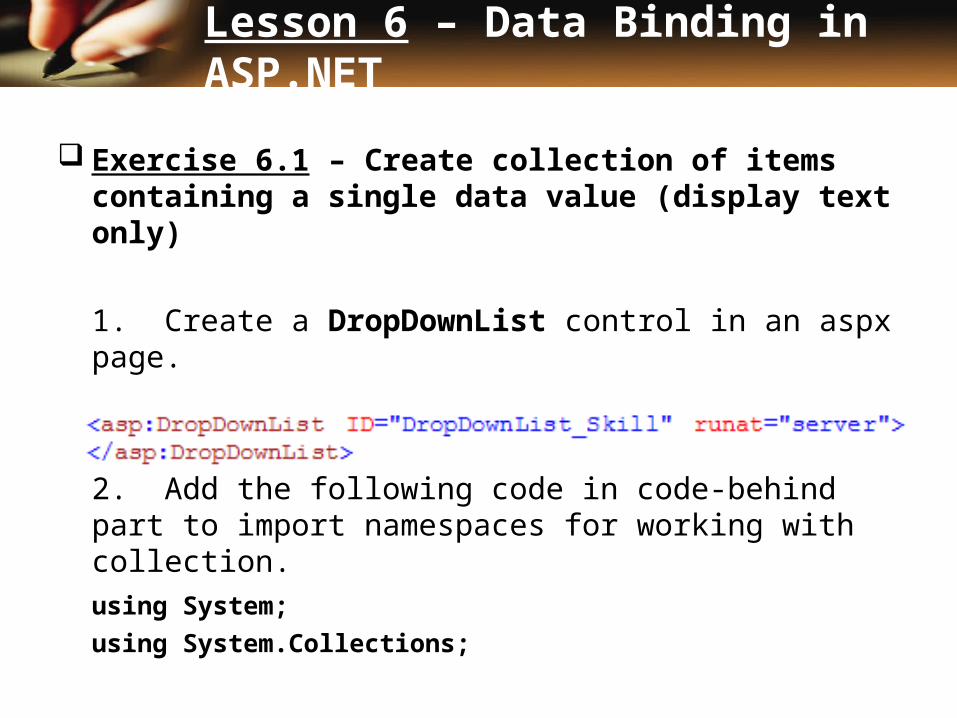
Exercise 6.1 – Create collection of items containing a single data value (display text only)
1. Create a DropDownList control in an aspx page.
2. Add the following code in code-behind part to import namespaces for working with collection.
using System;
using System.Collections;
Lesson 6 – Data Binding in ASP.NET
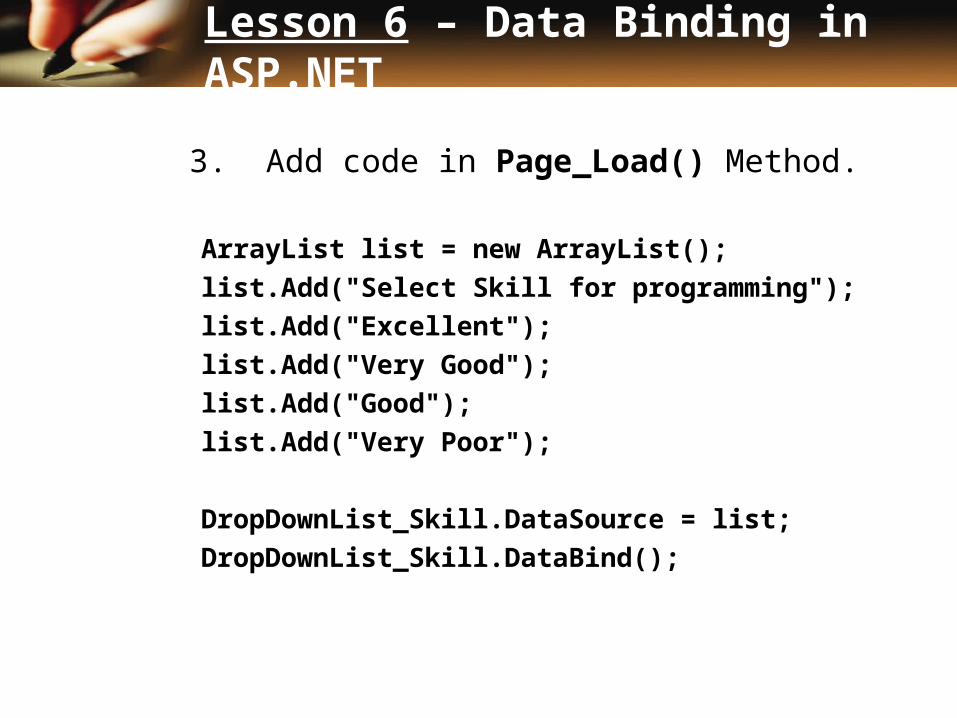
3. Add code in Page_Load() Method.
ArrayList list = new ArrayList();list.Add("Select Skill for programming");list.Add("Excellent");list.Add("Very Good");list.Add("Good");list.Add("Very Poor"); DropDownList_Skill.DataSource = list;DropDownList_Skill.DataBind();
Lesson 6 – Data Binding in ASP.NET
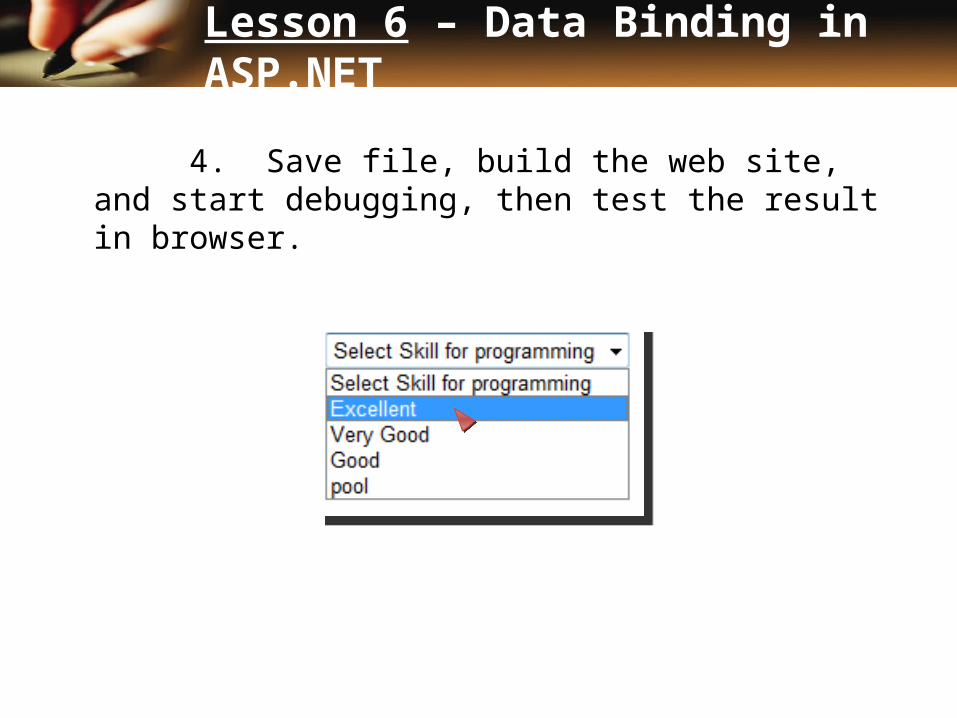
4. Save file, build the web site, and start debugging, then test the result in browser.
Lesson 6 – Data Binding in ASP.NET
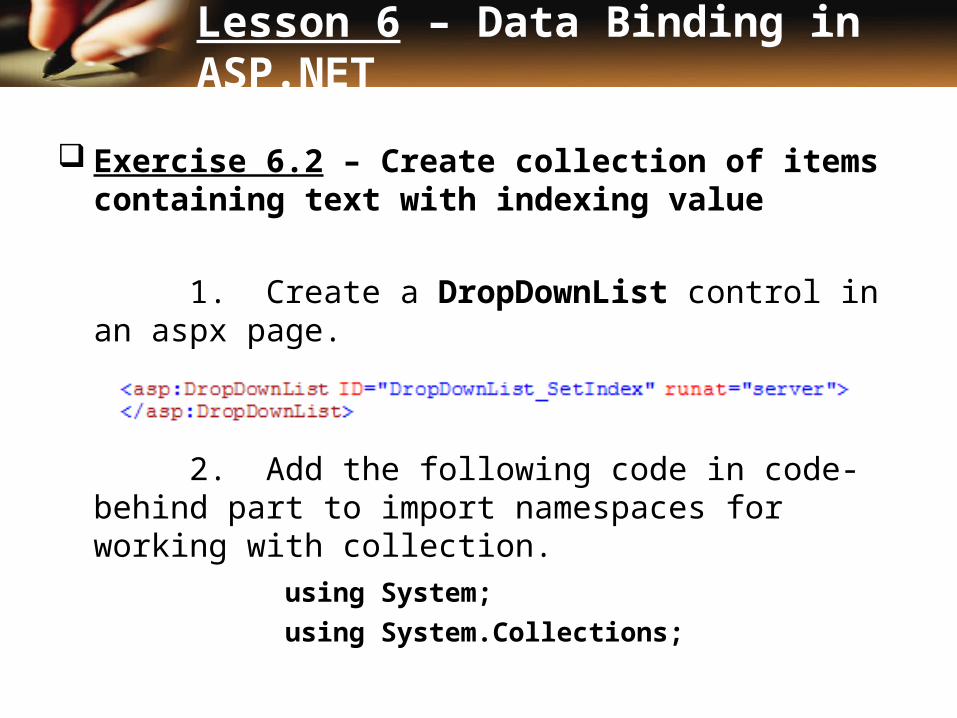
Exercise 6.2 – Create collection of items containing text with indexing value
1. Create a DropDownList control in an aspx page.
2. Add the following code in code-behind part to import namespaces for working with collection.
using System;
using System.Collections;
Lesson 6 – Data Binding in ASP.NET

3. Add code in Page_Load() Method.
Hashtable list = new Hashtable();list.Add("0","Select Skill for programming");list.Add("1","Excellent");list.Add("2","Very Good");list.Add("3","Good");list.Add("4","pool");DropDownList_SetIndex.DataSource = list;DropDownList_SetIndex.DataBind();
Lesson 6 – Data Binding in ASP.NET

4. Save file, build the web site, and start debugging, then test the result in browser.
Lesson 6 – Data Binding in ASP.NET
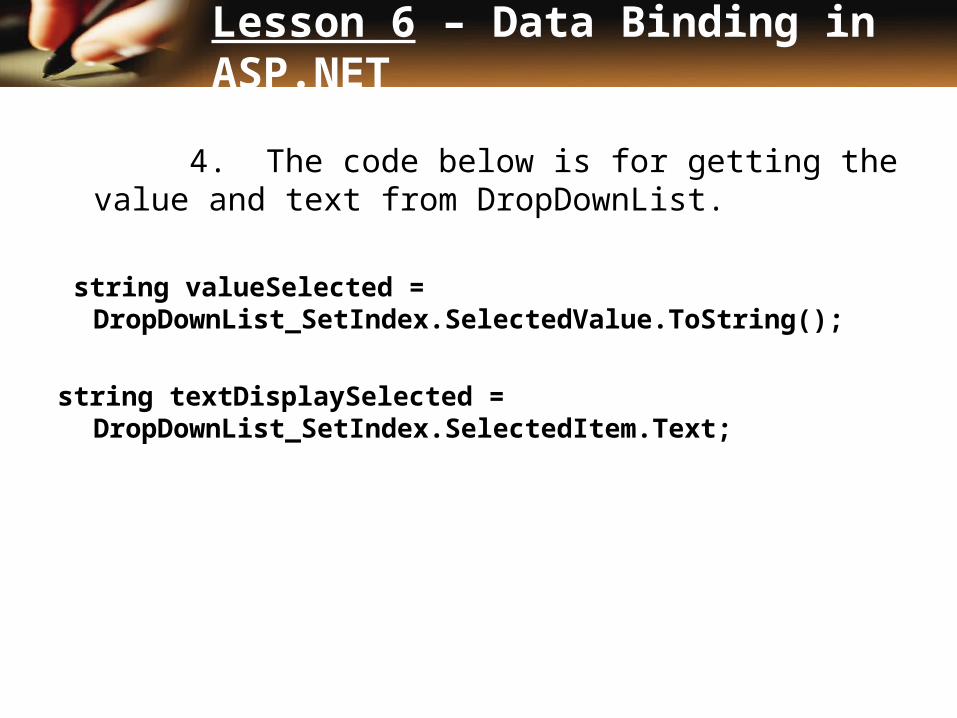
4. The code below is for getting the value and text from DropDownList.
string valueSelected = DropDownList_SetIndex.SelectedValue.ToString();
string textDisplaySelected = DropDownList_SetIndex.SelectedItem.Text;
Lesson 6 – Data Binding in ASP.NET
Lesson 7:ASP.NET DataSet
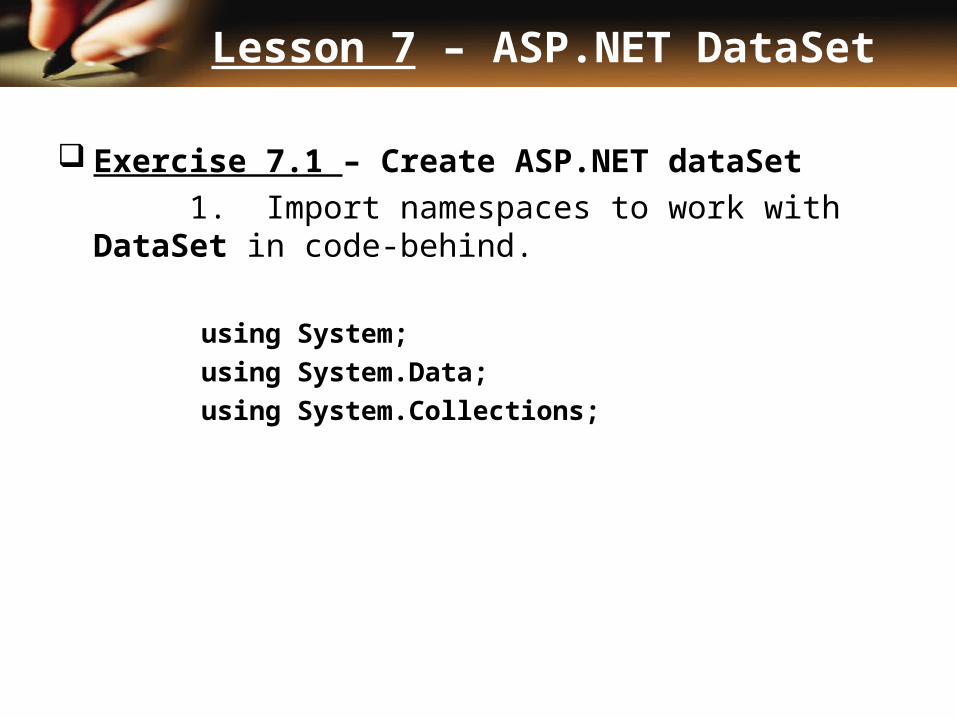
Exercise 7.1 – Create ASP.NET dataSet1. Import namespaces to work with
DataSet in code-behind.
using System;using System.Data;using System.Collections;
Lesson 7 – ASP.NET DataSet
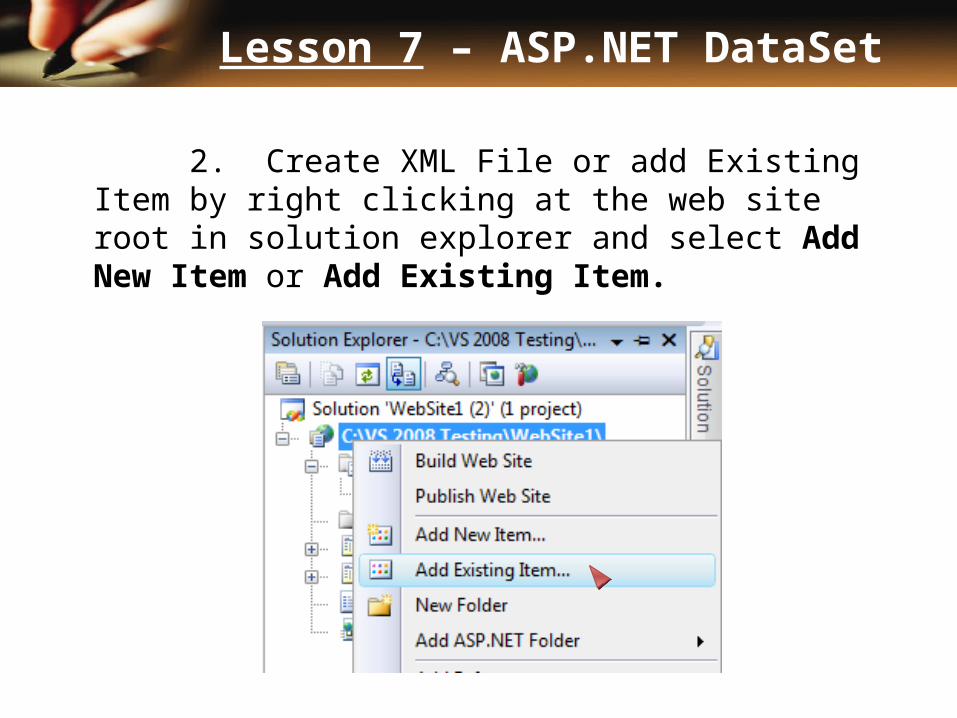
2. Create XML File or add Existing Item by right clicking at the web site root in solution explorer and select Add New Item or Add Existing Item.
Lesson 7 – ASP.NET DataSet
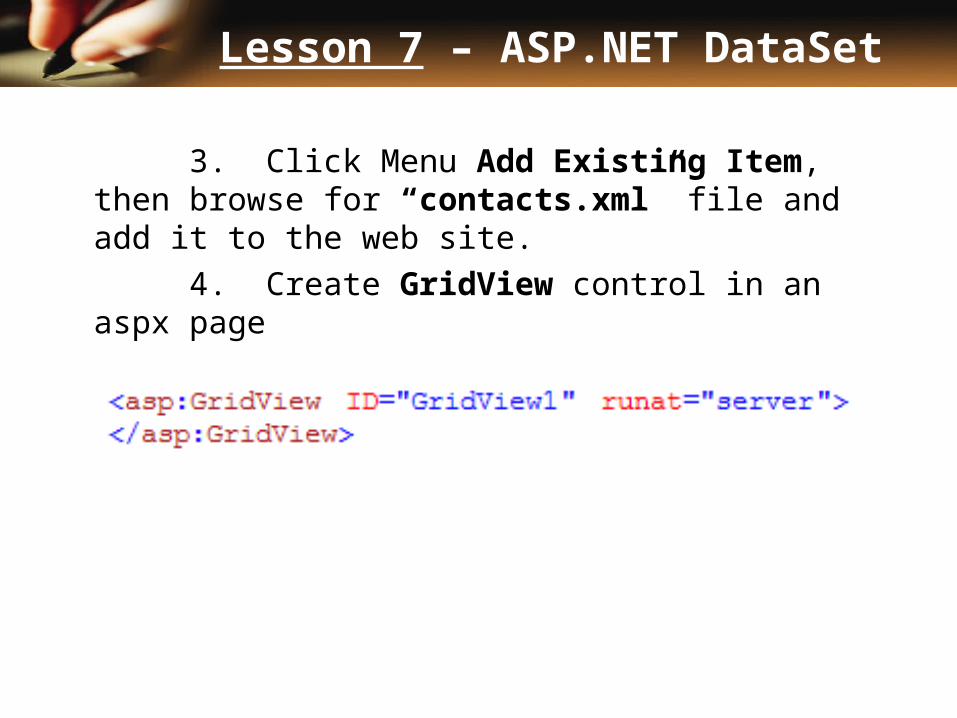
3. Click Menu Add Existing Item, then browse for “contacts.xml” file and add it to the web site.
4. Create GridView control in an aspx page
Lesson 7 – ASP.NET DataSet

5. Enter code in Page_Load() Method in code-behind.
DataSet ds = new DataSet();ds.ReadXml(MapPath("contacts.xml")); GridView1.DataSource = ds;GridView1.DataBind();
6. Save file, build the web site, and start debugging, then test the result in browser.
Lesson 7 – ASP.NET DataSet

www.themegallery.com