tutor training part 1 socratic tutorials. your tutor trainer add your contact information here
TRANSCRIPT

Tutor Training Part 1
Socratic Tutorials

Your Tutor Trainer
Add your contact information here

Introductions
Use the NAME TENT page to create a table tent:• Fold the form like a hot dog (lengthwise)• On one side, write your name and the school(s) and
district where you will tutor• On the second side write the name of your college in the
middle.• In each corner of the second side, write your
• College major• Favorite memory as a student• Favorite song or book• A word or phrase to describe yourself
• Share card information with your table group.Handout page 67

Today’s Agenda
• Parking lot• AVID overview• AVID binders• Inquiry & Costa’s levels of questions• Note-taking: Cornell style• The AVID tutorial process• Expectations for tutors & students• Practice tutorials

A little bit about AVID
Advancement Via Individual Determination
First…

The Mission of AVID
The mission of AVID is to ensure that all students, and most especially students in the middle with academic potential capable of completing a college preparatory path, will: Succeed in the most rigorous curriculum Complete a rigorous college preparatory path Enter mainstream activities of the school Increase their enrollment in four-year colleges Become educated and responsible participants and leaders in a
democratic society
AVID’s systemic approach is designed to supportstudents and educators as they increase schoolwide/districtwide learning and performance.
Handout pg 3

“Getting the GIST”
• Read the Mission Statement silently.• In pairs, complete the GIST activity in the
handouts. Create a 20-word sentence summary of the Mission Statement.
• Share out sample summaries.• Share out ways that the GIST can be used in
other academic classes.
Handout pg 4
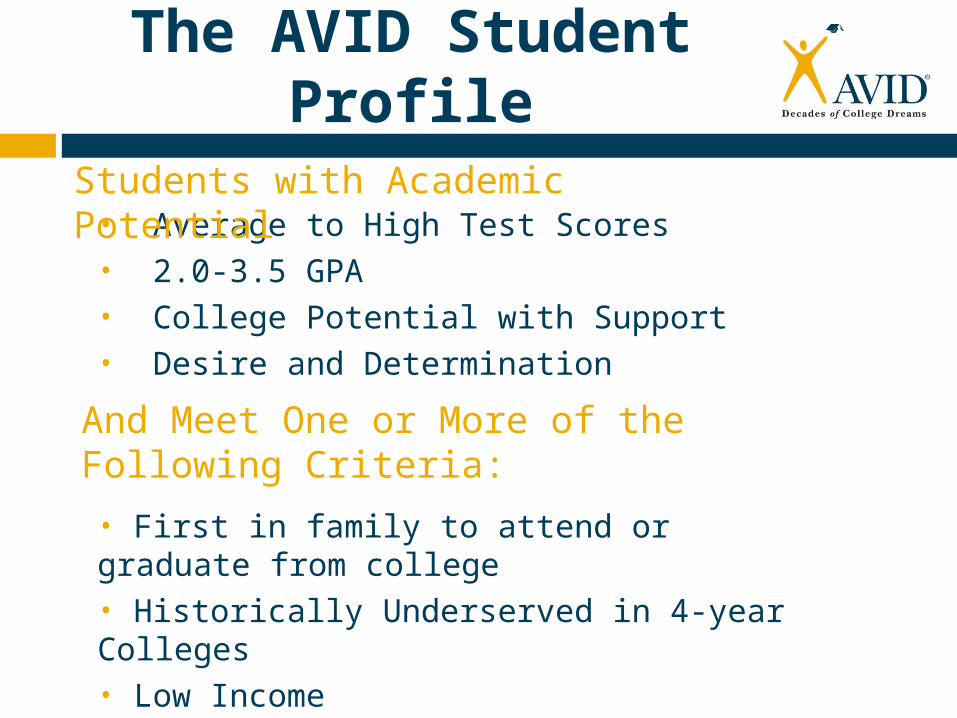
The AVID Student Profile
• Average to High Test Scores• 2.0-3.5 GPA • College Potential with Support• Desire and Determination
Students with Academic Potential
And Meet One or More of the Following Criteria:
• First in family to attend or graduate from college • Historically Underserved in 4-year Colleges• Low Income• Special Circumstances
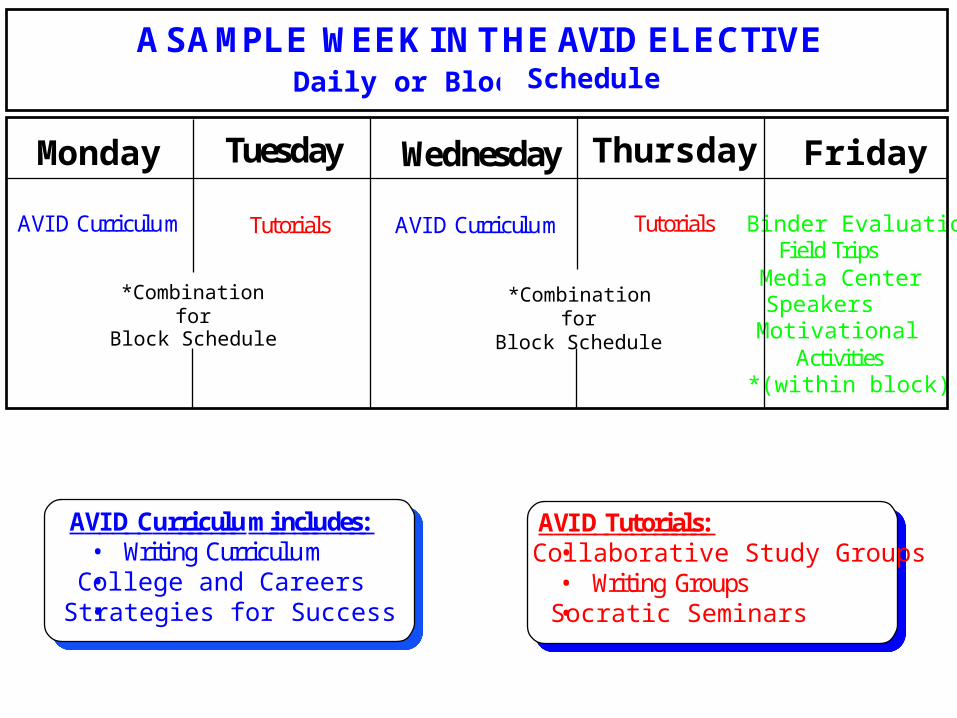
Friday
AVID Curriculum Tutorials AVID Curriculum Tutorials Binder EvaluationField Trips
Media CenterSpeakersMotivational Activities
*(within block)
TuesdayMonday Wednesday Thursday
*Combinationfor
Block Schedule
A S MPLE W EEK IN THE AVID ELECTIVEDaily or Block* Schedule
AVID Tutorials:•Collaborative Study Groups• Writing Groups•Socratic Seminars
AVID Curriculum includes:• Writing Curriculum•College and Careers•Strategies for Success
*Combinationfor
Block Schedule
A

WIC
WRITING● Prewrite● Draft● Respond● Revise● Edit● Final Draft● Class and Textbook Notes● Learning Logs/Journals
INQUIRY● Skilled Questioning● Socratic Seminars● Quickwrite/Discussion● Critical Thinking Activities● Writing Questions● Open-Mindedness Activities
COLLABORATION● Group Projects● Study Groups● Jigsaw Activities● Read-Arounds● Response/Edit/Revision Groups● Collaborative Activities
RREADING
● SQ5R (Survey, Question,Read, Record, Recite, Review, Reflect)
● KWL (what I Know;
Want to Learn; Learned)● Reciprocal teaching
“Think-Alouds”●Handout pg 5

AVID Students Keep Binders (Highly successful people are organized)
Contents of binders:• Calendar/agenda and assignment log• Divided sections• Notes from all classes• Tests/quizzes/homework for all classes• Tutorial Request Forms• Learning Logs• Handouts• Tests• Blank notebook paper, pens, pencils, etc.
AVID teachers will explain the specific binder requirements and grading for their classes.
Handout pgs 6 & 7

Tutorial Process: Step 1
• In their academic classes, students take Cornell notes on the material presented in lectures, textbook readings, videos, handouts, etc.
• After class, students review their notes, create questions in the column on the left, and write a summary at the bottom of the page.

InquiryAnd
Costa’s Levels ofThinking and Questioning

Handout pg 8
Costa’s3
Levels

Writing Questions: “Wonderings”
Study the Preamble to the US Constitution and let your mind “wonder” about the words and meanings within it.
Jot down your wonderings/questions.
Share your questions with a table partner.
With your table partner, identify your questions as Level 1, 2, or 3 (Costa’s Levels of Questions).
Handout pgs 9 & 13

We the People of the United States, in Order to form a more perfect Union, establish Justice, insure domestic Tranquility, provide for the common defense, promote the general Welfare, and secure the Blessings of Liberty to ourselves and our Posterity, do ordain and establish this Constitution for the United States of America.
Preamble to the US Constitution
Handout pg 9

Writing Questions: “Wonderings
• Read the Cinderella Story, being conscious of letting your mind “wonder” about the story.
• Using the “Moving on Up” handout, complete the table by writing Level 2 and 3 questions for the given Level 1 questions (work with a table partner).
Handout pgs 10-12

Levels of Thinking and Questioning
Review Handouts on --• Vocabulary: Costa’s Levels • Content Specific Questions
Handout pgs 13-17

Cornell Note taking
Quick Write: 2 minutes
•How did you learn the skill of note taking?
•How has that skill helped you in your education?
Share out on your table.


Let’s get out asheet of Cornell note paper and get ready to practice the skill.

In the large, right hand column, take notes like you normally would. You may use any style of note-taking you wish: outline format, narrative format, symbols, short hand, etc.

• Cornell note taking stimulates critical thinking skills.
• Note taking helps students remember what is said in class.
• A good set of notes can help students work on assignments and prepare for tests outside of the classroom.

• Good notes allow students to help each other problem solve.
• Good notes help students organize and process data and information.
• Writing is a great tool for learning.
• Good notes help students recall by having them process their notes 3 times.

• Developed in 1949 at Cornell University by Walter Pauk
• Adopted by many major law schools as the preferred note taking method
• Designed in response to frustration over student test scores and meant to be easily used as a test study guide

Notes go here, in the large right hand column.
Questions, subtitles,etc. go here,in the left hand column.higher levelcritical thinkingquestions are encouraged.
A 3 to 4 sentence summary down there on the bottom.
The heading goes here:Name, Class, Period, Date, Topic

• Compare notes with a partner.
• Trade papers. Look for gapsand missed info.
• Both partners should feel free to add additional information to their notes.

With your partner(s), create questions in the left hand column. These questions should elicit critical thinking skills (Level 2 or 3)
The left column may also contain headings, main Ideas, vocabulary, diagrams, etc.

Your questions should reflect:
• Information you don’t understand or want to discuss with your teacher or tutor
•Possible test questions
•Gaps in your notes

On your own, in the space providedat the bottom of the page, write a concise 3-4 sentence summary of what you wrote in your notes or what was learned.
In other words: Connect the “big ideas” and complete a 3-4 sentence summary.
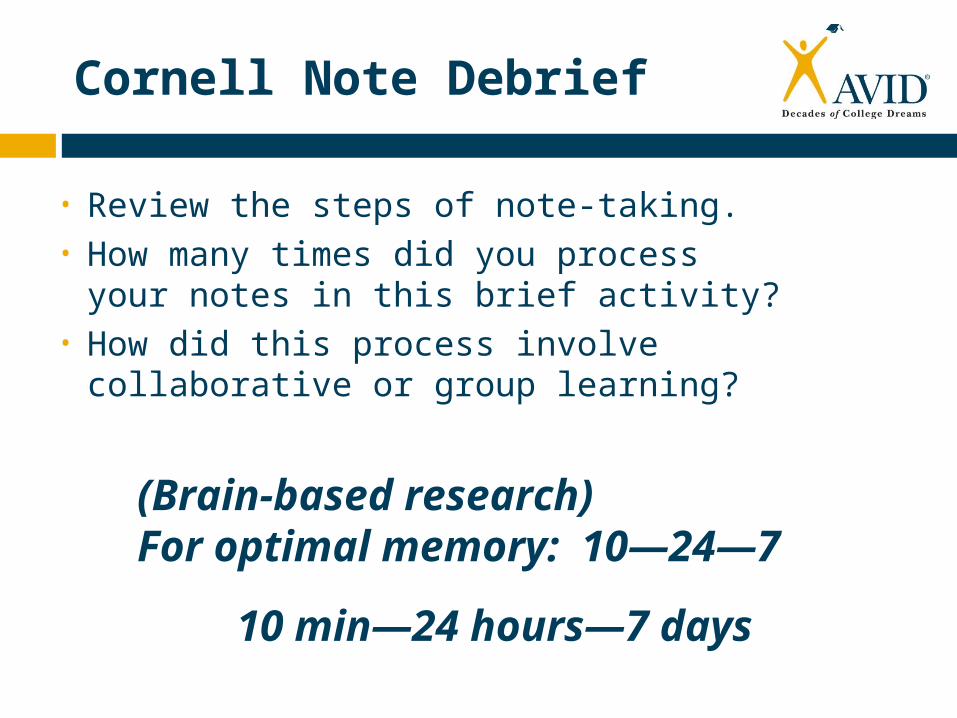
Cornell Note Debrief
• Review the steps of note-taking.• How many times did you process your
notes in this brief activity?• How did this process involve
collaborative or group learning?
(Brain-based research)For optimal memory: 10—24—7
10 min—24 hours—7 days

Cornell Note Debrief
• Review o The Cornell Note-taking systemo Sample of completed Cornell notes
• Notice the questions in the left column and the summaries
o Cornell note-taking checklist and rubric
• Questiono Should all left-column questions be Level 2 or 3?
Handout pgs 18-21

Tutors and Note-taking
• Employ class notes as a regular part of the tutorial session.
• Have students practice note-taking during tutorials.
• Use tutorial time to help students develop probing questions about their notes.
• Demonstrate ways of using notes for studying.
• Encourage students to exchange notes after absences.

Tutors and Note-taking
Encourage students to use shortcuts for note-taking.
**Just a suggestion: Tutors take Cornell notes during one or more of their college classes and show these notes to the AVID students.
Handout pg 22

The Tutorial Process
What is the main purpose of AVID tutorials?
To promote student achievement in academic classes through:
Assistance with content materialCollaborative effortsInquiry strategies

Handout pgs 23-27

The Tutorial Process
View the tutorial videos:
Before, during, and after tutorials
Use the “Summarizing: Pyramid” to summarize/synthesize your learning about the tutorial process.
Handout pg 28

The Tutorial Process
Where was inquiry used in the tutorial video segments?
Where was collaboration used in the tutorial video segments?
(Collaboration is group members working together while taking responsibility for each person’s learning.)

Tutor and Student Expectations
• “Jigsaw” read the “Expectations of Tutors” and the “Expectations of Students” by dividing each reading into segments so that each person on the table reads one segment.
•After the readings are done, each person shares the main points of his/her segment with the whole table group.
•Each table group determines 1-2 big ideas from the reading and 1-2 questions to share with the entire group.
Handout pgs 29-30

Tutor and Student Expectations
Find someone you don’t know (or don’t know well)
and do a “1-1-2 minute” share with them on what
you have learned about tutorials and your role in
the tutorials.
• Partner A talks for one minute. Partner B just listens—no talking.
• Partner B talks for one minute. Partner A just listens—no talking.
• Both partners engage in a conversation for two minutes.

Tutorial Request Forms
• Review the blank TRF’s and the sample TRF in your handouts.
• What elements are common to the TRF’s?
• Note: Teachers may use various forms of TRF’s on their campuses.
• LUNCH
Handout pgs 31-36

Room Arrangements
• Regular tutorials:
Desks/chairs in a half-circle
(horseshoe) next to board
• Group discussion on a text or group study for test/quiz:
Desks/chairs in a circle

Tutor Roles During Tutoring
• Watch carefully as the video clip of the actual tutorial is played again.
• Designate individuals at your table to carefully note the actions of• The tutor• The student presenting the problem• The students in the tutorial group
• Share your observations with your table group.

• Is positioned away from the front of the group• Takes notes for student presenter• Facilitates questioning and interaction between
group and presenter• Pushes the thinking of all group members to a
higher level• Coaches students in their learning and
questioning of each other
Tutor Roles During Tutoring

Tutor Roles During Tutoring
Review “Using Tutorial Question Stems”
Review “Levels of Inquiry Process”
Handout pgs 37-38

Presenter Roles During Tutoring
• At the board, visually and orally presents problem to group
• Interacts with group responses to questions• Pushed by group to think deeply about
solutions• Records the steps of his/her and the group’s
thinking on the board, preferably in Cornell note style

How to Present a Question
• Write the problem/question on the board.• Face the group members.• Read the question out loud to group.• Explain prior knowledge and what you
understand about the question.• Explain what strategies you used in attempting
to answer the question.
Handout pg 39

How to Present a Question
• Indicate to group exactly where you became confused as you worked to answer this question/problem.
• Ask group members: “What questions do you have to prompt my thinking and assist me in identifying the next step?”
• Ask group members questions to clarify anything that they asked or stated.
Handout pg 39
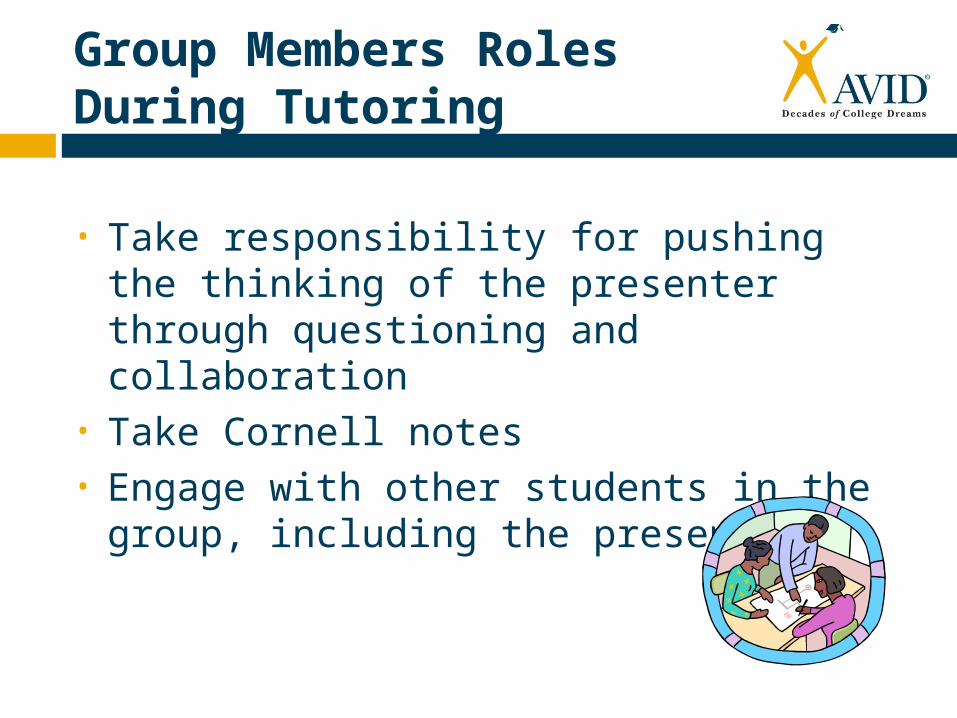
Group Members Roles During Tutoring
• Take responsibility for pushing the thinking of the presenter through questioning and collaboration
• Take Cornell notes• Engage with other students in the group,
including the presenter

Teacher Role During Tutoring
• Teacher (or tutor) collects TRF’s and determines groupings.
• Teacher constantly monitors tutorial groups: roles of tutor/presenter/ group, participation, conduct, etc.
• Teacher (or tutor) collects TRF’s at end of tutorial for grading and feedback.

Inquiry Learning Process
What is your
question?
What can you tell
me about it?
What does ___ mean?
11 22 33
What questions do
you still have?
What would happen if you changed __?
What have we overlooked?
What would
happen if you
changed __?
What have we
overlooked?
What have you already tried?
What is the relationship of
___ and ___?
Is there another way to look at it?
Where can you go for more information?
How would you graphically illustrate
your process?
44
55
What would happen if youchanged __?
How would you teach this to a friend?
What did you learn?
66
77
Handout pg 40

Guidelines for Effective Tutorials
• Read “Guidelines for Effective Tutorials”, highlighting important ideas.
• With a partner from another table, complete the Share-One-Get-One handout.
• Comments and questions?
Handout pgs 41-43

Mock Tutorial #1
• Mock tutorial (6-7 volunteers)• Tutor• Student presenter • Group members • Need 6-7 volunteers
• Individually write at least 2 questions that the group members or tutor might ask of the student presenter.

Handout pg 44

Mock Tutorial #1
Question for presentation: “Water lilies on a certain lake double in area every
twenty-four hours. From the time the first water lily appears until the lake is completely covered takes sixty days. On what day is the lake one-fourth covered?”

Mock Tutorial #1Debriefing
Group members: “How did the tutorial process go for you and what did it feel like to only use inquiry?”
Observers: Report on the involvement of Group Members using the Tutorial Process Observation Checklist.

Mock Tutorial #1Debriefing
Student Presenter: “How did the tutorial process work for you and did you feel the inquiry and collaboration of the group members helped you?
Observers: Report on the involvement of the Student Presenter using the Tutorial Process Observation Checklist.

Mock Tutorial #1Debriefing
Tutor: How were you able to facilitate questioning and interaction between the student presenter and the group?
Observers: Report on the involvement of the Tutor using the Tutorial Process Observation Checklist.

Tutorial Reflections
• The tutorial reflection is not a summary, it is a reflection on the learning that occurred.
• Allow students enough time at the end of tutorials to think about and write personal reflections.
• Review the reflection prompts on the handout “Think About It.”
• Write a reflection on the mock tutorial.
Handout pg 45

“I” Messages
• Stating your feelings or observations without attacking the other person
• “I” messages are explanations. • “You” messages are evaluations, whether
positive or negative.• Review example messages on handout.• Work together as a group to rewrite “you”
messages into “I” messages.
Handout pg 46

“I” Messages
“Catch the eye” of someone across the room to be your partner.
Work together as partners to rewrite “you” messages into “I” messages.
# 2, 3, 5, 7, 8 on handout
Handout pg 47

Mock Tutorial #2
1. Form small tutorial groups as directed by facilitator.
2. Designate a tutor, student presenter, and observer. All others are group members.
3. Choose a tutorial question for the student presenter. Use the Tutorial Request Form B samples (labeled A, B, or C in upper right corner) that also have notes pages attached.
Handouts pgs 48-54

Mock Tutorial #2
4. Take notes on all questions (not just your own) on the blank TRF. The tutor should take Cornell notes for the student presenter while modeling higher-level questions for the group.
5. Use the resources and notes provided to assist in asking questions of the student presenter.
6. The Observer will debrief the process with the tutor and group. Then switch roles.

Mock Tutorial #2
7. Write a reflection about your learning on the tutorial process on the Tutorial Request Form.

Tutorial Process Debrief
• With your table group, discuss the Tutorial Scenarios and write your response to each situation.
• As a whole group, discuss the Challenges and Possible Solutions in your handout.
Handout pgs 55-57

The Non-Negotiables
DO—• Maintain confidentiality of students’ grades and
conversations• Build appropriate rapport with students• Tell the AVID teacher about any inappropriate
action or comment from a student• Report suspected child abuse to the teacher• Contact the teacher (or whomever he/she
designates) if you must be absent.

The Non-Negotiables
DO NOT—• Discuss or joke about drugs, weapons, or sex
with students• Have contact with students (phone, email,
meetings, MySpace, FaceBook) outside of class• Discuss the students or their grades outside of
class, except with the teacher

Closing
Form small groups as directed by the presenter and answer the debriefing
questions on the handout.
Handout pg 58

Thank you!
Please complete the tutor training evaluation form and leave it on your table.
Thank you for choosing to make a difference for the AVID students.
Handout pg 59
