torque bots and damage
DESCRIPTION
Torque Bots and Damage. CIS 487/587 Bruce R. Maxim UM-Dearborn. Slides based on the Code Sampler Tutorials by Kevin Harris. Adding a Bot - 1. - PowerPoint PPT PresentationTRANSCRIPT

04/22/23 1
Torque Bots and Damage
CIS 487/587Bruce R. MaximUM-Dearborn

04/22/23 2
Slides based on theCode Sampler Tutorials
by Kevin Harris

04/22/23 3
Adding a Bot - 1
• The code found in the bot.cs script file was taken from a more complicated A.I. script called, aiPlayer.cs, which is part of the starter.fps example.
• Copy the bot.cs script to your tutorial.base/server directory.
• Open the game.cs script file located in the tutorial.base/server directory

04/22/23 4
Adding a Bot - 2
• Add the following line of script to the function onServerCreated( ) add it to the end of the list like usualexec("./bot.cs");
• Besides defining how our bot follows a given path, the bot.cs script also defines a special object called AIManager which is responsible for managing all bots in general
• For our AIManager to work, we'll need to add some code to start and stop it respectively.

04/22/23 5
Adding a Bot - 3
• Add the highlighted lines to the onMissionLoaded() function:
new ScriptObject(AIManager) {};MissionCleanup.add(AIManager);AIManager.think();
• Next, we need add a of line of code to the onMissionEnded() function to delete the manager object when our game is done. AIManager.delete();

04/22/23 6
Adding a Bot - 4
• When done, close and save the "game.cs" script file.
• Note: We haven't laid-out our path yet with the Mission Editor so the function AIManager::spawn( ), which actually spawns the bot, will simply spawn a regular bot without specifying a path to follow.

04/22/23 7
Path Definition - 1
• Run the test application by double-clicking torqueDemo.exe, which is located in the example directory.
• When the main menu comes up, click the "Load Mission!" button. A mission named, "F World", should load.
• After the mission starts, move forward a bit and turn around. You should see a motionless bot just standing there.

04/22/23 8
Path Definition - 2
• Find a relatively flat area where it will be easier to create a path and hit F11 to open the Mission Editor and switch to "World Editor Creator" mode.
• Expand the tree in the lower right half of the screen by clicking the "Mission Objects" entry. Expand it out like so:"Mission Objects->Mission"

04/22/23 9
Path Definition - 3
• In the Mission directory, you should see several entries to choose from.
• Click the entry labeled "Path" just once to create a new Path object. Name the Path object, "myPath".
• In the MissionGroup tree, which is in the upper right hand side of the editor, expand out the tree and find the node labeled "myPath".

04/22/23 10
Path Definition - 4
• Make this node the current selection by holding down the "Alt" key while clicking it with the mouse.
• If done correctly, the selection color of the "myPath" entry should change from white to gray.
• Make sure the path markers get grouped under our new Path object.

04/22/23 11
Path Definition - 5
• Return to the tree control in the lower right hand corner and click the “PathMarker” in the "Mission" directory.
• Name the new PathMarker, "myMarker0" and check to make sure it was correctly grouped under "myPath" in the "MissionGroup" tree control.
• Repeat the process to create two more PathMarkers called, "myMarker1, and "myMarker2".

04/22/23 12
Path Definition - 6
• Make sure to place the markers far enough apart so you can see your bot run around.
• Save the mission file by selecting and exit completely out of the game.
• return to the bot.cs script file located in the tutorial.base/server directory and edit the function AIManager::spawn()
• Comment out the line of code that creates "Bot_1" and uncomment the code below it that creates "Bot_2“ and save bot.cs.

04/22/23 13
Test Bot
• Run the test application again by double-clicking torqueDemo.exe.
• If everything was done correctly, you should see a new bot called "Bot_2" running around your new Path object's PathMarkers.
• If not, make sure that your PathMarkers are not too low on the terrain and that they're correctly grouped under the "myPath" object.

04/22/23 14
Weapons Damage
• This tutorial demonstrates how to apply weapons damage to both players and bots when a weapon's projectile collides with them and how to calculate "radius damage", which allows an exploding projectile to damage a player without making direct contact.
• This tutorial not only requires the Tutorial Base application as its starting place, but also requires the addition of the Weapons and Bot Path-Finding tutorials.

04/22/23 15
Damage - 1
• Copy the scripts radiusDamage.cs and shapeBase.cs to your tutorial.base/server directory.
• Open the game.cs script file located in the tutorial.base/server directory and add the following script lines to the function onServerCreated()exec("./radiusDamage.cs");exec("./shapeBase.cs");

04/22/23 16
Damage - 2
• Copy the player_dieknees.dsq animation file to the /tutorial.base\data\shapes\player directory.
• Open the player.cs script file located in the \tutorial.base\data\shapes\player directory and following highlighted line of script to the datablock TSShapeConstructor
sequence12 = "./player_dieknees.dsq die";

04/22/23 17
Damage - 3
• This is the last change to this player.cs save the file and close it.
• Open the player.cs script file located in the tutorial.base/server directory and add the following line of script to the datablock PlayerShape
className = Armor;

04/22/23 18
Damage - 4
• Add this function to the bottom of the player.cs script.function Player::playDeathAnimation( %this ){ %this.setActionThread( "die" );}
• Add this function next.function Armor::damage
(%this, %obj, %sourceObject, %position, %damage, %damageType ){ …}

04/22/23 19
Damage - 5
• Add this function next.function Armor::onDisabled( %this, %obj, %state ) { …}
• This is the last change to this player.cs save the file and close it.
• Open the rocket_launcher.cs script file located in the tutorial.base/server directory
04/22/23 20
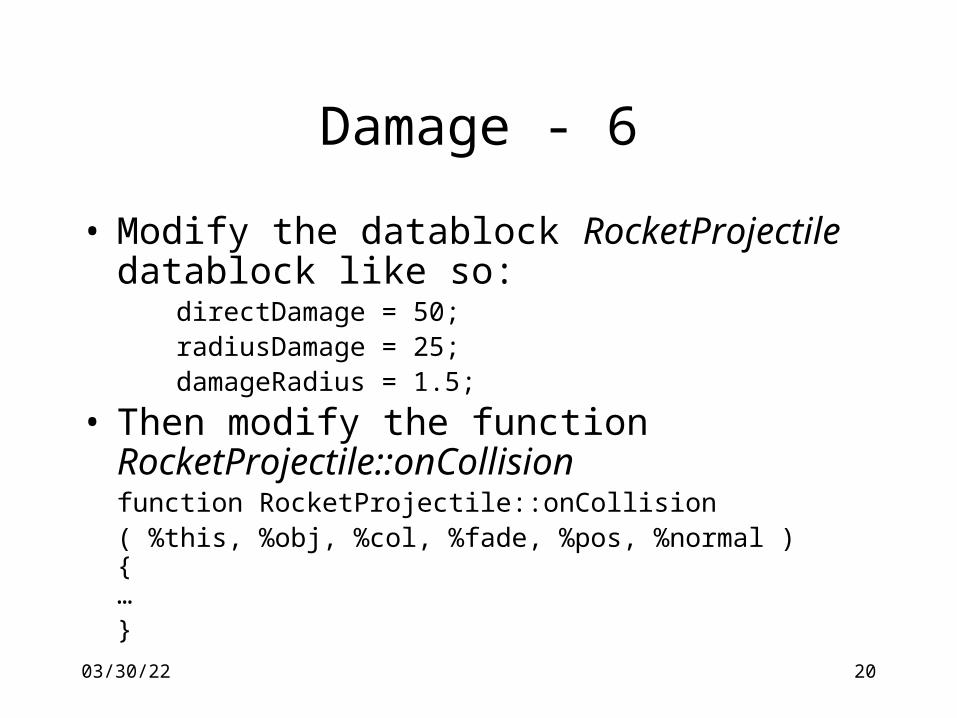
Damage - 6
• Modify the datablock RocketProjectile datablock like so:
directDamage = 50;radiusDamage = 25;damageRadius = 1.5;
• Then modify the function RocketProjectile::onCollision function RocketProjectile::onCollision( %this, %obj, %col, %fade, %pos, %normal ){… }

04/22/23 21
Damage - 7
• That's it for rocket_launcher.cs save the file and close it.
• Run the test application by double-clicking torqueDemo.exe
• You should now be able to shoot and kill the path-finding bot as well as blow your self up by shooting at your player's feet.