this slide presentation is to show the location of safety and infection control equipment in the mlt...
TRANSCRIPT
Safety in the OJC MLT/Phlebotomy Program Laboratory

This slide presentation is to show the location of safety and infection control equipment in the
MLT classroom/laboratory

OJC MLT/Phlebotomy Safety
• Lets explore the our classroom/laboratory and find the key safety equipment and tools that are available.
• Look at page 78, Laboratory Safety Exercise in our textbook
• At the next class period, use the list on page 78 and this lesson to find all the safety items in the room for yourself.
• Be sure to find the Safety Manual and MSDS book and thumb through those manuals.
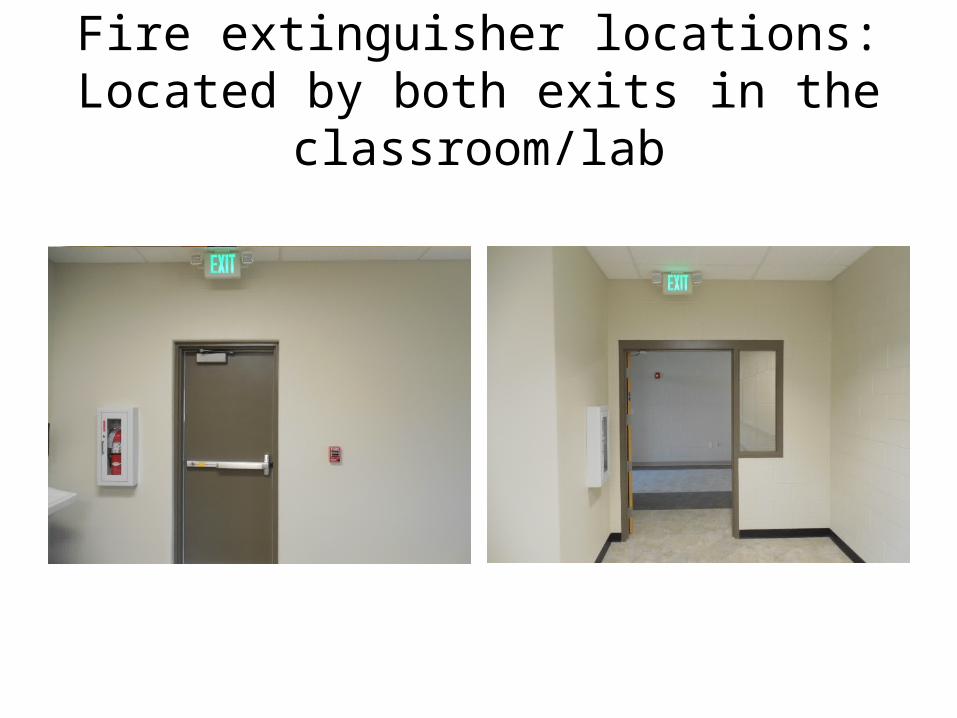
Fire extinguisher locations:Located by both exits in the classroom/lab
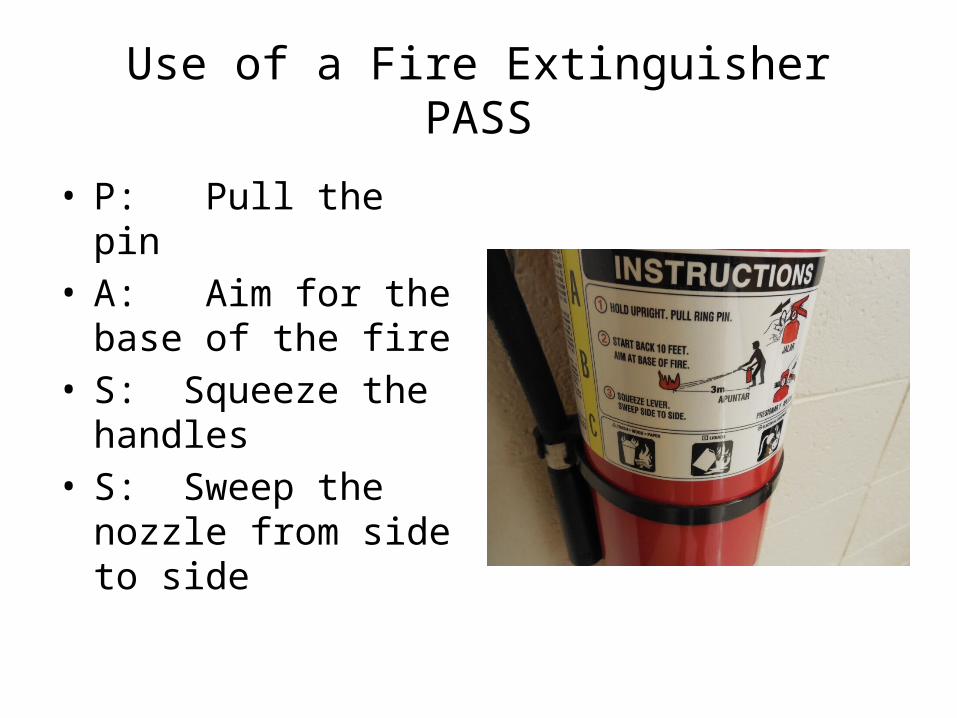
Use of a Fire ExtinguisherPASS
• P: Pull the pin• A: Aim for the base of
the fire• S: Squeeze the handles• S: Sweep the nozzle
from side to side

Use the link below to learn more about fighting fires
• http://www.ehs.okstate.edu/modules/exting/Index.htm
• Quiz at the end of this link is optional but it tests your knowledge about fires. Information you may need someday!

Fire Alarm
Located in the hallway outside our classroom door
Alarm box is located in the hallway outside the large classroom door right next to the building exit
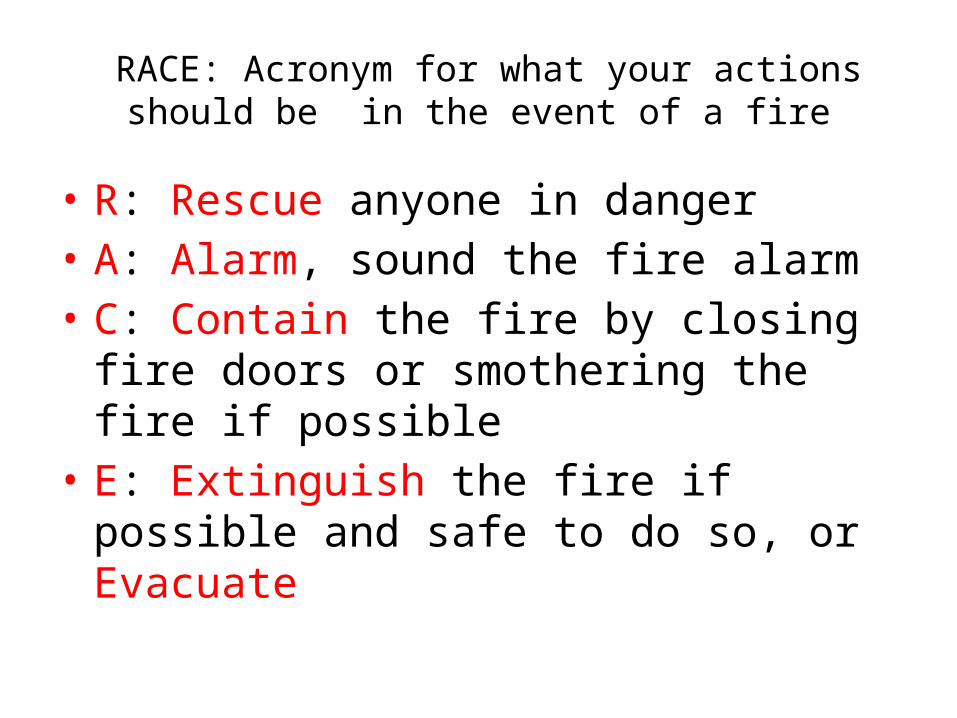
RACE: Acronym for what your actions should be in the event of a fire
• R: Rescue anyone in danger• A: Alarm, sound the fire alarm• C: Contain the fire by closing fire doors or
smothering the fire if possible• E: Extinguish the fire if possible and safe to do
so, or Evacuate
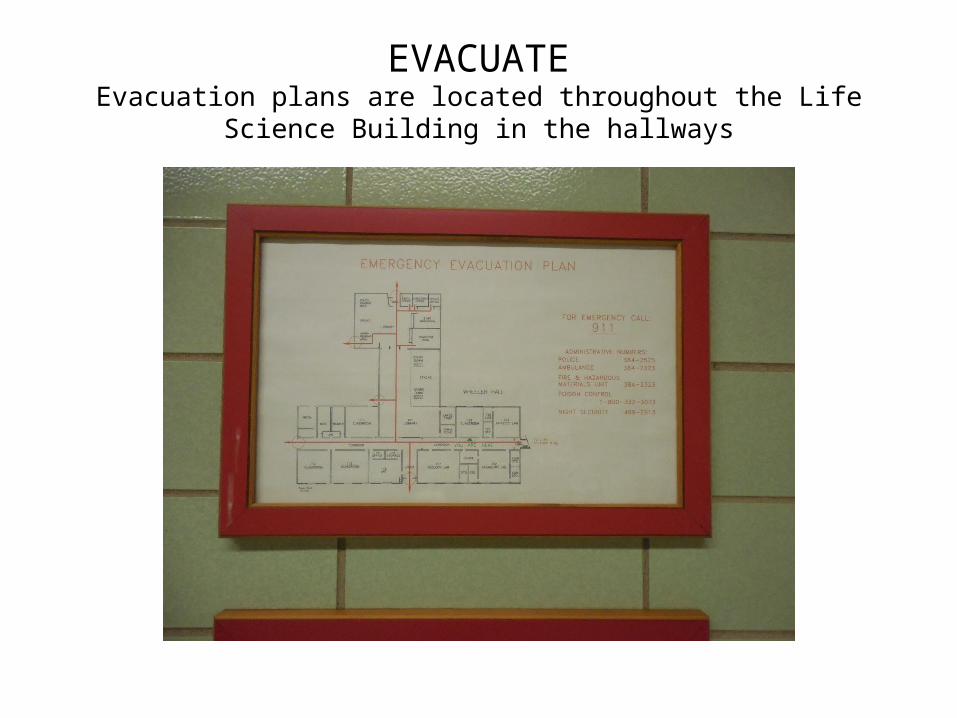
EVACUATEEvacuation plans are located throughout the Life Science Building in the
hallways
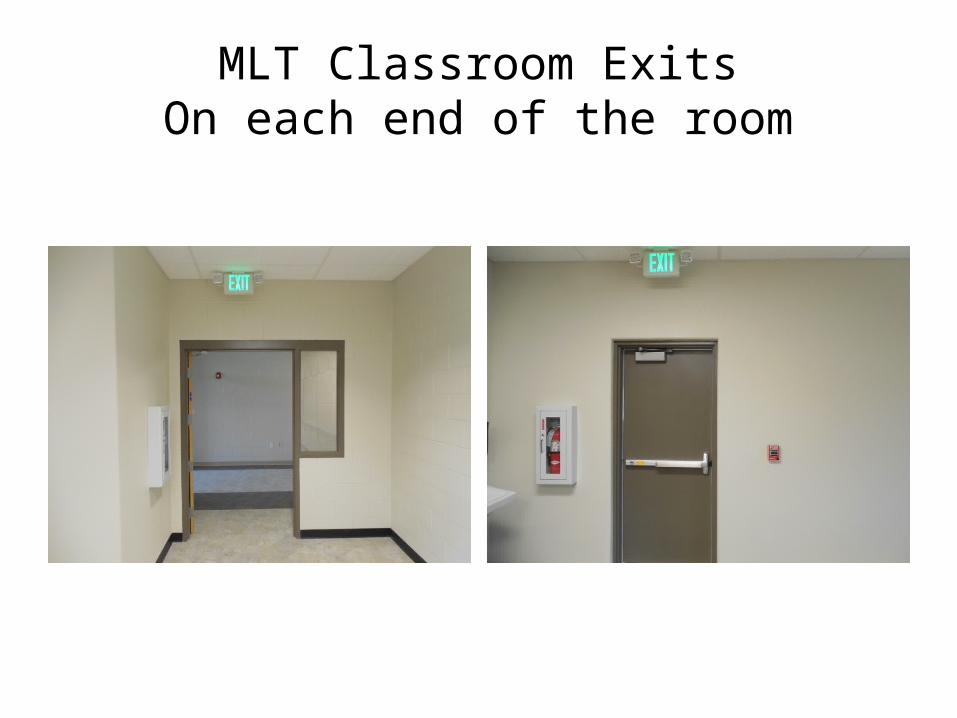
MLT Classroom ExitsOn each end of the room
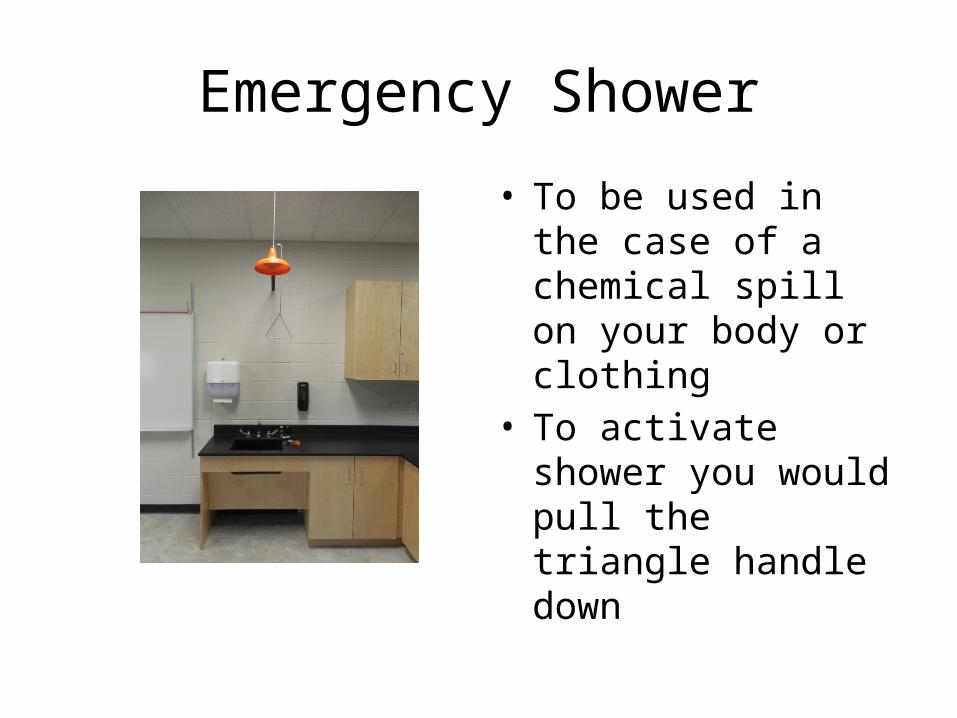
Emergency Shower
• To be used in the case of a chemical spill on your body or clothing
• To activate shower you would pull the triangle handle down

Emergency Spill Kit• Spill Kit with PSQ as the disinfectant. The MSDS for
this is in the MSDS book. Check out all the components in the spill kit. Is everything you might need there?
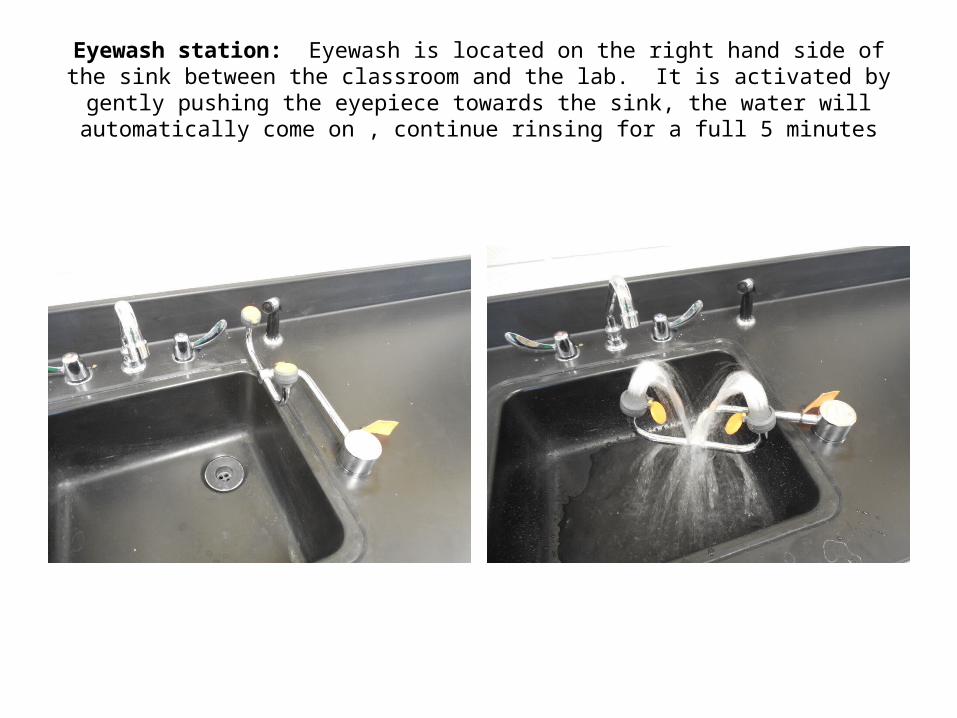
Eyewash station: Eyewash is located on the right hand side of the sink between the classroom and the lab. It is activated by gently pushing the eyepiece towards
the sink, the water will automatically come on , continue rinsing for a full 5 minutes

Hand washing stationLook at page 79 in the textbook. It describes the proper steps in hand washing. You will be evaluated on your hand washing technique at the midterm laboratory test.
These are very important steps in breaking the cycle of infection in healthcare settings. Hand washing is the single BIGGEST factor in stopping the spread of infection and breaking that cycle of infection.
You will need to wash or use hand sanitizer before and after every single patient you draw or do any type of procedure on. And as a technician in the laboratory washing after removing your gloves is your best way to protect yourself!

MSDS and Safety Manual
• The MSDS manual (YELLOW spine) contains all the chemicals that we use in the student laboratory.
• Our RED Safety Manual contains information on all emergency policies for Otero Junior College. It includes the Blood Bourne Pathogen Exposure Control Plan. Please take a minute to find these two manuals in our classroom.
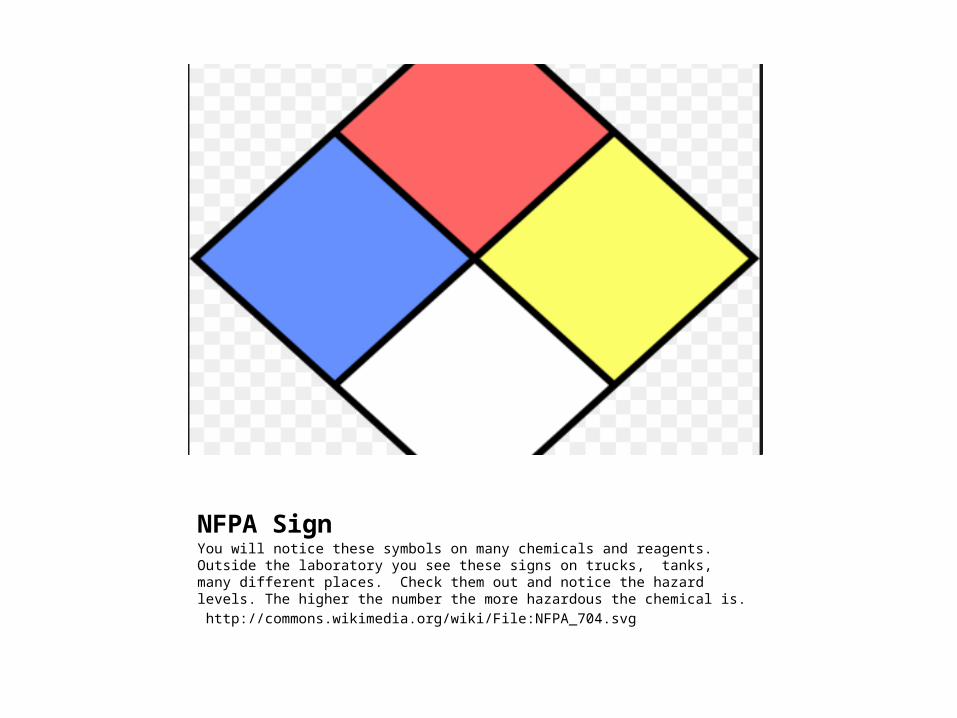
NFPA SignYou will notice these symbols on many chemicals and reagents. Outside the laboratory you see these signs on trucks, tanks, many different places. Check them out and notice the hazard levels. The higher the number the more hazardous the chemical is. http://commons.wikimedia.org/wiki/File:NFPA_704.svg

More information about NFPA signs
• http://chemistry.about.com/od/safetysignsandsymbols/a/Nfpa-704-Or-The-Fire-Diamond.htm
• Take the time to look at this site as you will be expected to understand the meaning of the symbol

Master Electrical Panel
• Not available for us• Call campus security if necessary to cut the
power

PPE
• Don’t forget PPE: Personal Protective Equipment which includes
• Disposable gloves• Goggles if splashes are possible• Disposable lab coats
• These are your best tools to protect you from biohazard materials!!! Use Is MANDATORY!
Safety First
• Learning where all the safety items are located is one of the first things you should do when you enter any laboratory in the learning environment, during your internship or on the job.
• Be Prepared and Be Safe!

Credits
• Written by: Catherine Bollacker MT(ASCP)• Pictures by: Catherine Bollacker MT(ASCP)
unless otherwise noted.