the art of recording 9-12 - natural history museum of … art of... · • recording materials...
TRANSCRIPT
Alignment to Utah Core Curriculum
Intended Learning Outcomes (ILO’s):1. Use science process and thinking skills.2. Manifest scientific attitudes and interests.3. Understand science concepts and principles.4. Communicate effectively using science
language and reasoning.
Enduring understanding:
Students will come to understand that there are many ways to record and organize data and observa-tions, but that all need to be done with detail and accuracy.
Grade Level: 9-12Alignment to Utah Core Curriculum
Intended Learning Outcomes (ILO’s):1. Use science process and thinking skills.2. Manifest scientific attitudes and interests.3. Understand science concepts and principles.4. Communicate effectively using science
language and reasoning.
Enduring understanding:
Students will come to understand that there are many ways to record and organize data and observa-tions, but that all need to be done with detail and accuracy.
Activity Length: 3 periods of 45-55 minutes
Alignment to Utah Core Curriculum
Intended Learning Outcomes (ILO’s):1. Use science process and thinking skills.2. Manifest scientific attitudes and interests.3. Understand science concepts and principles.4. Communicate effectively using science
language and reasoning.
Enduring understanding:
Students will come to understand that there are many ways to record and organize data and observa-tions, but that all need to be done with detail and accuracy.
Process Skills:• Observation• Recording
Materials Needed• At least 10 different objects (items from a teaching toolbox, treasures from nature
students have brought to school, objects from the school grounds or surrounding green spaces, or objects you have collected with obvious and not-so-obvious details)
• A copy of the graphic organizers for each student• Blank copy paper, water color paper or art paper for each student• Watercolors and colored pencils, enough for each student
BackgroundThis lesson was created by Jason Splain, art teacher extraordinaire
WATERCOLOR – TECHNIQUES
Washes -The most basic watercolor technique is the flat wash. It is produced by first wetting the area of paper to be covered by the wash, then mixing sufficient pigment to easily fill the entire area. The pigment is applied to a sloping surface in slightly overlapping horizontal bands from the top down. Once complete the wash should be left to dry and even itself out - don't be tempted to work back into a drying wash, the results are usually disastrous! A variation on the basic wash is the graded wash. This technique requires the pigment to be diluted
The Art of Recording
NHMU School Programs 2011

slightly with more water for each horizontal stroke. The result is a wash that fades out gradually and evenly
Glazing -Glazing is a similar watercolor technique to a wash, but uses a thin, transparent pigment applied over dry existing washes. Its purpose is to adjust the color and tone of the underlying wash. Non-staining, transparent pigments such as Rose Madder (or Permanent Rose), Cobalt Blue and Auroline are ideal for glazing as they can be applied layer after layer to achieve the desired effect. Be sure each layer is thoroughly dry before applying the next.Wet in Wet -Wet in wet is simply the process of applying pigment to wet paper. The results vary from soft undefined shapes to slightly blurred marks, depending on how wet the paper is. The wet in wet technique can be applied over existing washes provided they are thoroughly dry. Simply wet the paper with a large brush and paint into the dampness. The soft marks made by painting wet in wet are great for subtle background regions of your painting.Dry Brush -Dry brush is the almost the opposite watercolor technique to wet in wet. Here a brush loaded with pigment (and not too much water) is dragged over completely dry paper. The marks produced by this technique are very crisp and hard edged. They will tend to come forward in your painting and so are best applied around the centre of interestLifting Off -Most watercolor pigment can be dissolved and lifted off after it has dried. Staining colors such as Phthalo or Prussian blue, Alizarin, Windsor Red, Yellow or Blue are difficult to remove and are best avoided for this technique. The process for lifting off is simple - wet the area to be removed with a brush and clean water then blot the pigment away with a tissue. Using strips of paper to mask areas of pigment will produce interesting hard edged lines and shapesDropping in Color -This technique is simply the process of introducing a color to a wet region of the painting and allowing it to blend bleed and feather without interruption. The result is sometimes unpredictable but yields interesting and vibrant color gradations that can’t be achieved by mixing the pigment on the palette.
Natural History Museum of Utah, “The Art of Recording”
NHMU School Programs 2011! ! Page 2

COLORED PENCIL – TECHNIQUES
SIDE SHADING TIP SHADING SHADING - Make a series of shaded areas, solid and graduated. How much variation can you achieve? How smoothly can you blend two overlaid colors? Make sure you use a light touch and gradually build up the color. Practice adjusting the amount of pressure that you apply to the pen-cil as you shade to precisely con-trol the amount of color you lay down.
HATCHING - hatch a large area with straight marks. Avoid making hatches that curve in an arc created by your wrist or arm movement. Try stopping a series of hatch marks along a line, to create an edge.
CROSS-HATCHING - lay down an area of regular hatching, then hatch across it at right angles. Create areas of fine hatching and coarse. How does it look when you use similar colors? Complementary colors? Try overlaying multiple layers and colors.
Natural History Museum of Utah, “The Art of Recording”
NHMU School Programs 2011! ! Page 3

SCUMBLING - create fine and coarse areas of scumbling. Use regular even circles and random irregular circles. Try scumbling over a smoothly shaded area. Use a variety of color combinations.
BURNISHING - go over and over the same area, starting lightly and building pressure, until you have a smooth, solid block of color. Try alternating colors or shades, laying light over dark and vice-versa.
DIRECTIONAL MARKS -These are lines which follow a contour, or the direction of hair or grass or other surfaces. These can be densely overlaid to form a rich textural effect. Directional marks can be short and broken or quite continuous and flowing depending on the texture you are aiming for. Often directional mark making is used quite subtly, overlaid with even shading and blended, to cre-ate a suggested direction without being dominant.
Natural History Museum of Utah, “The Art of Recording”
NHMU School Programs 2011! ! Page 4

INCISING - Lay down two thick layers of contrasting color. Try using a variety of implements to scratch away the top layer - a knife-blade, a knitting needle or chopstick, a comb.
COLORED PENCIL TIPS• Keep your pencil sharp • Use good quality drawing paper • Note what colors you use for future reference • Have fun!
LINE DRAWING PENCIL – TECHNIQUES
GESTURE DRAWINGAll gesture drawing is done quickly. You have to feel the surface of your model. You’re letting the pencil roam freely and quickly in order to capture the model’s edges. The important thing here is not what the final drawing looks like, but that the line is moving in the same way that the subjects edges.
The drawing may be meaningless to someone else but it’s important to you because at that moment you’re capturing the angle and shape of the objects shapes. Do not look at the paper…keep your eye on the subject ….. Once again, imagine that your eye is pulling your pencil across the paper.
LET YOUR EYE GUIDE YOUR HANDSuppose you are drawing but you are spending most of your time looking at your drawing paper rather than looking at the object being drawn.What is happening is that you are watching your hand create what you THINK are pleasing lines rather than looking at the object you are drawing. In this case, your hand is guiding your eye instead of your eye guiding your hand ... the most common problem for beginning artists.
You must learn to do just the opposite and let your eye guide your hand if you want to draw artistic lines.
Natural History Museum of Utah, “The Art of Recording”
NHMU School Programs 2011! ! Page 5

As difficult as it may seem at first, force yourself not to look at your drawing paper. Keep your eyes on the still life object or model you are drawing and let your hand follow what you see.
CONTOUR LINE DRAWINGContour line drawing is a slow study of a model’s anatomy. Our sense of touch is the underlying principle of drawing these lines. Let me explain.You’ve probably seen a movie in which a blind person wants to know what someone looks like, so they ask if they can run their hand across that person’s face. When you’re drawing, imagine you are running your pencil across the subject you are drawing. Just as a blind per-son feels the shape of a person’s face, with practice you will be able to feel the shape of the object with your pencil. Once you learn how to do contour line drawings correctly, you will see how much can be expressed just through lines. The lines themselves will imply the three-dimensions of objects and the bulk of object you are drawing.
ActivityDay 1, DrawingExplain that there are many ways to record information. With this lesson, the students will be working on drawing and writing with detail.Distribute the web graphic organizer to students. Display the objects that you would like the students to observe and record about, make sure each one is labelled with a name so the students know what it is. Tell students they will have a few minutes to look at the objects and decide which one they are most interested in. When they have made their decision, they need to record the name of the object they have selected in the large circle labelled “Topic” on the graphic organizer and then return to their seat.
Web Graphic OrganizerExplain that the students are going to be observing objects to find interesting features and recording them on the graphic organizer.Model how you would choose the three most interesting features, and write them in the three medium sized bubbles in the graphic organizer.Explain that once they have selected the interesting features they want to focus on, they will need to observe those features with detail, measure, or make inferences about the use.Model how you would record the details, measurement and inferences in the three smaller bubbles off of each feature bubble.Distribute the objects on tables or desks around the room. Have the students relocate to the area that has the specimen they are interested in studying. They may be in groups, in pairs, or by themselves- any and all of these combinations are fine. Wander around the room as students observe, discuss and record. Acknowledge observa-tions and discussions, and support where students may need extra modeling.
Natural History Museum of Utah, “The Art of Recording”
NHMU School Programs 2011! ! Page 6

Gesture DrawingExplain that now the students are going to draw the object. First you are going to do what is called a gesture drawing. This will start connecting your eye to your hand, and warm up your brain.Describe gesture drawing from the background information section. Be sure to emphasize the importance of letting your eye guide your hand, and how it does not matter what your drawing looks like.Model gesture drawing. While modeling, describe what you are doing- how you are looking for direction of lines, for quality of line, etc. Give students a few minutes to do a gesture drawing of their object.
Contour Line DrawingExplain that now the students are going to do a contour line drawing of their object.Describe contour line drawing from the background information section. Again, be sure to emphasize the importance of letting your eye guide your hand.Model contour line drawing. While modeling, describe what you are doing- how you are looking for direction of lines, for quality of line, etcGive students time to do a contour line drawing of their object.
Contour Line Drawing DetailsExplain that now students are going to do three contour line drawings focusing on the features they selected and listed on the web graphic organizer. The detail needs to be larger than the original and, obviously, include as much detail as possible.Model how to set up the paper for the detail drawings. Draw a line from the features on the drawing and make an enlarged detail of it. Create a circle to draw the detail in, or leave it free. Give students time to create their details.
Day 2, Adding Color and DepthExplain that the students are now going to be adding color and depth to their drawings. They are going to be able to choose between two mediums- watercolors or colored pencils, but that you would like to show them some techniques you can use with either of them.Distribute paper, watercolors and supplies, and colored pencils.
Model the different water color techniques- you do one, then have the students try it. Write the name of the technique on the paper, have the students do the same, that way they have a record of it.*In order to have a dry water color patch to practice the lifting off technique, paint a solid patch of color first, and let it dry while you are practicing the other techniques, then go back when it is dry and practice the lifting off technique.
Model the different colored pencil techniques- you do one, then have the students. Again, write the name of the technique on the paper, have the students do the same, that way they have a record of it.
Natural History Museum of Utah, “The Art of Recording”
NHMU School Programs 2011! ! Page 7
Re-distribute the objects on tables or desks around the room. Have the students relocate to the area that has the specimen they are studying. Give the students time to observe the object again, and to select and employ the methods they would like to use to add color to their drawings.
Day 3, WritingExplain that today the students are going to be writing information that explains and describes the object that they are studying and the interesting features that they have chosen to focus on.Distribute the essay graphic organizer.Model how you take the object, the drawing and the web graphic organizer to help you prepare the three supporting paragraphs.Give students time to write their three supporting paragraphs.
Model how you would write an introductory sentence or paragraph and a conclusion. You can have other resources like books and websites if students feel they want to have more information for their introduction or conclusion. SharingIf there is enough room on the diagram of the object, have the students copy their essay onto the paper. If not, have the students paste their diagram onto a larger paper or poster and write or paste a typed version of their essay on it. Have the students share. You could have them share in front of the class or set up a gallery where everyone can walk around and look, read and discuss.
Learning ExtensionsIf you did this lesson with objects collected from your school grounds and surrounding green areas, you could compile the drawings and descriptions into field guides that you place in your classroom and your school library. If you didn’t use objects from the school yard, you can always go outside and have the students find interesting plants and animals in the area and start a field guide using the skills they now have.
Formative Assessment Strategies1. Notice the details your students are observing- are they superficial or are they in depth?
What is drawing their attention? What sort of connections are they making? This will help you understand the background knowledge and level of observation your students are bringing to the assignment.
2. How do the students articulate their observations? Are they using descriptive words? Are they including detail in their language? Are they using scientific language? Are they able to craft a paragraph? This will help you understand the level of sophistication in your students ability to translate their observations into writing, and where and how you should support them.
Natural History Museum of Utah, “The Art of Recording”
NHMU School Programs 2011! ! Page 8
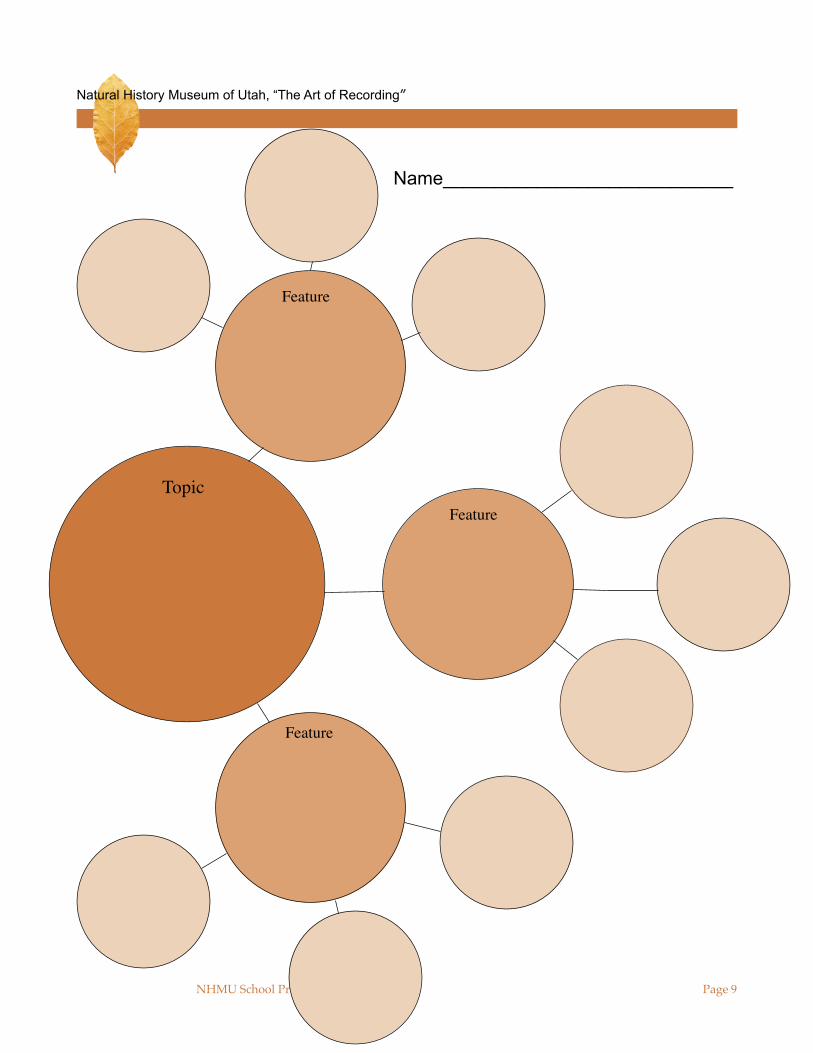
Name____________________________
Natural History Museum of Utah, “The Art of Recording”
NHMU School Programs 2011! ! Page 9
Topic
Feature
Feature
Feature

Name
Natural History Museum of Utah, “The Art of Recording”
NHMU School Programs 2011! ! Page 10
Introduction
Paragraph 1
Paragraph 2
Paragraph 3
Conclusion