table of contents, table of figures and table of tables · web viewtable 11: caption – insert...
TRANSCRIPT

Version: xx
Month YYYY

This publication was prepared by the Australian Transport Assessment and Planning (ATAP) Steering Committee and approved by the Transport and Infrastructure Senior Officials' Committee. The Committees cannot accept responsibility for any consequences arising from the use of this information. Readers should rely on their own skill and judgment when applying any information or analysis to particular issues or circumstances.
ISBN XXXXXX
© Commonwealth of Australia YYYY
Month YYYY
For enquiries or feedback about this publication please contact:
ATAP Steering Committee Secretariat Australian Transport Assessment and Planning GuidelinesCommonwealth Department of Infrastructure, Regional Development and CitiesGPO Box 594 CANBERRA ACT 2601Email: [email protected]
This publication is available from the website atap.gov.au

XX Title
Contents
Title of the document, as per cover page...............................................................................................1
1. Heading 1............................................................................................................................................ 21.1 Heading 2.................................................................................................................................... 2
1.1.1 Heading 3........................................................................................................................2
Appendix A Appendix Heading 1......................................................................................................3A.1 Appendix Heading 2....................................................................................................................3
A.1.1 Appendix Heading 3........................................................................................................3
References................................................................................................................................................ 4
Figures
Figure 1-1: Caption - Insert diagram/chart title (inlcude Chapter numbering).............................................6
Tables
Table 1-1: Caption – Insert table title (include chapter numbering).............................................................4
Table 1-2: Caption – insert table title..........................................................................................................4
i

XX Title
Detailed formatting instructions
DELETE THIS AND THE NEXT SIX INSTRUCTIONS PAGES ONCE THE DOCUMENT IS COMPLETE
These next few pages provide detailed formatting instructions for authors. They complement, and should be read with the ATAP Instructions to Authors. The latter should be read first.
Table of contents, Table of figures and Table of tables
These tables are automatically generated from headers and captions used in the document. You do not need to populate these tables manually.
If your document does not have any tables or figures, you can delete these pages. But DO NOT DELETE THE SECTION BREAK that follows the Table of Tables as this will affect header/footer text throughout the document.
To update these tables:
– ‘Ctrl+A’ to select the entire document
– ‘F9’ to update.
Text formatting
To apply a style to text, select the text then scroll through the ‘Styles window’ (or use the ‘Quick Styles’ icon) on the toolbar to choose a style. This style will apply to the text you have selected.
The Body Text style should be used for ‘normal’ or basic text.
Headings
There are three levels of numbered headings, and three levels of non-numbered headings. Authors should not use more than these six levels of heading.
Heading 1 includes an automatic page break before it. This break can be removed by right clicking the text, selecting ‘Paragraph’, selecting the ‘Line and Page Breaks’ tab and unchecking the box next to ‘Page break before’. Click ‘OK’.
Heading No Number is in the same style as Heading 1 but is not numbered. Using this heading style will not affect the sequential numbering of headings throughout the rest of the document. You can use this heading style in other places where you want the heading to appear in the Table of contents.
If you want a large font size heading that does not appear in the Table of contents, use the ‘TOC heading’ style.
Bullet point styles
Three levels of bulleted, numbered and indented styles are included to work with Body Text.
To convert text to bullets, highlight text and then choose one of the ‘Body Bullet’ styles from the ‘Styles window’ (or use the ‘Quick styles’ icon) on the toolbar.
2
XX Title
To convert text to numbered lists, highlight text and choose one of the ‘Body Numbering’ styles. These numbering styles have been set up to automatically restart numbering after a Body Text style is used between numbered lists. All numbered headings and lists can be reset manually by right clicking on the number and selecting ‘Restart Numbering’ or ‘Continue Numbering’.
Indented text styles work with both the bullets and numbered styles to add extra non-numbered paragraphs at the same indentation level.
Coloured text highlights
Coloured styles can be used to highlight text. To apply these styles, select text and scroll through the ‘Styles window’ to choose Character Style Base Colour or Character Style Bright Colour.
Inserting text from external sources
It is VERY IMPORTANT that when copying text from other documents the text is ‘cleaned’ of all styles and pasted in as ‘clean text’. If this step is not followed the document will corrupt and eventually become unworkable. Once the ‘clean text’ is in your document it can be formatted and styled by applying the template styles. To copy, paste and format ‘clean text’:
– Select text from the source document, ensuring that you do not select the last paragraph marker (as this holds the source formatting)
– Under the ‘Home’ tab, select ‘Paste’, then ‘Paste Special’. Choose ‘Unformatted Text’ and ‘OK’
– When ‘clean text’ is pasted, apply your chosen style to the text through the ‘Styles window’.
Footnotes
Footnotes should be used for explanations, clarifications and cross-referencing.
Quotations
Select the ‘Quote box’ style from the ‘Styles window’ (or click on ‘Quick Parts’ under ‘Insert’ tab if using the template feature and select ‘Quote box’). As quotes are clearly marked and italicised, there is no need to place them within quotation marks.
Quotes are indented, in italics and marked with a line.
Quotation
A particular tension rests in the need to assess value for money where funding decisions are based on user benefits (ie travel time savings) which are derived using consumer surplus theory. The typically more limited scope and inherent instability (Section Error: Reference source not found) of microscopic modelling techniques tend to limit their suitability for this purpose. That said the greater precision in representing the performance of particular design options and ability visually to demonstrate how infrastructure would operate are particular advantages of microsimulation tools.
3

XX Title
Tables
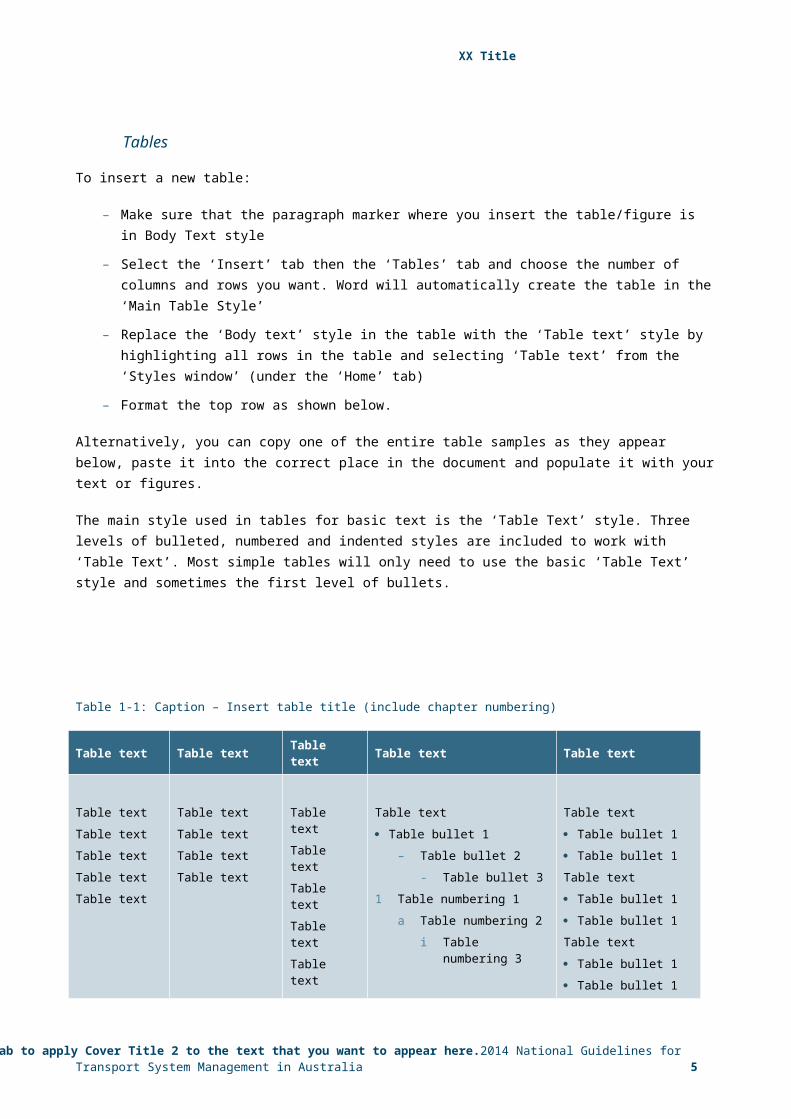
To insert a new table:
– Make sure that the paragraph marker where you insert the table/figure is in Body Text style
– Select the ‘Insert’ tab then the ‘Tables’ tab and choose the number of columns and rows you want. Word will automatically create the table in the ‘Main Table Style’
– Replace the ‘Body text’ style in the table with the ‘Table text’ style by highlighting all rows in the table and selecting ‘Table text’ from the ‘Styles window’ (under the ‘Home’ tab)
– Format the top row as shown below.
Alternatively, you can copy one of the entire table samples as they appear below, paste it into the correct place in the document and populate it with your text or figures.
The main style used in tables for basic text is the ‘Table Text’ style. Three levels of bulleted, numbered and indented styles are included to work with ‘Table Text’. Most simple tables will only need to use the basic ‘Table Text’ style and sometimes the first level of bullets.
Table 1-1: Caption – Insert table title (include chapter numbering)
Table text Table text Table text Table text Table text
Table textTable textTable textTable textTable text
Table textTable textTable textTable text
Table textTable textTable textTable textTable text
Table text Table bullet 1
– Table bullet 2- Table bullet 3
1 Table numbering 1a Table numbering 2
i Table numbering 3
Table text Table bullet 1 Table bullet 1 Table text Table bullet 1 Table bullet 1 Table text Table bullet 1 Table bullet 1
Source: - insert source text
Table 1-2: Caption – insert table title
Table text Table text Table bullet 1 Table bullet 1
Table text Table text Table bullet 1
– Table bullet 2 - Table bullet 3
Table text Table text
4
XX Title
1 Table numbering 1a Table numbering 2
i Table numbering 3
Source: - insert source text
Inserting tables from external sources
It is VERY IMPORTANT when copying tables from other documents that the table is first ‘cleaned’ of all styles in the source document. If this step is not followed the document may corrupt and eventually become unworkable. To do this:
– Select the table in the source doc. Press ‘Ctrl/Shift/N’ to change the table to ‘Normal Style’ or select ‘Normal Style’ from the ‘Styles Window’’
– While the table is still selected, press ‘Ctrl/Q’ to remove any paragraph formatting and ‘Ctrl/Spacebar’ to remove any character formatting’
– While the table is still selected, go into the ‘Design’ tab and select the ‘Table Grid’ design. The table is now clean.
– Select entire table by clicking inside the table for the table selector icon to appear in the top left corner and clicking on icon to select the whole table.
– ‘Copy’ and ‘Paste’ table into your document.
When pasted, the table should be in the basic ‘Table Grid’ design and you can then apply the template styles (for table style, text, bullets, etc) using the ‘Table Style’ menu and the ‘Table Text’ styles from the ‘Styles Window’.
Charts, graphs and diagrams
Graphs and charts should be created in Excel. Diagrams (such as flow charts) should be created in PowerPoint. Authors are expected to use the ATAP Excel and PPT drafting templates (see the ATAP Instructions to Authors for information).
Importing diagrams, charts and graphs from external sources
Diagrams, charts, graphs and other figures from external sources (whether Excel, PPT, JPEG, TIFF or PNG files) should be copied into this Word template as pictures.
It is VERY IMPORTANT when copying pictures from other documents that the picture is first ‘cleaned’ of all styles to avoid corrupting the document. To do this:
– Select picture from source document and click ‘Copy’.
– In your document, click on the paragraph marker against which the picture will be placed.
– Select ‘Paste Special’ as ‘Picture (Enhanced Metafile)’ and click ‘OK’.
Alternatively, if the diagram, chart or graph is in a separate file:
– Click ‘Insert’ menu and then ‘Picture > From File’
– Choose the name of the file/picture you want to insert and click ‘Insert’.
5
XX Title
The picture may come in ‘floating’. It will need to be embedded into the Word page so it doesn’t float around the document. To embed a picture:
– Select the picture, and right click mouse.
– Choose ‘Wrap Text’ and ‘In Line with Text’ to embed.
Captions for tables and figures
Captions should always be inserted above each table and figure. To insert a caption:
– Make sure that the paragraph marker where you want to insert the caption is in Body Text style
– From the ‘Reference’ tab, click on ‘Insert Caption’ button
– Choose either a ‘Table’ or ‘Figure’ caption
– Click ‘OK’
– When the Caption comes in, add a ‘tab’ from your keyboard after the Table/Figure number and type the heading name. The caption will come into the document with the correct style. It will automatically be ‘picked up’ in the Table of Tables/Table of Figures at the start of the document.
Sources for tables and figures
If your table or figure has a source, use the Source style to provide the correct formatting after the table/figure.
Figure 1-1: Caption - Insert diagram/chart title (inlcude Chapter numbering)
Source: insert source text
Equations
Equations can be formatted using the equation selections in the ‘Table Style’ menu and the ‘Table Text’ styles from the ‘Styles Window’. These include: Equation and Equation caption.Equation6

XX Title
Equation caption
SX=s
√n
[EQ 4.1]
Referencing
Authors should follow the author-date (Harvard) style of referencing as set out in Appendix A of the ATAP Instructions to Authors.
– Citations should be inserted into the text in brackets
– A full list of references should be provided at the end of the document under the References heading.
e.g.
Abdel-Aty, MA 2003, ‘Hybrid distribution and response techniques for an origin-destination travel survey’, ITE Journal 73 (2), pp.22-27
THE
DELETE THE ABOVE ‘DETAILED FORMATTING INSTRUCTIONS’ PAGES ONCE DOCUMENT IS COMPLETE
7
XX Title
Title of the document, as per cover page
At a glance
Body bullet 1
Body bullet 1
– Body Bullet 2
– Body Bullet 2
– Body Bullet 2
Body bullet 1
1

XX Title
1. Heading 1
1.1 Heading 2Body Text1
Body bullet 1
– Body Bullet 2
- Body Bullet 3
1. Body numbering 1
i. Body numbering 2
a. Body numbering 3
1.1.1 Heading 3
Body text
Heading 4
Body text
Heading 5
Body text
Heading 6
Body text
1 Footnote text
2

XX Title
Appendix A Appendix Heading 1Body text.
A.1 Appendix Heading 2Body text
A.1.1 Appendix Heading 3
Body text
3
XX Title
References
Reference text
4
