summer picnic roll & place mat - brothersewing.co.uk · summer picnic roll & place mat ....
TRANSCRIPT

Summer Picnic Roll & Place Mat
Perfect for Picnics and Summer Barbeques. This roll up Place Mat holds cutlery for one person, keeping it safe and clean, ready for use.

A selection of suitable complementary fabrics in 3 designs.
You will need:
Thin Wadding. Velcro or Ribbon. Interfacing. Items for Templates Matching Threads Pen. Cutting Board and rotary cutter. Your Brother Sewing Machine.

Make Your Template
Make your place mat template by positioning the plate and cutlery . Draw around these with a bold pen. Add your seam allowances to your template. Remember to allow excess for trimming and binding

Layer up your outside fabric right side down, wadding and inside fabric right side up. Take your cutlery holder fabric, using your template, make a fold at the base of the knife/fork/spoon head, place this folded fabric right side up to form the inside of your roll.
Prepare Your Fabric
Cut your three pieces of fabric, interfacing and wadding to the same size as your template. Press all the creases out.

The Fastener
Cut a 3” x 6” strip of fabric and interfacing to Make the fastener.
Sew one side of the velcro to the fabric, placing it to one side.
Fold in half, sew across one end and the complete length. Turn and press, edge sew this piece to keep the shape.
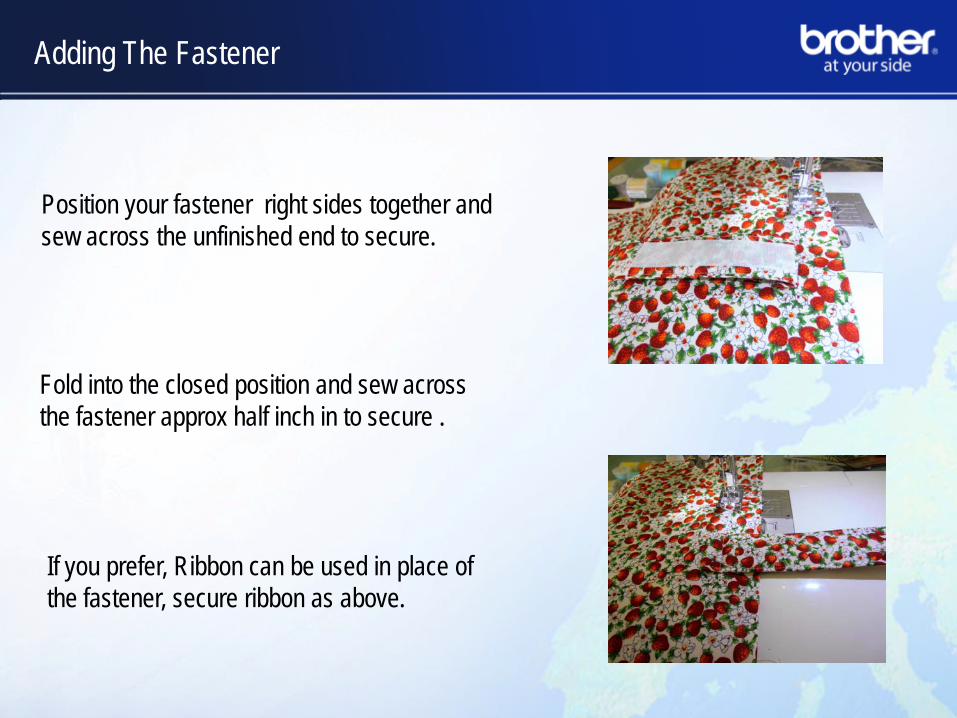
Position your fastener right sides together and sew across the unfinished end to secure.
Adding The Fastener
Fold into the closed position and sew across the fastener approx half inch in to secure .
If you prefer, Ribbon can be used in place of the fastener, secure ribbon as above.

Velcro closure
Place your cutlery into the holder and roll up. Mark the position for the Velcro closure on the outside of the roll, sew in place.
The Top Layer
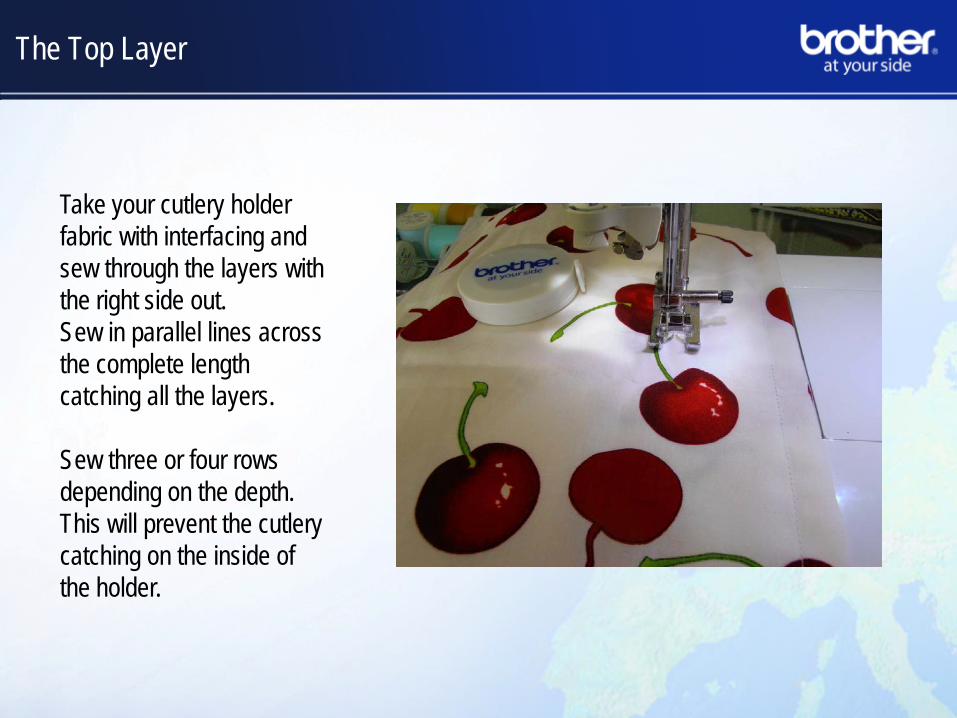
Take your cutlery holder fabric with interfacing and sew through the layers with the right side out. Sew in parallel lines across the complete length catching all the layers. Sew three or four rows depending on the depth. This will prevent the cutlery catching on the inside of the holder.

Putting All The Layers Together
Place the layers back together and pin. Sew all around the edge to secure all layers together.

Make Secure Cutlery Pockets
Using your template mark the vertical lines to form the cutlery dividers.
Sew these lines in place, anchoring the tops with your ‘on the spot’ straight stitch.

Triangles For Strength
Secure the tops of your cutlery holder with small triangles of straight stitch to prevent tearing with use.

Adding a Binding
Cut strips of 2” wide fabric for your binding,. Sew top and bottom first then attach the sides. Place right sides together and sew through all layers.

Finish The Binding
Turn and press your binding, pin in place and sew through all layers. If you prefer, you can hand stitch this closed.
Now repeat with the sides and complete. Hand sew the very edges of your open binding corners for a neat finish.

Where’s The Picnic?!