steps for registration of an existing sez unit 1.for submission of unit registration request...
TRANSCRIPT
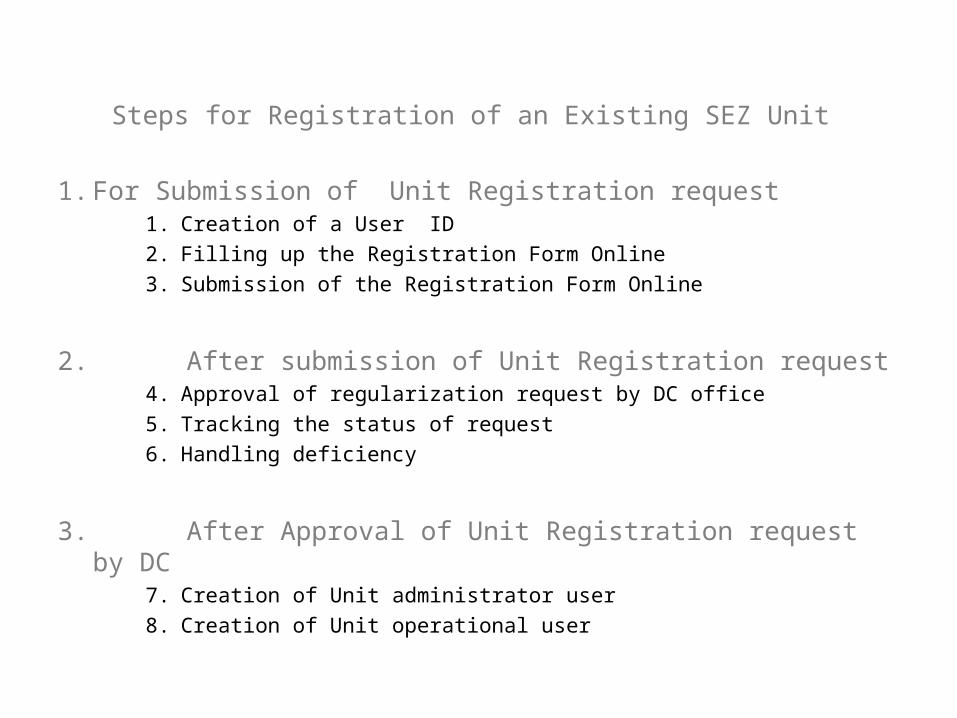
Steps for Registration of an Existing SEZ Unit
1. For Submission of Unit Registration request1. Creation of a User ID2. Filling up the Registration Form Online3. Submission of the Registration Form Online
2. After submission of Unit Registration request4. Approval of regularization request by DC office5. Tracking the status of request6. Handling deficiency
3. After Approval of Unit Registration request by DC7. Creation of Unit administrator user8. Creation of Unit operational user
Step 1Creation of User Id in SEZ Online System
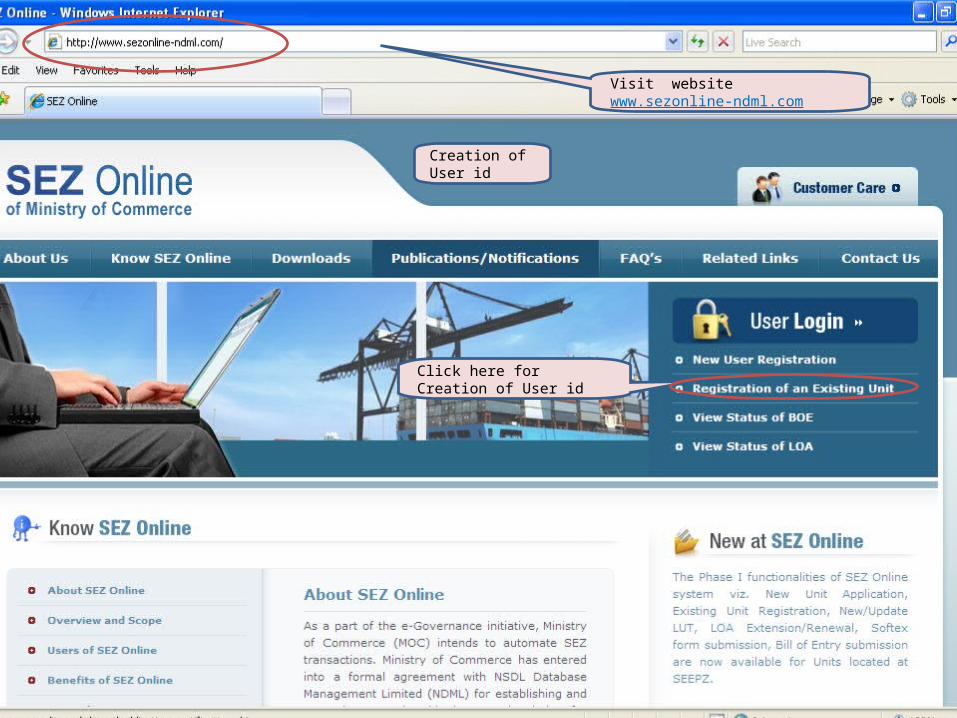
Click here for Creation of User id
Visit website www.sezonline-ndml.com
Creation of User id
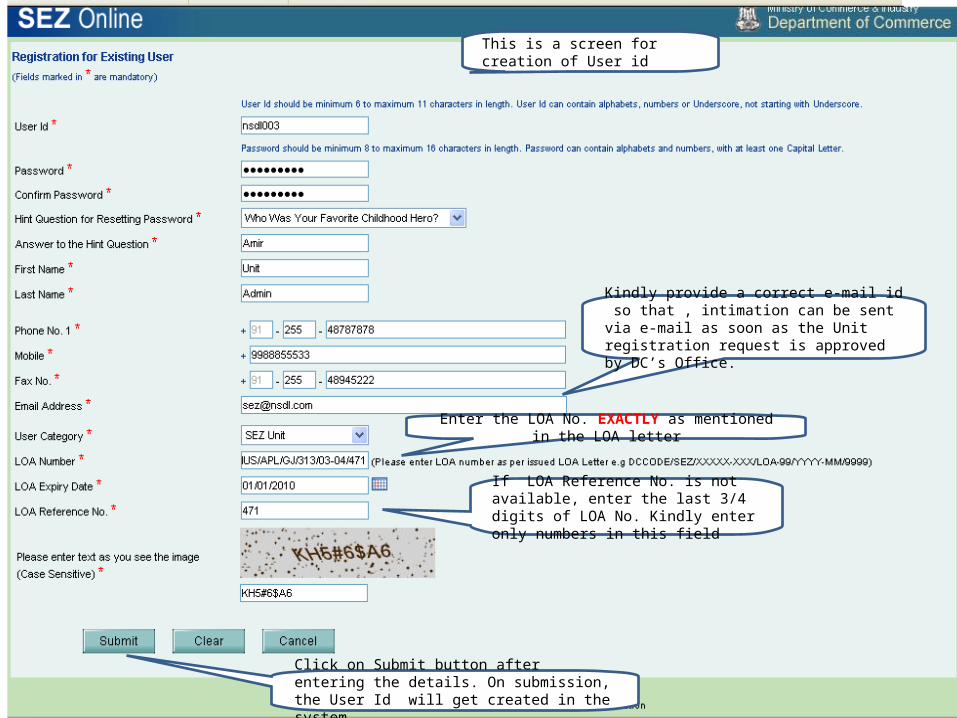
Enter the LOA No. EXACTLY as mentioned in the LOA letter
If LOA Reference No. is not available, enter the last 3/4 digits of LOA No. Kindly enter only numbers in this field
Kindly provide a correct e-mail id so that , intimation can be sent via e-mail as soon as the Unit registration request is approved by DC’s Office.
This is a screen for creation of User id
Click on Submit button after entering the details. On submission, the User Id will get created in the system
Step 2After creation of the User id,
Login SEZ Online System & fill up Unit Registration Form

Click here for Login
Visit website www.sezonline-ndml.com
To fill up the form, log in into SEZ Online System

Enter your User id & Password here & click on ‘ login ‘ button
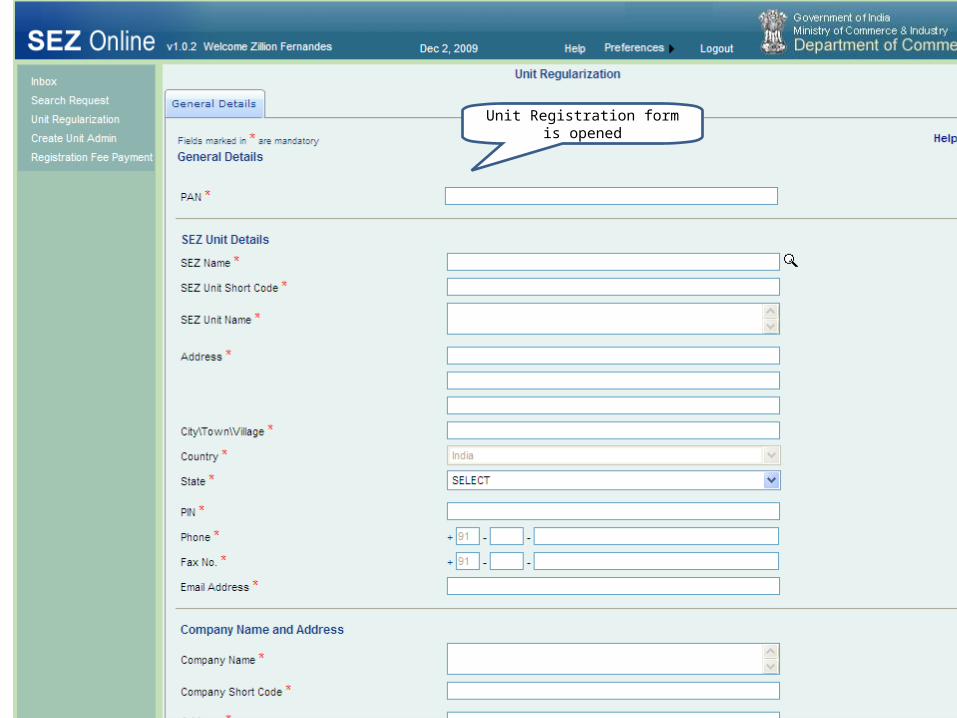
Unit Registration form is opened
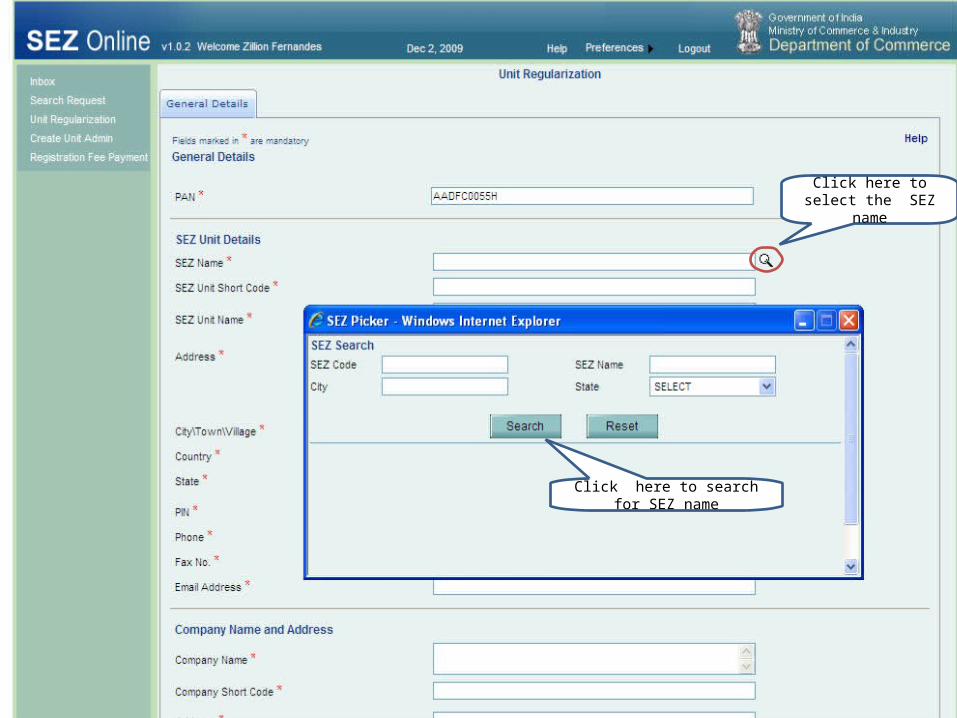
Click here to select the SEZ name
Click here to search for SEZ name
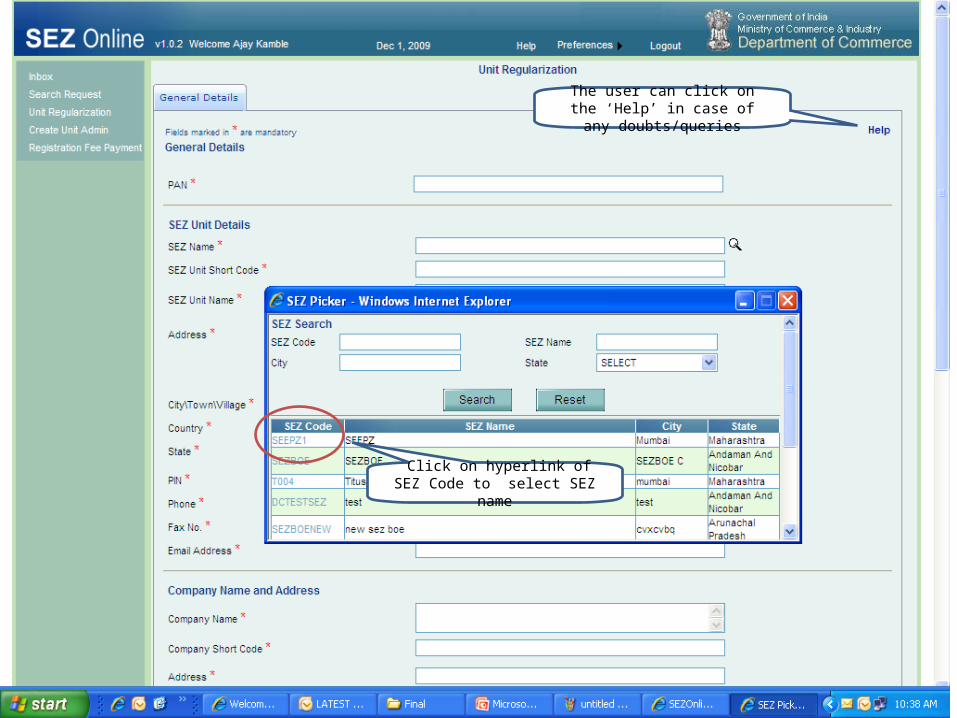
Click on hyperlink of SEZ Code to select SEZ name
The user can click on the ‘Help’ in case of any doubts/queries
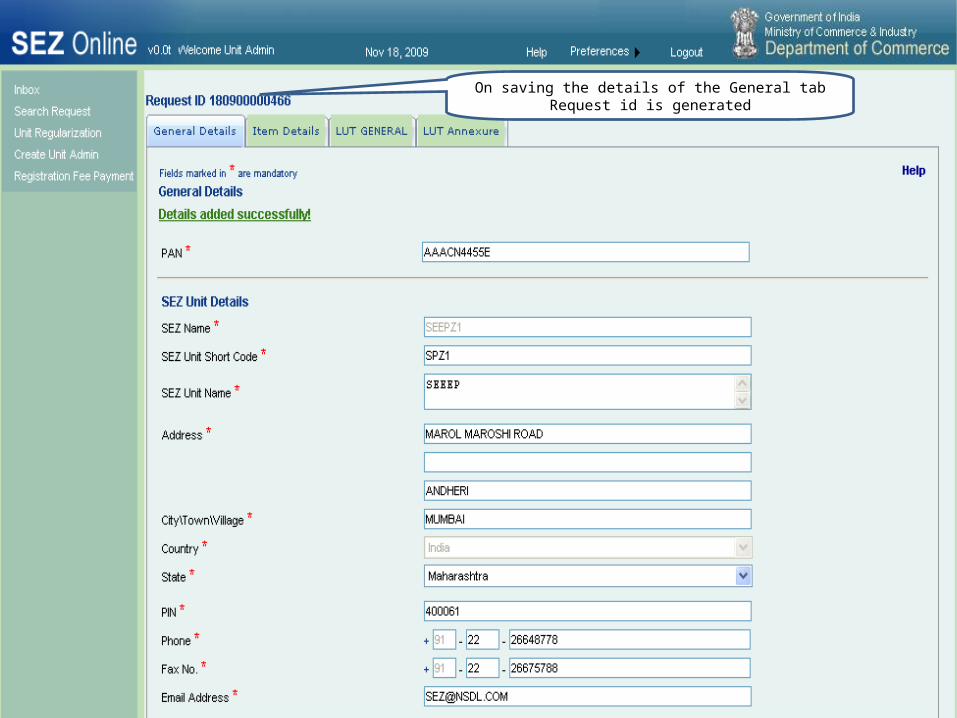
On saving the details of the General tab Request id is generated
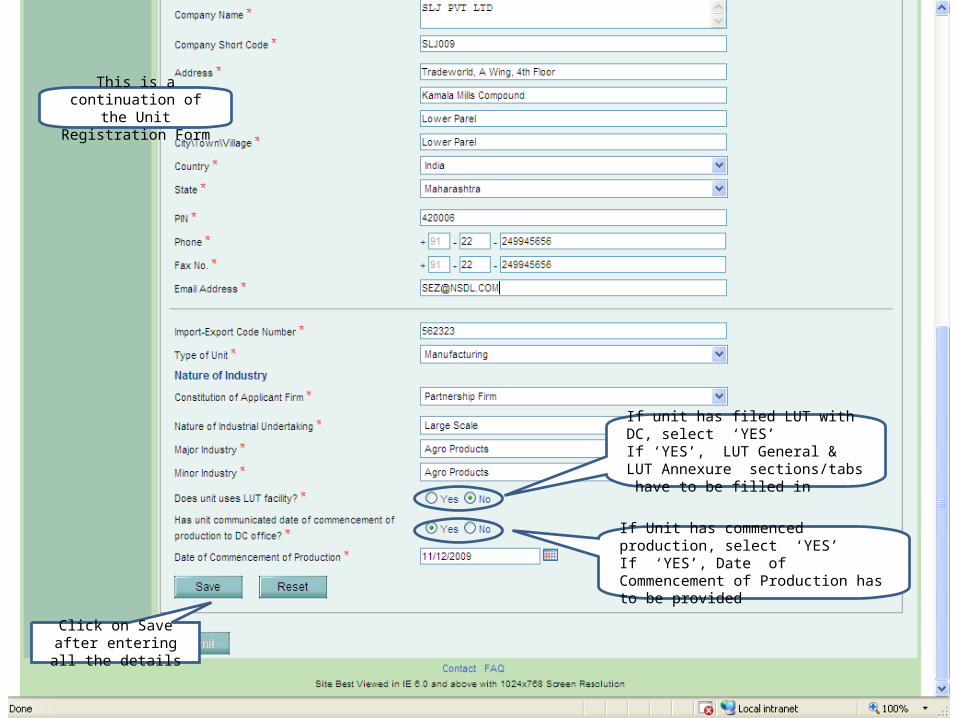
If Unit has commenced production, select ‘YES’If ‘YES’, Date of Commencement of Production has to be provided
If unit has filed LUT with DC, select ‘YES’If ‘YES’, LUT General & LUT Annexure sections/tabs have to be filled in
This is a continuation of the Unit Registration
Form
Click on Save after entering all the details
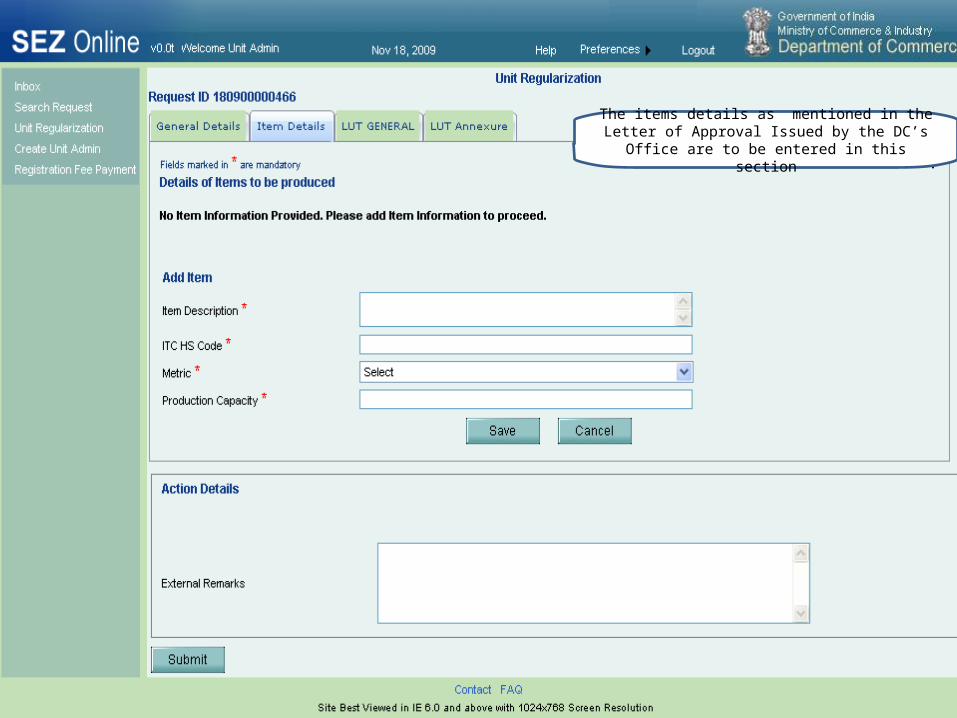
The items details as mentioned in the Letter of Approval Issued by the DC’s Office are to be entered in
this section
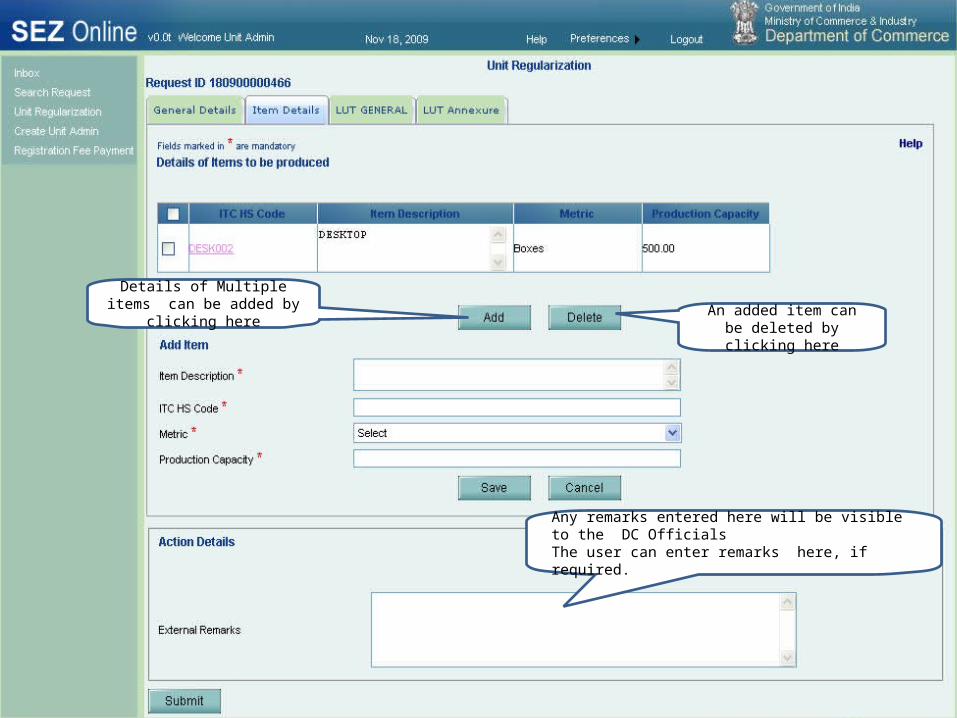
Details of Multiple items can be added by clicking here
Any remarks entered here will be visible to the DC OfficialsThe user can enter remarks here, if required.
An added item can be deleted by clicking here
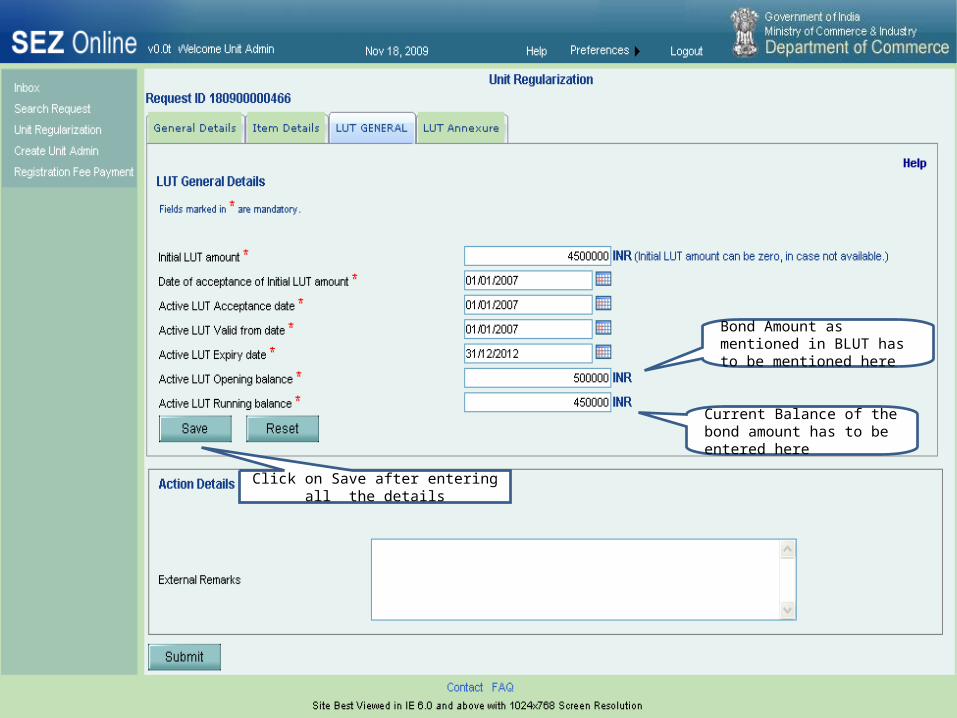
Bond Amount as mentioned in BLUT has to be mentioned here
Current Balance of the bond amount has to be entered here
Click on Save after entering all the details
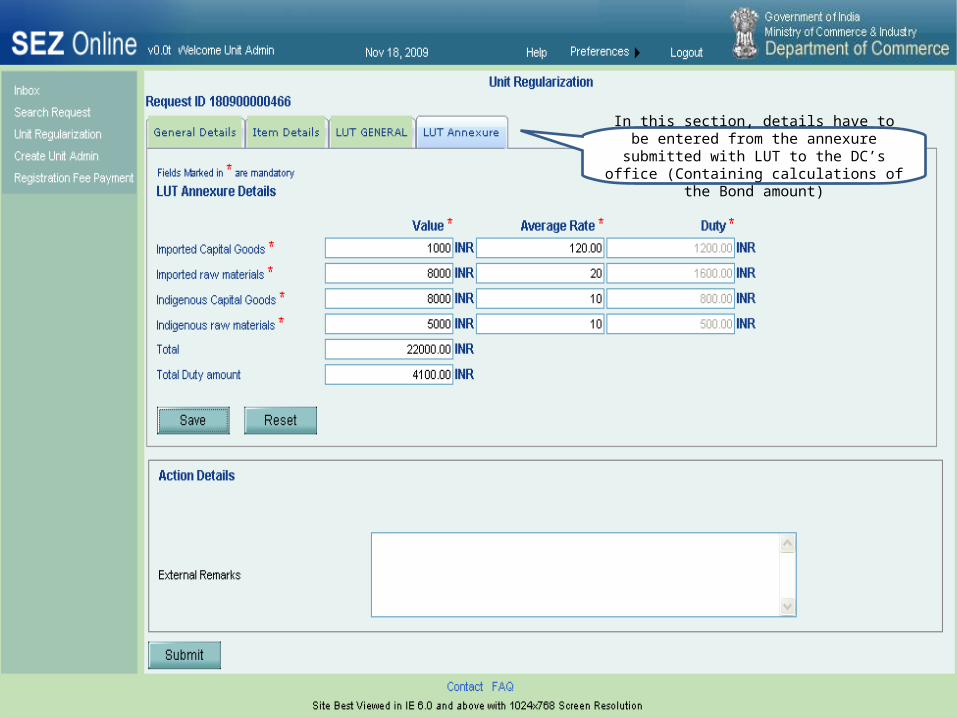
In this section, details have to be entered from the annexure submitted with LUT to the DC’s
office (Containing calculations of the Bond amount)

Step 3Submission of the Registration Form Online
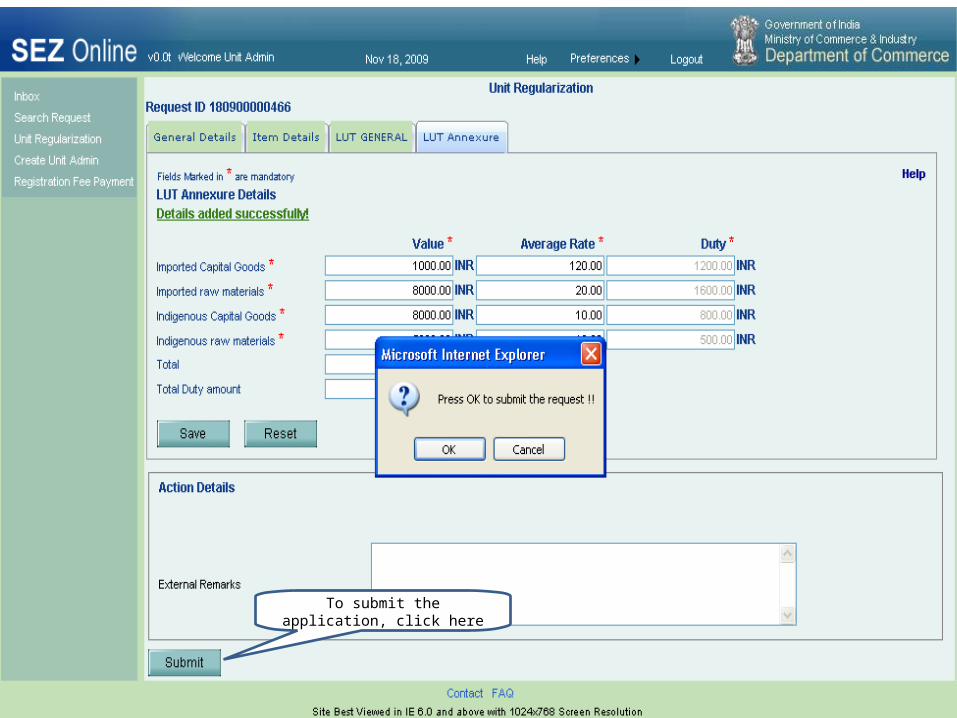
To submit the application, click here
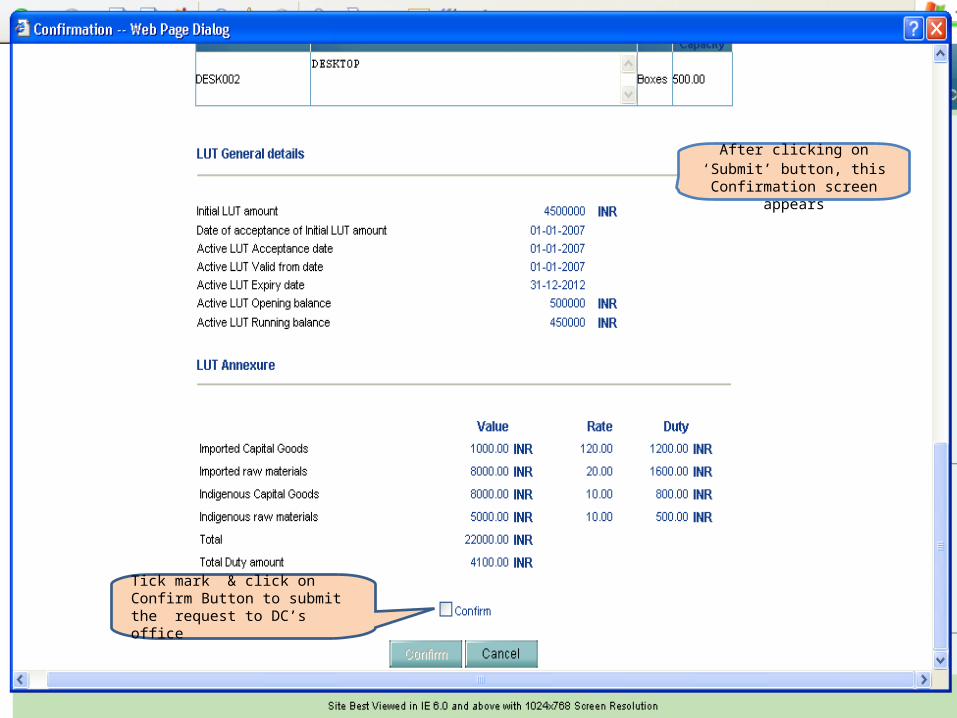
After clicking on ‘Submit’ button, this Confirmation screen
appears
Tick mark & click on Confirm Button to submit the request to DC’s office
Step 4 Tracking the status of Unit Registration Request
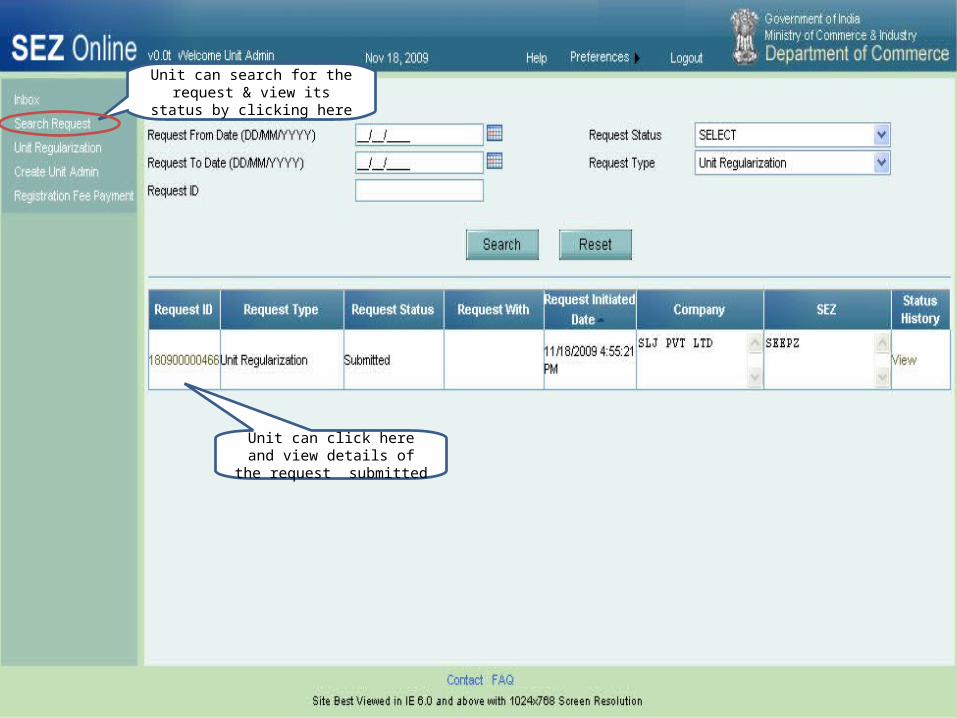
Unit can click here and view details of the request submitted
Unit can search for the request & view its status by clicking here
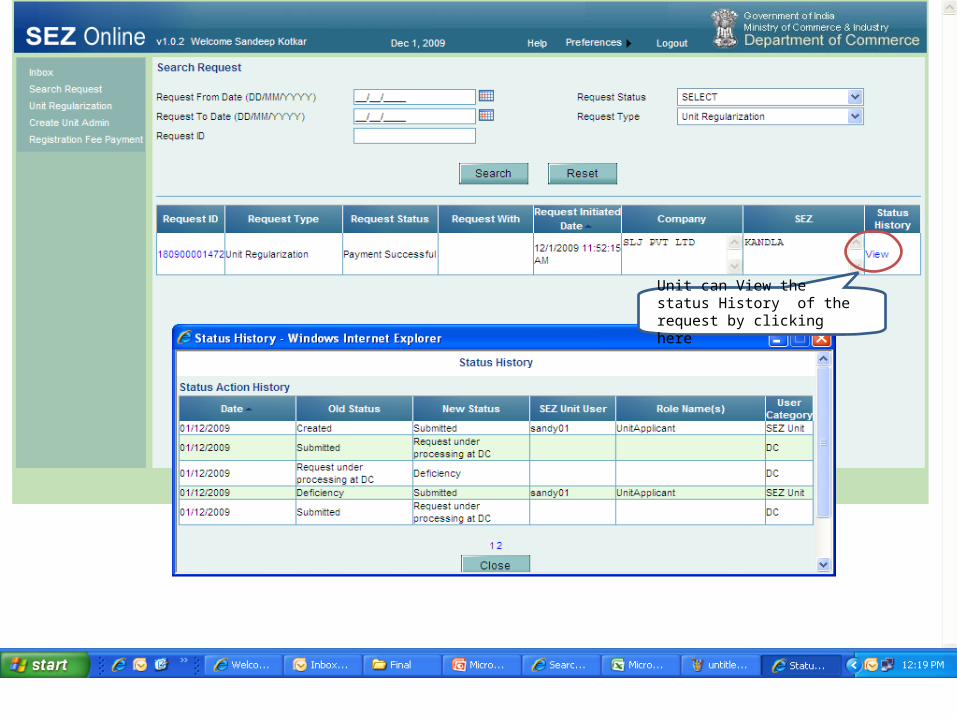
Unit can View the status History of the request by clicking here
Step 5Handling deficiency
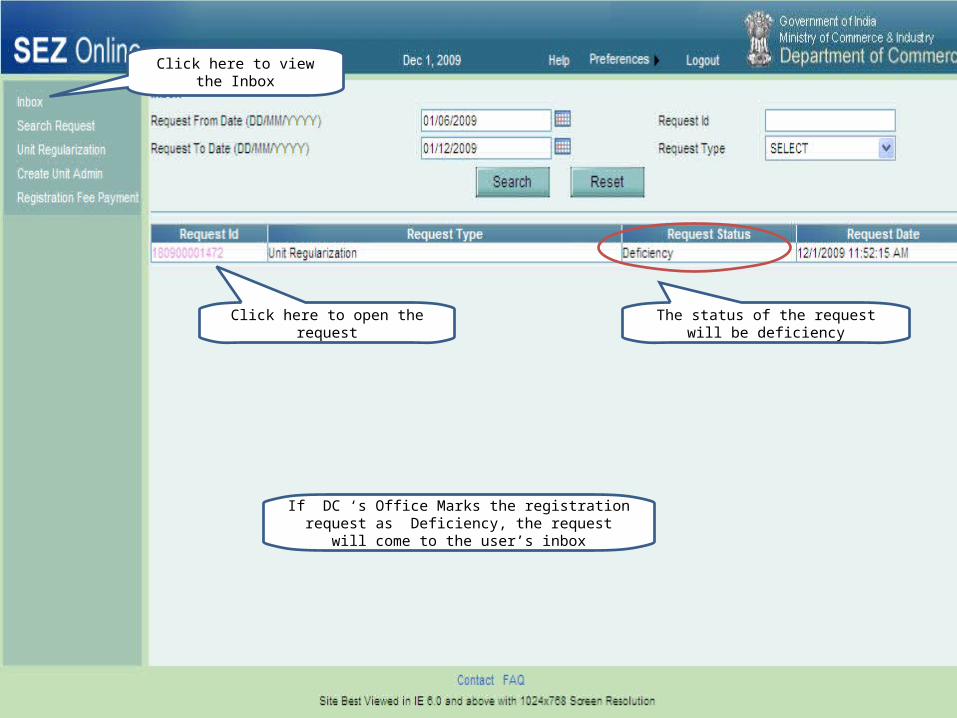
If DC ‘s Office Marks the registration request as Deficiency, the request will come to the user’s inbox
Click here to view the Inbox
Click here to open the request The status of the request will be deficiency
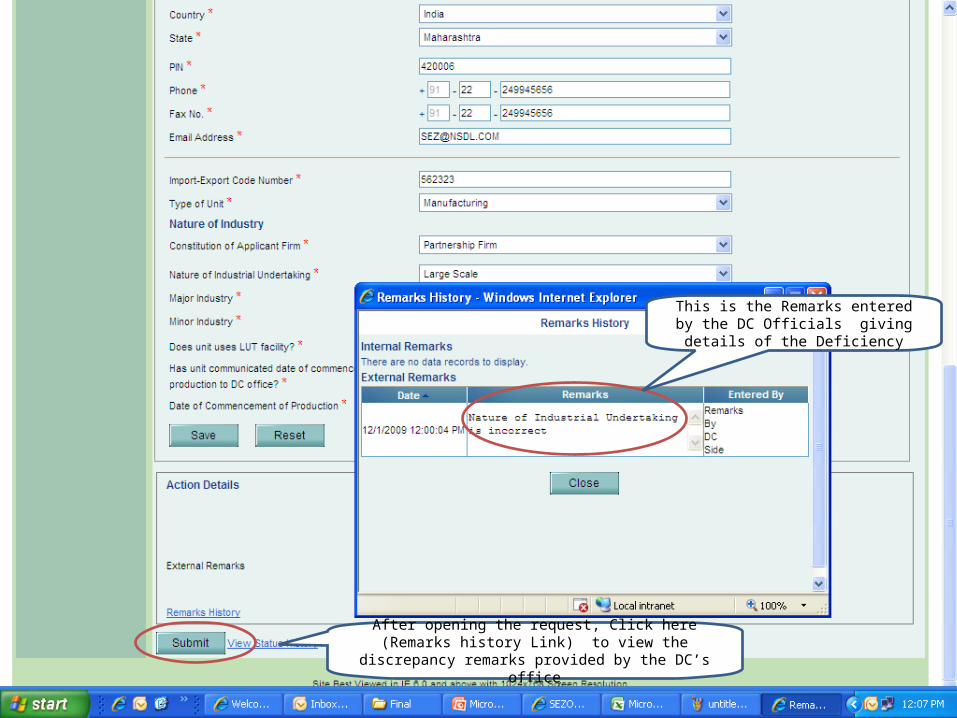
After opening the request, Click here (Remarks history Link) to view the discrepancy remarks provided by the DC’s office
This is the Remarks entered by the DC Officials giving details of the Deficiency
Step 6Creation of Unit administrator user

User can mark himself as Admin or can create a new admin
After approval of request by DC’s office, Unit Admin User to be created
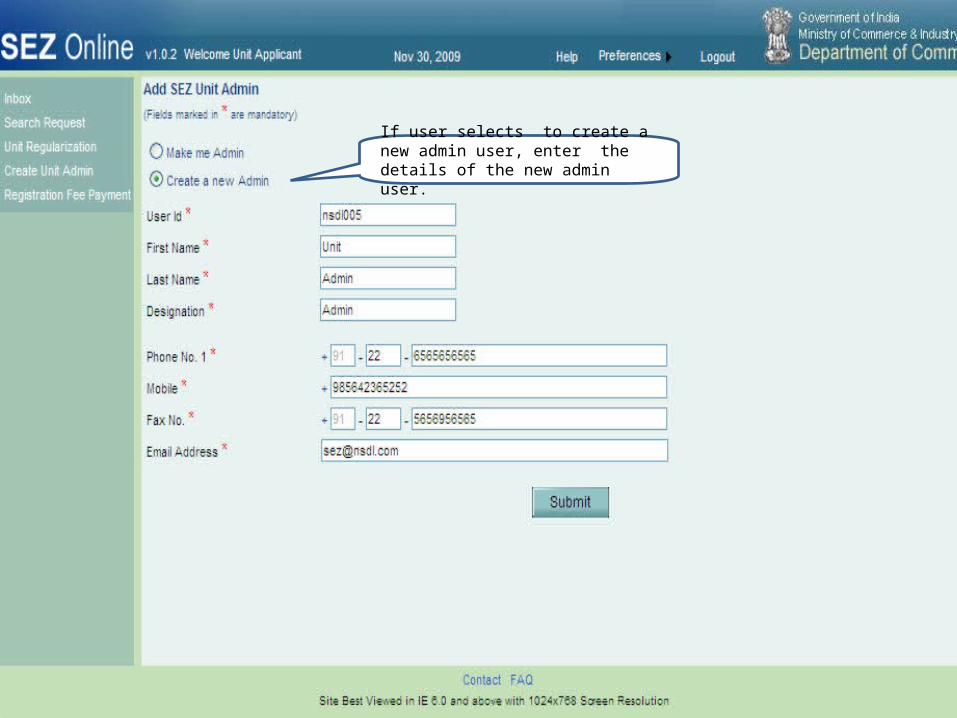
If user selects to create a new admin user, enter the details of the new admin user.
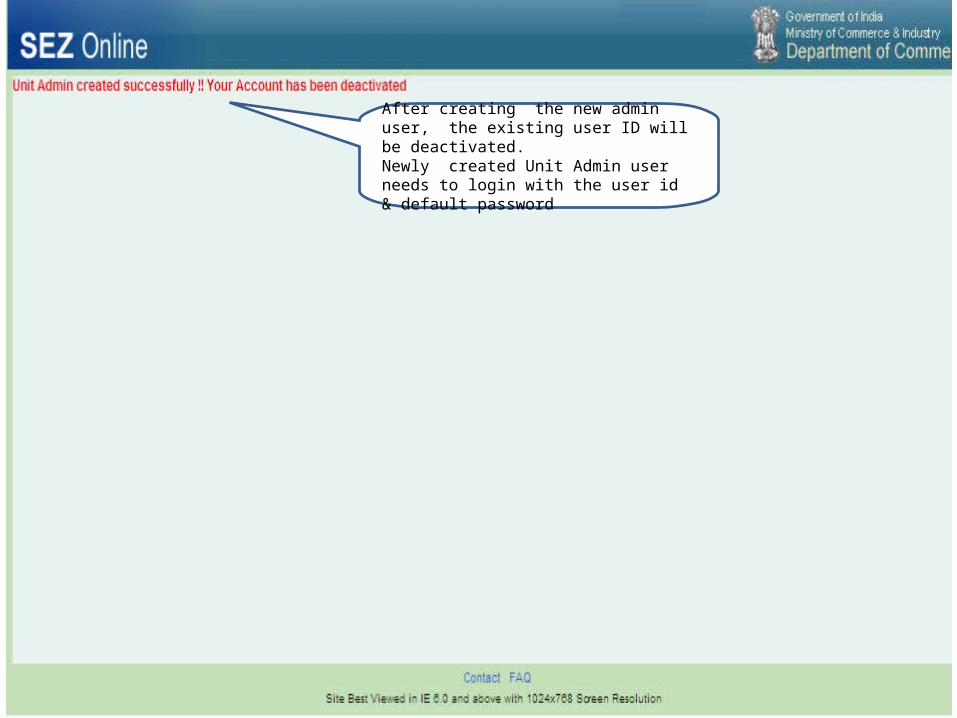
After creating the new admin user, the existing user ID will be deactivated.Newly created Unit Admin user needs to login with the user id & default password
Step 7Creation of Unit operational user
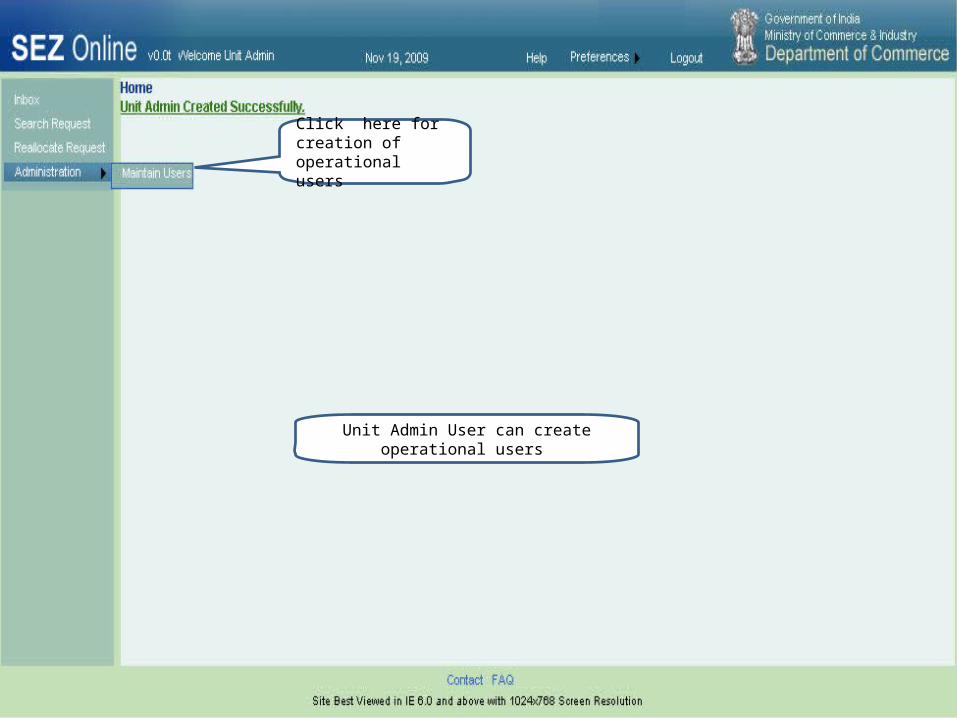
Click here for creation of operational users
Unit Admin User can create operational users
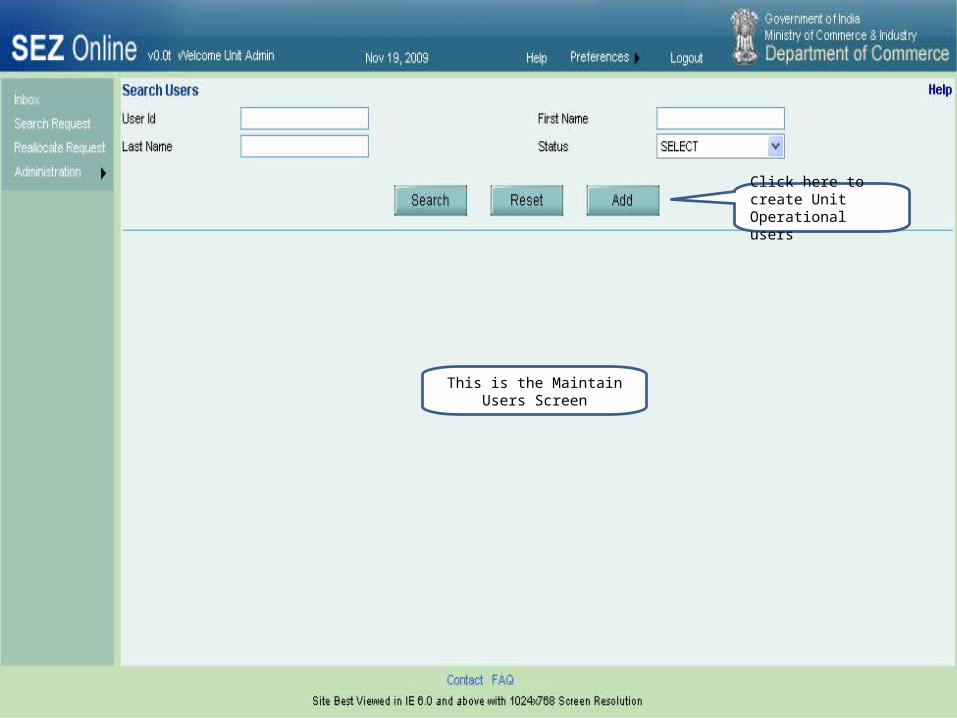
Click here to create Unit Operational users
This is the Maintain Users Screen
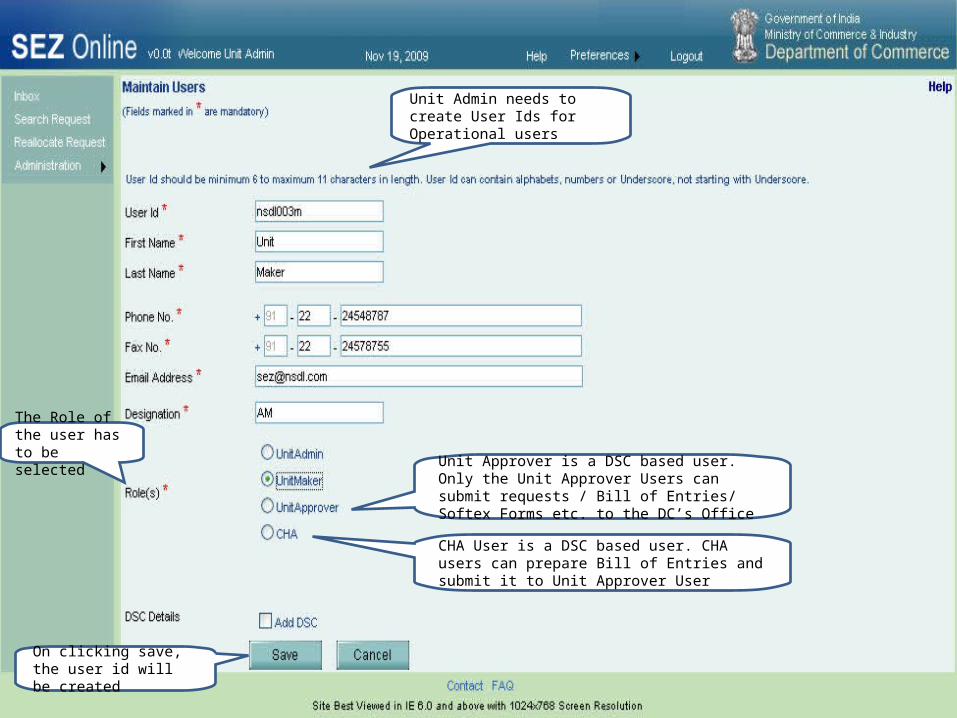
Unit Admin needs to create User Ids for Operational users
The Role of the user has to be selected
On clicking save, the user id will be created
Unit Approver is a DSC based user. Only the Unit Approver Users can submit requests / Bill of Entries/ Softex Forms etc. to the DC’s Office
CHA User is a DSC based user. CHA users can prepare Bill of Entries and submit it to Unit Approver User
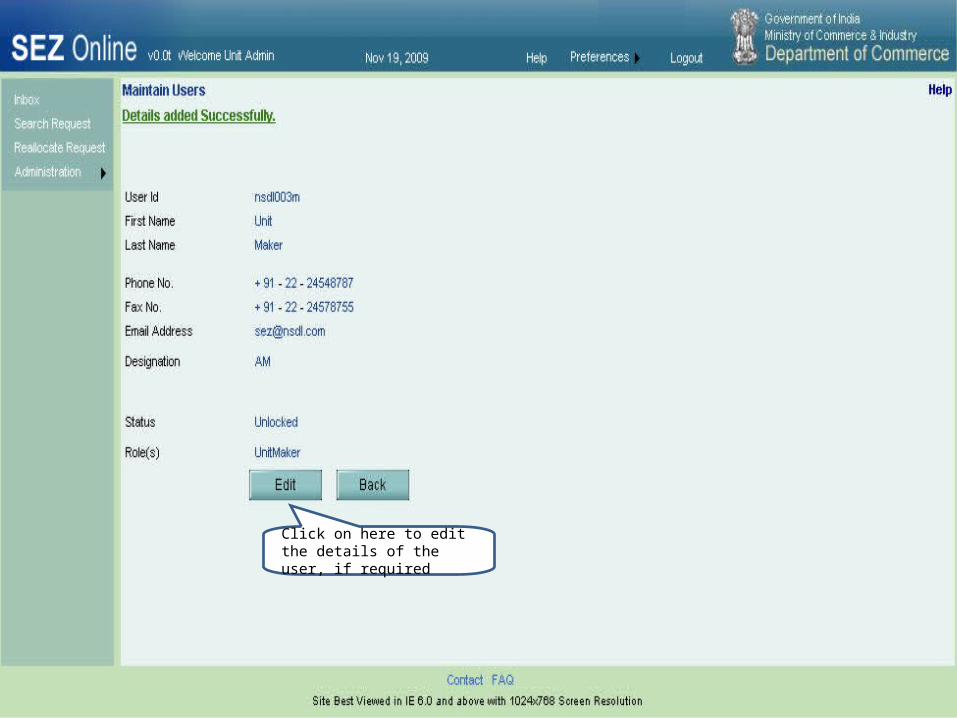
Click on here to edit the details of the user, if required
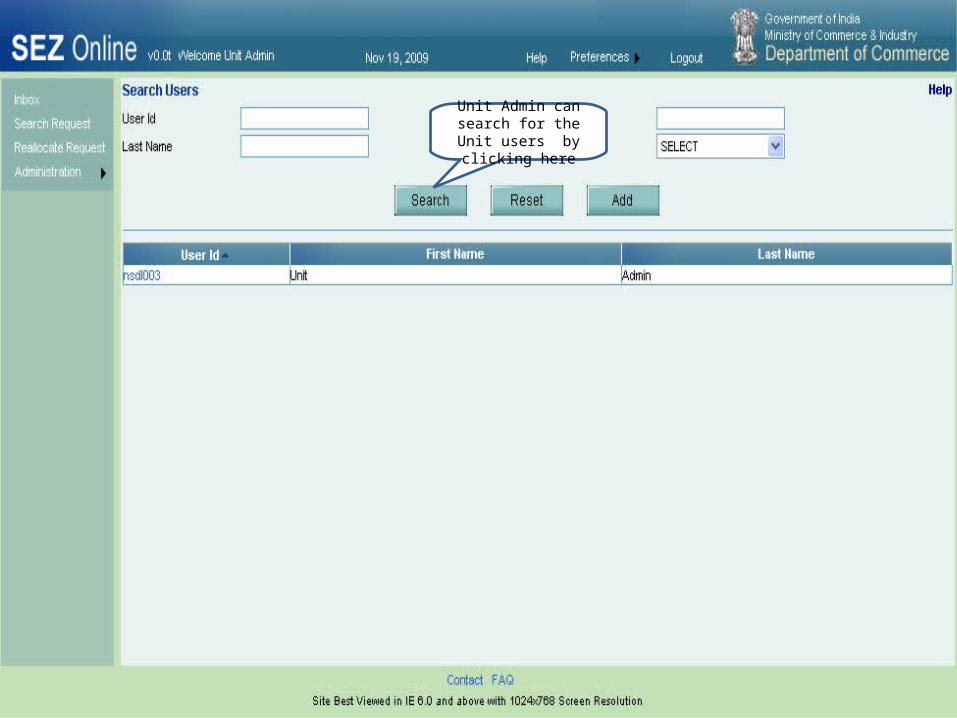
Unit Admin can search for the Unit users by
clicking here
Procedure of adding DSC details of a Unit Operational User
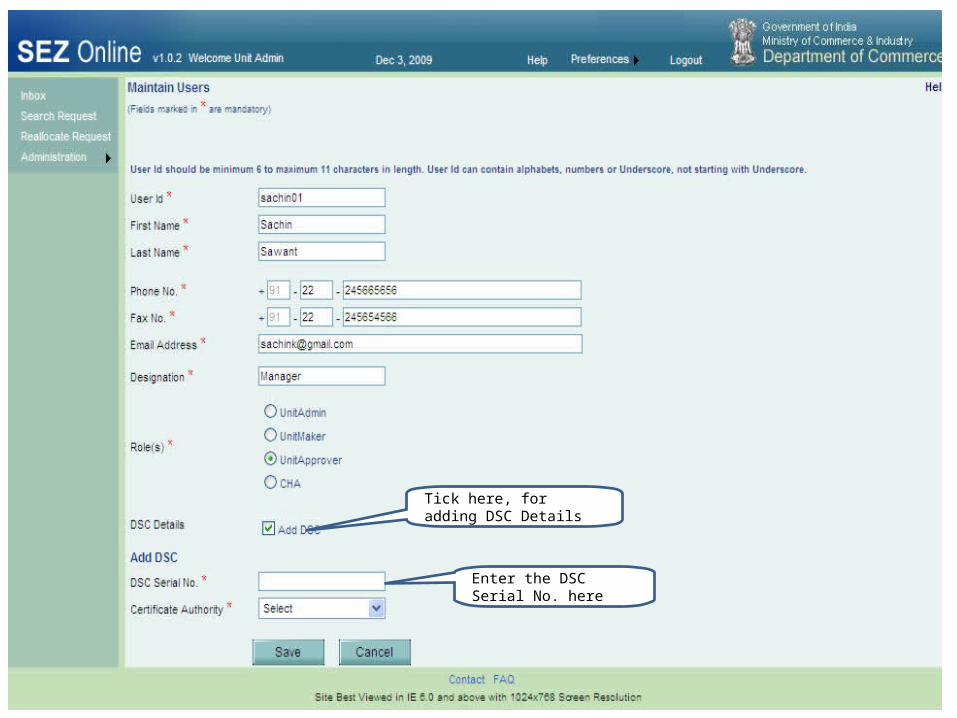
Tick here, for adding DSC Details
Enter the DSC Serial No. here
Procedure of finding the “DSC Serial No.” of a Digital Signature Certificate
Click here
Click here
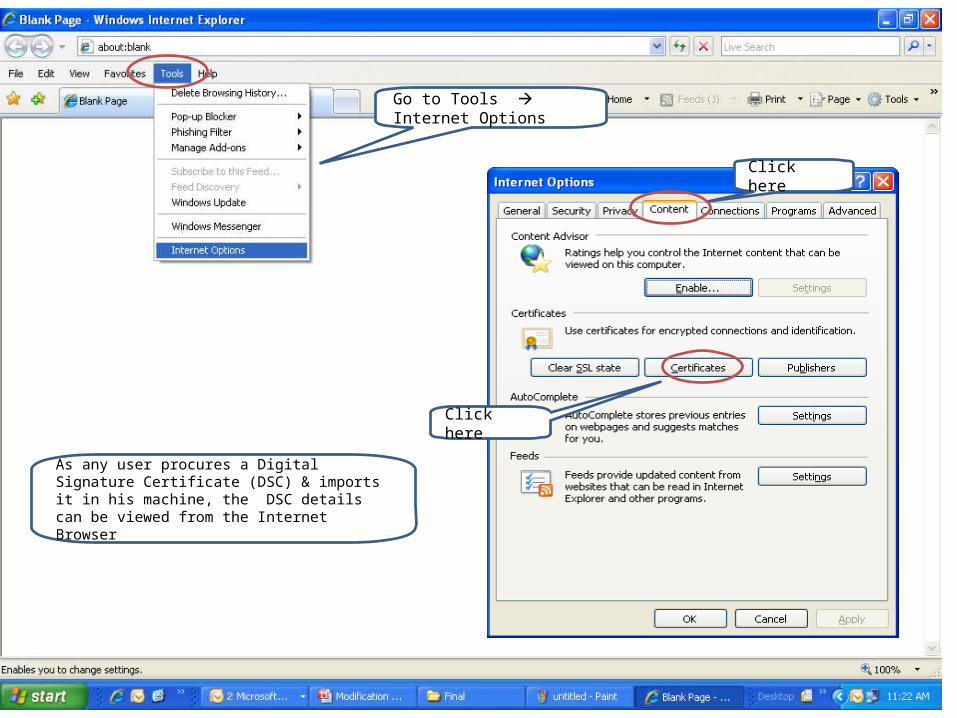
As any user procures a Digital Signature Certificate (DSC) & imports it in his machine, the DSC details can be viewed from the Internet Browser
Go to Tools Internet Options
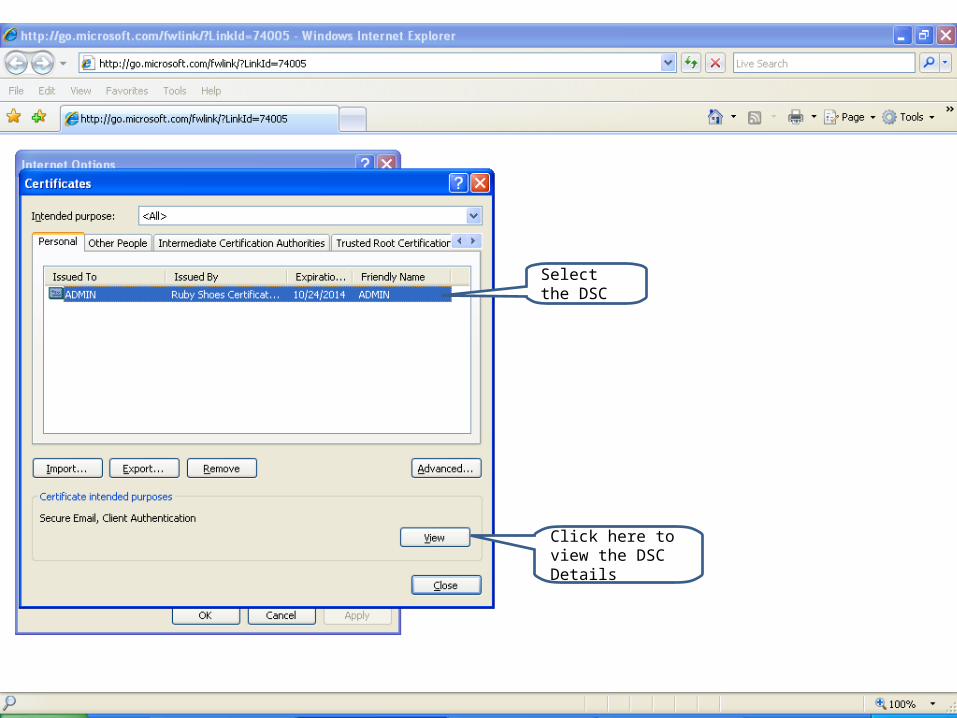
Select the DSC
Click here to view the DSC Details
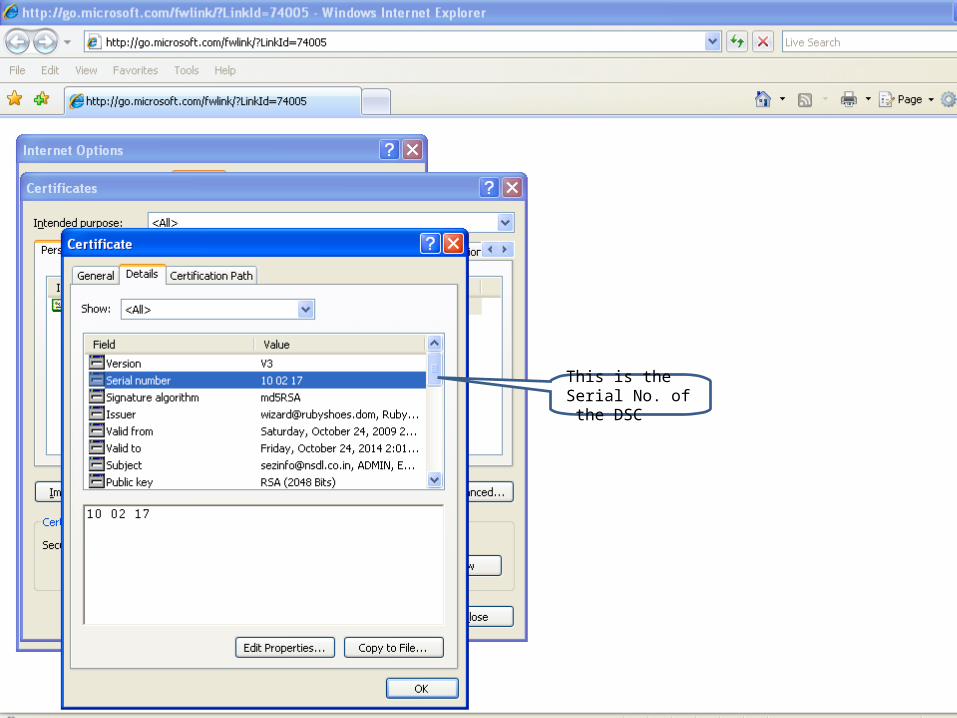
This is the Serial No. of the DSC
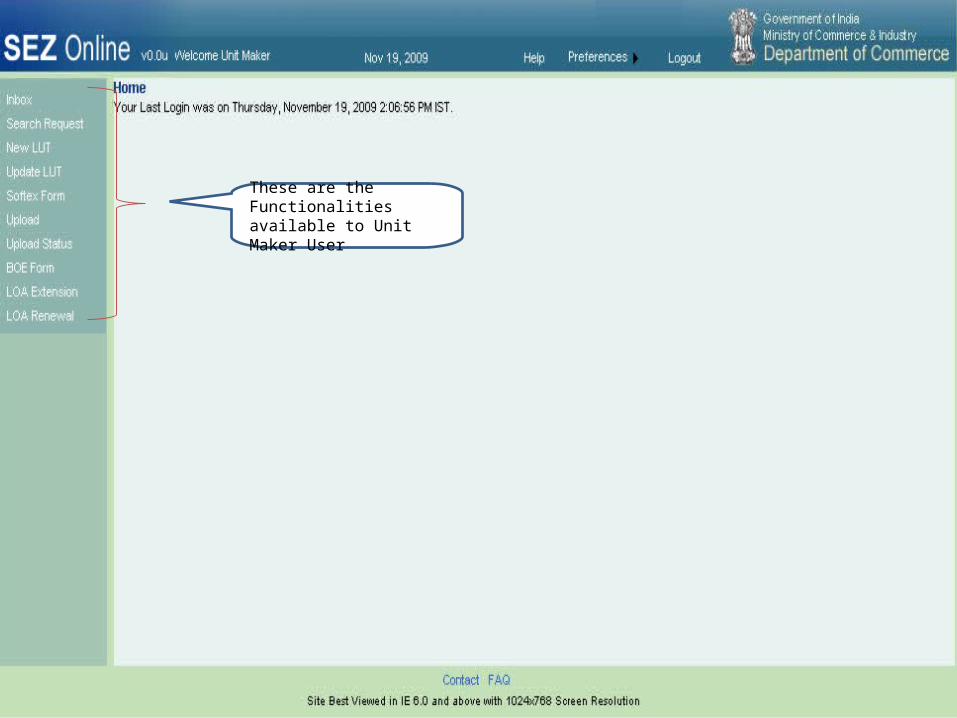
These are the Functionalities available to Unit Maker User
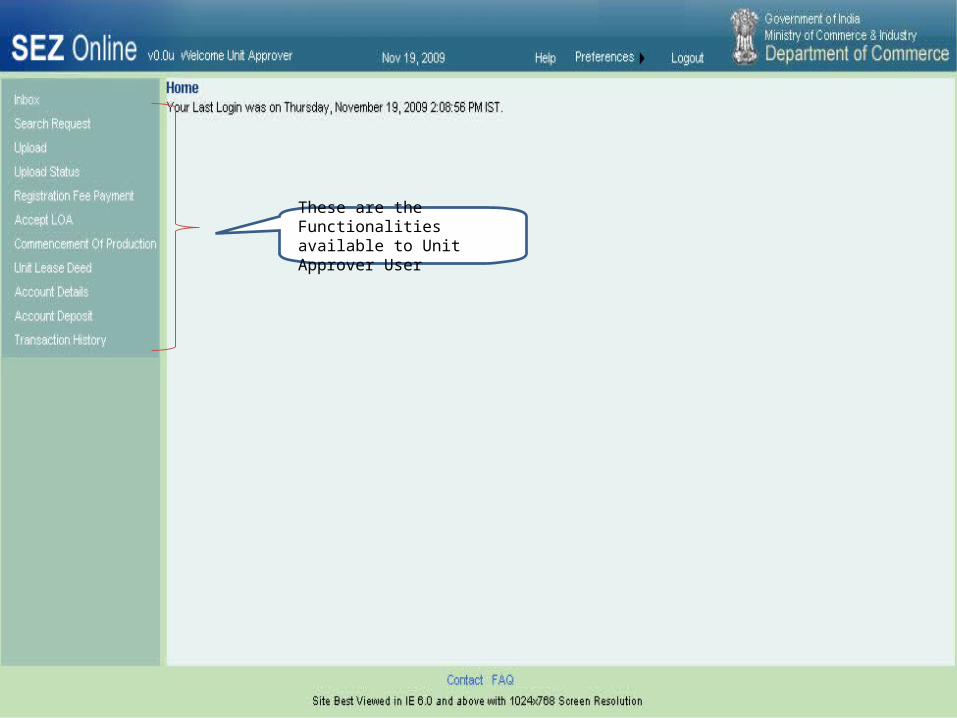
These are the Functionalities available to Unit Approver User
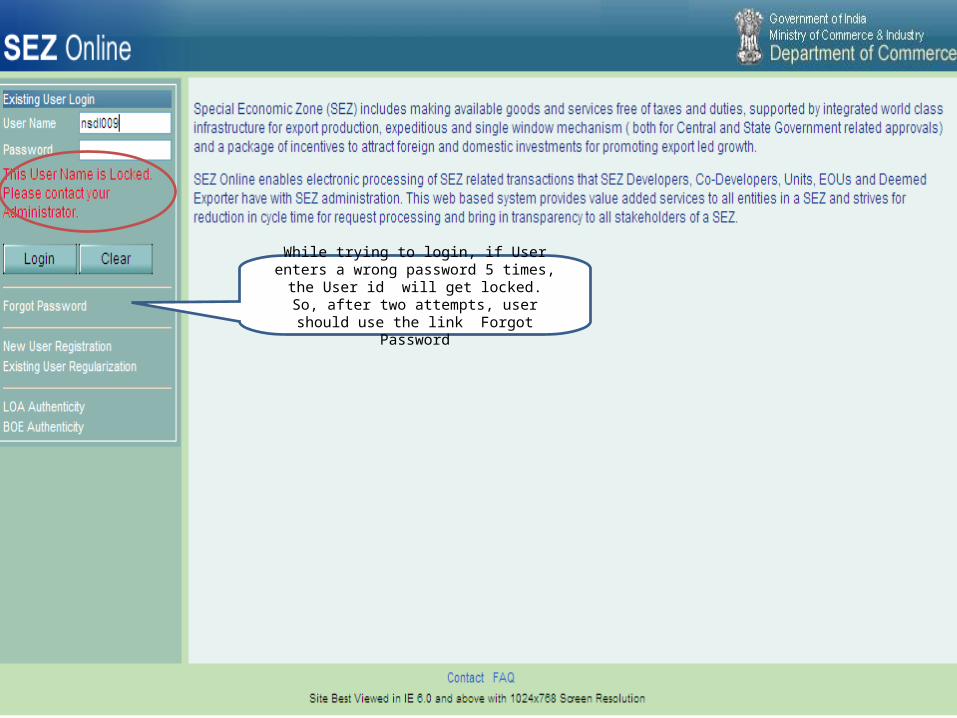
While trying to login, if User enters a wrong password 5 times, the User id will get locked.
So, after two attempts, user should use the link Forgot Password