speech room av capture station speech room av capture station revision date: november 2014
TRANSCRIPT

Speech RoomAV Capture Station
Revision Date: November 2014

Speech Room Capture Station Overview
1. Power Conditioner2. PC3. Monitor4. Ceiling Camera
(located in ceiling)
1
4 3
2

Turning on the Capture Station
1. Turn on the switch to the Power Conditioner
2. Power on the PC (power button can be found on the upper-right corner of the PC)
3. Turn on the monitor (power button is on the bottom-right corner of the screen)
4. Turn on the built-in speaker(turn the volume knob onthe right of the speaker untilyou hear a click)
2
1
43

Starting Up the Capture Station
1. Type in your password and log on
2. Pinnacle Studio and the Elmo PTC-100S camera Control Software will start up automatically once you log in

Ceiling Camera Control Software Overview
1. Pan/Tilt – Controls the direction the camera is facing (Press the Home button to return the camera to its default position)
2. Zoom – Controls the zoom function of the camera (Wide to zoom out, Tele to zoom in)
3. Focus – Focus the image Far and Near to obtain a clear image (If the image is not in focus, hit the AF Auto button)
4. Preset – Changes the camera to a preset position from 1-6
1
2
3 4

Recording Video
1. Select the Import tab at the top-left of the screen

Recording Video (Continued)
2. Make sure the Import destination is set to the Recording drive – it should appear as either D:\(creation date) or E:\(creation date) If it does not, follow the directions below
To set the Import destination folder:
a. Click on the Folder Address Link (under the IMPORT TO box)
b. Select the Recording drive from the pop-up window and click “Ok” to confirm
c. Click on the [set subfolder] link (under the IMPORT TO box)
d. Select the option called creation date from the choices in the drop down menu that appears and click “X” to close
2
ac
b
d

Recording Video (Continued)
3. Aim the ceiling camera to the desired position (Refer to the Ceiling Camera Control
Software page for instructions)
4. Click on the text box under FILENAME
5. Type a new name for your video
6. Click the Start Capture button to begin recording
4
6

Recording Video (Continued)
6. When you are finished recording, click the Stop Capture button

Retrieving Video
7. To find the Recording drive, click on the Recording shortcut on the desktop
8. Your video file can be found in the folder matching the date the video was recorded
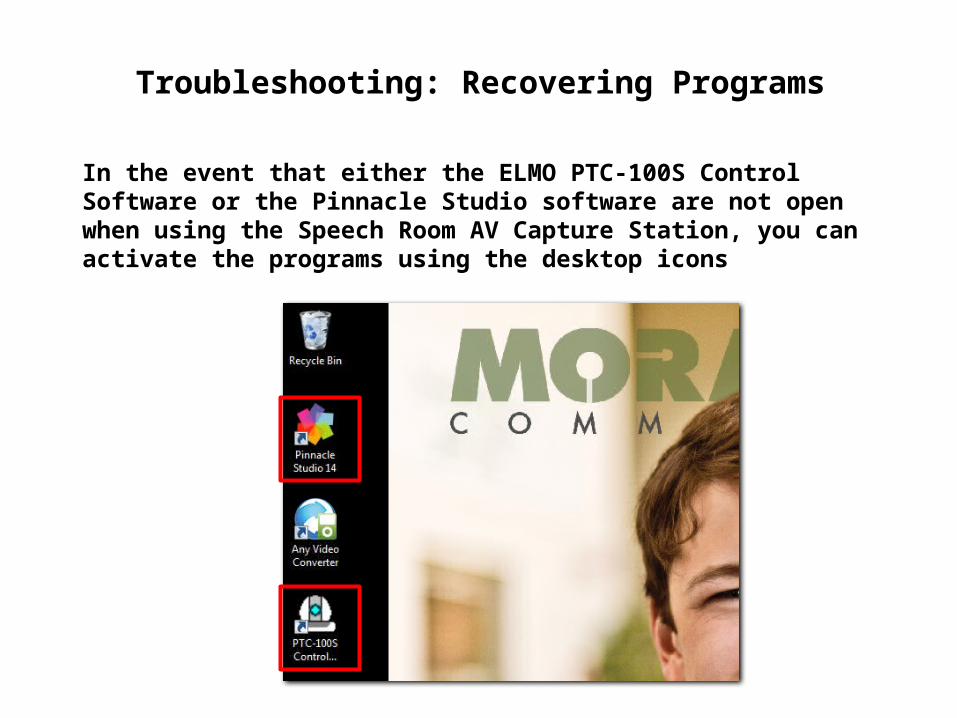
Troubleshooting: Recovering Programs
In the event that either the ELMO PTC-100S Control Software or the Pinnacle Studio software are not open when using the Speech Room AV Capture Station, you can activate the programs using the desktop icons