simpol user guide - fsd.mw.tum.de
TRANSCRIPT

© Markus Hochstrasser and Lehrstuhl für Flugsystemdynamik, Technische Universität München, 2017
SimPol User Guide
Version 1.4

© Markus Hochstrasser and Lehrstuhl für Flugsystemdynamik, Technische Universität München, 2017
Inhalt
1 Installation ........................................................................................................................................ 3
2 Uninstall ........................................................................................................................................... 3
3 Starting SimPol ................................................................................................................................ 3
4 SimPol Workflow.............................................................................................................................. 4
5 Configuration of the Allocation File .................................................................................................. 4
5.1 Open / edit / create an Allocation File ..................................................................................... 4
5.2 Server Connection Setup ........................................................................................................ 5
5.3 Query work items ..................................................................................................................... 6
5.4 Choosing a Linking Model ....................................................................................................... 7
6 Link Management ............................................................................................................................ 8
6.1 Open a Link Target .................................................................................................................. 8
6.2 Views ....................................................................................................................................... 8
6.3 Creating a link ........................................................................................................................ 10
6.4 Deleting a link ........................................................................................................................ 10
6.5 Review changes .................................................................................................................... 11
6.6 Check link healthiness ........................................................................................................... 12
6.7 Maintenance of links .............................................................................................................. 13
6.8 Verify work item coverage ..................................................................................................... 15
6.9 Verify model element coverage ............................................................................................. 15
7 Frequent questions ........................................................................................................................ 15
© Markus Hochstrasser and Lehrstuhl für Flugsystemdynamik, Technische Universität München, 2017
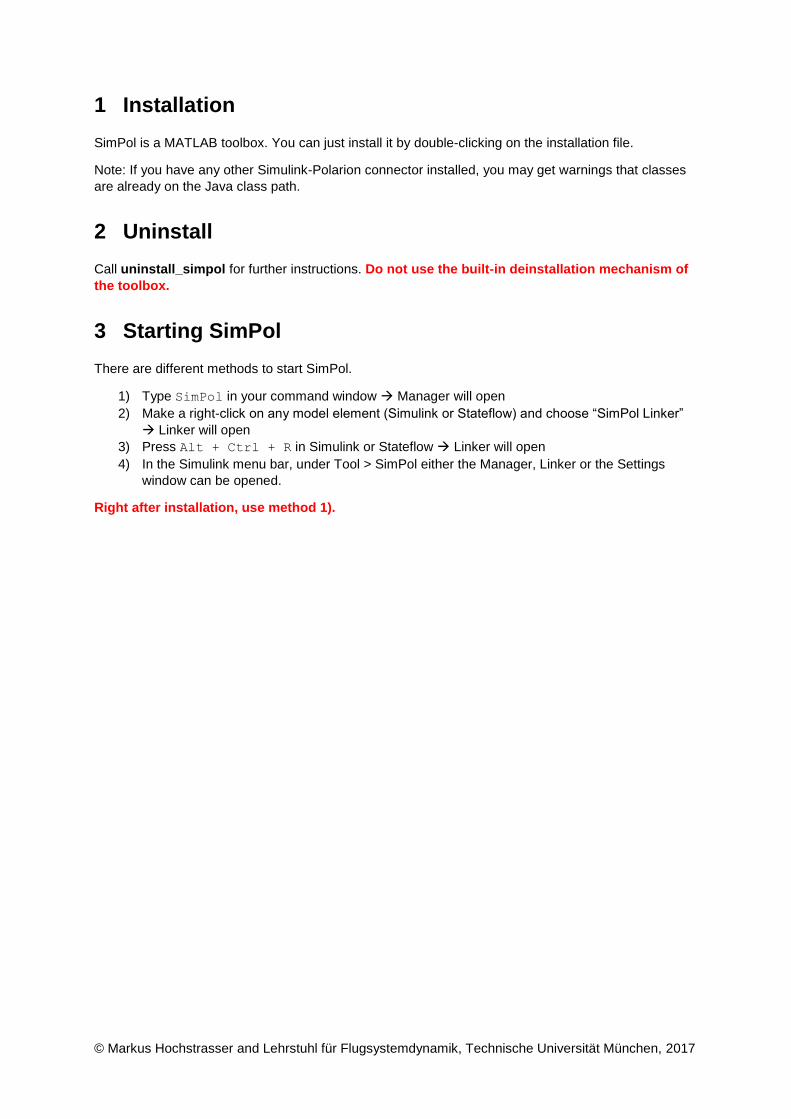
1 Installation
SimPol is a MATLAB toolbox. You can just install it by double-clicking on the installation file.
Note: If you have any other Simulink-Polarion connector installed, you may get warnings that classes
are already on the Java class path.
2 Uninstall
Call uninstall_simpol for further instructions. Do not use the built-in deinstallation mechanism of
the toolbox.
3 Starting SimPol
There are different methods to start SimPol.
1) Type SimPol in your command window Manager will open
2) Make a right-click on any model element (Simulink or Stateflow) and choose “SimPol Linker”
Linker will open
3) Press Alt + Ctrl + R in Simulink or Stateflow Linker will open
4) In the Simulink menu bar, under Tool > SimPol either the Manager, Linker or the Settings
window can be opened.
Right after installation, use method 1).

© Markus Hochstrasser and Lehrstuhl für Flugsystemdynamik, Technische Universität München, 2017
4 SimPol Workflow
The intended SimPol workflow defines four steps:
1. The user sets up or loads an existing Allocation File. The Allocation File stores the
connection to the Polarion database, and a filter for the requirements to allocate. It further
defines, what kind of linking shall be used.
2. With a loaded Allocation File, the user opens a Link Target, which may be a Simulink Model
or a Simulink Test file.
3. Links can now be established, updated, and deleted.
4. To maintain and evaluate links, the user can:
a. Check link healthiness
b. Patch links
i. Reestablish uni-directional links using the maintenance methods
ii. Delete unresolvable, but applicable links
iii. Bring pictures in the surrogate /requirement work item up to date
iv. Delete deprecated surrogate work items
c. Verify work item coverage
d. Verify uptrace coverage
e. Baseline requirements and model.
5 Configuration of the Allocation File
5.1 Open / edit / create an Allocation File
After starting SimPol, use
to create a new Allocation File,
to open an existing Allocation File, and
to modify the loaded Allocation File.
POLARION®
Project XY
Create/open allocation file
- Define connection settings
(Server URL, Project Name)
- Define selection of work items
(requirements, test cases,…)
- Define linking mode (direct or with
surrogate model)
Simulink® Stateflow® Simulink® Test™
Open link target
Bi-directionally
link target elements
to work items in Polarion®
Verify and maintain links
- Check requirement coverage
- Detect and reestablish broken links
- Synchronize surrogate models and embedded images
- Review the implementation linked to suspected work items

© Markus Hochstrasser and Lehrstuhl für Flugsystemdynamik, Technische Universität München, 2017
5.2 Server Connection Setup
Figure 1: Server Connection Setup
The setup dialog of the Allocation File requires you to enter a ServerURL, User Credentials, and a
ProjectID.
• Credentials are not stored in the Allocation File, but in the preferences of the host computer.
You can either enter the password everytime SimPol connects, or preset it.
• Server address examples: https://my-polarion-server.de, NOT https://my-polarion-
server.de/polarion
• Project ID can be found in Polarion in the project settings:
Figure 2: Polarion Project ID

© Markus Hochstrasser and Lehrstuhl für Flugsystemdynamik, Technische Universität München, 2017
5.3 Query work items
Figure 3: Work Item Query
The linkable work items can be defined by setting up a respective query in Polarion and exporting it to
SimPol. Query strings can easily be composed in and copied from Polarion (link in the bottom right in
Figure 4 “Copy to Clipboard”).
Figure 4: Query String Composition in Polarion
Two examples for query strings:
o If you have defined a custom work item type for the requirements, which you want to allocate, you
might use:
type:sw_req_app_sysauto
o Another workflow is exporting all requirement IDs from Polarion into a CSV or Excel table, open it,
select the requirements you want to allocate to the model and copy the IDs. Then, the “Generate
from List” functionality can be used to paste the IDs and generate a fitting query string.
o Note that SimPol at the moment only queries the requirements. If it does not find the
requirement with a specific ID, it will not throw any error or warning.
o Use “Test Connection” to check if the settings are correct.

© Markus Hochstrasser and Lehrstuhl für Flugsystemdynamik, Technische Universität München, 2017
5.4 Choosing a Linking Model
Figure 5: Linking Method
SimPol can work in two modes using a different linking mechanism.
The direct linking model places a clickable hyperlink in the Polarion work item. By clicking the
hyperlink, the user can navigate to the model/test element (if MATLAB Simulink is running and the
respective element is available). The RMI link points via an URL to the work item on the server.
The surrogate linking model is more complex. For every linked model/test element, SimPol creates a
(surrogate) work item in Polarion (of type as specified in the settings) as in Figure 6. The title of the
surrogate work item is equal to the ID of the model/test element (here “test:15”, which is the SID of the
inport block). A link is created in Polarion from the surrogate work item to the Polarion work item,
which shall be linked (we call it only “work item” in the following, and use the term “surrogate work
item” for the surrogate model). Additionally, the surrogate work item obtains a hyperlink (like in direct
link model) to the model/test element. The RMI link points via an URL to the work item on the server
(not the surrogate work item!).
Independent of the linking model, a picture can be uploaded of the linked model element. This works
only, if the open document is a Simulink model. The picture contains a snapshot of the model element
in its context or of its content (Figure 6).
The linking model can be chosen freely, but changing between linking mechanisms for a document during work is not recommended, since SimPol cannot automatically transform the links. However, you can use different linking mechanisms for the same working items in parallel.

© Markus Hochstrasser and Lehrstuhl für Flugsystemdynamik, Technische Universität München, 2017
Figure 6: Example surrogate work item
6 Link Management
6.1 Open a Link Target
SimPol needs a Link Target as basis to work on. This can either be a Simulink Model or a Simulink
Test file.
After starting the tool, check the headline of the tool, whether a target and if the correct target is
opened. If not, use the open button to open a *.slx or *.mldatx file.
If an allocation file is loaded, it will connect to Polarion and cache the allocated requirements. If not,
SimPol will inform you, that it was not able to open a session. Proceed with the configuration of the
document as described in Section 5.
6.2 Views
The tool can be started in two modes. The “Manager” mode as in Figure 7 displays two tables, one
showing the links from Polarion to RMI (left), the second showing the counter linking from RMI to

© Markus Hochstrasser and Lehrstuhl für Flugsystemdynamik, Technische Universität München, 2017
Polarion (right). The “Linker” mode shows a mix between the left and right side of the Manager. The
table shows the Polarion requirements, but the Llink Preview is exchanged by the Item Preview of the
selected item in Simulink or Stateflow. Intended use for the linker is the linking process, see Figure 8.
Using the button, the mode can easily be changed.
Figure 7: Manager View
Figure 8: Linker view
NewAllocation
File
OpenAllocation FIle
EditAlloc. File
Patch
Linker Mode
Update Cache(Polarion)
Update Cache(RMI)
Filtering ofRMI links and
items
Polarion Coverage
Delete selectedlink (left side)
Delete selectedlink (right side)
Link HealthCheck
Open target

© Markus Hochstrasser and Lehrstuhl für Flugsystemdynamik, Technische Universität München, 2017
6.3 Creating a link
Links can be established in both the “Manager View” and the “Linker View”, however, the following
steps are proposed:
o Preparation:
o Open SimPol Manager and choose either the Selection item filter. This filter tracks the
currently selected model element in the background and sets it active in SimPol whenever
you click a (supported) model element.
o Then, activate the “Linker View”.
o Linking process:
o Select the block you want to link in Simulink.
o Click the requirement you want to link and push the (small) link button. SimPol
automatically establishes a bi-directional link.
Figure 9: Linking in "Linker View"
The recommended way of establishing links between requirements, models and test cases is using
SimPol directly. You can also browse and create links in the RMI GUI, but they are not bi-directional.
You can use maintenance functions of SimPol afterwards to restore reverse links.
If you add or remove a model element in Simulink or any other target, it does not directly
show up in the table. Use the button to reload the cache.
6.4 Deleting a link
Links can only be deleted in the “Manager View”. Select a link by expanding an item in the table (make
sure that a link is selected, not an item).
After selecting a link in the right or left table, the respective delete button is activated. Deletion is
always bi-directional if the link is resolvable, and uni-directional with a warning otherwise!

© Markus Hochstrasser and Lehrstuhl für Flugsystemdynamik, Technische Universität München, 2017
Figure 10: Delete link
6.5 Review changes
After changing a requirement in Polarion, the model must typically be reviewed to verify, that the
implementation still complies with the requirement.
Therefore, SimPol offers a mechanism called “suspicion”. During establishing a link between a
Polarion work item and a model/test element, SimPol stores version information about the work item
along with the link. As soon as the work item in Polarion has changed, and the SimPol caches have
been reloaded, RMI links pointing to the updated work item are marked as suspected as depicted in
Figure 11 (1). You can now filter all suspected links (2) and navigate to each model element (3). After
checking that the implementation still complies with the requirement, the suspicion can be resolved by
pressing the button “Unsuspect” (4) or using the maintenance function “Unsuspect all”.
In the current implementation, version information is a checksum containing the title and the description field of the work item.

© Markus Hochstrasser and Lehrstuhl für Flugsystemdynamik, Technische Universität München, 2017
Figure 11: Review workflow
6.6 Check link healthiness
SimPol can give you an overview of your link healthiness. Links can have different properties.
o Applicable: A link is applicable if it satisfies a specified format and directs to the currently
loaded document. For example, if you link a requirement to a model and a test case, and
you open the model in SimPol, only the model links are displayed as applicable.
o Resolvable: A link that does not direct to an item on the other side. Links get
unresolvable, if for example model elements or working items are deleted.
o Uni-directional: A link which is valid in one direction, but where a counter link cannot be
found (bi-directional linking).
o Suspected: A RMI link is suspected, if the linked working item has changed after
establishing the link. [TBD link to suspected workflow]
There is a “Verify” button in SimPol in the tool strip. After clicking it, SimPols updates the cache and
analyzes the existing links. Results are presented in the form of Figure 12. Note that “Unresolvable”,
“Uni-Directional”, and “Suspected” is only evaluated for the applicable links.

© Markus Hochstrasser and Lehrstuhl für Flugsystemdynamik, Technische Universität München, 2017
Figure 12: Link healthiness check results
6.7 Maintenance of links
SimPol provides several batch functions easing maintenance of links. Use the button and select
a function to be executed.
The following defect scenarios exist for the surrogate linking model:
1 Polarion work item deleted No item on Polarion side. Unresolved RMI link. Dead link in surrogate work item. Fix:
1) Maintenance job “SyncSurrogageWorkItems” lists polarion surrogate work item as “deprecated”. Must be deleted manually in Polarion.
2 Model / test element deleted No item on RMI side. Unresolved Polarion link. Fix:
1) Remove link in SimPol. 2) Remaining surrogate work item is
listed as “unused” by maintenance job “SyncSurrogateWorkItems”. Must be deleted manually in Polarion.
3 Link from Polarion work item to Polarion surrogate work item deleted
Listed as uni-direction link on RMI side. Fix:
1) Maintainance job “RecreateUniDirectional” reestablishes uni-direction links or delete remaining link.
2) If link is deleted, use “SyncSurrogateWorkItems” to get unused work items.
4 Link from Polarion surrogate work item to Polarion work item deleted
Since bi-directional deletion is automatically performed in Polarion, this is equal to case 3.

© Markus Hochstrasser and Lehrstuhl für Flugsystemdynamik, Technische Universität München, 2017
5 Hyperlink from surrogate item to RMI item deleted
Not visible in SimPol. Also not critical, since the link is only for navigation, the title of thesurrogate work item, which is still linked to the work item, is the ID of the connected RMI element. Fix:
1) Maintainance job “SyncSurrogateWorkItems” reestablishes missing links.
6 RMI link from model / test element to Polarion work item deleted
Listed as uni-directional on Polarion side. Fix:
1) Maintainance job “RecreateUniDirectional” reestablishes uni-directional links or delete remaining link, or recreate in SimPol.
2) If link is deleted, use “SyncSurrogateWorkItems” to get unused work items.
7 Surrogate work item deleted When deleting a Polarion surrogate work item, the uplink to a Polarion work item is removed, too. This is thus similar to case 3.
8 Model updated and picture unsynced Model and images in surrogate work items are not synchronized any more. Fix:
1) Use maintenance job “Update Images” to update deprecated images.
9 Surrogate work item type changed or link role changed.
Links will not be discovered any more. There is no fully automatic fix, but you can do the following steps:
1) Delete all old surrogate work items in Polarion.
2) Use maintainance job “RecreateUniDirectional” to reestablish all broken links with the new settings.
The following defect scenarios exist for the direct linking model:
1 Polarion work item deleted No item on Polarion side. Unresolved RMI link. Fix:
1) Manually delete unresolved link.
2 Model / test element deleted No item on RMI side. Unresolved Polarion link. Fix:
1) Manually delete unresolved link.
3 Hyperlink from Polarion work item to RMI item deleted
Displayed as uni-directional RMI link. Fix:
1) Maintainance job “RecreateUniDirectional”

© Markus Hochstrasser and Lehrstuhl für Flugsystemdynamik, Technische Universität München, 2017
reestablishes uni-directional links or delete remaining link, or recreate in SimPol.
4 RMI link from model / test element to Polarion work item deleted
Listed as uni-directional on Polarion side. Fix:
1) Maintainance job “RecreateUniDirectional” reestablishes uni-directional links or delete remaining link, or recreate in SimPol.
5 Model updated and picture unsynced Model and images in work items are not synchronized any more. Fix:
2) Use maintenance job “Update Images” to update deprecated images.
Some scenarios cannot be detected automatically right now:
• Polarion links that are not applicable for any document.
• RMI links that are not applicable for any Polarion work item.
6.8 Verify work item coverage
Every allocated requirement must be implemented in the model. Full coverage is given when every
requirement traces to
o at least one model element
o at least one test element.
To quickly check the coverage, the coverage bar in the “Manager View” on the left side can be used.
The current implementation shows the coverage for applicable links of the current document. Sometimes requirements may be implemented over various models and special allocation of requirements per model may not be wanted. In these cases, it is recommended to use the surrogate linking and check final coverage in Polarion.
6.9 Verify model element coverage
The model element coverage is currently implemented and will follow in future versions.
7 Frequent questions
• SimPol crashes after calling “clear all”.
This is a known issue. SimPol stores data in memory to provide fast access. There is currently
no way to protect this data from a “clear all” command. Restart SimPol after a “clear all”.