serger fleece or wool vest - pamela's patterns...serger fleece or wool vest fleece or wool vest...
TRANSCRIPT

Serger Fleece or Wool Vest
Fleece or Wool Vest
Pamela Leggett, Instructor [email protected]
Fall has arrived and it's time to think about dressing in layers. A vest is the perfect transitional garment for this time of year. Thanks to the wonderful decorative stitching capabilities, you can create a stylish vest almost completely on the serger. Grab some wool or cozy fleece, a couple decorative threads and your serger to learn how to tackle curves, pockets, differential feed and a unique collar. This project was featured in the new Serging DVD from Threads, Fashion Serge. Supplies:
1 ¼ yard fleece or wool 2 spools decorative thread such as Pearl Crown Rayon, Jeans
Stitch, Maxi Lock Stretch, etc. This thread can match or contrast with the fleece/wool – it will show!
2 cones or spools of sewing thread to match the decorative thread
Serger Set-Up:
Serger, set up for a 4-thread or 3-thread wide stitch Sewing thread in the needle, decorative thread in the loopers Start with differential feed at “N” and stitch length at “3”
What to Cut:
Front/Back Collar 2 Pockets
Test Stitching: Test the stitching on a scrap of fabric to determine the stitch length that is pleasing to you. Then stitch in both the crosswise and lengthwise direction to see if the differential feed needs to be increased to prevent the edges from stretching. This could be different on both the crosswise and lengthwise grain. If so, you will need to “spot feed” the fabric as you complete the decorative stitching.
Pamela Leggett, Instructor [email protected] When the weather turns colder, it’s time to think about dressing in layers. A vest is the perfect transitional garment for this time of year. Thanks to the wonderful decorative stitching capabilities, you can create a stylish vest almost completely on the serger. Grab some wool or cozy fleece, a couple decorative threads and your serger to learn how to tackle curves, pockets, differential feed and a unique collar. This project was featured in Pamela's Fashion Serge DVD from Threads.
Pamela’satterns
Designed to fit and flatter women with REAL figures!
www.pamelaspatterns.com
Selvag
esFo
ld
Back
Collar
Front
high bust
full bust
It is important to measure the high bust area snugly (like a skin mea-surement). If you measure loosely, your garment will be too big!
Supplies:
• 1 ¼ yard fleece or wool
• 2 spools decorative thread such as Wonderfil Razzle or Spagetti, Pearl Crown Rayon, Jeans Stitch, Maxi Lock Stretch, etc. The decorative thread can match or contrast with the fleece/wool – it will show!
• 1-2 cones or spools of sewing thread to match the decorative thread
Serger Set-Up:
• Serger, set up for a 4-thread or 3-thread wide stitch
• Sewing/cone thread in the needle(s), decorative thread in the loopers
• Start with differential feed at “N” and stitch length at “3”
Pick Your Size
To get the best fit, choose your pattern size by the high bust measurement.
Size XSmall Small Medium Large XLarge High Bust 31"-33" 34"-36" 37"-39" 40"-42" 43"-45"
What to Cut:
• Front/Back (tape shoulders together to form one pattern piece)
• 1-2 Collar(s)
• 2 Pockets
Test Stitching:
Test the stitching on a scrap of fabric to determine the stitch length that is pleasing to you. Then stitch in both the crosswise and lengthwise direction to see if the differential feed needs to be increased to prevent the edges from stretching. This could be different on both the crosswise and lengthwise grain. If so, you will need to change the differential feed for the crosswise and lengthwise grain of the fabric as you complete the decorative stitching.

Fleece or Wool Vest
Serger Construction:
TIP: For all of the serging, trim off a little fabric from the edge as you serge.
1. Serge finish the armhole edge, right side up.
2. Serge finish the front of the vest. Start from one armhole, down the side, around the bottom front, up the center front, around the neckline and repeat for the rest of the front. Leave a thread tail at each end.
3. Serge finish the back of the vest. Start from one armhole, down the side, across the bottom and up the other side. Leave a thread tail at each end.
4. Fold the pockets in half, wrong sides together. Serge around the cut edges of the pockets. Leave a thread tail at each end.
5. You can use one or two collars. If using two, place them WST. Serge around the curved upper edge of the collar, then the bottom edge. Leave thread tails at each end.
Assemble On the Sewing Machine:
The vest will be assembled with a multiple zig zag. Set the sewing machine to a 3-step zig zag stitch, width – 4.0 - 5.0, length –2.0 – 2.5. The thread should match the decorative thread color.
6. Overlap the bottom edge of the collar over the neck edge of the vest. Zig zag the collar to the vest, tucking the serger tails between the collar and vest.
7. Pin the pockets to the front of the vest and zig zag in place, tucking the serger tails in between the pocket sides and vest.
8. Overlap the front side seam over the back side seam, tucking the serger tails between the two layers and zig zag in place.
*this project has been adapted from the book More Polar Fleece Pizazz (out of print)
start atarmhole
multiplezig zag
multiplezig zag
2"
1"
multiplezig zag
Serger Construction:
TIP: For all of the serging, trim off a little fabric from the edge as you serge.
1. Serge finish the armhole edge, right side up.
2. Serge finish the front of the vest. Start from one armhole, down the side, around the bottom front, up the front, around the collar and repeat for the rest of the front. Leave a thread tail at each end.
3. Serge finish the back of the vest. Start from one armhole, down the side, across the bottom and up the other side. Leave a thread tail at each end.
4. Fold the pockets in half, wrong sides together. Serge around the cut edges of the pockets. Leave a thread tail at each end.
5. Place collar pieces RST. Serge around the curved upper edge of the collar, then the bottom edge. Leave thread tails at each end.
Assemble On the Sewing Machine:
1. Topstitch with a multiple zig zag. Set the sewing machine to a 3-step zig zag stitch, width – 4.0 - 5.0, length –1.5 – 2.0. The thread should match the decorative thread color.
2. Overlap the bottom edge of the collar over the neck edge of the vest. Topstitch the
collar to the vest, tucking the serger tails between the collar and vest.
3. Pin the pockets to the front of the vest and topstitch in place, tucking the serger tails in between the pocket sides and vest.
4. Overlap the front side seam over the back side seam, tucking the serger tails between the two layers and topstitch in place.
*this project has been adapted from the book More Polar Fleece Pizazz (out of print)

Serger VestFront
www.pamelaspatterns.com
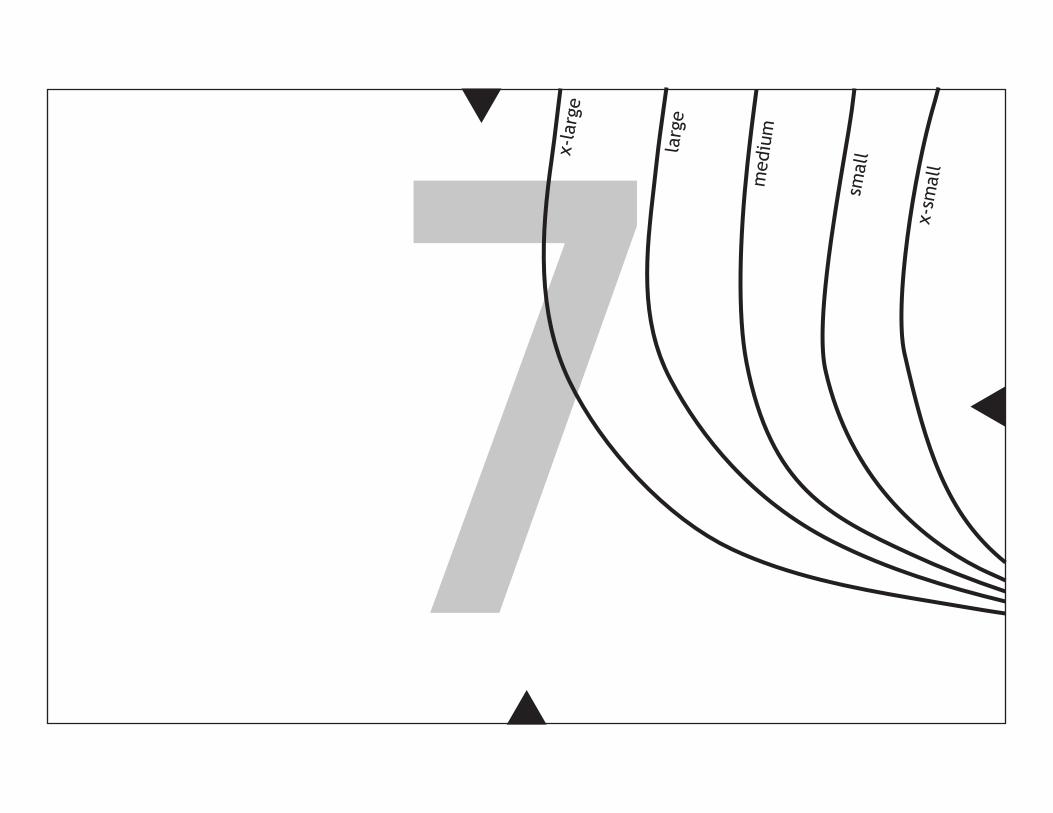
x-la
rge
larg
e
med
ium
smal
l
x-sm
all
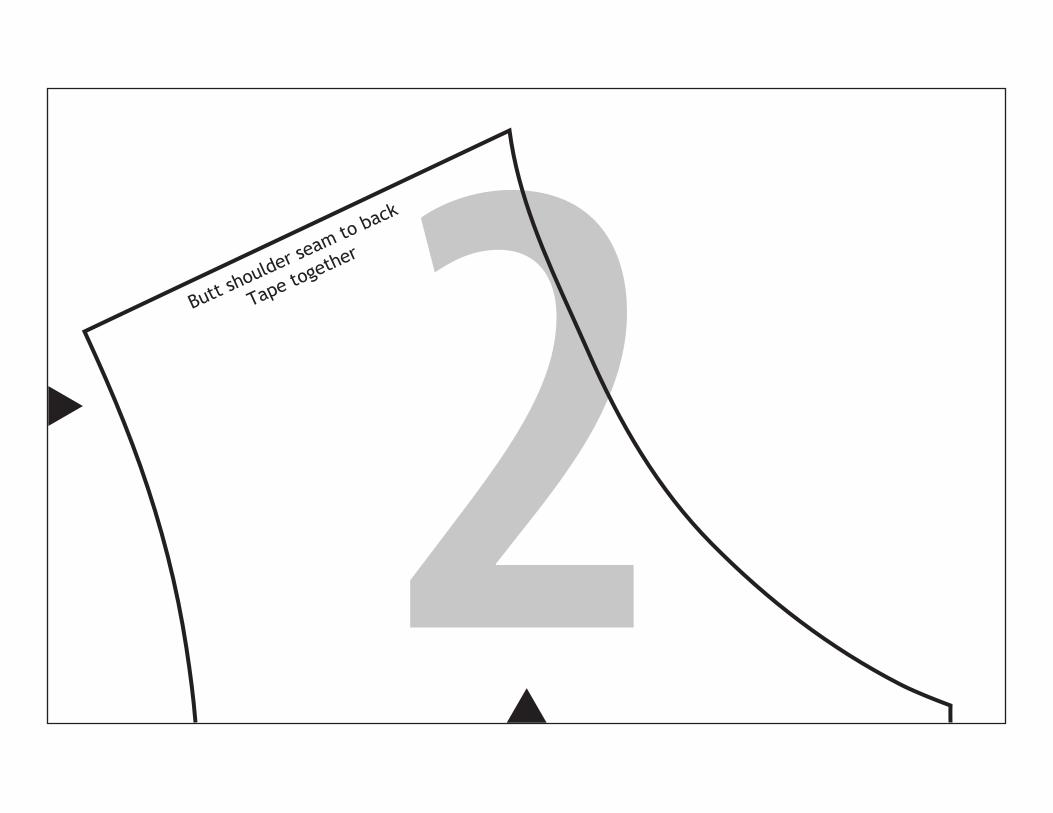
Butt shoulder se
am to back
Tape together
Butt shoulder se
am to
front
Tape together
Serger VestBack
Cut 1 on fold
www.pamelaspatterns.com
plac
e on
fol
d of
fab
ric
cut on fold
fold
x-la
rge
larg
e
med
ium
smal
l
x-sm
all
Serg
er V
est
Colla
r
Cut
2
ww
w.p
amel
aspa
tter
ns.c
om
Serger Vest
ww
w.pam
elaspatterns.com
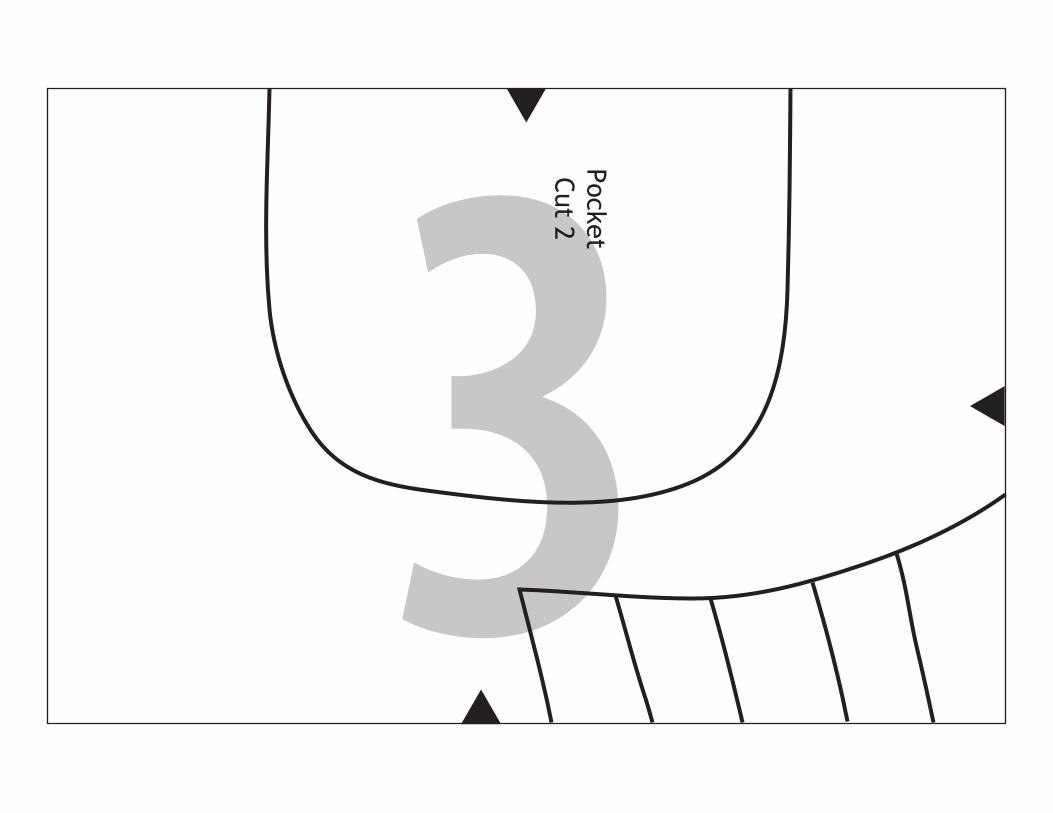
PocketCut 2
Size Chart*use your high bustmeasurement toselect your size.
x-small 31"-33" small 34"-36"
medium 37"-39" large 40"-42"
x-large 43"-45"
1 23 45 67 89 1011 1213 1415 16
Pamela’satterns
Designed to fit and flatter women with REAL figures!
www.pamelaspatterns.com
Serger VestFront4
Butt shoulder se
am to back
Tape together2fold
Serger Vest
ww
w.pam
elaspatterns.com1PocketCut 2
3
Tips for using Downloadable Patterns
• Print on letter or A4 size paper. BE SURE to print the pattern actual size. Otherwise, it will not work. Some PDF applications have page scaling set by default to "fit to printable area". If so, change page scaling to "None".
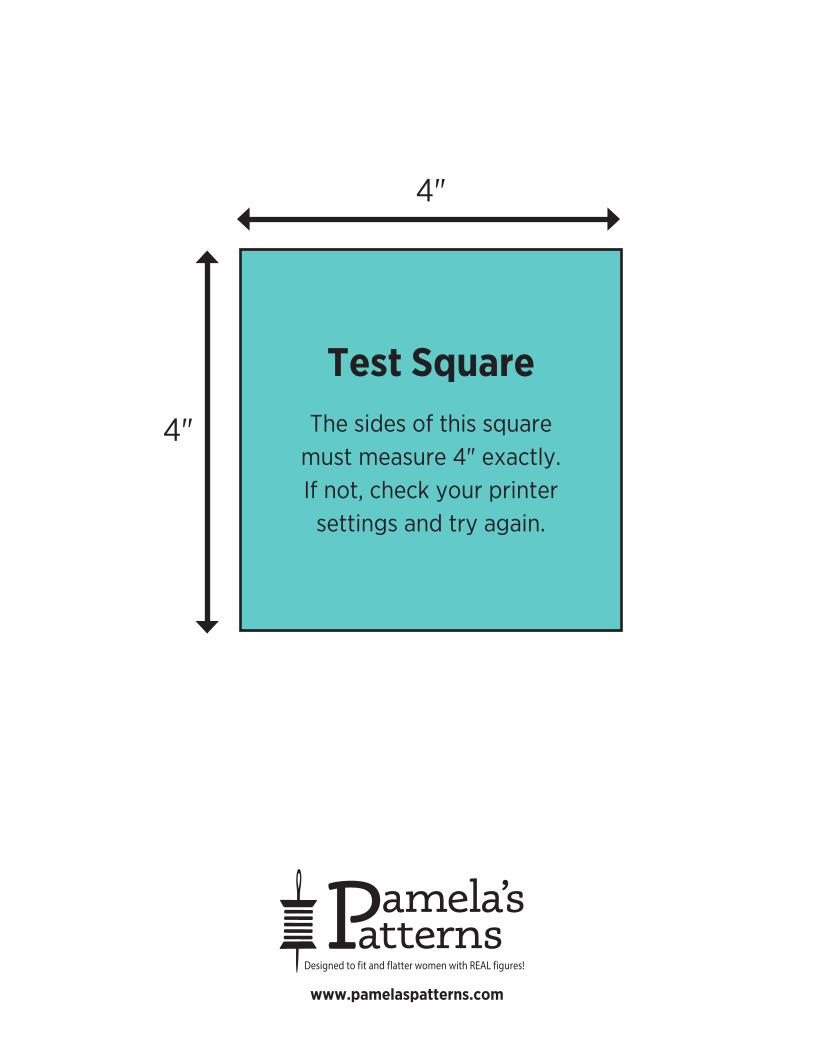
• Before printing your pattern, print the page containing the Test Square. Measure the square with a ruler. If its sides do not equal 4", check your printer settings and try again.
• If your Test Square is still not printing at a 4" square, you may need to download the latest version of (free) Acrobat Reader.
• To save printer ink, choose "draft" or "fast" quality.
The pattern will print on 16 pages as shown here:
• Trim off the left and top margins (colored blue here). Then overlap the pages as shown by the red arrows, bringing the black triangles together to form diamonds.
Pamela’satterns
Designed to fit and flatter women with REAL figures!
www.pamelaspatterns.com
Test SquareThe sides of this square
must measure 4" exactly.If not, check your printer
settings and try again.
4"
4"

fold
Serger Vest
ww
w.pam
elaspatterns.com1
Butt shoulder se
am to back
Tape together2
PocketCut 2
3

Serger VestFront4
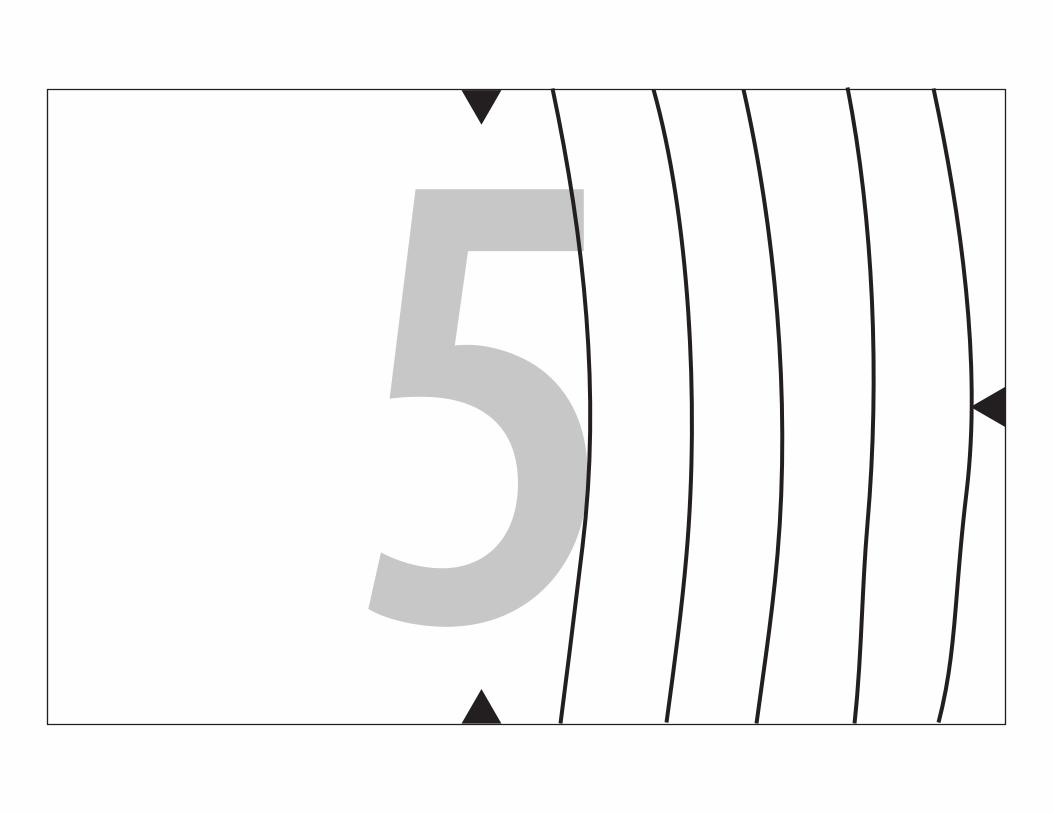
5

www.pamelaspatterns.com
Size Chart*use your high bustmeasurement toselect your size.
x-small 31"-33" small 34"-36"
medium 37"-39" large 40"-42"
x-large 43"-45" 6
x-la
rge
larg
e
med
ium
smal
l
x-sm
all
7

8
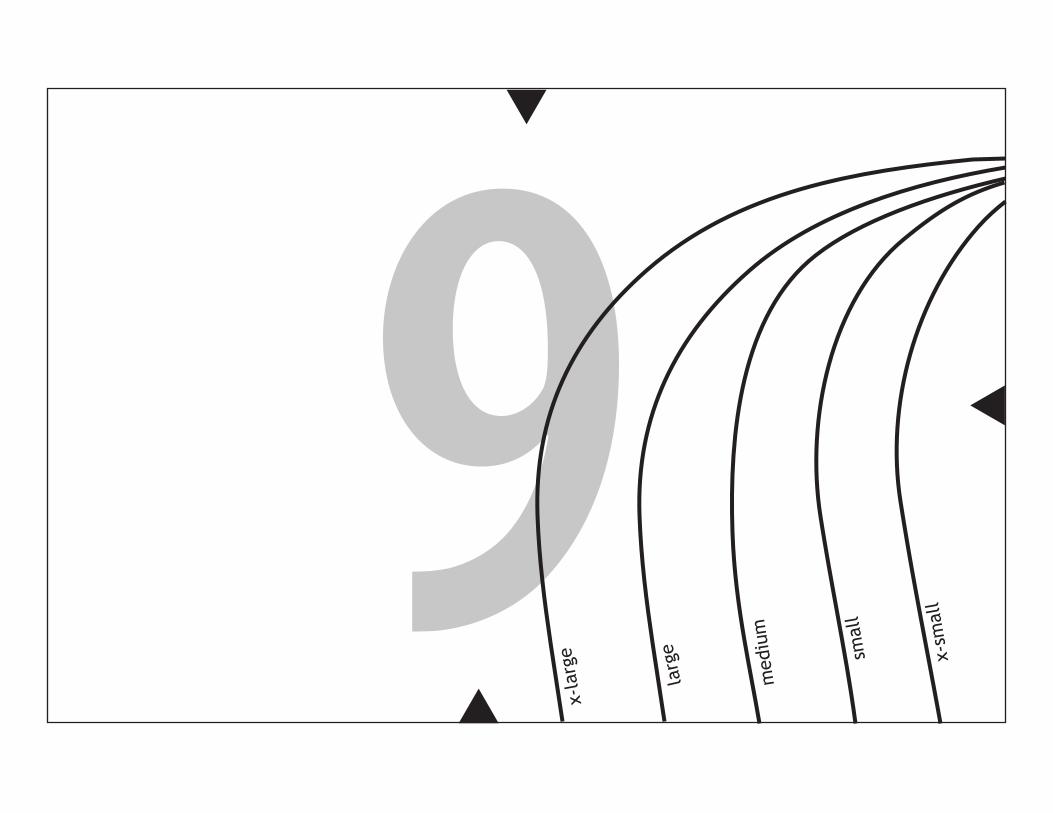
x-la
rge
larg
e
med
ium
smal
l
x-sm
all9

10

11

Serger VestBack
Cut 1 on fold
www.pamelaspatterns.com
plac
e on
fol
d of
fab
ric11 12

13

13 14

cut on fold
Serg
er V
est
Colla
r
Cut
2
ww
w.p
amel
aspa
tter
ns.c
om
15

Butt shoulder se
am to
front
Tape together15 16