porcelain veneers
TRANSCRIPT

PORCELAIN LAMINATES.
By Dr. Bahjat Abu HamdanConsultant prosthodontistDDS CES DSODamascus U. Paris Us.
Introduction.
A nice smile, that reflects self confidence and self esteem, is an important part of the face beauty.
The beauty of the teeth, that show when laughing, through their
- shape. - color. - Position and alignment. is an essential part of the smile.
Introduction.
Alteration of these elements, separately or together, can be done by;
Bleaching. Orthodontic treatment. Fillings. Crowning. Porcelain facings ( veneers ). Porcelain veneers, to certain limits, can alter
the color, the shape, and the position of the anterior teeth by a minimal amount of tooth preparation in the enamel limits ( 0.3-0.7mm).
Introduction.
The following points; Esthetic and mechanical qualities and biocompatibility of
the porcelain. Saving of tooth tissues. Durability and reliability. improved quality and strength of bonding. ( the needed force to remove a PV is 63 MPa ).Make the veneers a recommended treatment for the dentist
and a requested treatment for many patients.Actually they are considered the first alternative to improve
the esthetic of the anterior teeth and by consequent the related quality of life.
Introduction.
Porcelain laminate veneers were introduced into dentistry as Hollywood veneers by Pincus (1930).
Buonocore introduced the concept of acid-etching enamel as a means of mechanical retention that composite resin restoratives had retentiveness.
Simonsen and Calamia discovered composite resin’s ability to bond to porcelain if the ceramic was treated with hydrofluoric acid. In 1983.
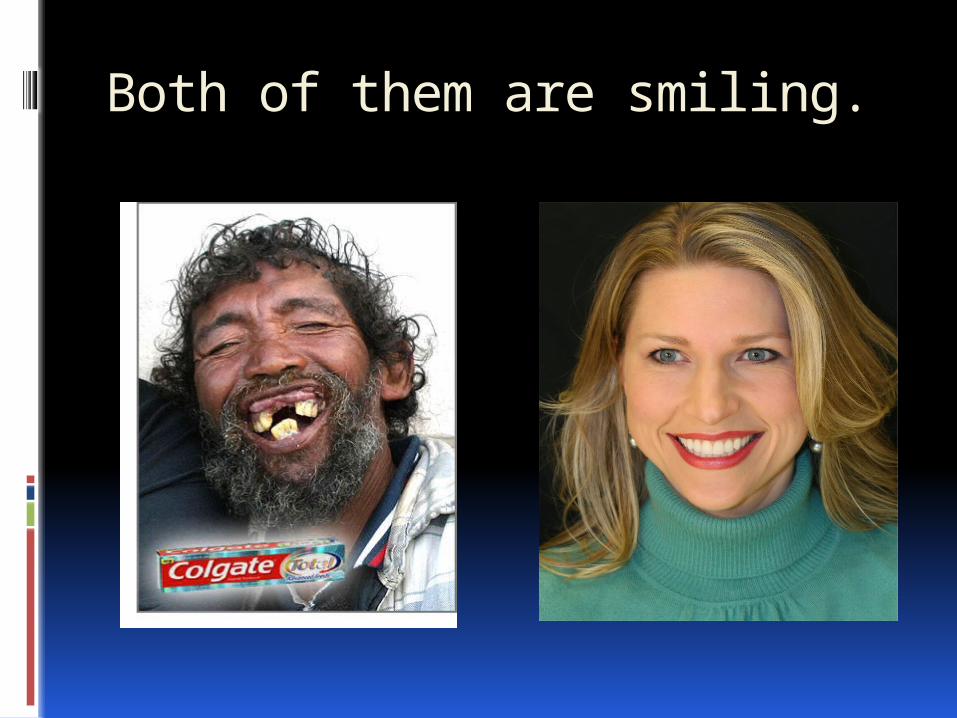
Both of them are smiling.
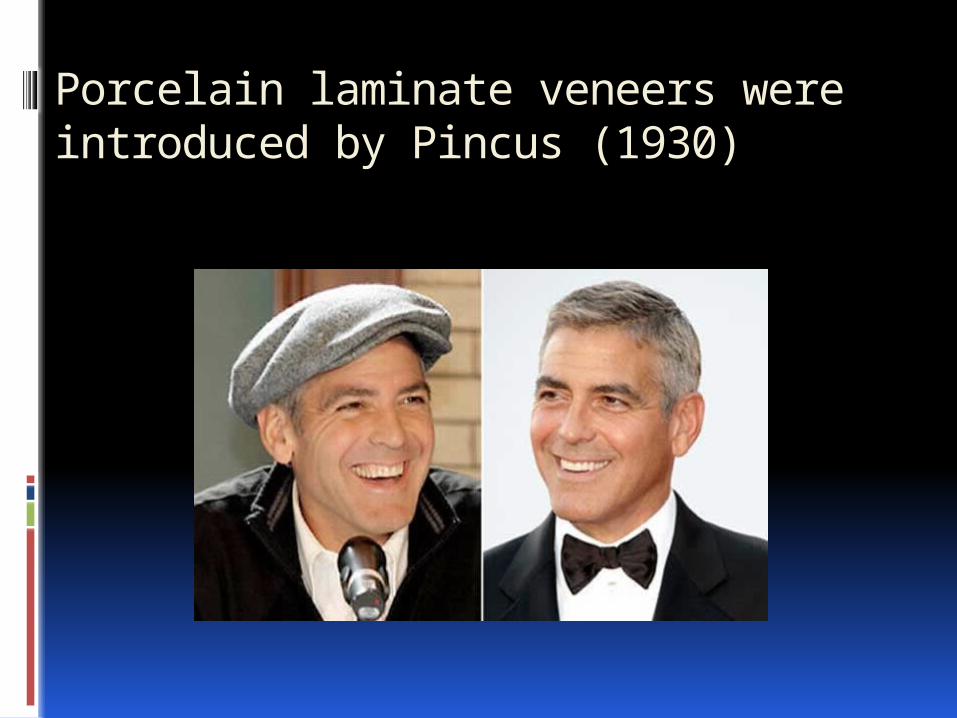
Porcelain laminate veneers were introduced by Pincus (1930)

Celebrities before and after

Indications.
1. Stained or darkened teeth. 2. Tooth hypocalcification. 3. multiple diastemas. 4. Peg lateral. 5. Chipped teeth. 6. Lingual positioned teeth. 7. Malposed teeth not requiring
orthodontic.
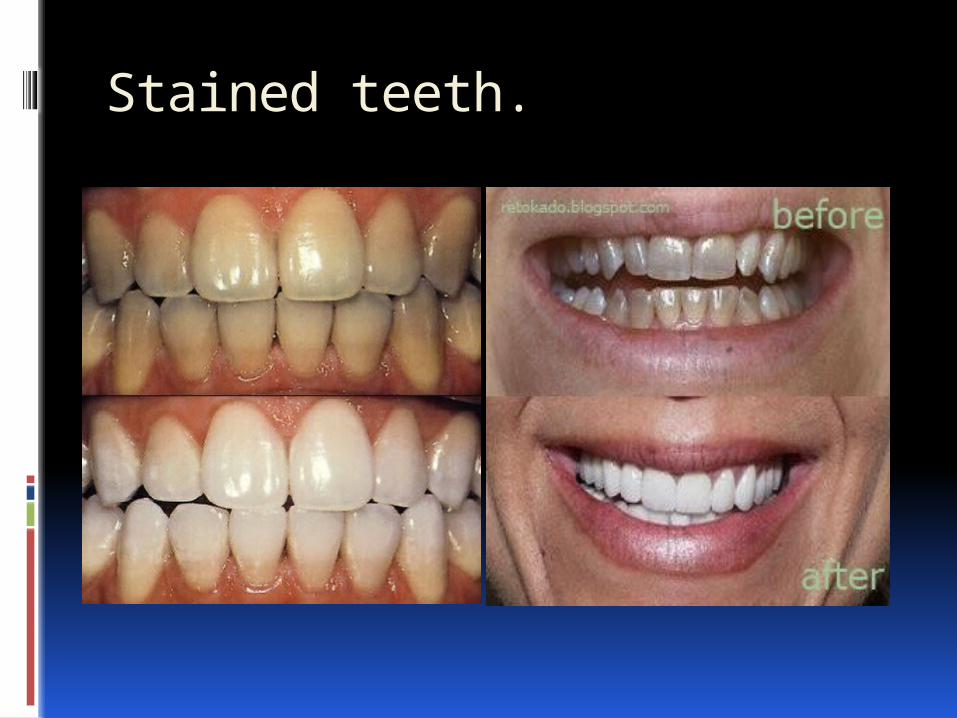
Stained teeth.
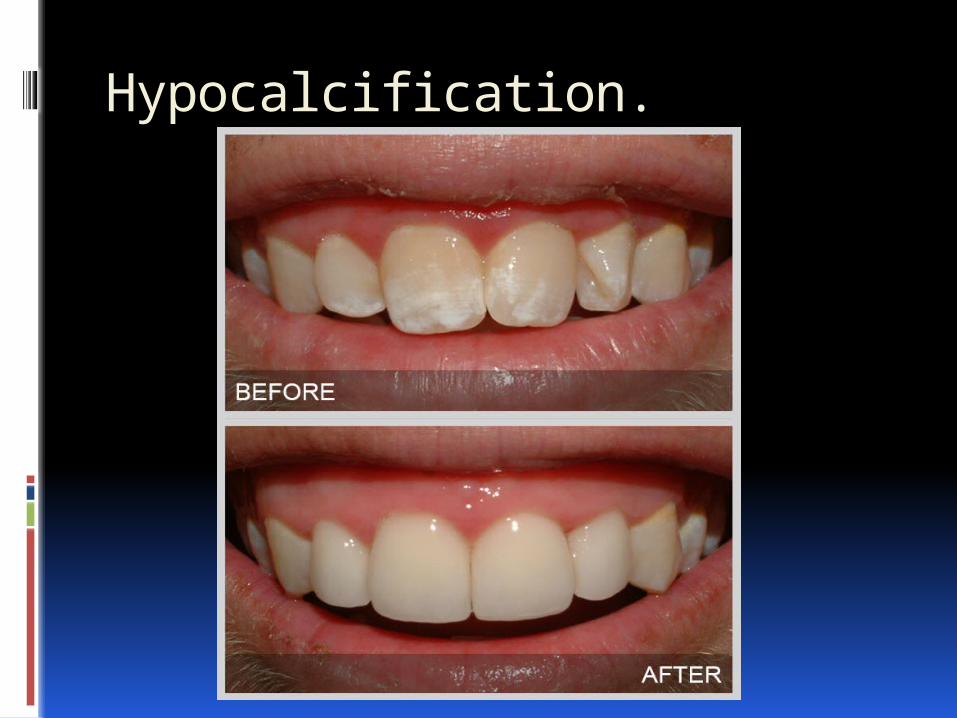
Hypocalcification.
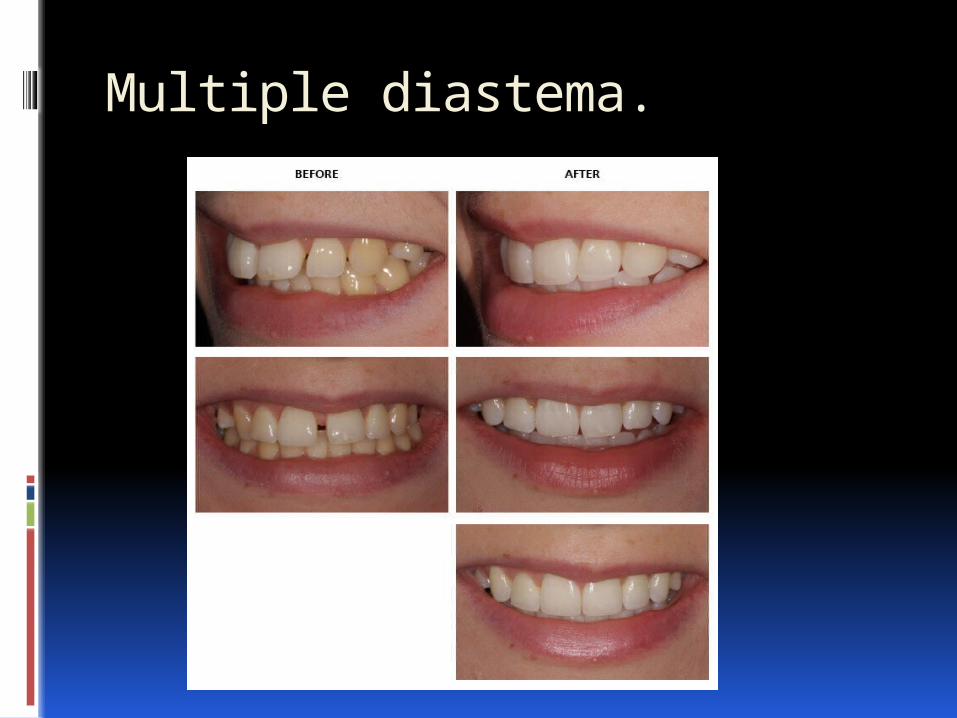
Multiple diastema.
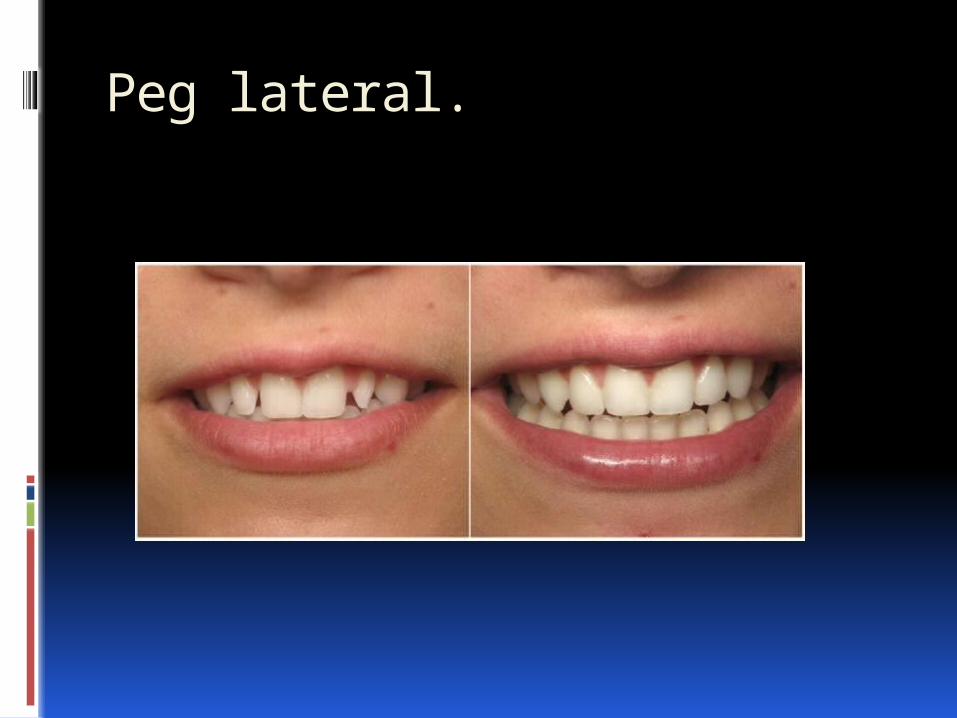
Peg lateral.
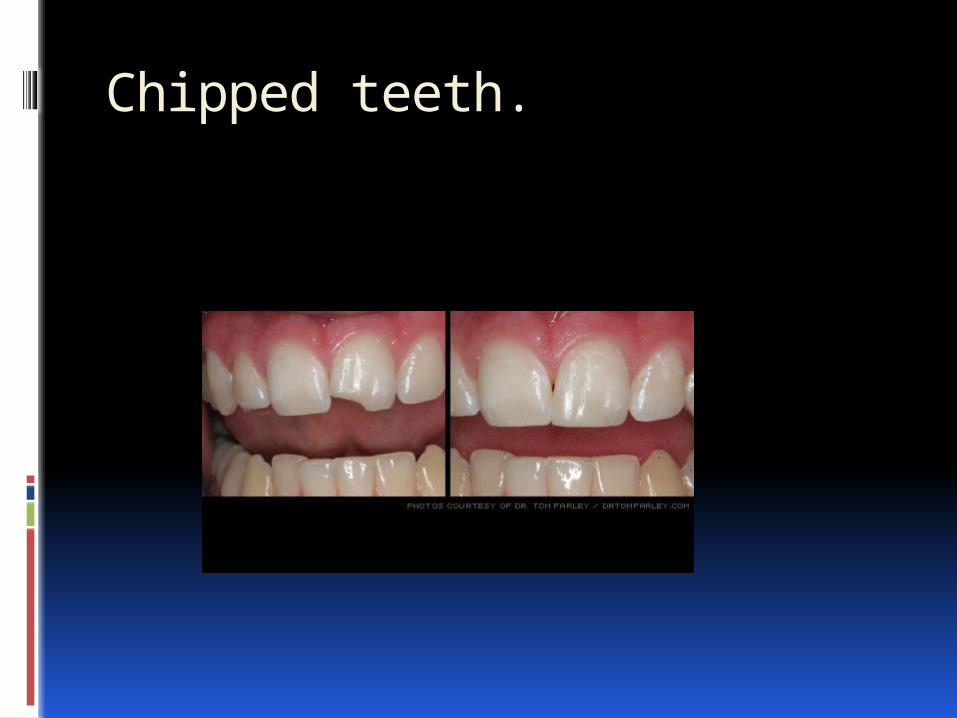
Chipped teeth.
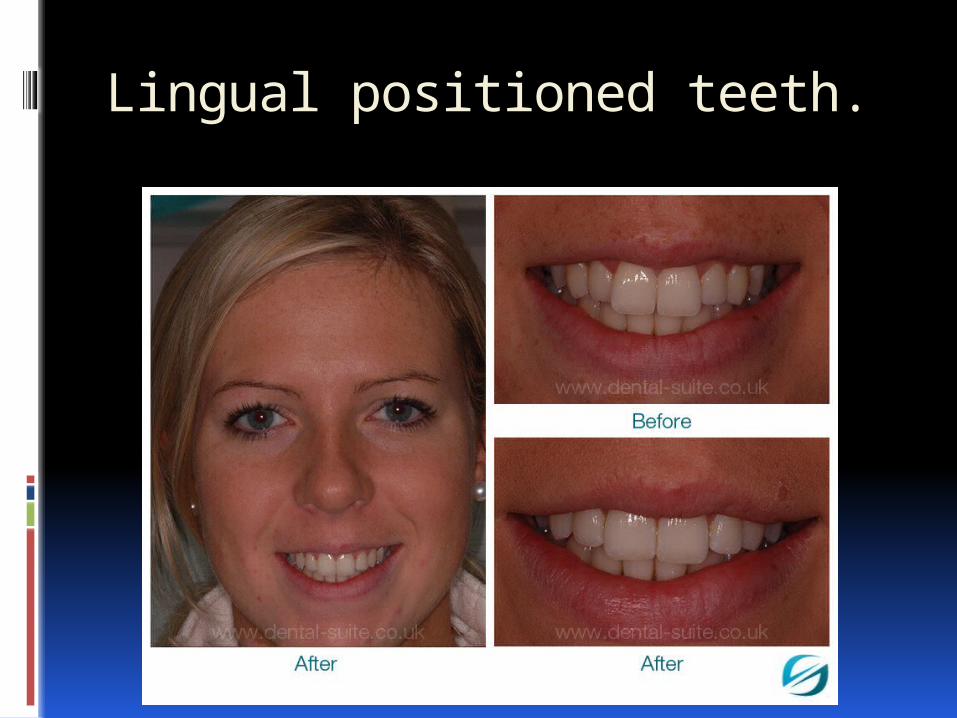
Lingual positioned teeth.

Discrepancy of teeth.
Contraindication..
1. Available enamel; at least the periphery of the laminate veneer should be surrounded by enamel, lack of enamel support indicates crowning of the concerned tooth.
2. Ability to etch enamel; the bonding of laminates is a micro-mechanical process of etching. Deciduous and highly fluoridated teeth may not etch effectively.
Contraindication..
3. Oral habits; bruxism and nails and foreign object bite. Porcelain withstands compressive force than shearing stress.
4. Patients with high caries index. 5. compromised periodontal health. 6.Endodontically treated teeth; a full
crown would hold the integrity of the non vital teeth than a veneer.
Teeth with gum recession.
Contraindications…
7. Tooth with extensive restorations and small triangular teeth.
8. Unstable occlusion; pronounced overbite, edge to edge occlusion, pronounced over jet, severely crowded teeth and cases which have to undergo another type of treatment ( endo, resto, perio, and orthodontic).
9. reduced inter occlusal distance and deep overlap (higher tensile and shear stress).

Contraindication..

The current used materials.
Based on the lab procedures used to fabricate these laminate veneers;
1. Sintered feldspathic porcelain. Using platinum foil.
2. Pressable ceramic by injection (feldespath + leucite).
3. CAD/ CAM technique (feldspath reinforced with leucite or lithium block) .

The current used materials. Based on translucency and opacity ; 1. The amorphous glassy microstructure (non
crystalline) appears translucent (SiO2, quartz with small amount of alumina, feldspath). This type has low flexural strength.
2. The crystalline microstructure appears opaque (ZrO2, Al2O3). This type has high flexural srength.
The used porcelain for facing is feldspathic and glass infiltrated (ceramic), both of them have long term survival rate 96-98% for 5 years.
The current materials
In general feldspathic, glassy and translucent highly imitate the enamel, bonding to enamel increase its strength, most of the cases can be treated by glassy porcelain.
Feldspath + leucite or lithium can be pressed or milled. It has high translucency and high flexural strength (cerinate).
Incase of deep stain, a sintered zirconia milled using CAD/CAM of 0.2mm then a felspatic veneer is baked over it of 0.4mm.
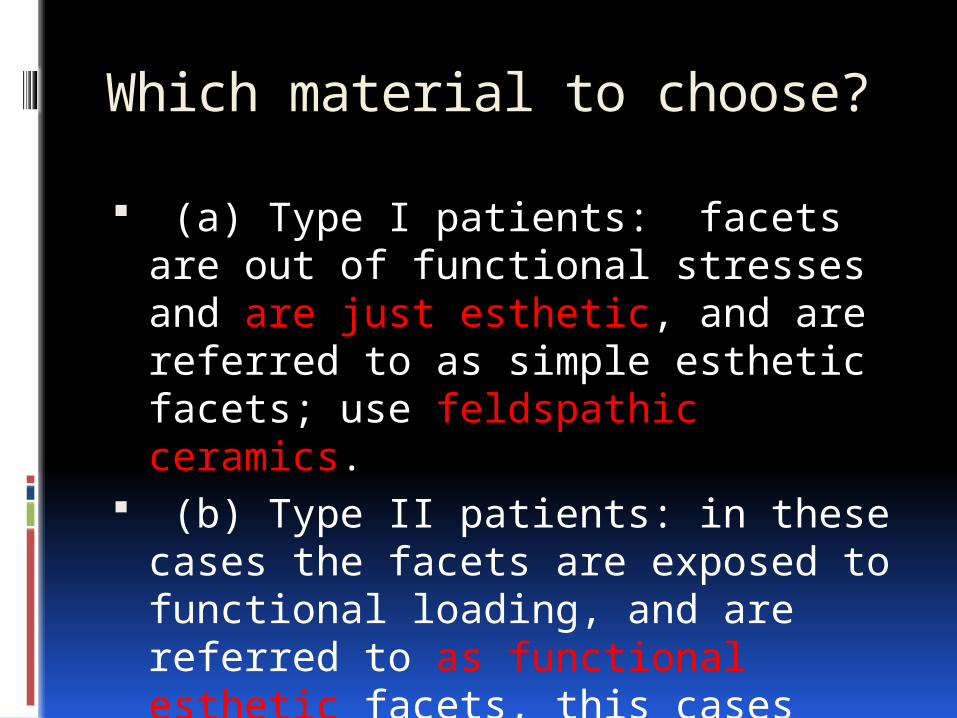
Which material to choose?
(a) Type I patients: facets are out of functional stresses and are just esthetic, and are referred to as simple esthetic facets; use feldspathic ceramics.
(b) Type II patients: in these cases the facets are exposed to functional loading, and are referred to as functional esthetic facets, this cases needs high flexural strength; use feldspath reinforced with leucite or lithium.

Available materials used under different brands.
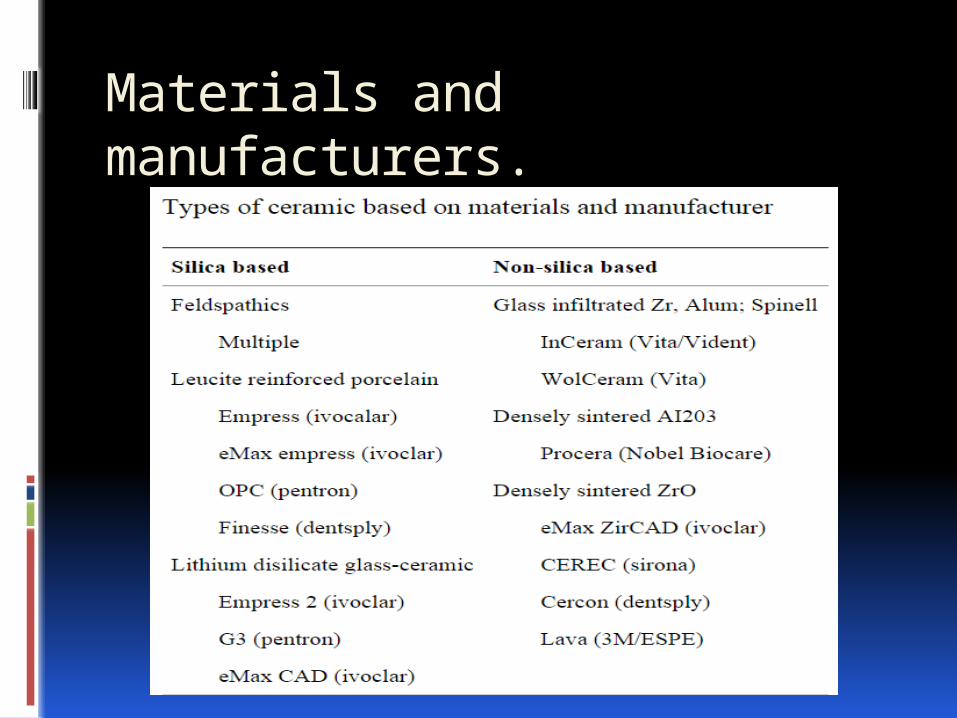
Materials and manufacturers.
Shade selection.
Tooth color has intimate relation with the color of the eyes, skin, and hair. All of these elements have the same embryonic origin.
Shade selection has three element; Hue (color), chroma (saturation of color) and value (lightness and darkness).
Shade selection.
How to match a shade; 1. Pt. should have neutral color
clothes and remove the lip stick. 2. Clean the teeth, and have Pts
mouth at the dentist’s eye level. 3. Use the canine as a reference for
shade because of the highest chroma of the dominant hue of the teeth."
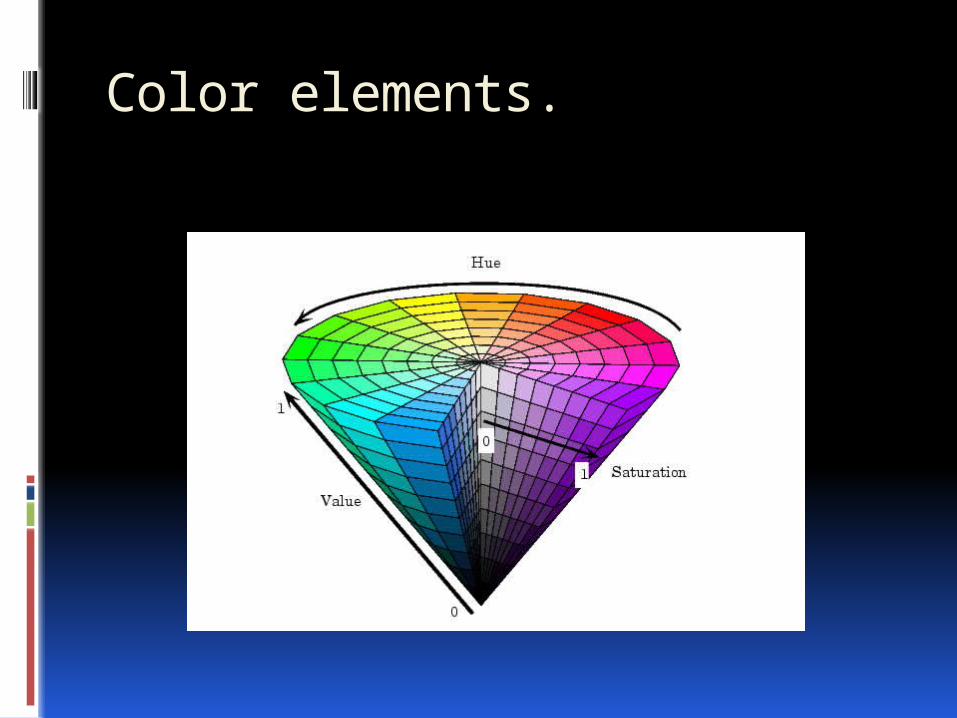
Color elements.
Shade selection.
4. If unable to precisely match the shade, select a shade of lower chroma and higher value.
5. Obtain value levels by squinting. 6. Shade comparisons should be
performed at five-second intervals.

Shade selection.
The final shade of the veneers depends on; . The color,( hue, chroma, and value.) . Opacity and thickness of the porcelain. . Underlying tooth shade. . Color and thickness of the luting
composite. It is impossible to mask a strong
discoloration by a thin layer of porcelain (0.3–0.7 mm) without making the restoration opaque and lifeless.
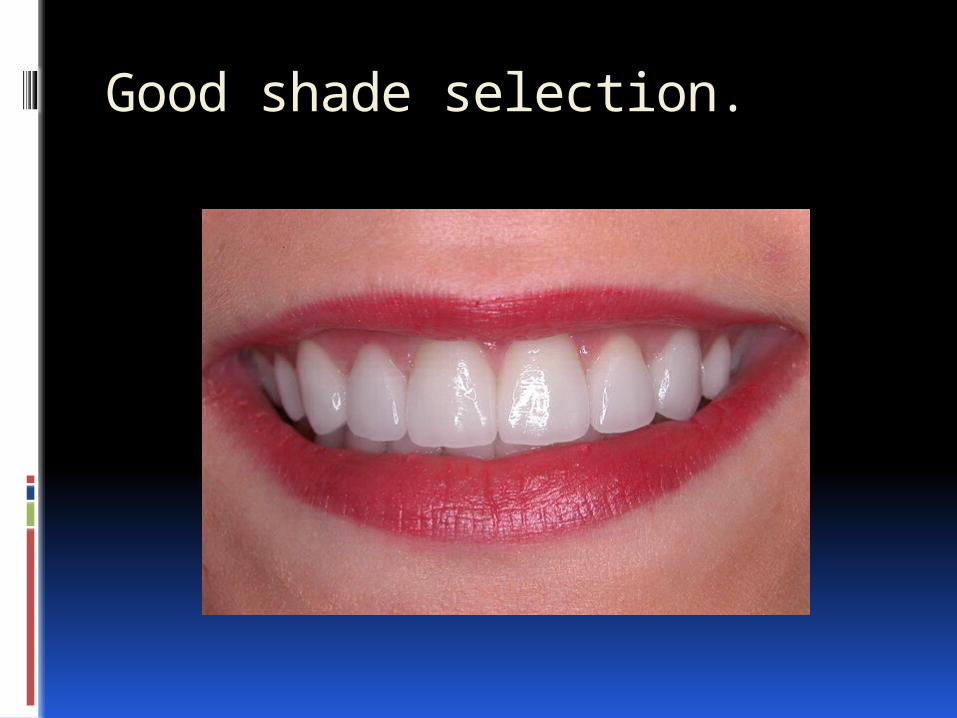
Good shade selection.
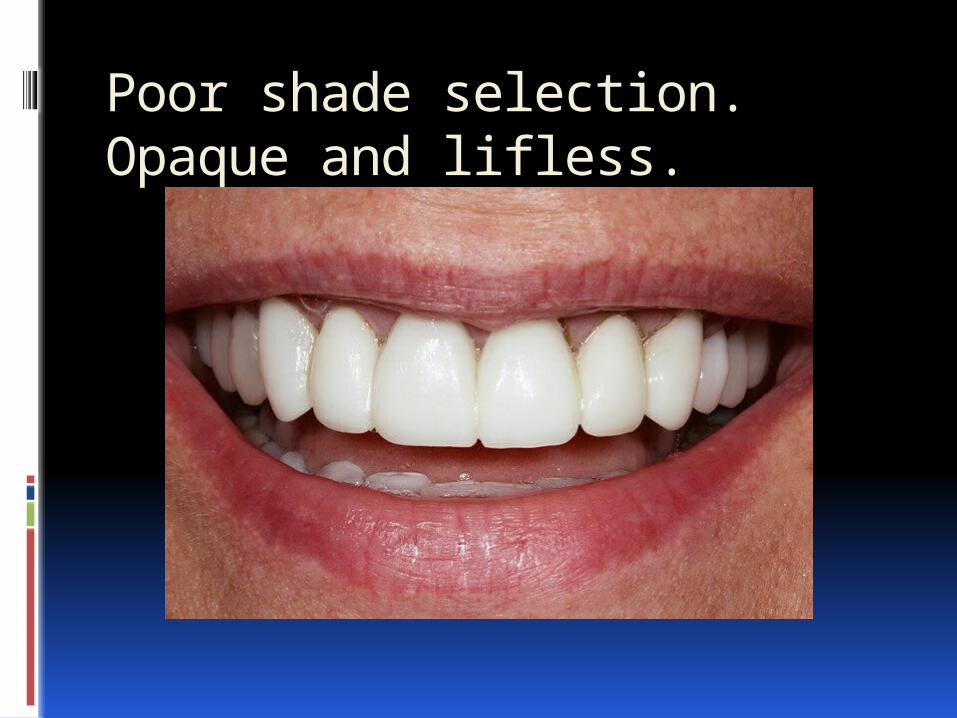
Poor shade selection.Opaque and lifless.
Prepare or not to prepare. The porcelain facets, laminates, or facings
include the lumineers and the veneers. Lumineers are as thin as contact lens and
bond to the teeth with very little if any prep.
They are made of cerinate porcelain (feldspath leucite reinforced). They are strong (F. strength 216 Mpa).
Its thickness as thin as 0.2 to 0.3 mm. They are designed using CAD CAM or
pressable ceramic.
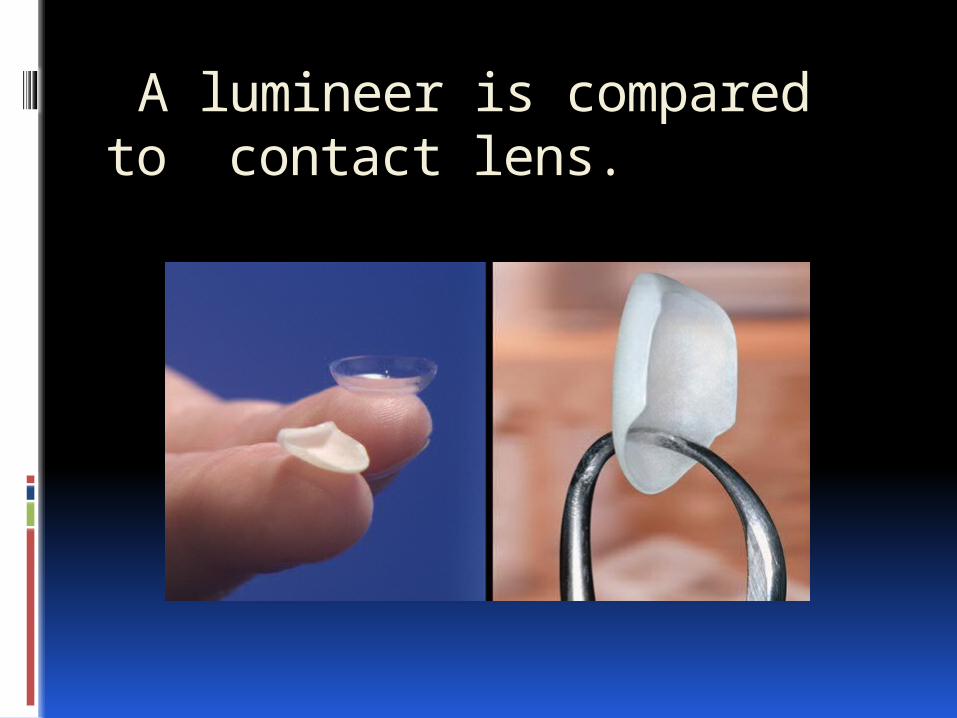
A lumineer is compared to contact lens.

Prepare or not to ..
The advantages of lumineers are; no need for injection, no prep or little, its placed completely on the enamel so no sensitivity at all and it can be removed without damage to tooth tissues.
But, due to no prep a small bulk and larger teeth are likely to develop, also, due to its thickness, it can not cover all the indications of the facets.
They are considered as ideal for minor cosmetic adjustment.
Tooth prep for veneers.
The ultimate key to long-term success with etched porcelain veneers is to use an intra-enamel preparation. Research shows that bonds to enamel are far more predictable and durable than those to dentin.
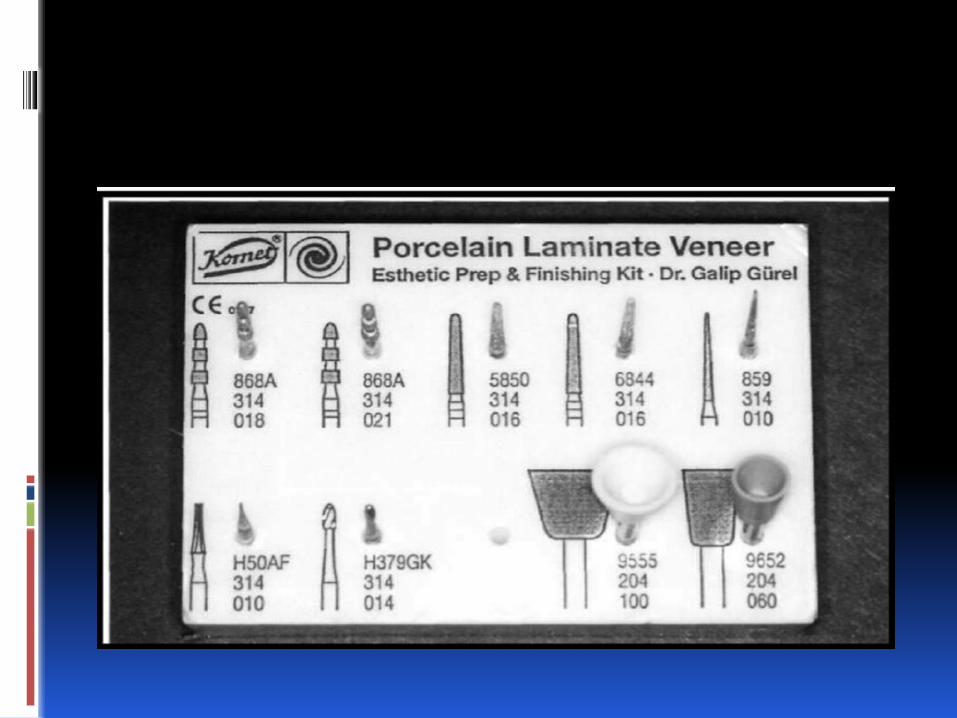
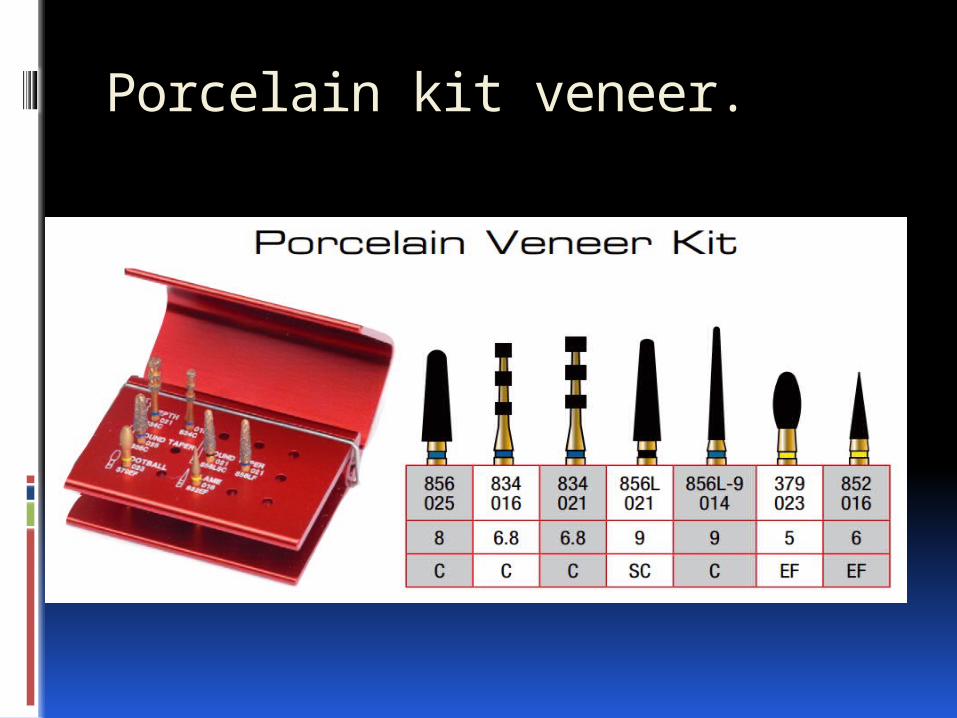
Several methods to attain the required preparation.
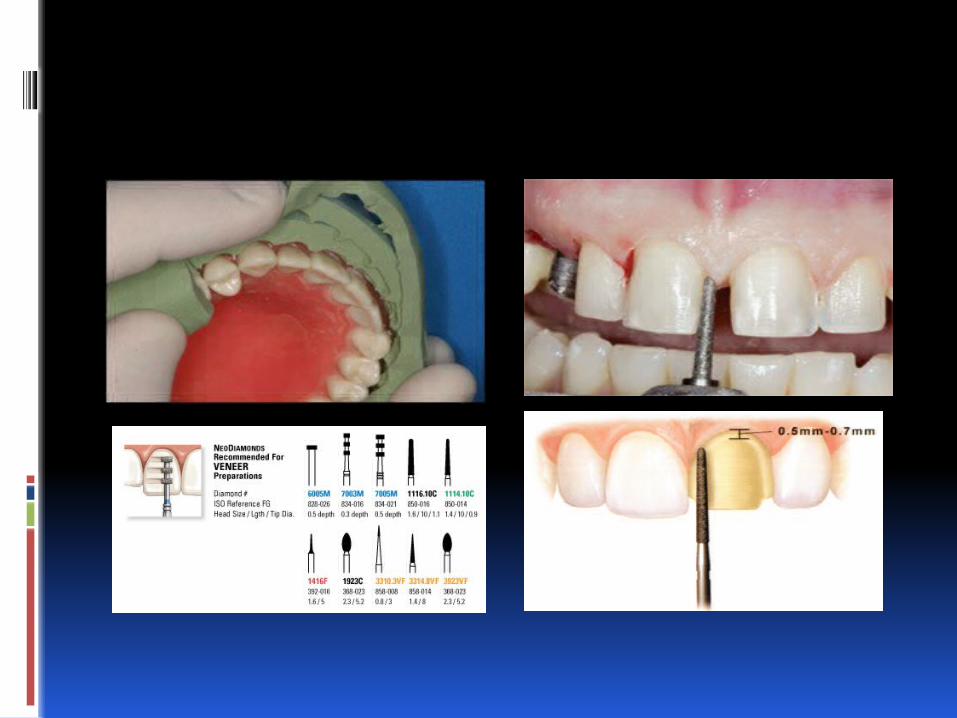
1. Free hand. 2. Use depth or cut grooves.
Tooth prep..
3. Use of silicone putty index. It derived from the wax-up model that allows a visualization 0f reduction required of the preplanned veneers.
Different types of preparation differ only at the incisal region of the tooth.
Tooth prep Incisal edge ..
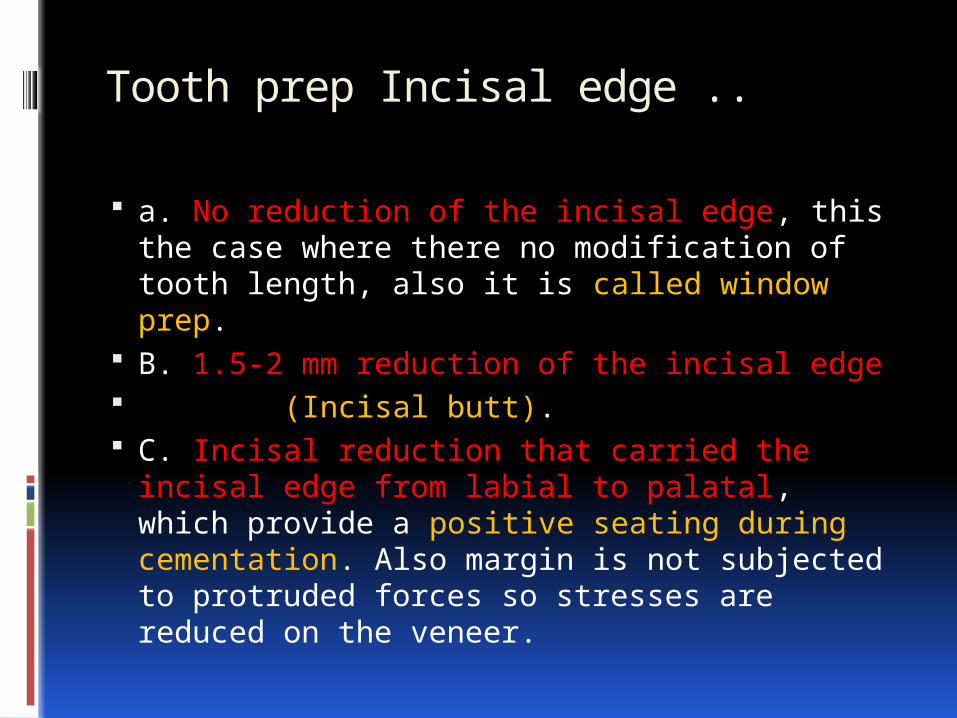
a. No reduction of the incisal edge, this the case where there no modification of tooth length, also it is called window prep.
B. 1.5-2 mm reduction of the incisal edge (Incisal butt). C. Incisal reduction that carried the incisal
edge from labial to palatal, which provide a positive seating during cementation. Also margin is not subjected to protruded forces so stresses are reduced on the veneer.
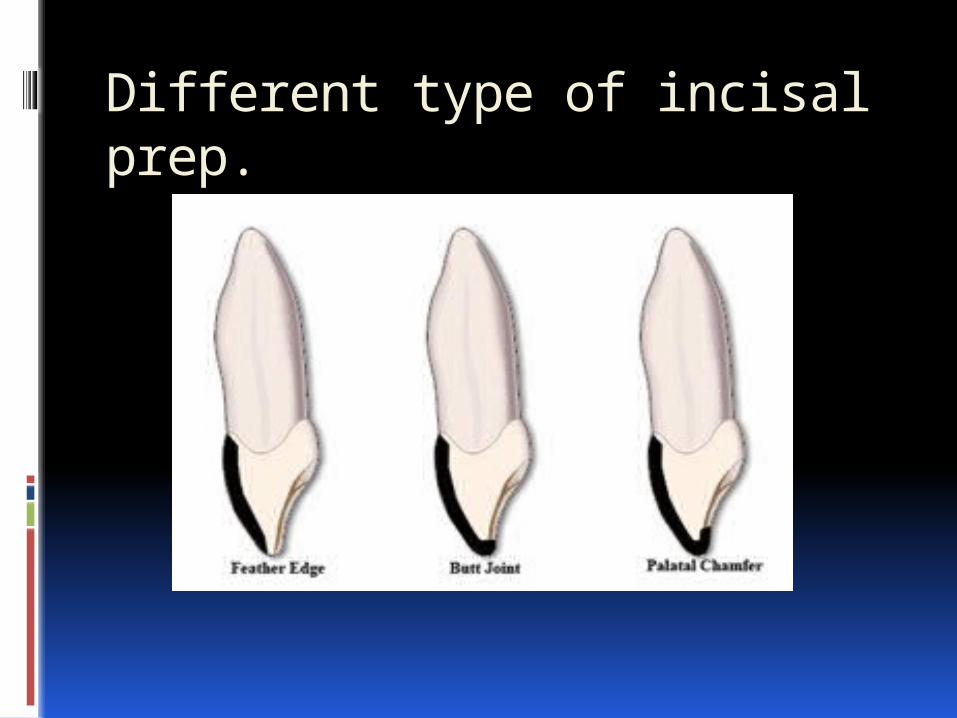
Different type of incisal prep.

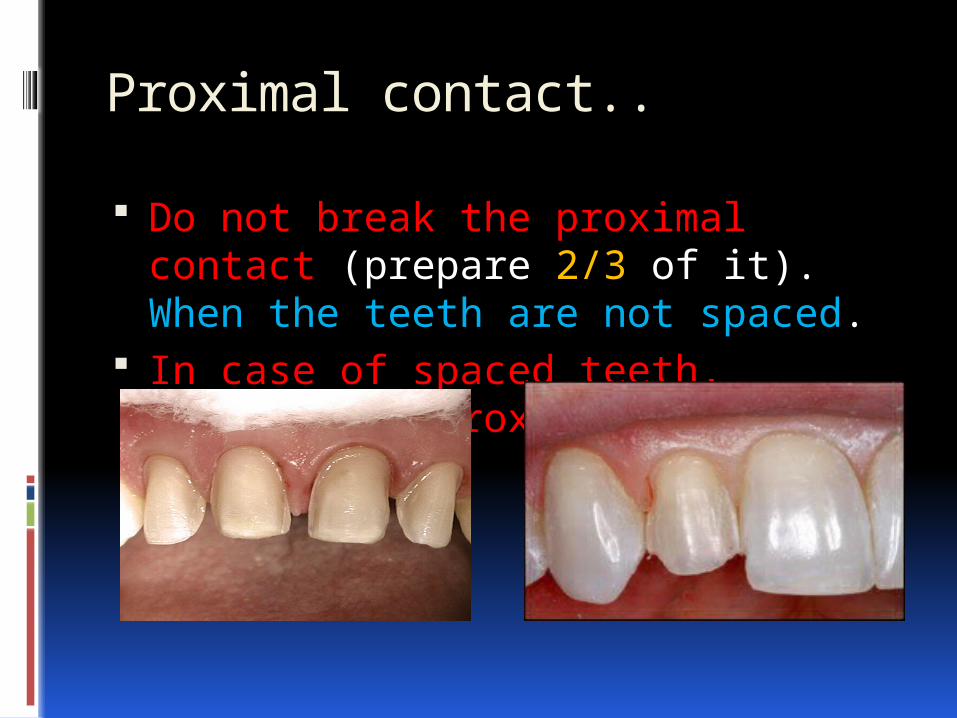
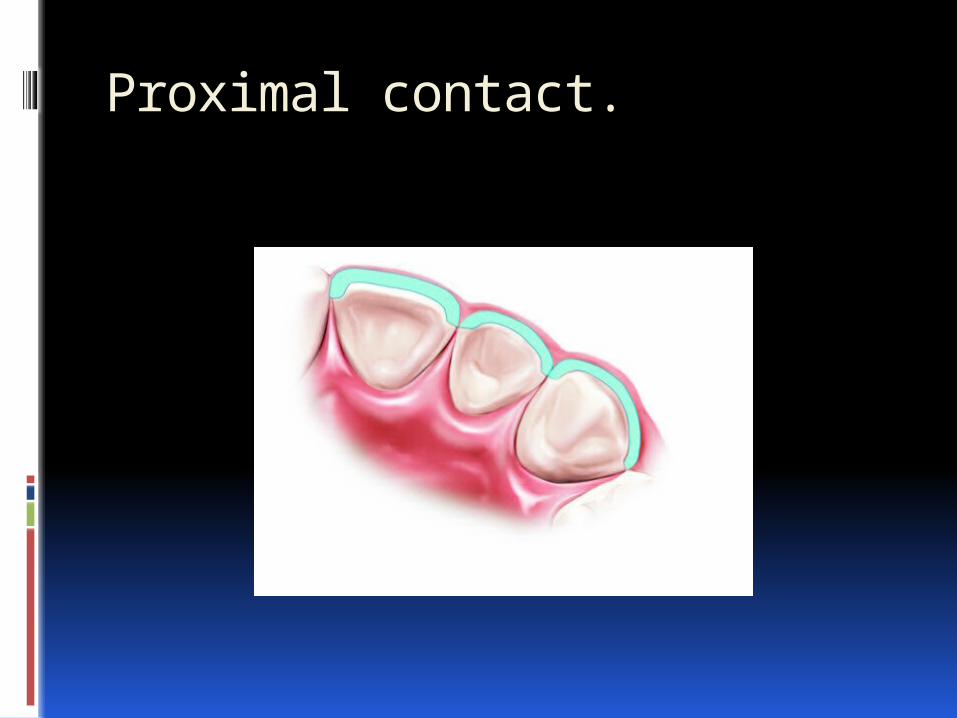
Proximal contact..
Do not break the proximal contact (prepare 2/3 of it). When the teeth are not spaced.
In case of spaced teeth, include the proximal by slice prep.

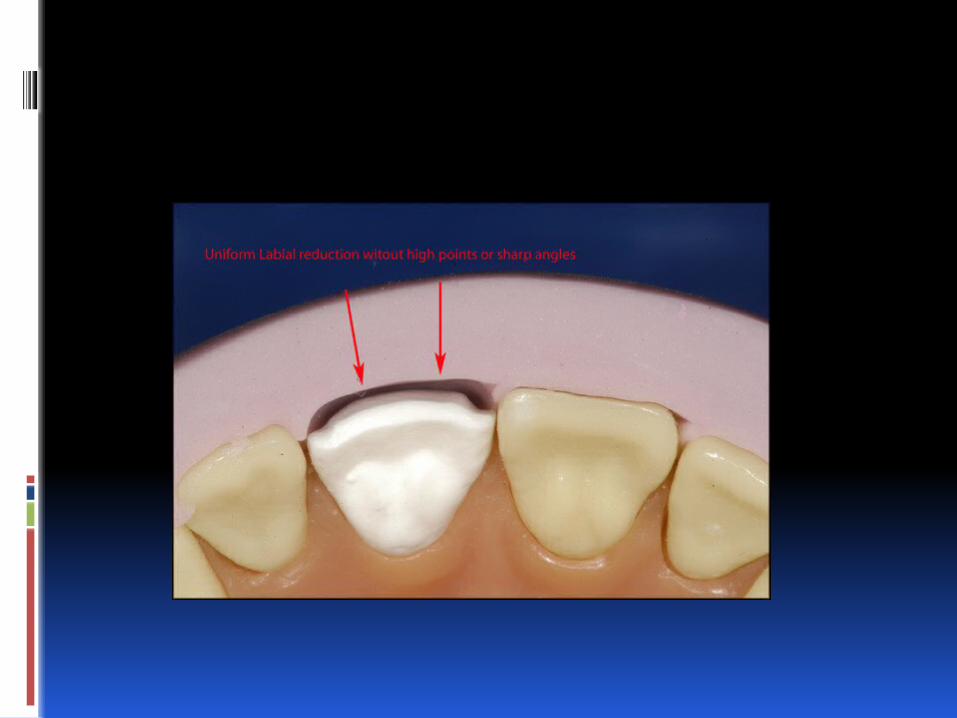
Cervical margin prep..
It will be chamfer design with maximum depth 0.3-0.4 mm, also it should be supra-gingival or at the gum level (use the retraction cord when taking the impression).
This design allows the veneer to integrate in the tooth anatomy without any discernible demarcation.
No dentin exposure which give less chance to micro leakage.


Final impression.
Before taking the final impression of the prepared tooth, fabricate a preliminary provisional restoration using a bis-acryl provisional material. This will give the chance to evaluate the thickness, the shade, and the alignment which can be modified before the final impression.
This could be done by a silicone impression of the waxed-up model, filled by acrylic and inserted in the mouth till setting.
Final impression.
Use metallic tray (rim lock) to avoid any distortion or separation of the impression material.
Vinyl polysiloxane is the material of choice.
You can use the wash technique or double mix technique.
In case where the dentin is exposed mainly in the cervical, use the dentin adhesive before the impression.
Cementation…
1. Try in .. Remove provisionals, clean, isolate and
dry. Moisten the veneers, place them on the
teeth, and check up the fit and the shade. Use try-in paste to adjust the shade (water
soluble). Use 37% Ph A for 30 sec to clean the
veneers if they are etched in the lab. Rinse and dry.
Cementation..
2. cementation.. Apply silane to the etched teeth for 60 sec and
air dry. The teeth are well cleaned, dried and isolated. Etch for 10 to 20 sec, rinse and dry. Apply enamel/dentin bonding and light cure the
adhesive, or do not cure up to the manufaturer instruction prior to seat the veneer.
Apply unfilled resin if indicated. Apply composite resin on the veneer and place
it in an inciso-gingival direction

Cementation..
Hold the veneer and check its proper seating, remove any additional excess using adhesive coated brush. The adjacent teeth should be isolated using celluloid strips, cure starting in the gingival area for 10 sec, some request curing in the center first then proceed removing the excess. then continue around, then the whole face for 60 sec.
If all the anterior teeth are concerned, cement 2 by 2 starting from the midline.
Cementation..
High filled resin cement should be applied in the cervical when the margins are in the dentin, this cement has reduced TEC and reduced setting shrinkage. So that reduced microleakage consequently sensitivity, discoloration, and recurrent caries.
Cementation..
Tay et al. [109] advised to remove the excess of non- polymerised composite cement with a brush moistened with bonding resin. This will reduce the dragging out tendency of the resin out of the marginal gap and ensure a smoother margin that is polishable.

Cementation.
Light curing is preferred for porcelain veneers.
It has the following advantages; in addition to its color stability , it has long working time compared to dual cure or chemical cure cements which give enough time to finish.
The porcelain veneer absorb between 40-50% of the emitted light. Thickness and opacity determine the light transmittance.
Use dual cure when the thickness exceeds 0.7mm.
Cementation..
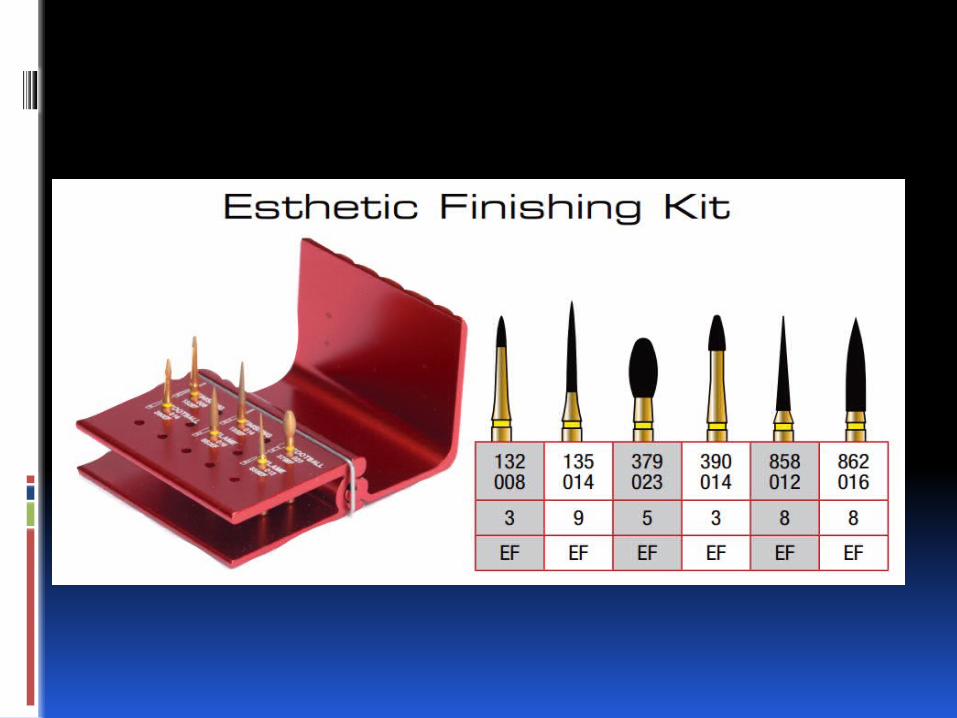
Finishing.. Remove gross excess using sharp
hand instruments or fine and extra fine diamond finishing burs.
Finish the proximal using fine strips. Place the next two. Use porcelain finishing paste for
polishing if needed. Check up the occlusion.
Related facts.
Enamel reduction is required to improve the bonding strength. Doing so means removal of the aprismatic enamel layer which offer less retention.
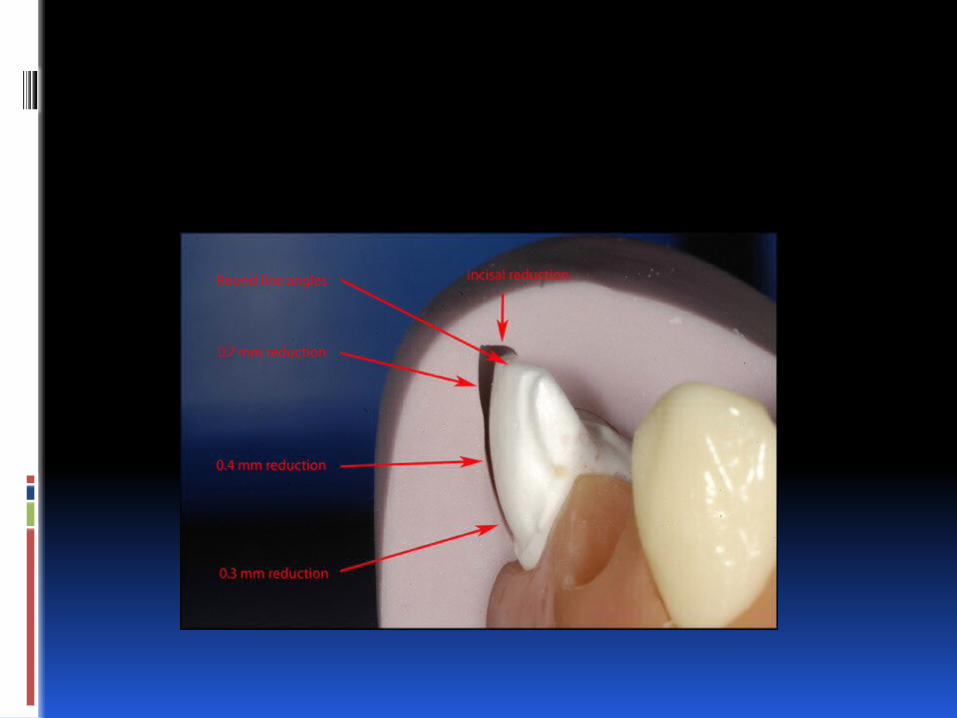
Reduction is in the limit of 0.3 to 0.7 mm. free hand always remove more than 0.5.
If dentin is exposed, use dentin bonding after prep directly and provisional restoration is important.
96% of success rate refers with incisal coverage, 86% W/O incisal coverage.
Related facts.
Clinical exam and diagnostic impose the amount of prep as well as the type of restoration.
To successfully bond veneers, 50% of the bonded substrate must be enamel, 70% or more of the peripheral must be in the enamel.
higher failure rates in vivo when porcelain veneers were partly bonded to underlying composite restorations. It is advised to change the old fillings to improve the retention.
Related facts
Preparation depth in the range of 0.4 to 0.6 mm was largely seen to be intra enamel, except in the cervical region. (cherokara et al).
Wax-up, followed by silicone index, is an important step, in certain cases, to visualize the predicted results.
Transparent resin cement is suitable for 90% of the cases.
Related facts.
The mean vertical marginal discrepancy (for all positions combined) for platinum foil veneers (187 mic) was significantly less than that for veneers made with the refractory die technique (242 mic). ( another study 74 versus 132 mic),
Light-cured and dual-cured luting composites show a similar leakage pattern at the luting composite/tooth inter- face according to Zaimoglu et al.

Related facts.
The strength of the combined porcelain/luting composite/enamel bond (63 MPa), composite/etched enamel (31 MPa) and luting composite/etched-and-silanized porcelain (33 MPa) bond strengths.
Poor adaptation means large gap, due to the setting shrinkage (volumetric S. 2.6-5.7) will create marginal opening and expose the cement to wear.
Related facts.
Ceramic composition and surface treatment protocols
Ceramic Conditioning Feldspathic 9.5% hydrofluoric acid for 2 to 2.5 min; 1 min washing; silane application. Leucite-reinforced 9.5% hydrofluoric acid for 60 s; 1 min washing; silane application. Lithium disilicate-reinforced 9.5% hydrofluoric acid for 20 s; 1 min washing; silane application
Related factors.
During cementation, due to setting shrinkage and bonding retention certain veneers may crack, leave but follow up.
A ceramic and luting composite thickness ratio above 3. This ratio also appears to have a relevant influence on the stress distribution in porcelain laminates. Too thin veneer , combined with poor internal fit , resulted in higher stresses at both the surface and interface of the restoration.
Related facts
Micro leakage at the luting composite/porcelain interface was negligible compared to the luting composite/tooth interface.
Setting shrinkage and difference of TEC between the resin , tooth tissues and porcelain, will cause stress at composite/ enamel, and composite/ porcelain.
Due to the aprismatic enamel in the cervical leakage is more pronounced.
Stresses are more important than in a composite filling (done by increment).

Relate facts.
Vitro studies have demonstrated a dissolution of the resin matrix of composite resin in oral fluids, so that decreased filler in the resin cement means higher dissolution and more gaps.
As a conclusion, microleakage can be minimised by locating the preparation margins of the veneer in enamel and by selecting a highly filled luting composite.
Maintainance.
1. Avoid colored beverage during initial 72-97 hours.
2. Use soft brush with non abrasive tooth-paste.
3. Do not shear or bite hard objects. 4. Avoid acidulated mouth rinses.

Thanks.