pencil case booklet - toot hill school · zziippzip fabric logo product analysis is used by...
TRANSCRIPT

In this project
you will learn:
Research Skills.
Health and Safety
Practical Skills
Quality Control
Generating ideas
TOOT HILL DESIGN TECHNOLOGY DEPARTMENT
YR 7 PENCIL CASE
PROJECT
Page 2
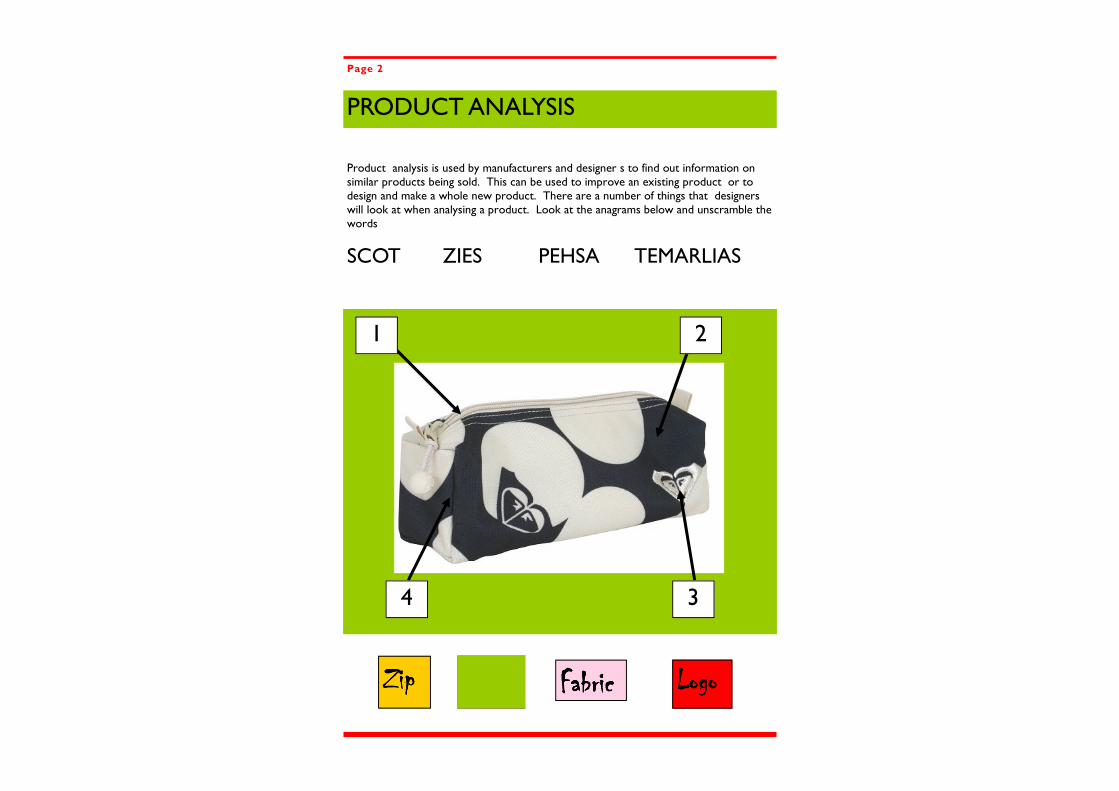
PRODUCT ANALYSIS
1 2
3 4
LogoLogoLogoLogo ZipZipZipZip FabricFabricFabricFabric
Product analysis is used by manufacturers and designer s to find out information on similar products being sold. This can be used to improve an existing product or to design and make a whole new product. There are a number of things that designers will look at when analysing a product. Look at the anagrams below and unscramble the words
SCOT ZIES PEHSA TEMARLIAS

Page 3
1………………………………….
2…………………………………..
3…………………………………...
4…………………………………...
TASK 2: Complete the following sentences using the Key words form task 1.
PRODUCT ANALYSIS
TASK 1: Look at the drawing of the pencil case on the previous page and correctly name the main features of the pencil case.
LITERACY
• The pencil case is made out of..........................that needs to be strong to hold the weight of the contents.
• To make a pencil case appeal to teenagers designers sometimes use patterns or a ..................
• Many textile products need fastenings. Bags or pencil cases need to fasten so the contents don’t fall out. One example of a fastening used is a .............
• A .................. is a method of joining two pieces of fabric together using a sewing machine. The advantages of using a sewing machine is that it is quicker and more accurate.
PROBLEM SOLVER!

Page 4
Health and Safety
TASK 3: During today’s lesson you will learn several safety rules when working in a textiles room. Answer the following questions
Why is it important to listen to all instructions at the start of a practical session?
Why it is important not to distract others when using sewing machines?.
Why is it important to remove loose clothing when using the sewing machine?
You should not run in a textiles room. Why?
What should you do If you find something in the textiles room that is broken?

Page 5
Task 5
Look at the drawing of the sewing machine and list all main parts.
Then choose 3 to identify what they do.
Sewing Machine
Machine Parts Stitch Selector
Bobbin
Thread guide
Presser foot
Bobbin Winder
Thread holder
Stitch Length
Stitch Width
Tension Dial
Hand wheel Needle
Power socket Take up lever Bobbin

Page 6
Tools Task 8. Copy and complete the table below by stating the name of the tools and how they will be used to manufacture your pencil case..
Bobbin Tape Measure Needle sewing machine quick un-pick/seam ripper pins scissors bobbin case

Toot Hill School
Page 7
TASK 4: Draw the symbols shown below and correct meanings.
Making a pattern piece
TASK 5: Draw a pattern to the measurements provided. Remember to put the correct pattern markings on shown above.
Remember, always measure from the end of the ruler!
NUMERACY !
Cutting line—Follow this line when cutting out pattern/template. Seam line—This is the line showing where you will be sewing. Grain line—this is showing the di-rection your pattern should be placed on the fabric.

Top Tip! When designing make sure you:-
• Draw in pencil.
• Add colour
• Shade accurately
• Annotate
• Make them eye-catching
Page 8
Task 7: Once you have completed your ideas choose your favourite design and create a larger more detailed drawing. Include colours used, decoration and how it is going to be applied, size (show measurements), fabric and fastenings.
Task 6. Draw as many different designs as you can for your pencil case. Annotate your designs and state which ones you prefer and why.
Design ideas
Final Design

Page 9
Planning Task 9. Copy the flow diagram below and add the order of manufacture for your pencil case from stages below.
Cut fabric out following the edge of the pattern.
Pin pattern piece to fabric
Start
Measure 1.5cm seam allowance Pin, tack and sew all seams
Iron
Finish
EXTRA! What quality checks would you do when making your pencil case?

Page 10
FIBRES
TASK 9: Look at the diagram below and place the correct fibre under the correct category.
Fibres�
MANMADE� NATURAL� REGENERATED�
�
�
�
�
� �
�
�
Cotton silk polyester acetate Wool nylon viscose rayon
�
What other fibres can you think of ? EXTRA!
Made from chemicals Made from natural sources
Natural fibres with chemicals added

Page 11
Evaluation
0
1
2
3
4
4
5
1. I worked to deadlines in
class and with my home-
work. 2. I’ve worked with
numbers to mark out
parts of the product
3. I produced a
quality market-
able product.
4. I have tried to
raise the standard
of my achieve-
ment.
5. I have tried to ensure that
my written work is presented
appropriately and neatly.
6. I have enjoyed the
year project
7. I carefully
followed Health
& Safety rules at
all times.
8. I behaved appropriately
and responded promptly
to teacher instruction.
3 things I have learnt which I can use in my next module: __________________________________________________________________ __________________________________________________________________ __________________________________________________________________
3 things I need to improve in the next module: __________________________________________________________________ __________________________________________________________________ __________________________________________________________________

KEY WORDS
1. Safety 2. Fibres 3. Batik 4. Seam allowance 5. Dye 6. Tape measure 7. Bobbin 8. Seam ripper 9. Tension dial 10. Template 11. Pins 12. Product analysis 13. Initial Ideas 14. Design ideas 15. Evaluate 16. Sewing machine 17. Assembly 18. Tack 19. Sew 20. Annotate 21. Synthetic 22. Regenerated 23. Centimetres 24. Pattern 25. initial ideas 26. Assemble
Task 12: Learn the definition and spelling of the following key words.

End of Module Test
1. Name 3 health and safety rules when working in a textiles room.
2. Name 3 safety rules when using the sewing machine. 3. Choose one and explain why it is important to follow this
rule? 4. Name 3 parts of the sewing machine and what they do? 5. Explain 2 advantages of using a sewing machine instead of
sewing by hand. 6. Draw one pattern marking and explain what it is used for. 7. Give 1 example of a natural fibre? 8. Give 1 example of a regenerated fibre? 9. Give 1 example of a synthetic fibre? 10. List the main stages of making an open/plain seam. 11. Name 3 types of fastenings. 12. How many centimetres is a seam allowance? 13. Describe one way of decorating fabric. 14. Name 3 pieces of equipment you have used when making
your pencil case. 15. What is the name of the stitch you have used when making
your pencil case. 16. How do you make sure your sewing is secure and won’t
come un-done? 17. Name 2 reasons why an overlocker is used. 18. Name the final process of making your pencil case. 19. Write 4 keywords you have learnt during this unit. 20. List the skills you have learnt during this unit.
Task 13: Read the question carefully and write your answers clearly in your exercise books. Make sure you spell all key words correctly and use a ruler to draw any diagrams.
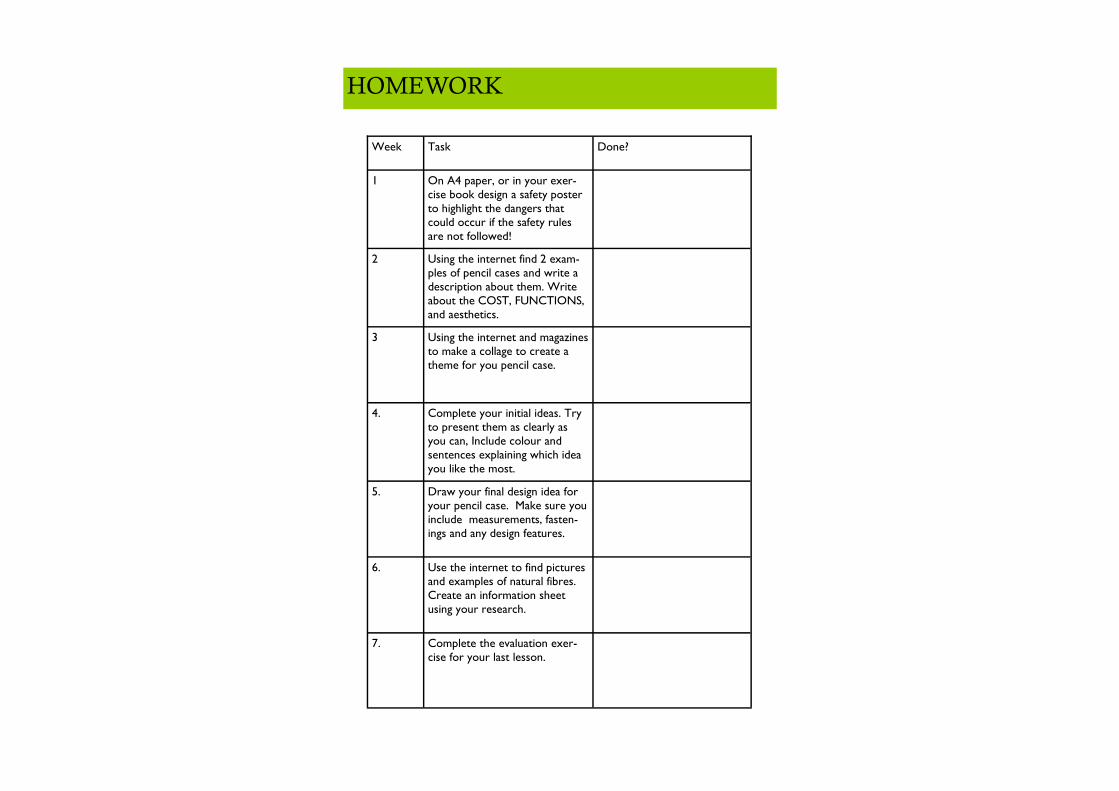
HOMEWORK
Week Task Done?
1 On A4 paper, or in your exer-cise book design a safety poster to highlight the dangers that could occur if the safety rules are not followed!
2 Using the internet find 2 exam-ples of pencil cases and write a description about them. Write about the COST, FUNCTIONS, and aesthetics.
3 Using the internet and magazines to make a collage to create a theme for you pencil case.
4. Complete your initial ideas. Try to present them as clearly as you can, Include colour and sentences explaining which idea you like the most.
5. Draw your final design idea for your pencil case. Make sure you include measurements, fasten-ings and any design features.
6. Use the internet to find pictures and examples of natural fibres. Create an information sheet using your research.
7. Complete the evaluation exer-cise for your last lesson.

Progress Feedback Sheet
Section Student level Teacher Level Teacher Comment
Health and Safety
Measuring
Initial Ideas
Practical
Homework
Student Target Comment
Teacher Target Comment
Final Level
