oral presentation guideline
TRANSCRIPT

Oral Presentation Guideline
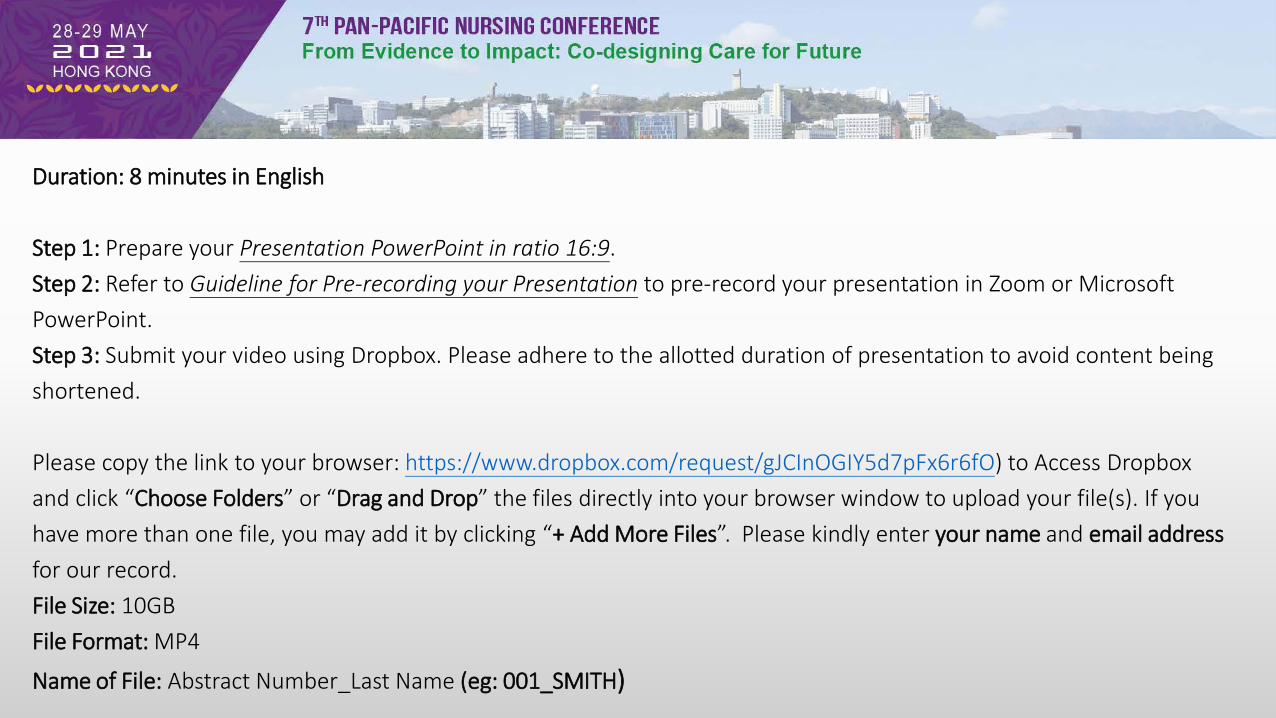
Duration: 8 minutes in English
Step 1: Prepare your Presentation PowerPoint in ratio 16:9.Step 2: Refer to Guideline for Pre-recording your Presentation to pre-record your presentation in Zoom or Microsoft PowerPoint. Step 3: Submit your video using Dropbox. Please adhere to the allotted duration of presentation to avoid content being shortened.
Please copy the link to your browser: https://www.dropbox.com/request/gJCInOGIY5d7pFx6r6fO) to Access Dropbox and click “Choose Folders” or “Drag and Drop” the files directly into your browser window to upload your file(s). If you have more than one file, you may add it by clicking “+ Add More Files”. Please kindly enter your name and email address for our record.File Size: 10GBFile Format: MP4
Name of File: Abstract Number_Last Name (eg: 001_SMITH)

Guideline for Pre-recordingYour Presentation

OPTION 1: Zoom (Suggested)
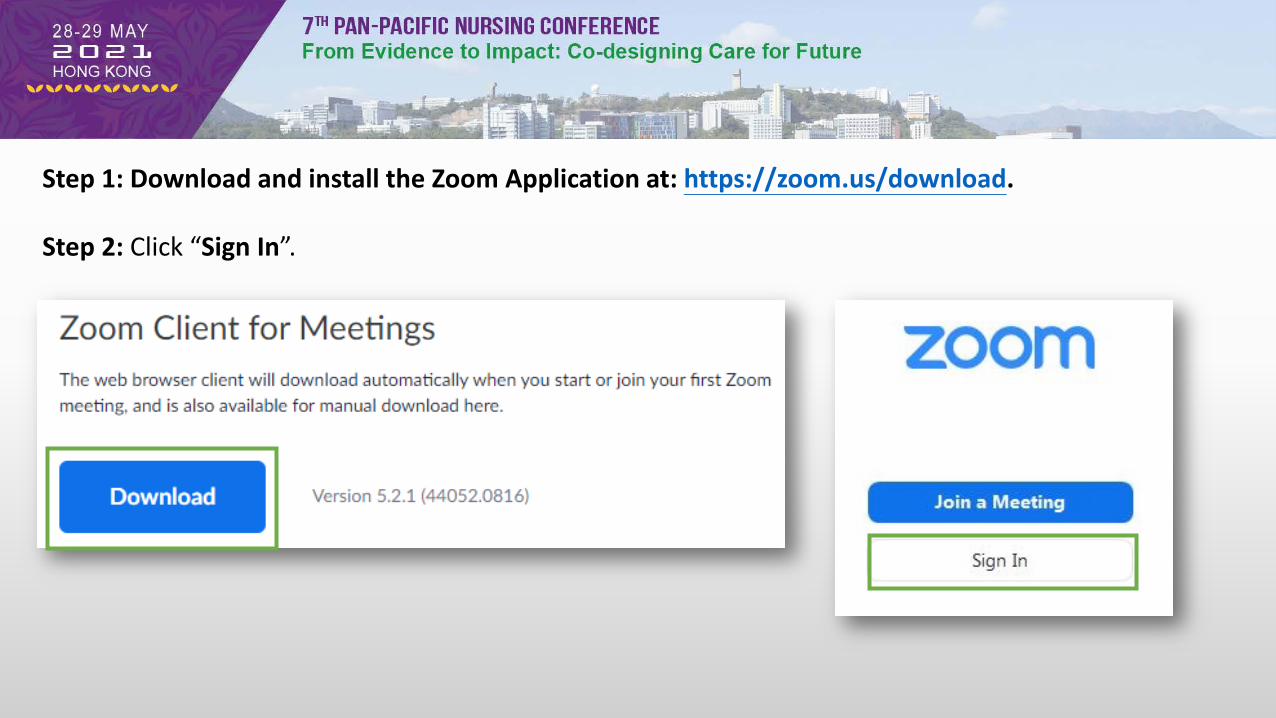
Step 1: Download and install the Zoom Application at: https://zoom.us/download.
Step 2: Click “Sign In”.
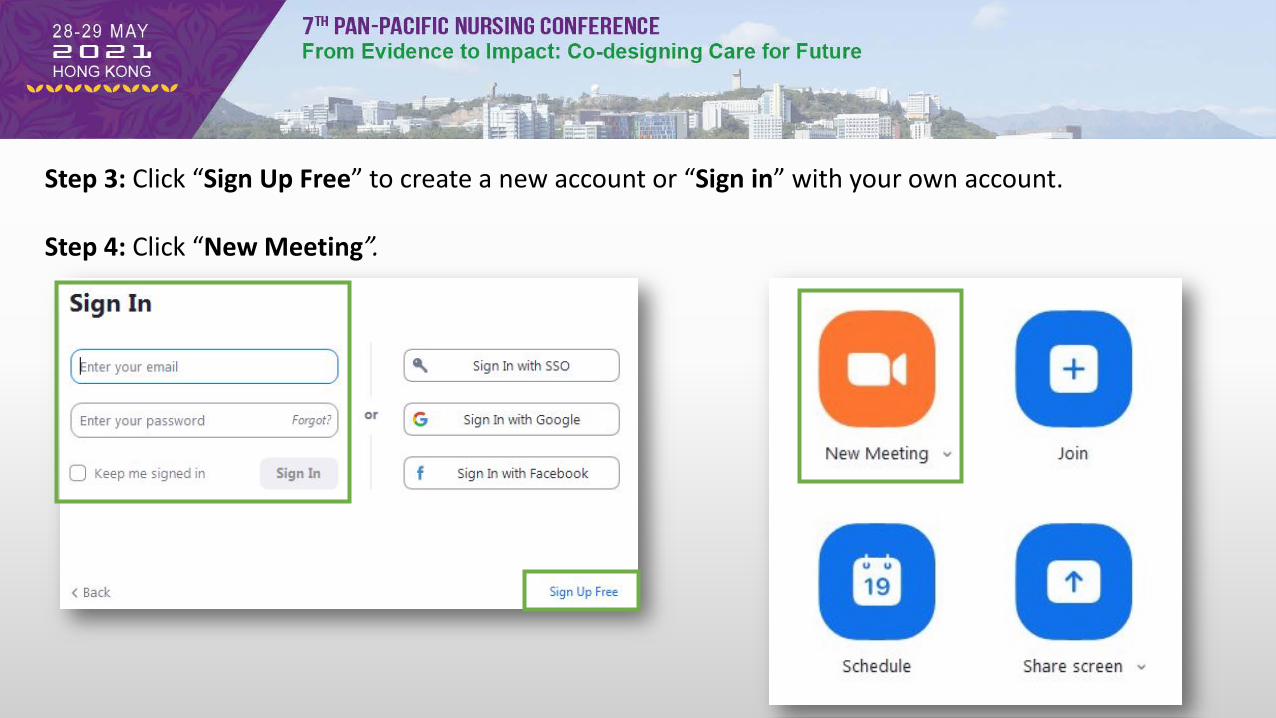
Step 3: Click “Sign Up Free” to create a new account or “Sign in” with your own account.
Step 4: Click “New Meeting”.

Step 5: Click “Join with Computer Audio”, and “Test Speaker and Microphone”.
* It is suggested to record your presentation with your webcam enabled, for better viewing result you are suggested to wear the same dressing and using the same background for Q&A session on the event day.
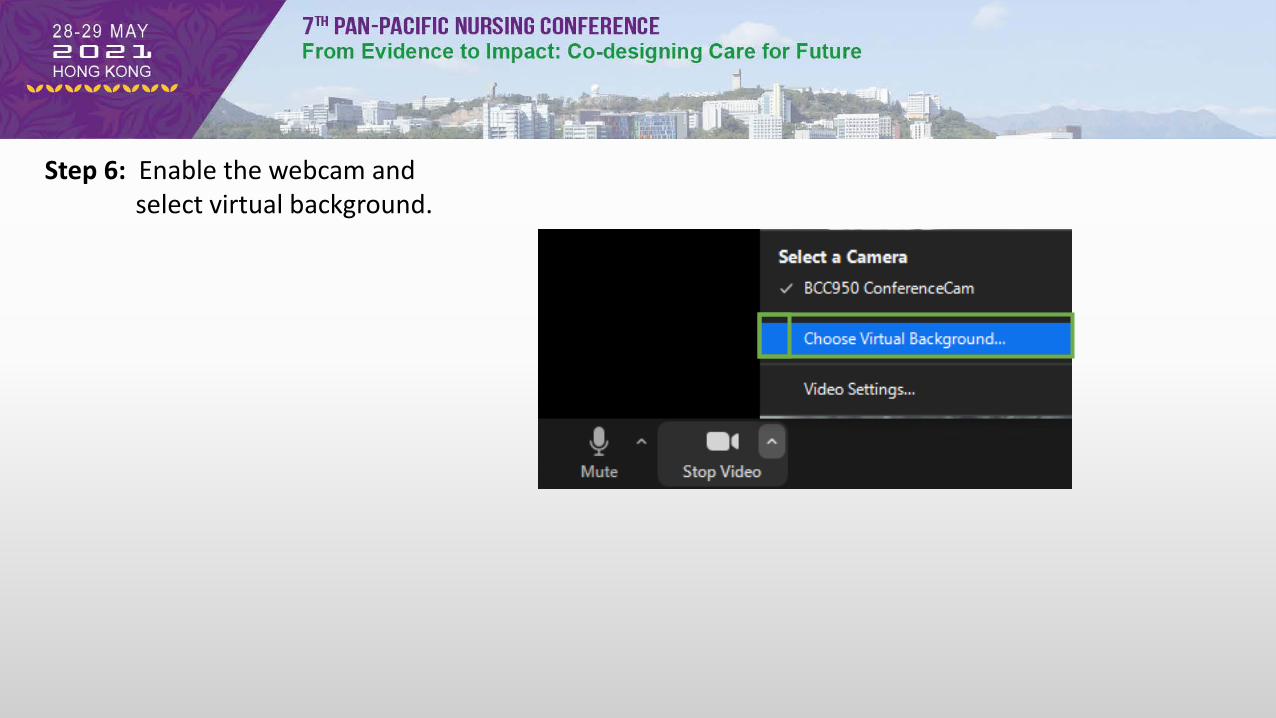
Step 6: Enable the webcam and select virtual background.
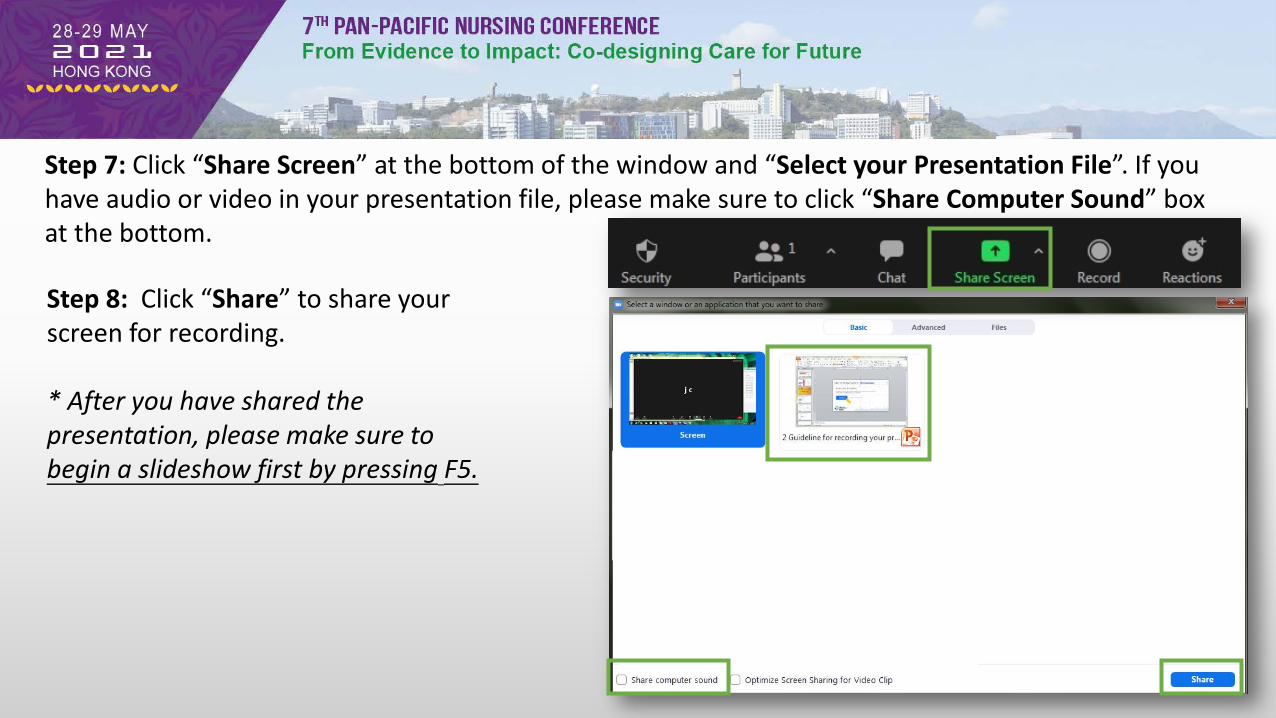
Step 7: Click “Share Screen” at the bottom of the window and “Select your Presentation File”. If you have audio or video in your presentation file, please make sure to click “Share Computer Sound” box at the bottom.
Step 8: Click “Share” to share your screen for recording.
* After you have shared the presentation, please make sure to begin a slideshow first by pressing F5.

Step 9: Click “More” drop-down at the top Zoom tool bar and select “Record” to start recording your presentation.
Step 10: You may click “Pause Recording” or “Stop Recording” to pause or stop your recording during the presentation.

Step 11: When you have finished your presentation, click “More”drop-down, select “Stop Recording” and “End”.
Step 12: Click “End Meeting for All”.
Step 13: Then wait for your recording being converted into MP4 file.
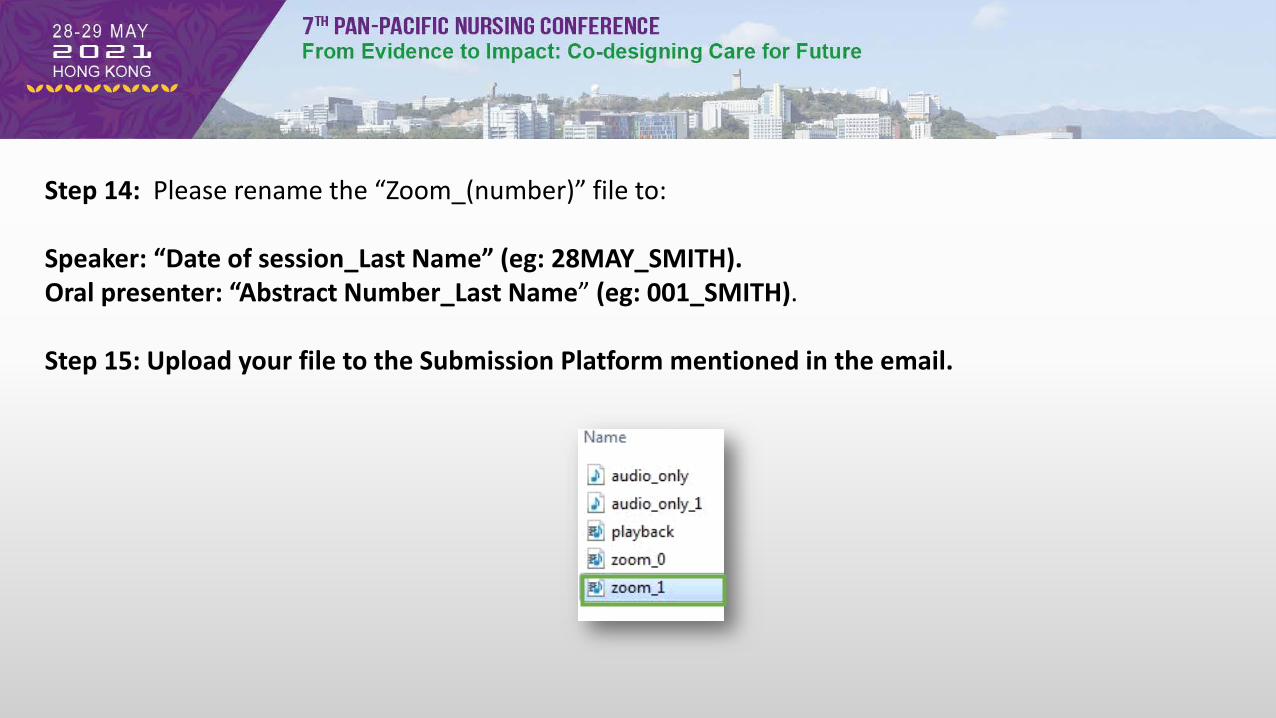
Step 14: Please rename the “Zoom_(number)” file to:
Speaker: “Date of session_Last Name” (eg: 28MAY_SMITH).Oral presenter: “Abstract Number_Last Name” (eg: 001_SMITH).
Step 15: Upload your file to the Submission Platform mentioned in the email.

OPTION 2: Microsoft PowerPoint
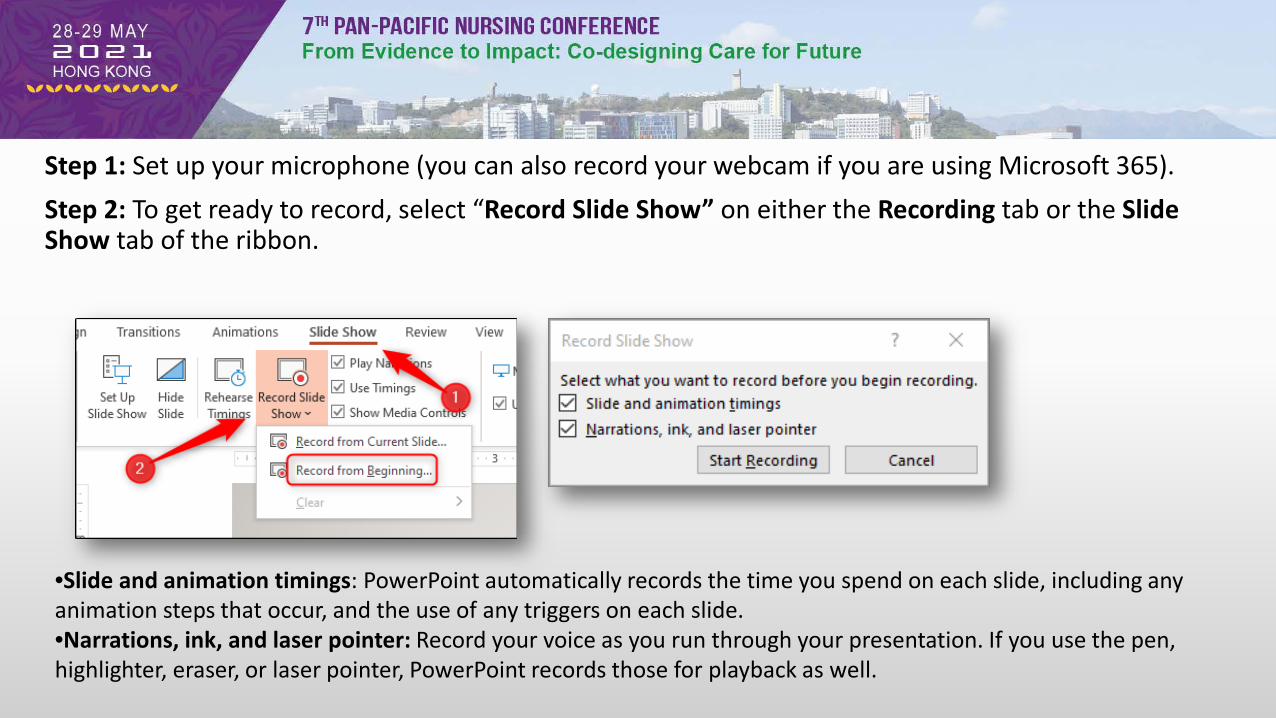
Step 1: Set up your microphone (you can also record your webcam if you are using Microsoft 365).Step 2: To get ready to record, select “Record Slide Show” on either the Recording tab or the Slide Show tab of the ribbon.
•Slide and animation timings: PowerPoint automatically records the time you spend on each slide, including any animation steps that occur, and the use of any triggers on each slide.•Narrations, ink, and laser pointer: Record your voice as you run through your presentation. If you use the pen, highlighter, eraser, or laser pointer, PowerPoint records those for playback as well.
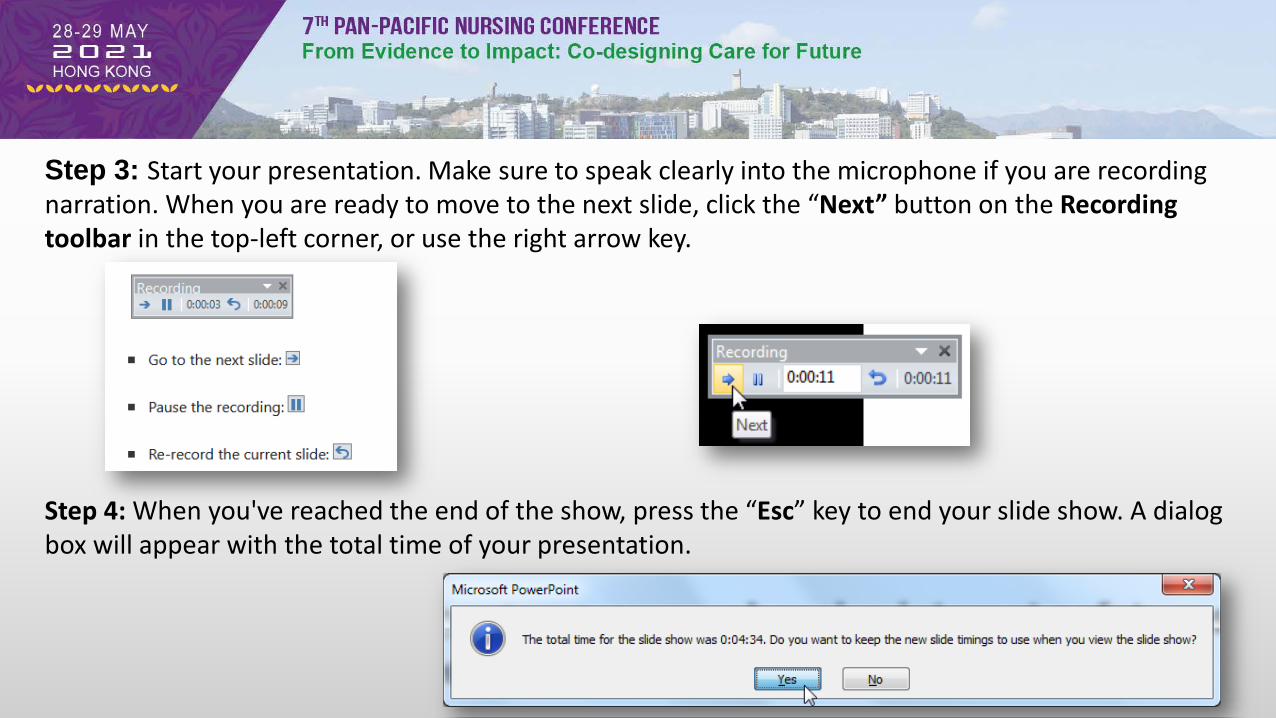
Step 3: Start your presentation. Make sure to speak clearly into the microphone if you are recording narration. When you are ready to move to the next slide, click the “Next” button on the Recording toolbar in the top-left corner, or use the right arrow key.
Step 4: When you've reached the end of the show, press the “Esc” key to end your slide show. A dialog box will appear with the total time of your presentation.
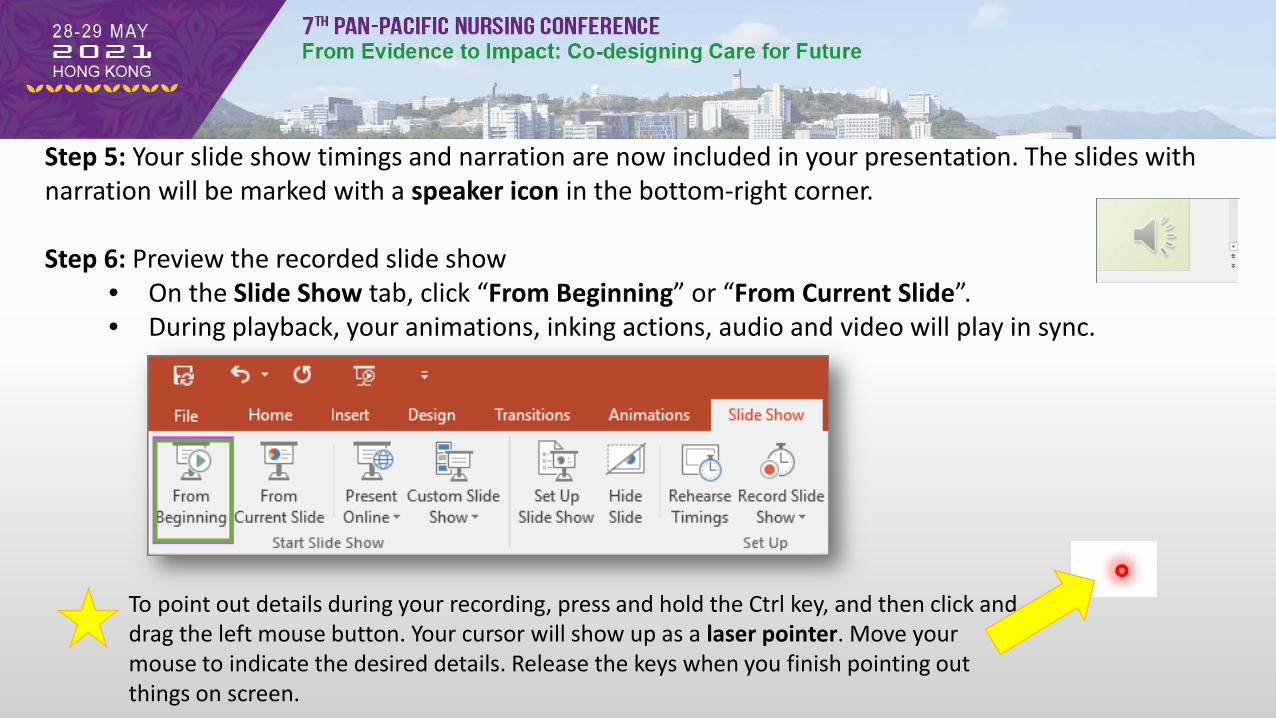
Step 5: Your slide show timings and narration are now included in your presentation. The slides with narration will be marked with a speaker icon in the bottom-right corner.
Step 6: Preview the recorded slide show• On the Slide Show tab, click “From Beginning” or “From Current Slide”.• During playback, your animations, inking actions, audio and video will play in sync.
To point out details during your recording, press and hold the Ctrl key, and then click and drag the left mouse button. Your cursor will show up as a laser pointer. Move your mouse to indicate the desired details. Release the keys when you finish pointing out things on screen.
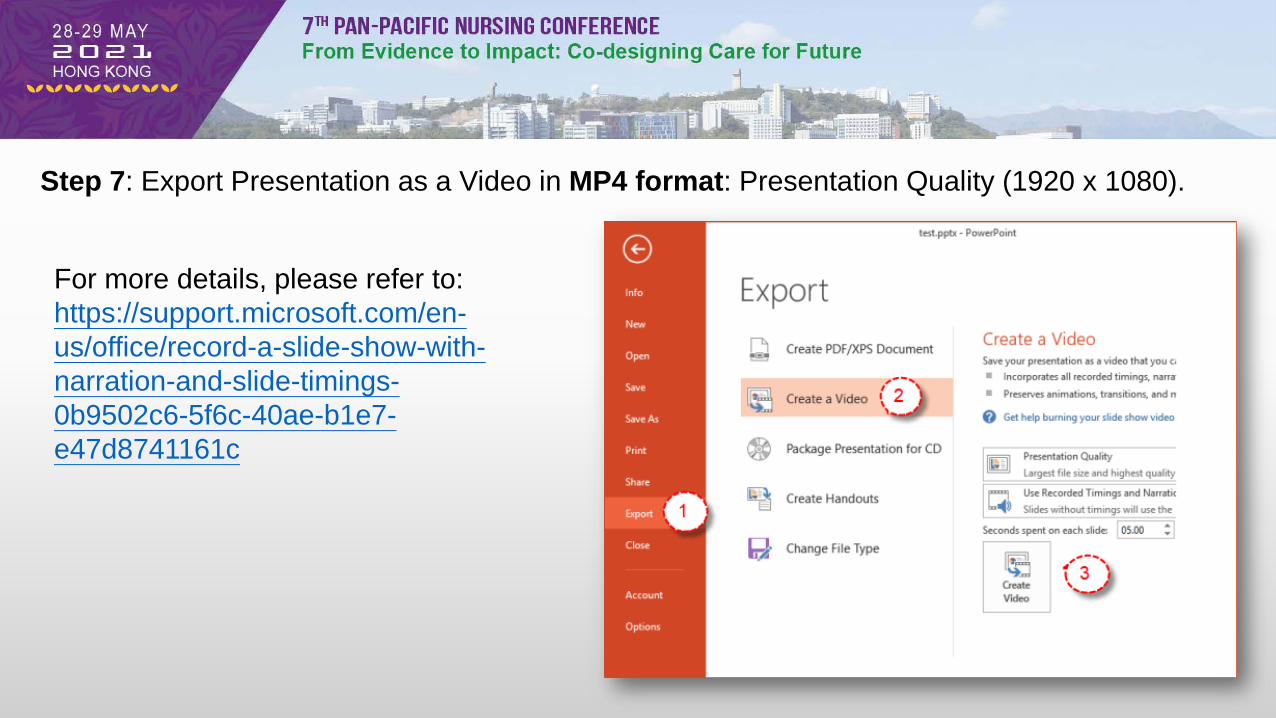
Step 7: Export Presentation as a Video in MP4 format: Presentation Quality (1920 x 1080).
For more details, please refer to:https://support.microsoft.com/en-us/office/record-a-slide-show-with-narration-and-slide-timings-0b9502c6-5f6c-40ae-b1e7-e47d8741161c

• Please kindly submit your pre-recorded presentation on or before 30 April2021.
• For enquiries, please contact:Conference information: [email protected] support: [email protected]