module 4- reflection
DESCRIPTION
CHARLOTTE YOUNGTRANSCRIPT

1
DIGITAL DESIGN + FABRICATION SM1, 2016 ORAGAMI YOUR SLEEP
Charlotte Young(698416)
Michelle #9

2

3
MODULE 1- IDEATION

4
My object was the expandable folder with my system being expand and fold. As my folder had very straight lines I measured it with a ruler. I have drawn the expandable folder in its natural state
aswell as showing how the inside panels are able to expand and contract.
INTRODUCTION

5
MEASURED DRAWINGS

6
Here as seen is my first attempt at Rhino of the expandale folder. At this stage in the semester, I really struggled with this soft-
ware. I struggled with surfaces the most. As the semester went on I think I significantly improved with the help of the tech work-
shops.

7
This is my first prototype. I went ahead with an origami inspiration. I think this prototype was
very successful in my further development. The most important aspects were its ability to com-press and enlarge like the expandable folder. Also, the more layers the more comfortable it
was.
IDEATION PROTOTYPE

8
MODULE 2- DESIGNGroup members: Charlotte Young, Zoe Bratcher and Amanda Sam
9
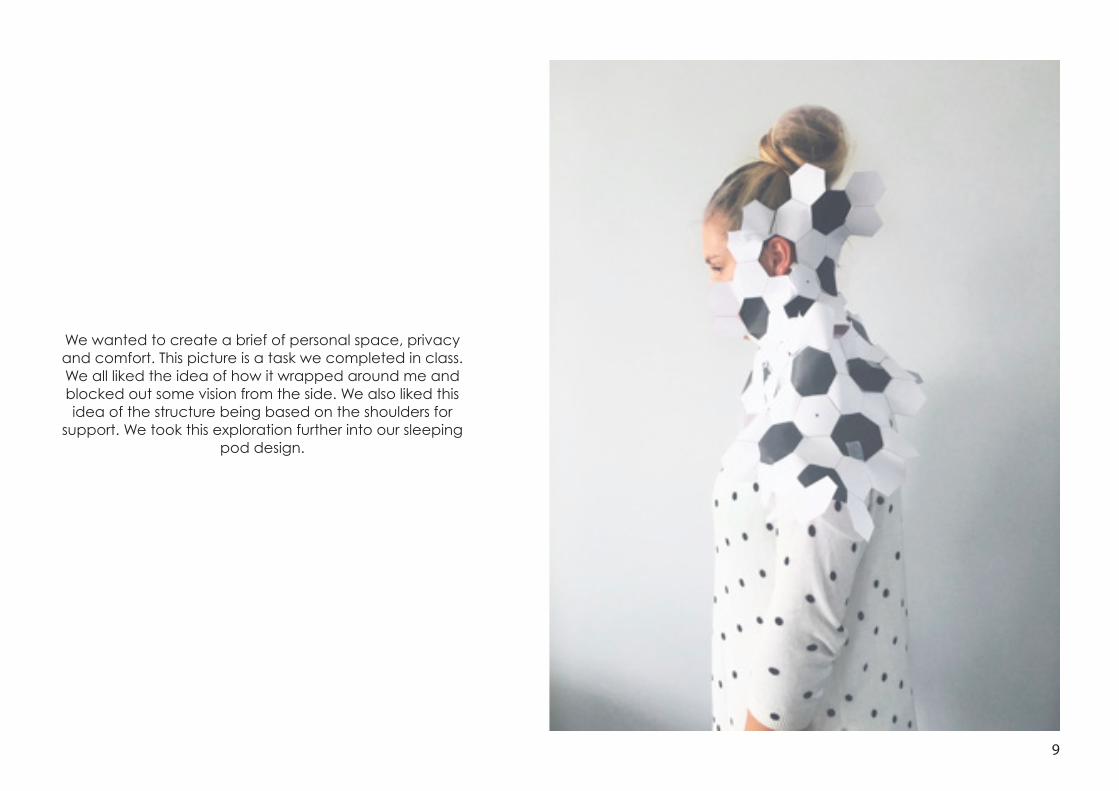
We wanted to create a brief of personal space, privacy and comfort. This picture is a task we completed in class. We all liked the idea of how it wrapped around me and blocked out some vision from the side. We also liked this idea of the structure being based on the shoulders for
support. We took this exploration further into our sleeping pod design.

10
PRECEDENT
We used this precedent to explore the notion of interlocking to make the structure stronger. With developing the maga-zine cones, we thought joining them together would add
both stuctural integrity and an aesthetic nature.
Le Corbusier Puppet TheatreHuyghe & MOS Architects, 2004

11
Using this precedent we ex-plored how we could furhter add privacy to our design. We were lucky as this pre-
cendent also used paper for their material which is what we had been using too. The bottom images are our at-tempt to incorporate these intricate folds. These looked
really good, however, a thin paper was used which meant it wasnt very strong.
Veasyble by GAIARicardo Hernandez, 2010

12
Here you can see the design process as we try to incorporate the screen into our cone design. We struggled to make this seamless. Whatever way we tried had the outcome of two very different looking designs trying to be meshed together.
PROTOTYPE DEVELOPMENT

13
This is how we imagined our design at the end of
module 2. As you can see the screen is inserted into a cone that is built up above
the head. It is also clear that it doesnt fit with the design
so well.
Isometric
Left Front Right

14
This is our Rhino design of our prototype that we submitted at the end of Module 2. We imagined it resting on the shoulders of the user who would be seated in a chair. We wanted it to not be symmetrical and
actually replicate the personal space of the user’s needs. This is to allow sensitivity and individualisation to the user.
Isometric
Front
Left

15
This is our prototype for module 2. we changed from using a normal magazine to
the Farrago magazine, produced by the Uni-verstiy of Melbourne. This provided a thicker surface. As seen in the photos we joined the cones by cutting a hole in another cone and sectioning it in. We then used paper mache to cover the joins to secure it. On presenta-tion, we discuessed how this wasnt an ad-
vanced joining method and would need to be resolved in fabrication. Furthermore, we
wanted to create a system that covered the stuffing. On reflection and with the advice of our teachers we decided that we should get rid of the screen idea as it wasnt developing the idea, nor was it providing and personal
space advatages.
FINAL PROTOTYPE

16

17
MODULE 3: FABRICATIONGroup Members: Charlotte Young, Zoe Bratcher and Amanda Sam

18
Optimisation: Joining Methods
As one joining method we explored using rope. Whilst this was better than paper mache it was still not perfect. The rope created many points of weakness in the paper as holes needed to be pierced to allow the rope to
wrap around.

19
After feeling asthough our project was in a rut, I went back to the beginning and researched paper as a ma-terial. I found that paper in its strongest form is when it
is rolled up over itself as it has the smallest surface area and the layers provide structural integrity. We worked
out that if we used a skewer to roll the paper we could make them as tight as possible. I then thought that if we inserted them into the bottom of each cone we woudnt have any broken paper across the back at
least, meaning no point of weakness.

20
DESIGN OPTIMISATION
With this new strong joining method we adjusted our first fold to be on a slight angle to allow the paper
rod to slot in nicely. We also trialed using scotch tape to tape the outer
edges which meant no ripping of the paper. These were very integral
to our final design.
I’m pleased that my group took a different angle and decided to incorporate an environmental factor to our sleeping pod. Using the Uni paper was a really good and unique material. I didn’t realize how fiddly the material was, and the amount of doing and redoing that was going to be required.

21
Here you can see the fold we discovered that could be made to cover the cotton stuffing. Moreover, here is our exploration with how many segments were best for each cone. We decided on 10 as 12 was too compact and 8 meant it wasnt firm enough. These pricture show our
discovery.

22
FINAL RHINO MODEL

23
EXPLODED ISOMETRIC

24
FINAL PHOTOS- ROTATION
I was really pleased to get to this stage. Our group has issues with personalities and division of work-loads, but seeing this come together was a proud moment.
25
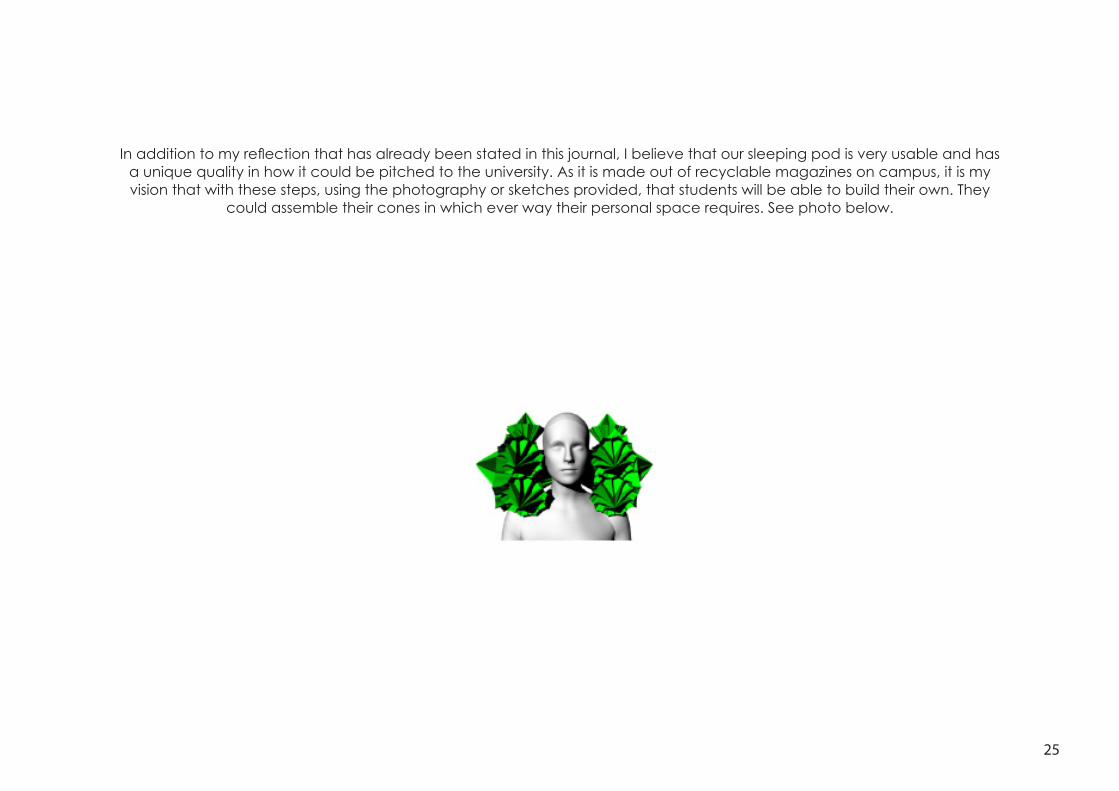
In addition to my reflection that has already been stated in this journal, I believe that our sleeping pod is very usable and has a unique quality in how it could be pitched to the university. As it is made out of recyclable magazines on campus, it is my vision that with these steps, using the photography or sketches provided, that students will be able to build their own. They
could assemble their cones in which ever way their personal space requires. See photo below.

26
STEP 1: SECURE THE FRONT COVER STEP 2: RIP FRONT COVER OFF STEP 3: FOLD TOP CORNER DOWN STEP 4: FOLD BOTTOM CORNER UP
STEP 4: FOLD BOTTOM OVER TO EDGE STEP 6: FOLD PAPER TOWARDS THE SPINE STEP 7: FLIP OVER AND START AGAIN STEP 8: ROLL PAPER ON THE DIAGONAL

27
STEP 1: RIP THE FRONT COVER OFF STEP 2: FOLD TOP CORNER DOWN BUT
KEEP OFF THE SPINE
STEP 3: FOLD BOTTOM CORNER UP STEP 4: FLATTEN DOWN EDGES AND FOLD
UP AGAIN
STEP 5: UNFOLD AND FOLD UP AGAIN STEP 6: FOLD UP TOWARDS THE SPINE STEP 7: NOW YOU HAVE A CONE, FLAT-
TEN DOWN EDGES

28

29
Huyghe & MOS Architects 2004, Le Corbusier Puppet Theatre, University of Melbourne LMS, last viewed 5th June 2016, <https://app.lms.un-imelb.edu.au/bbcswebdav/pid-5113795-dt-content-rid-18743806_2/courses/ENVS20001_2016_SM1/ENVS20001_2016_SM1_ImportedCon-tent_20160128045120/Puppet%20Theatre_MOS.pdf>
Veasyble 2010, by GAIA Ricardo Hernandez, University of Melbourne LMS, last viewed 5th June 2016, <http://www.veasyble.com/whoeng.html>